Mini Mill
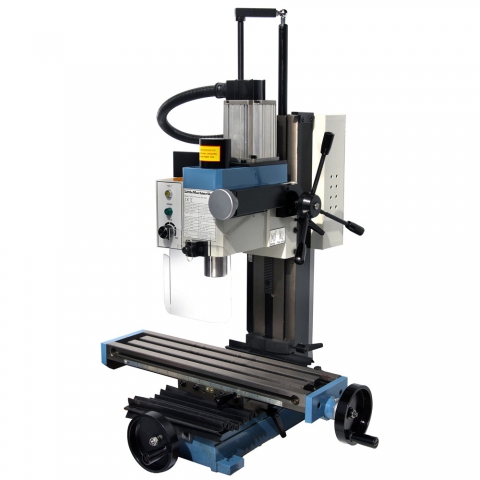
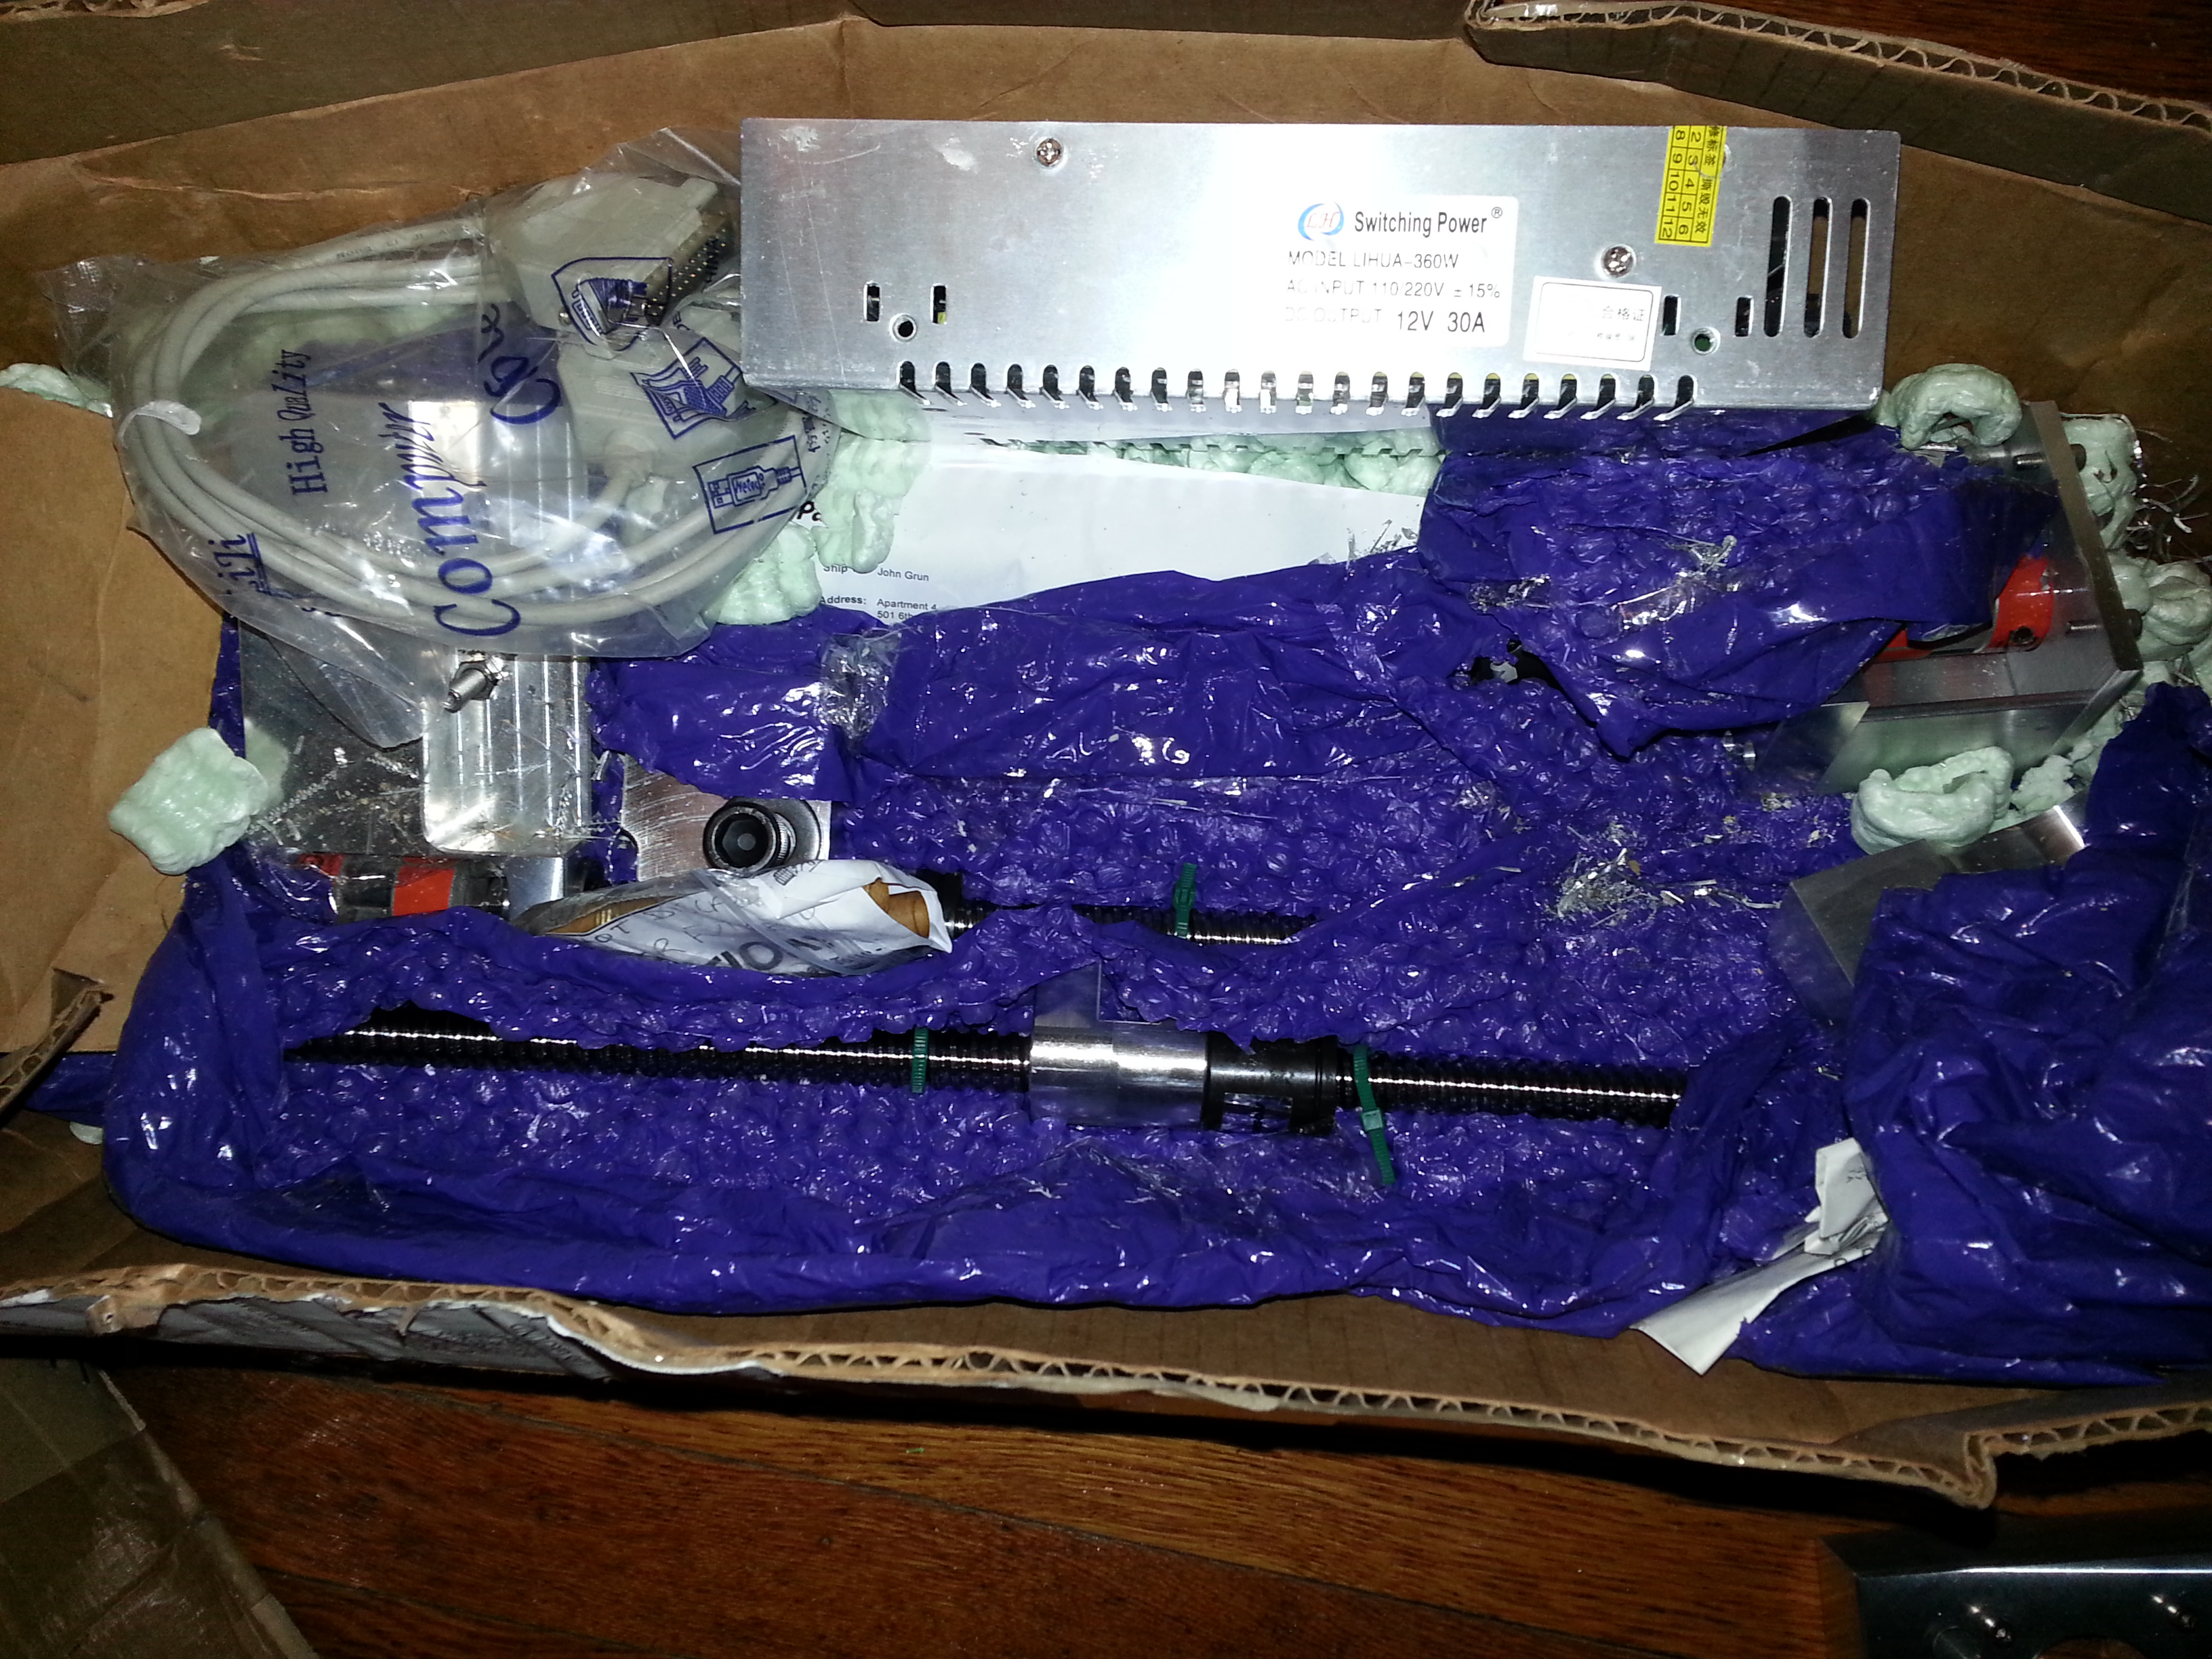
Unboxing the kit.
CNC FUSION KIT

Unfortunately, this company is no longer around. Thankfully, there are other kits available to perform this conversion.

- Solid Column upgrade
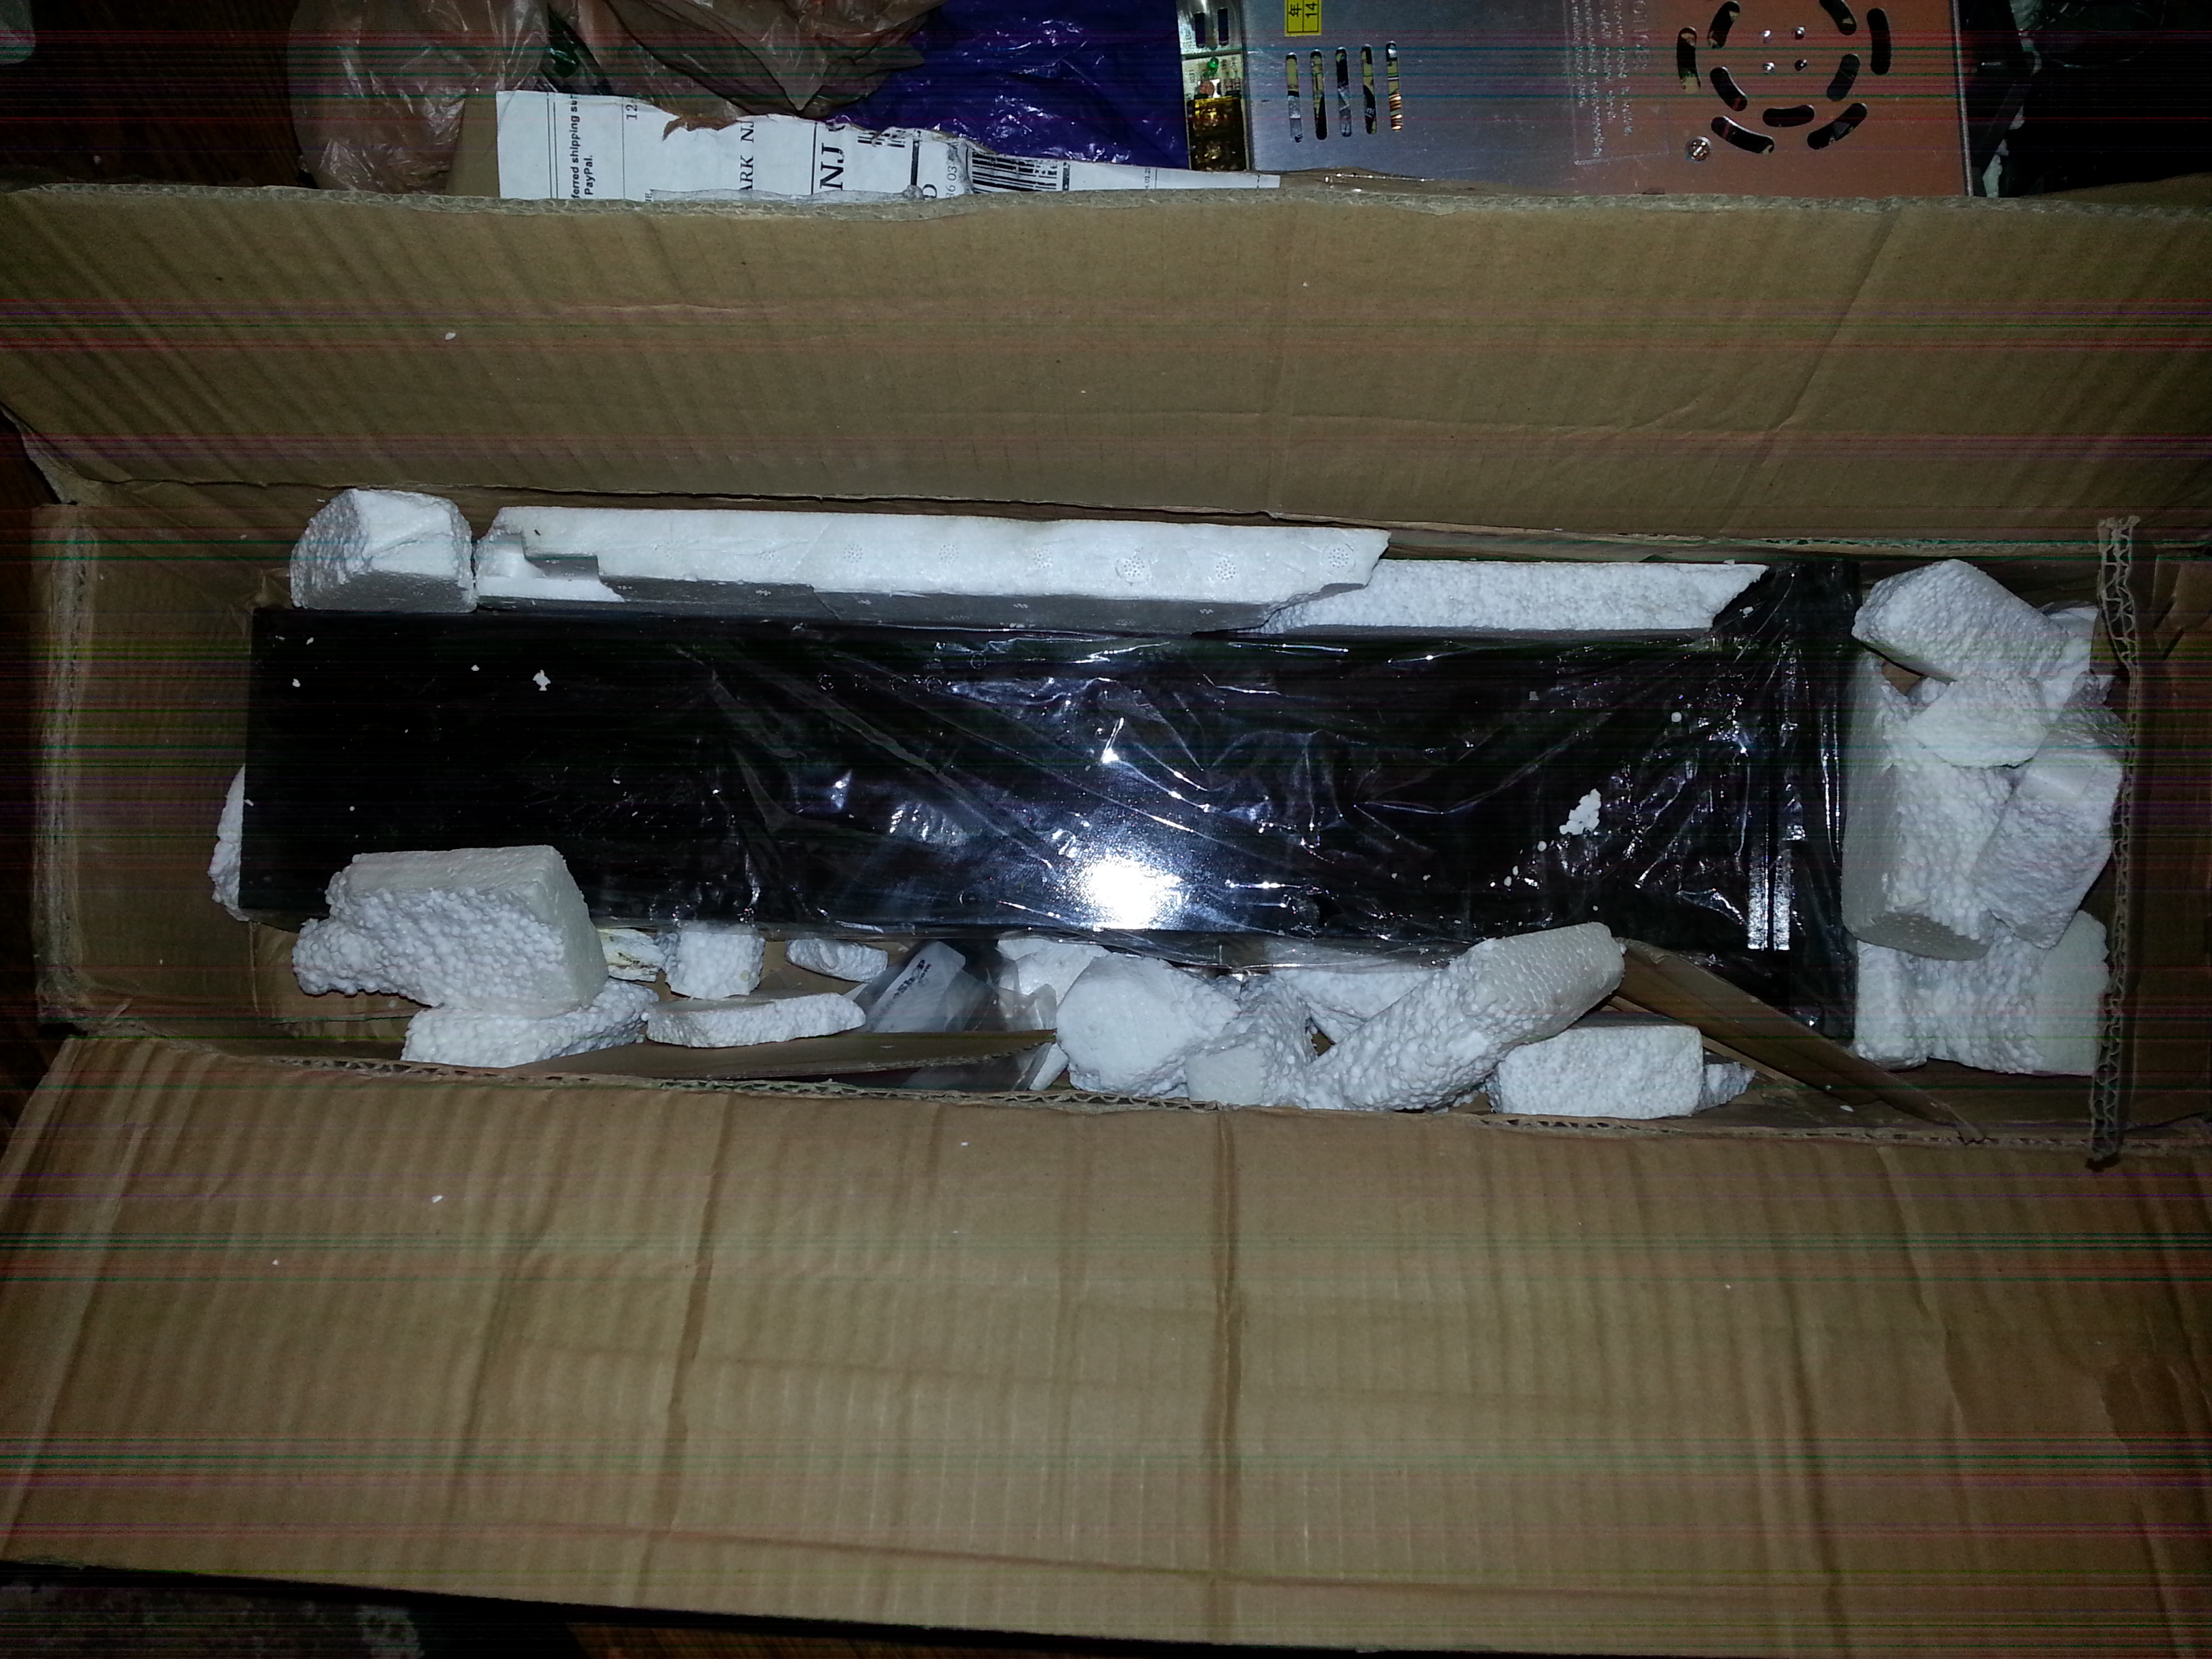 The original hi torque mini mill from Little Machine Shop had a gimmicky tilting column. While it was nice to be able to tilt the mill head it was impossible to tram the mill. This solid column is complete replacement for the tilting column.
 Disassembly
X/y stage separated from the rest of the mill. The tilting column version only required removing one large bolt on the back of the mill.
Tilting column with z axis
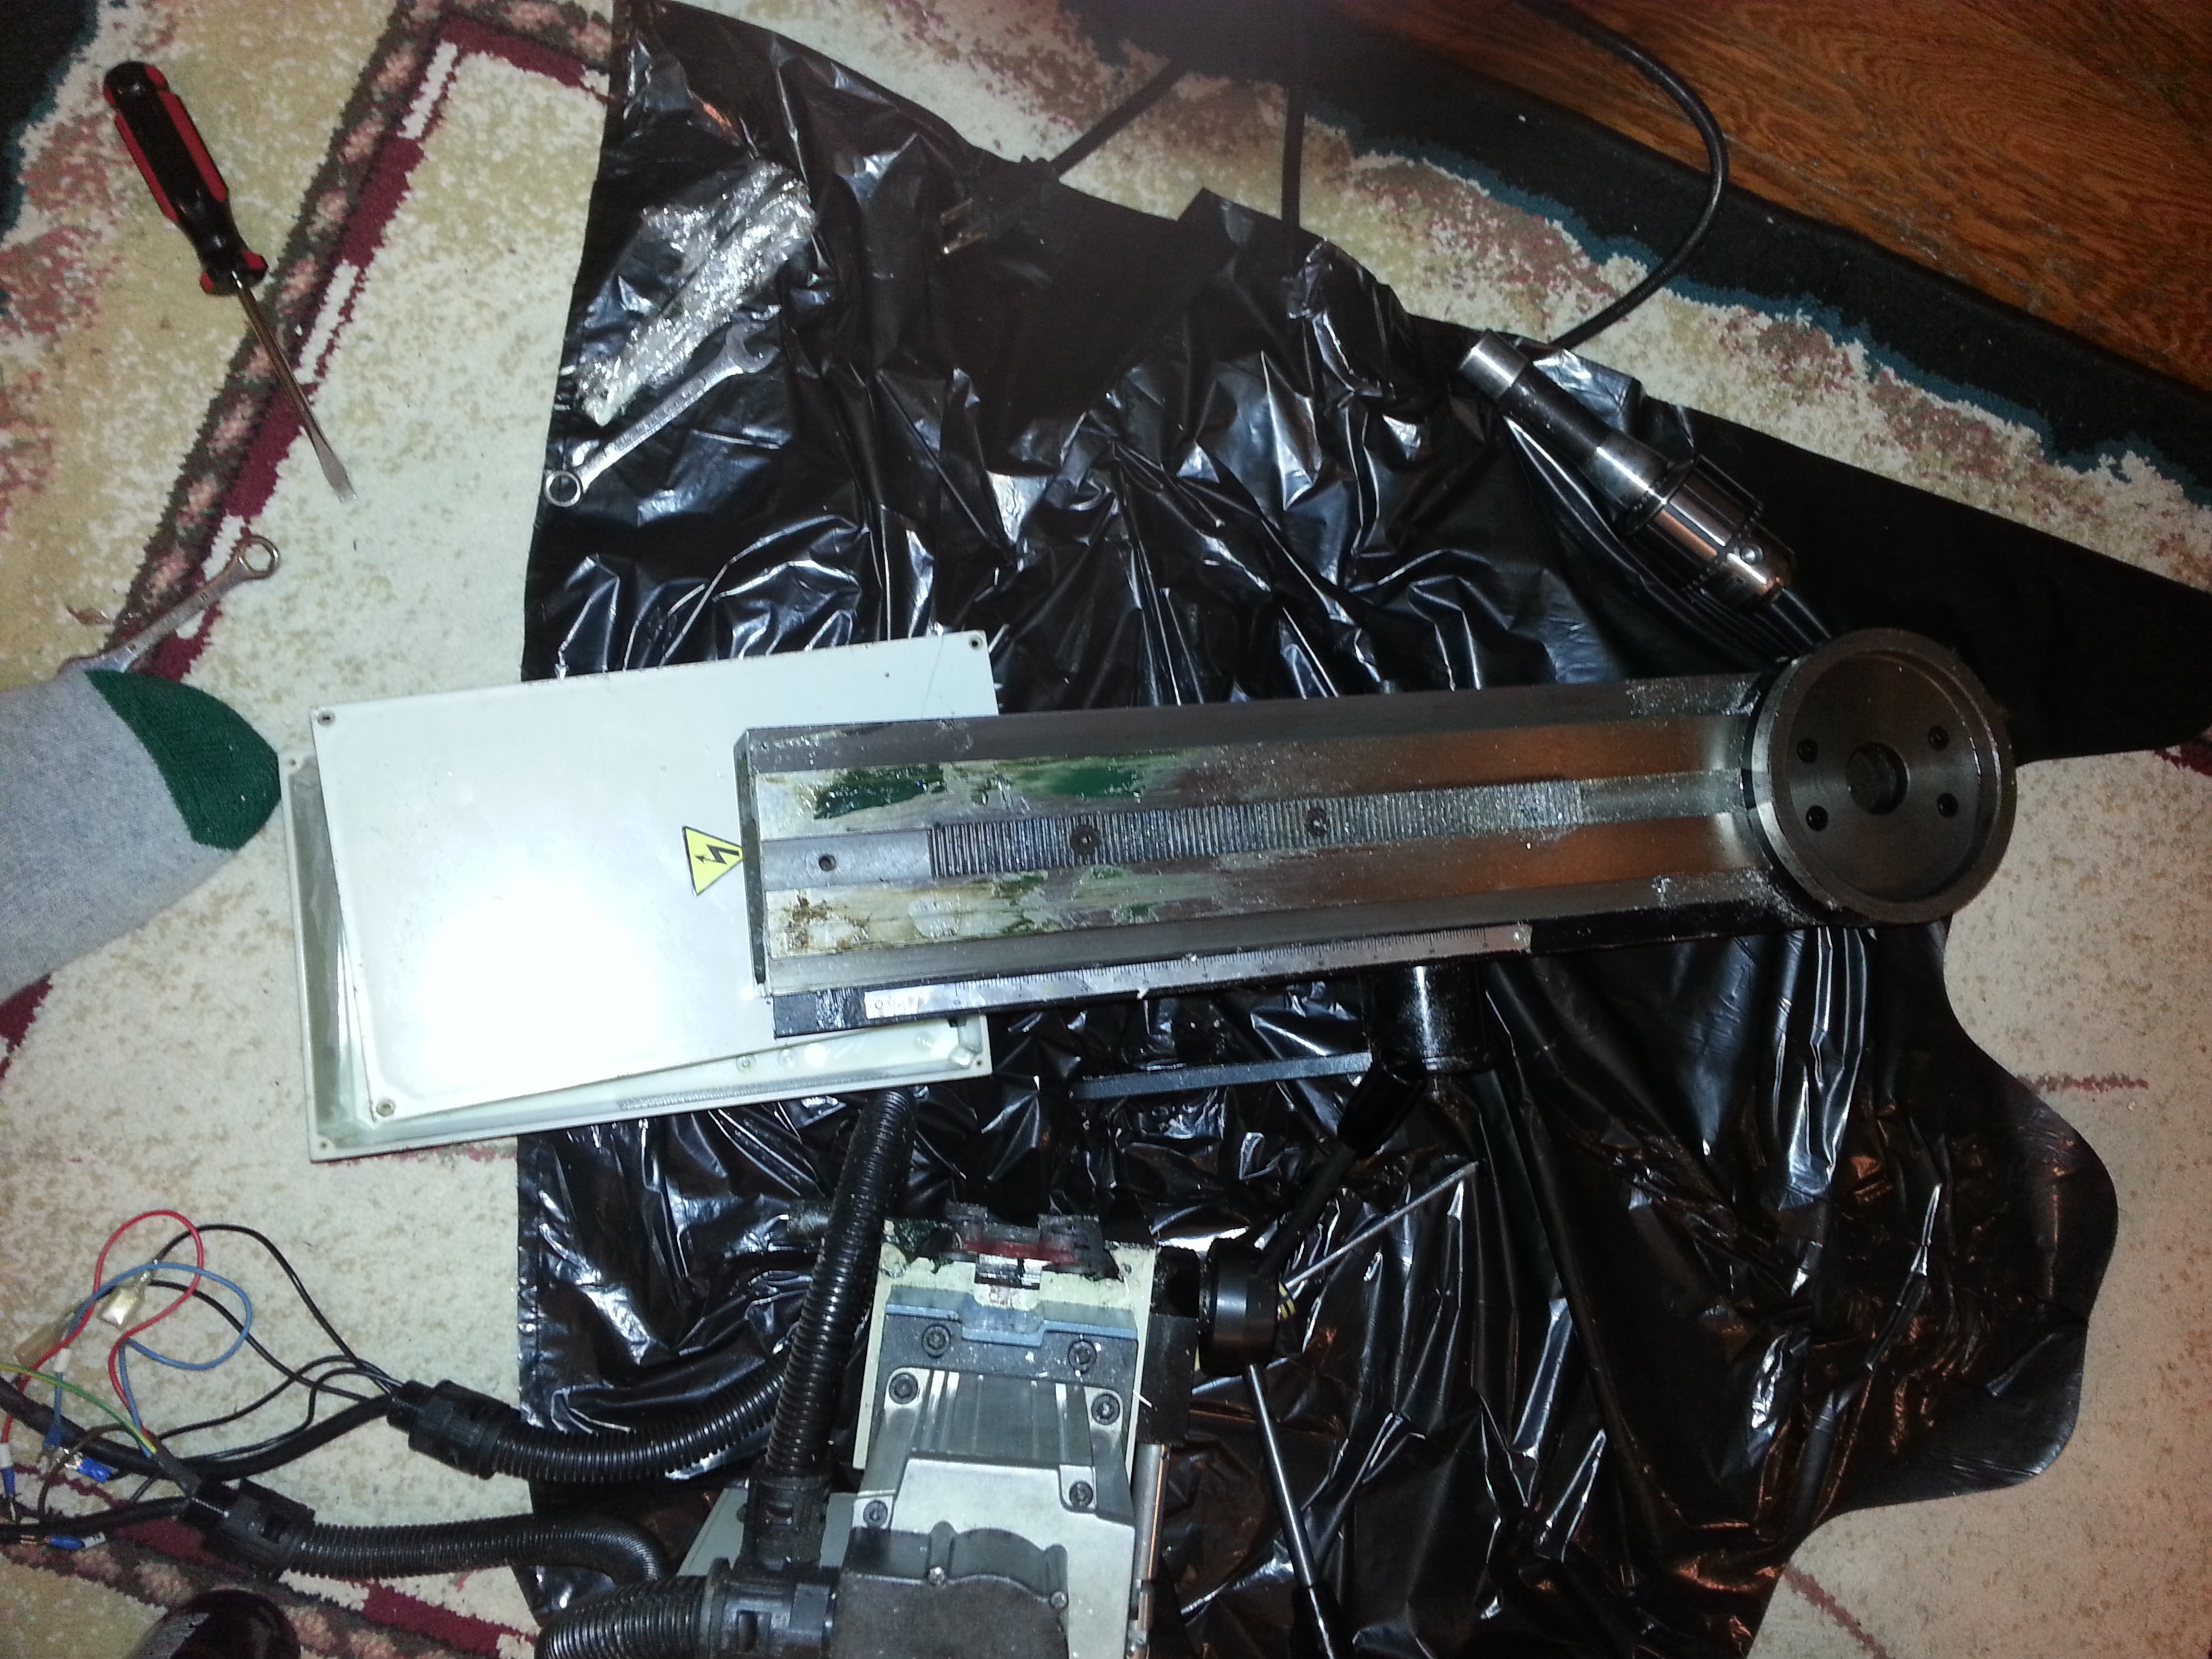
Front of the tilting column with the mill head removed.

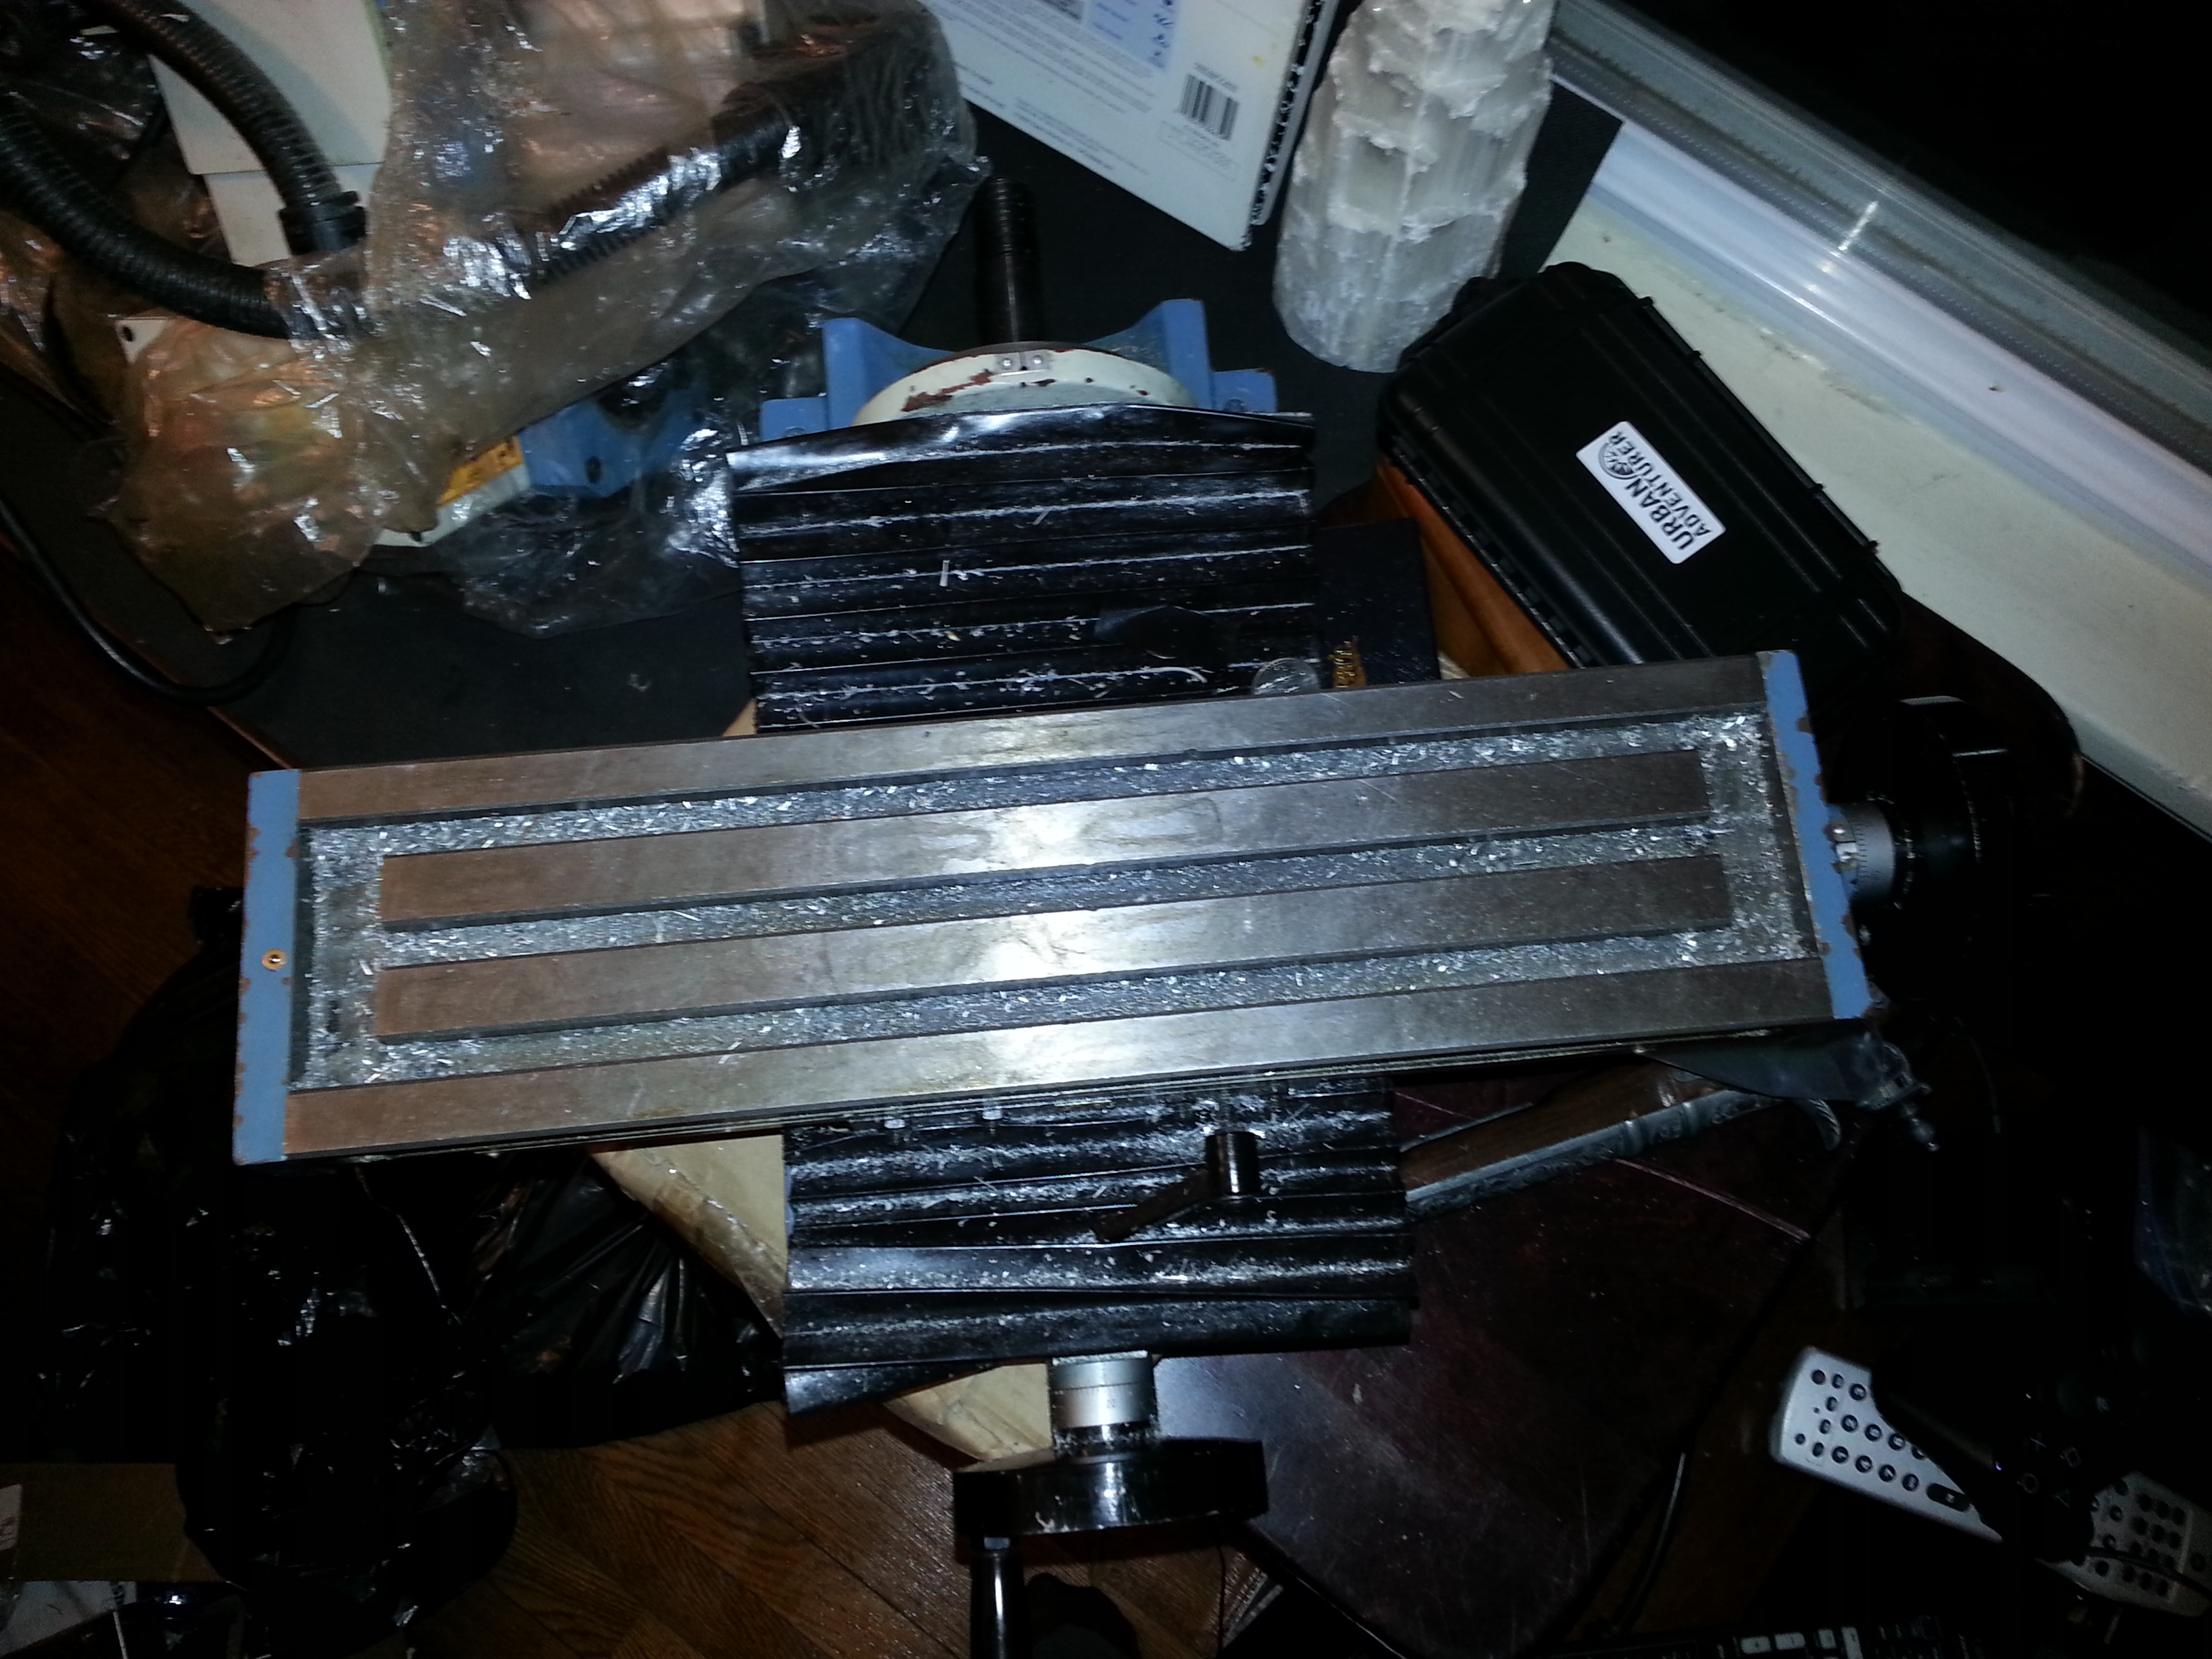
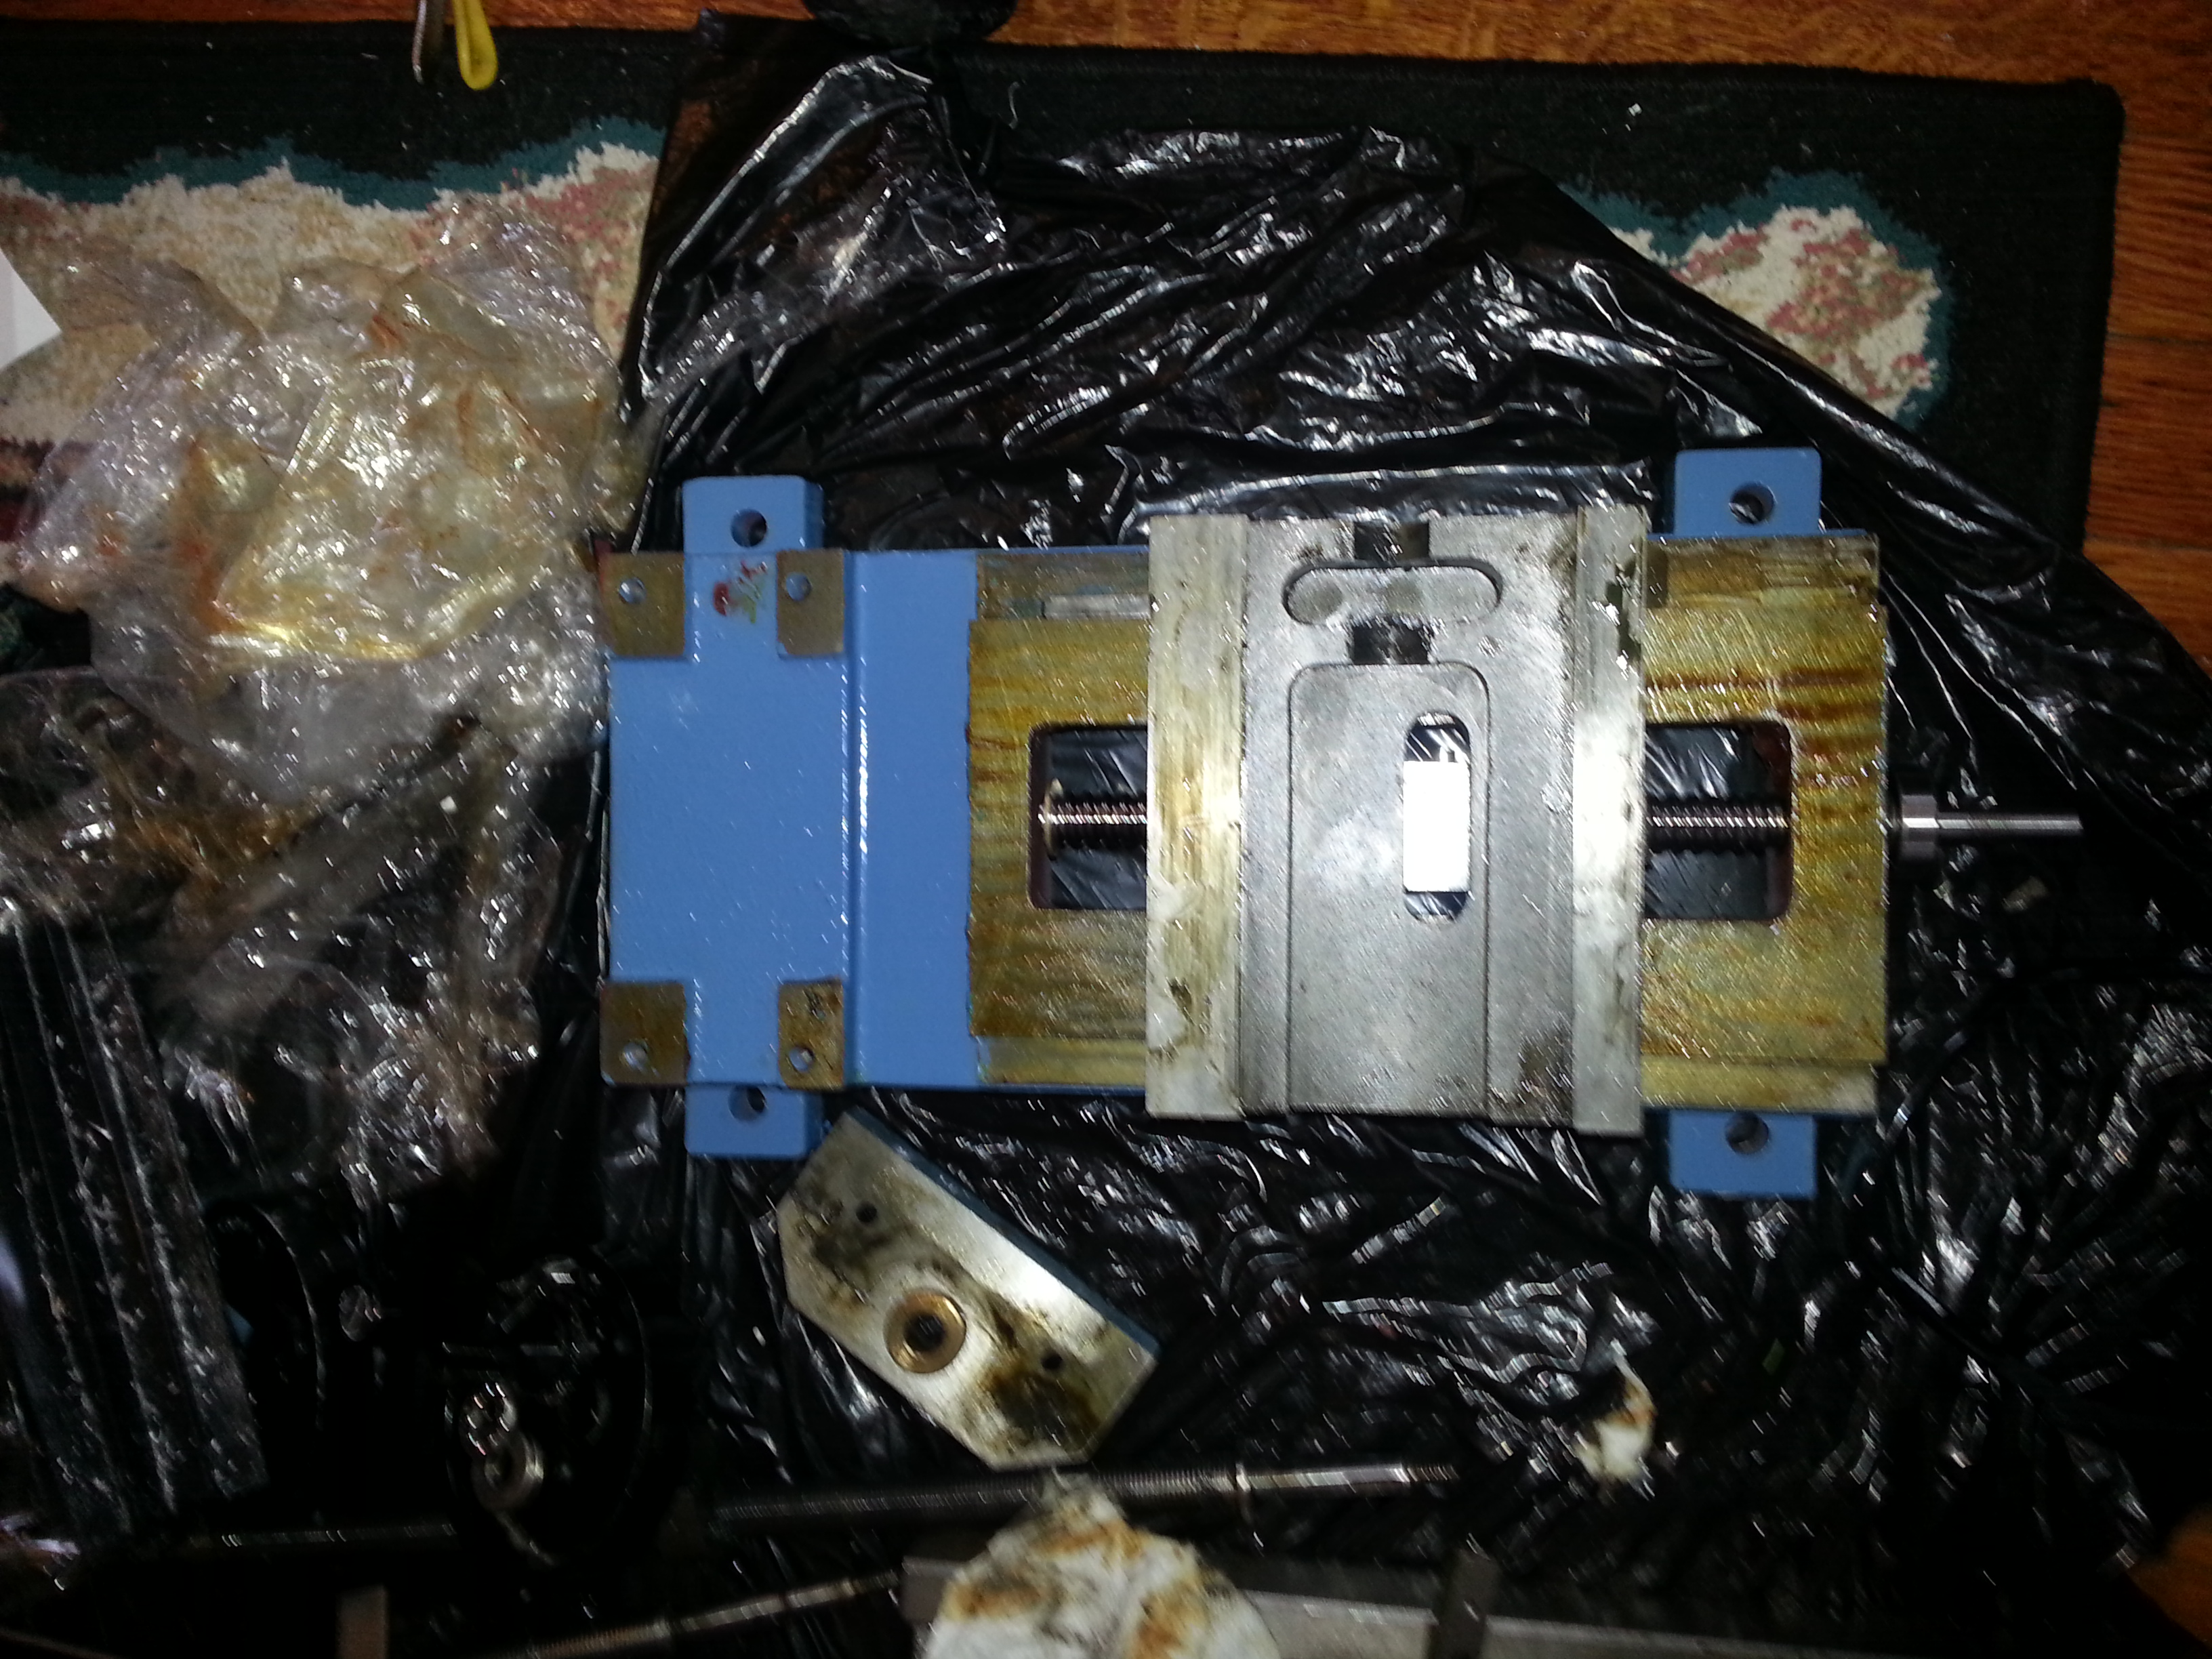
X and Y axis
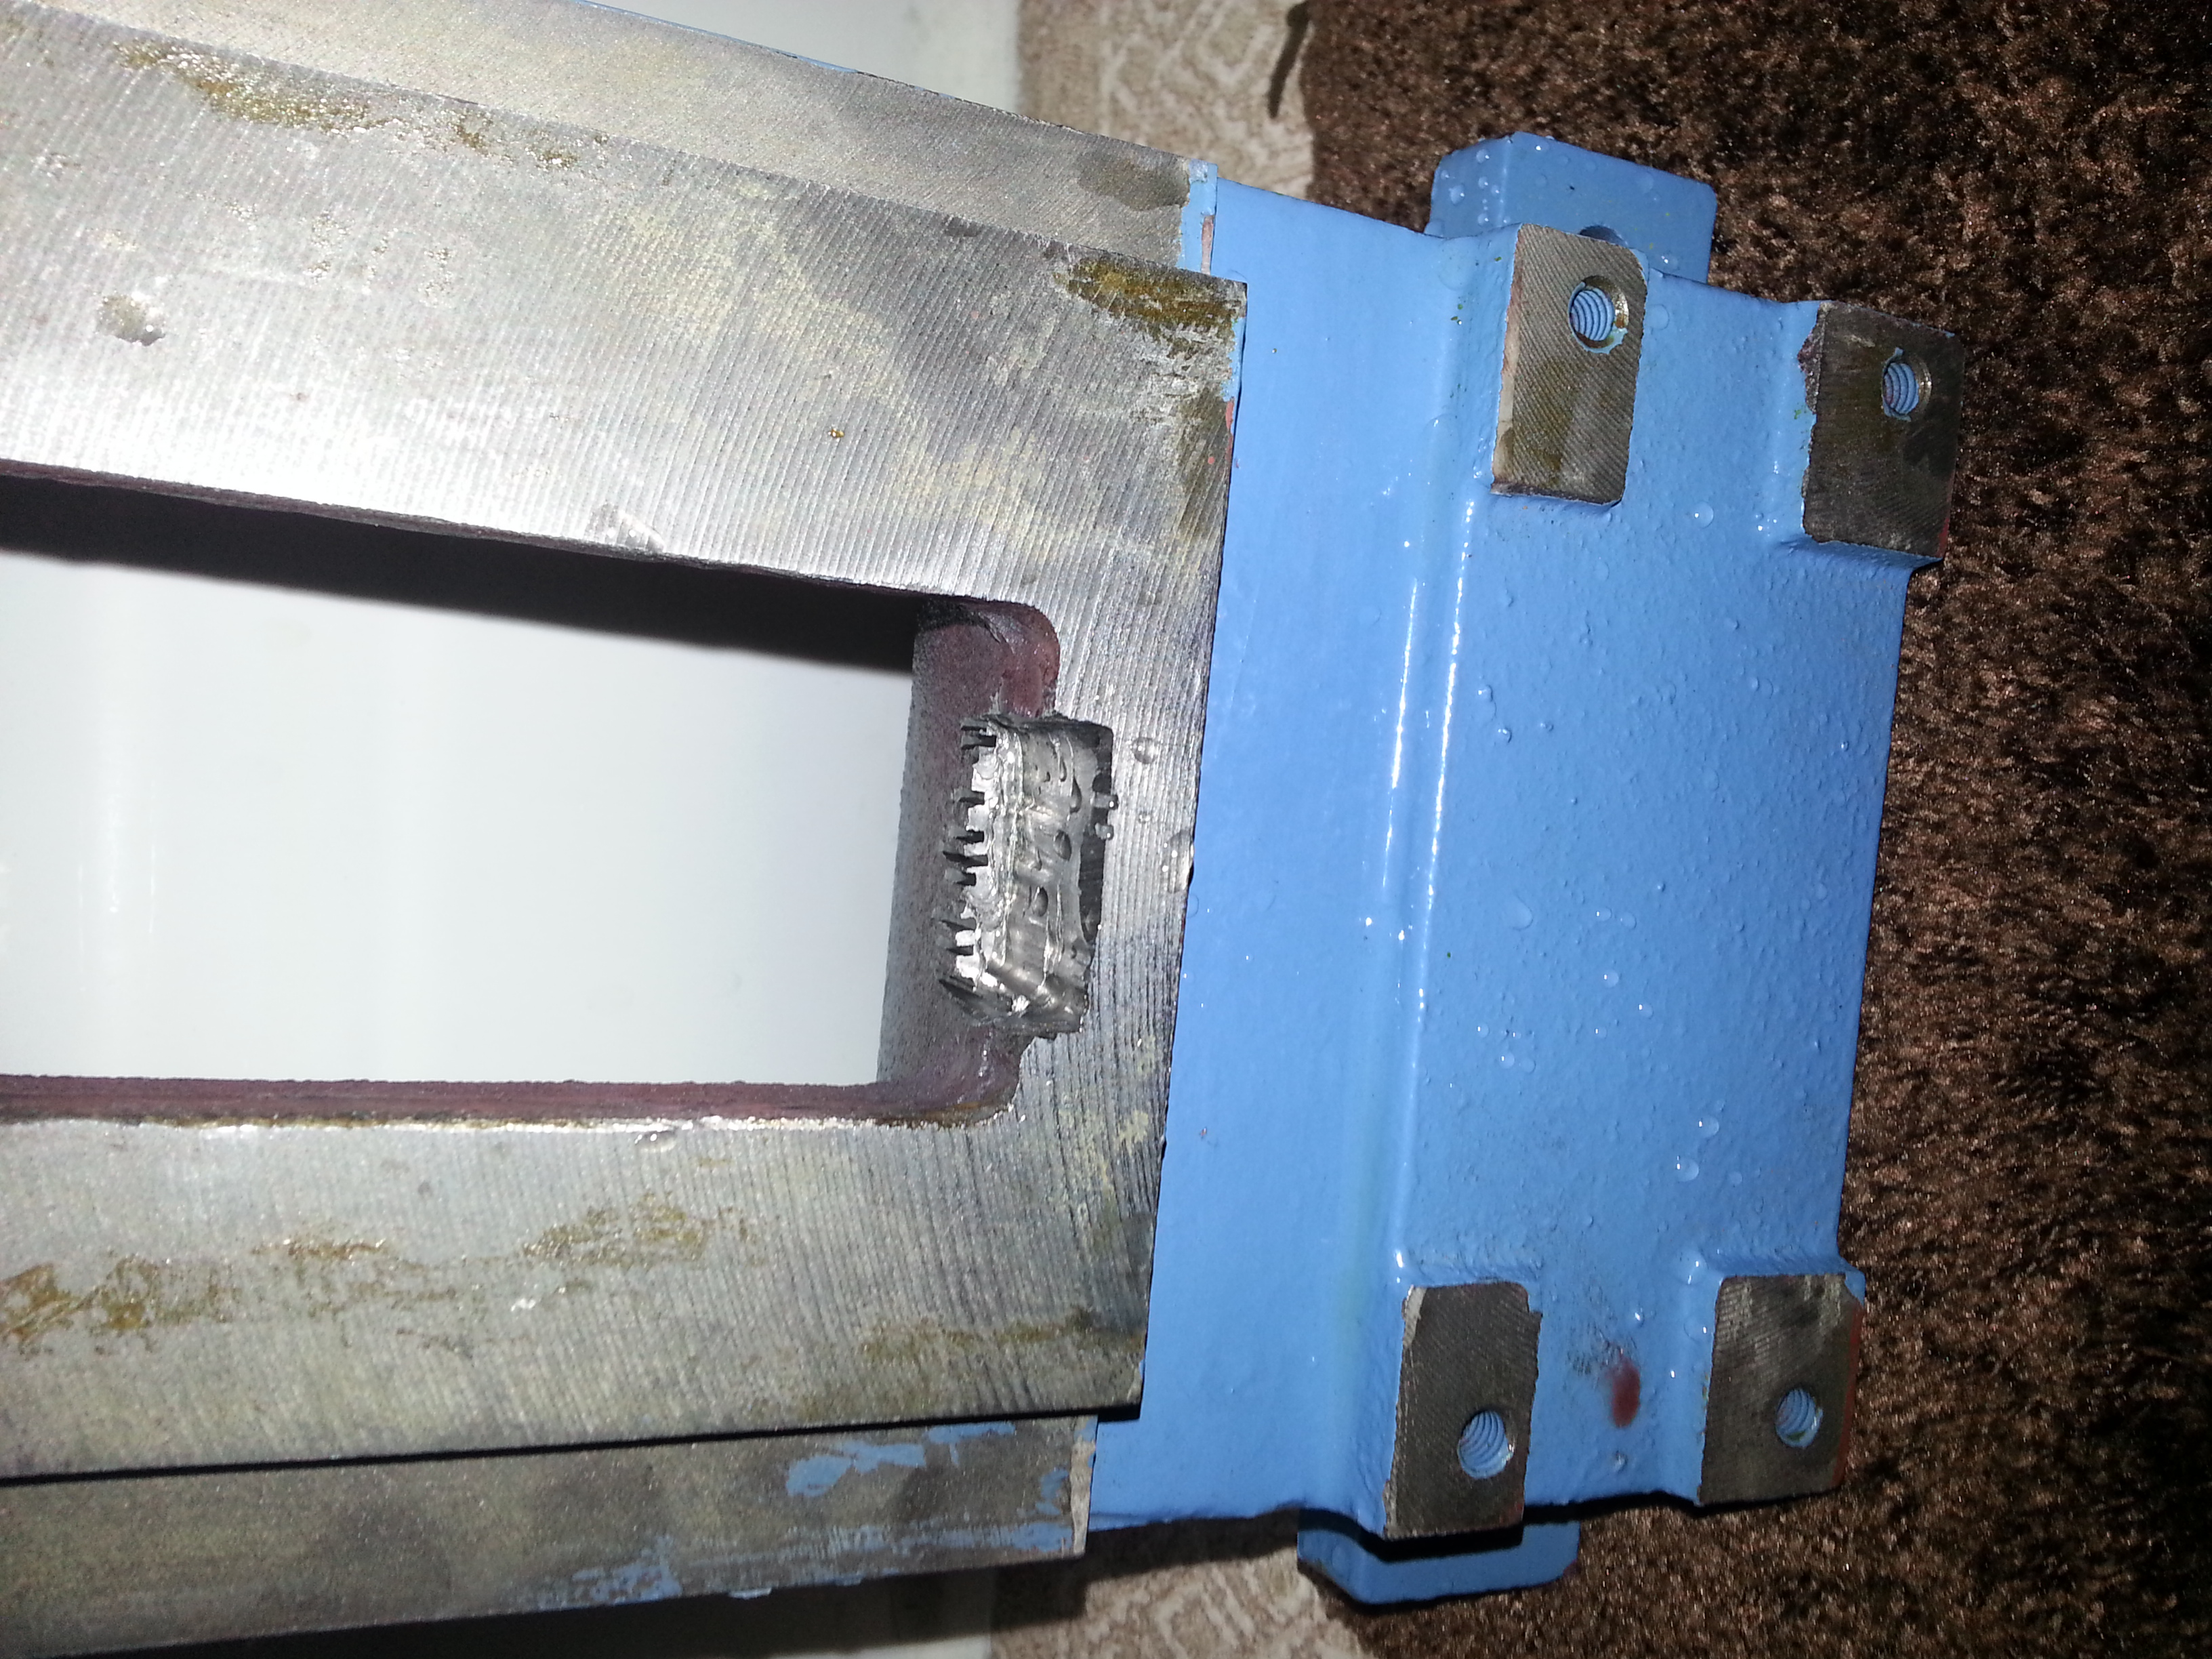
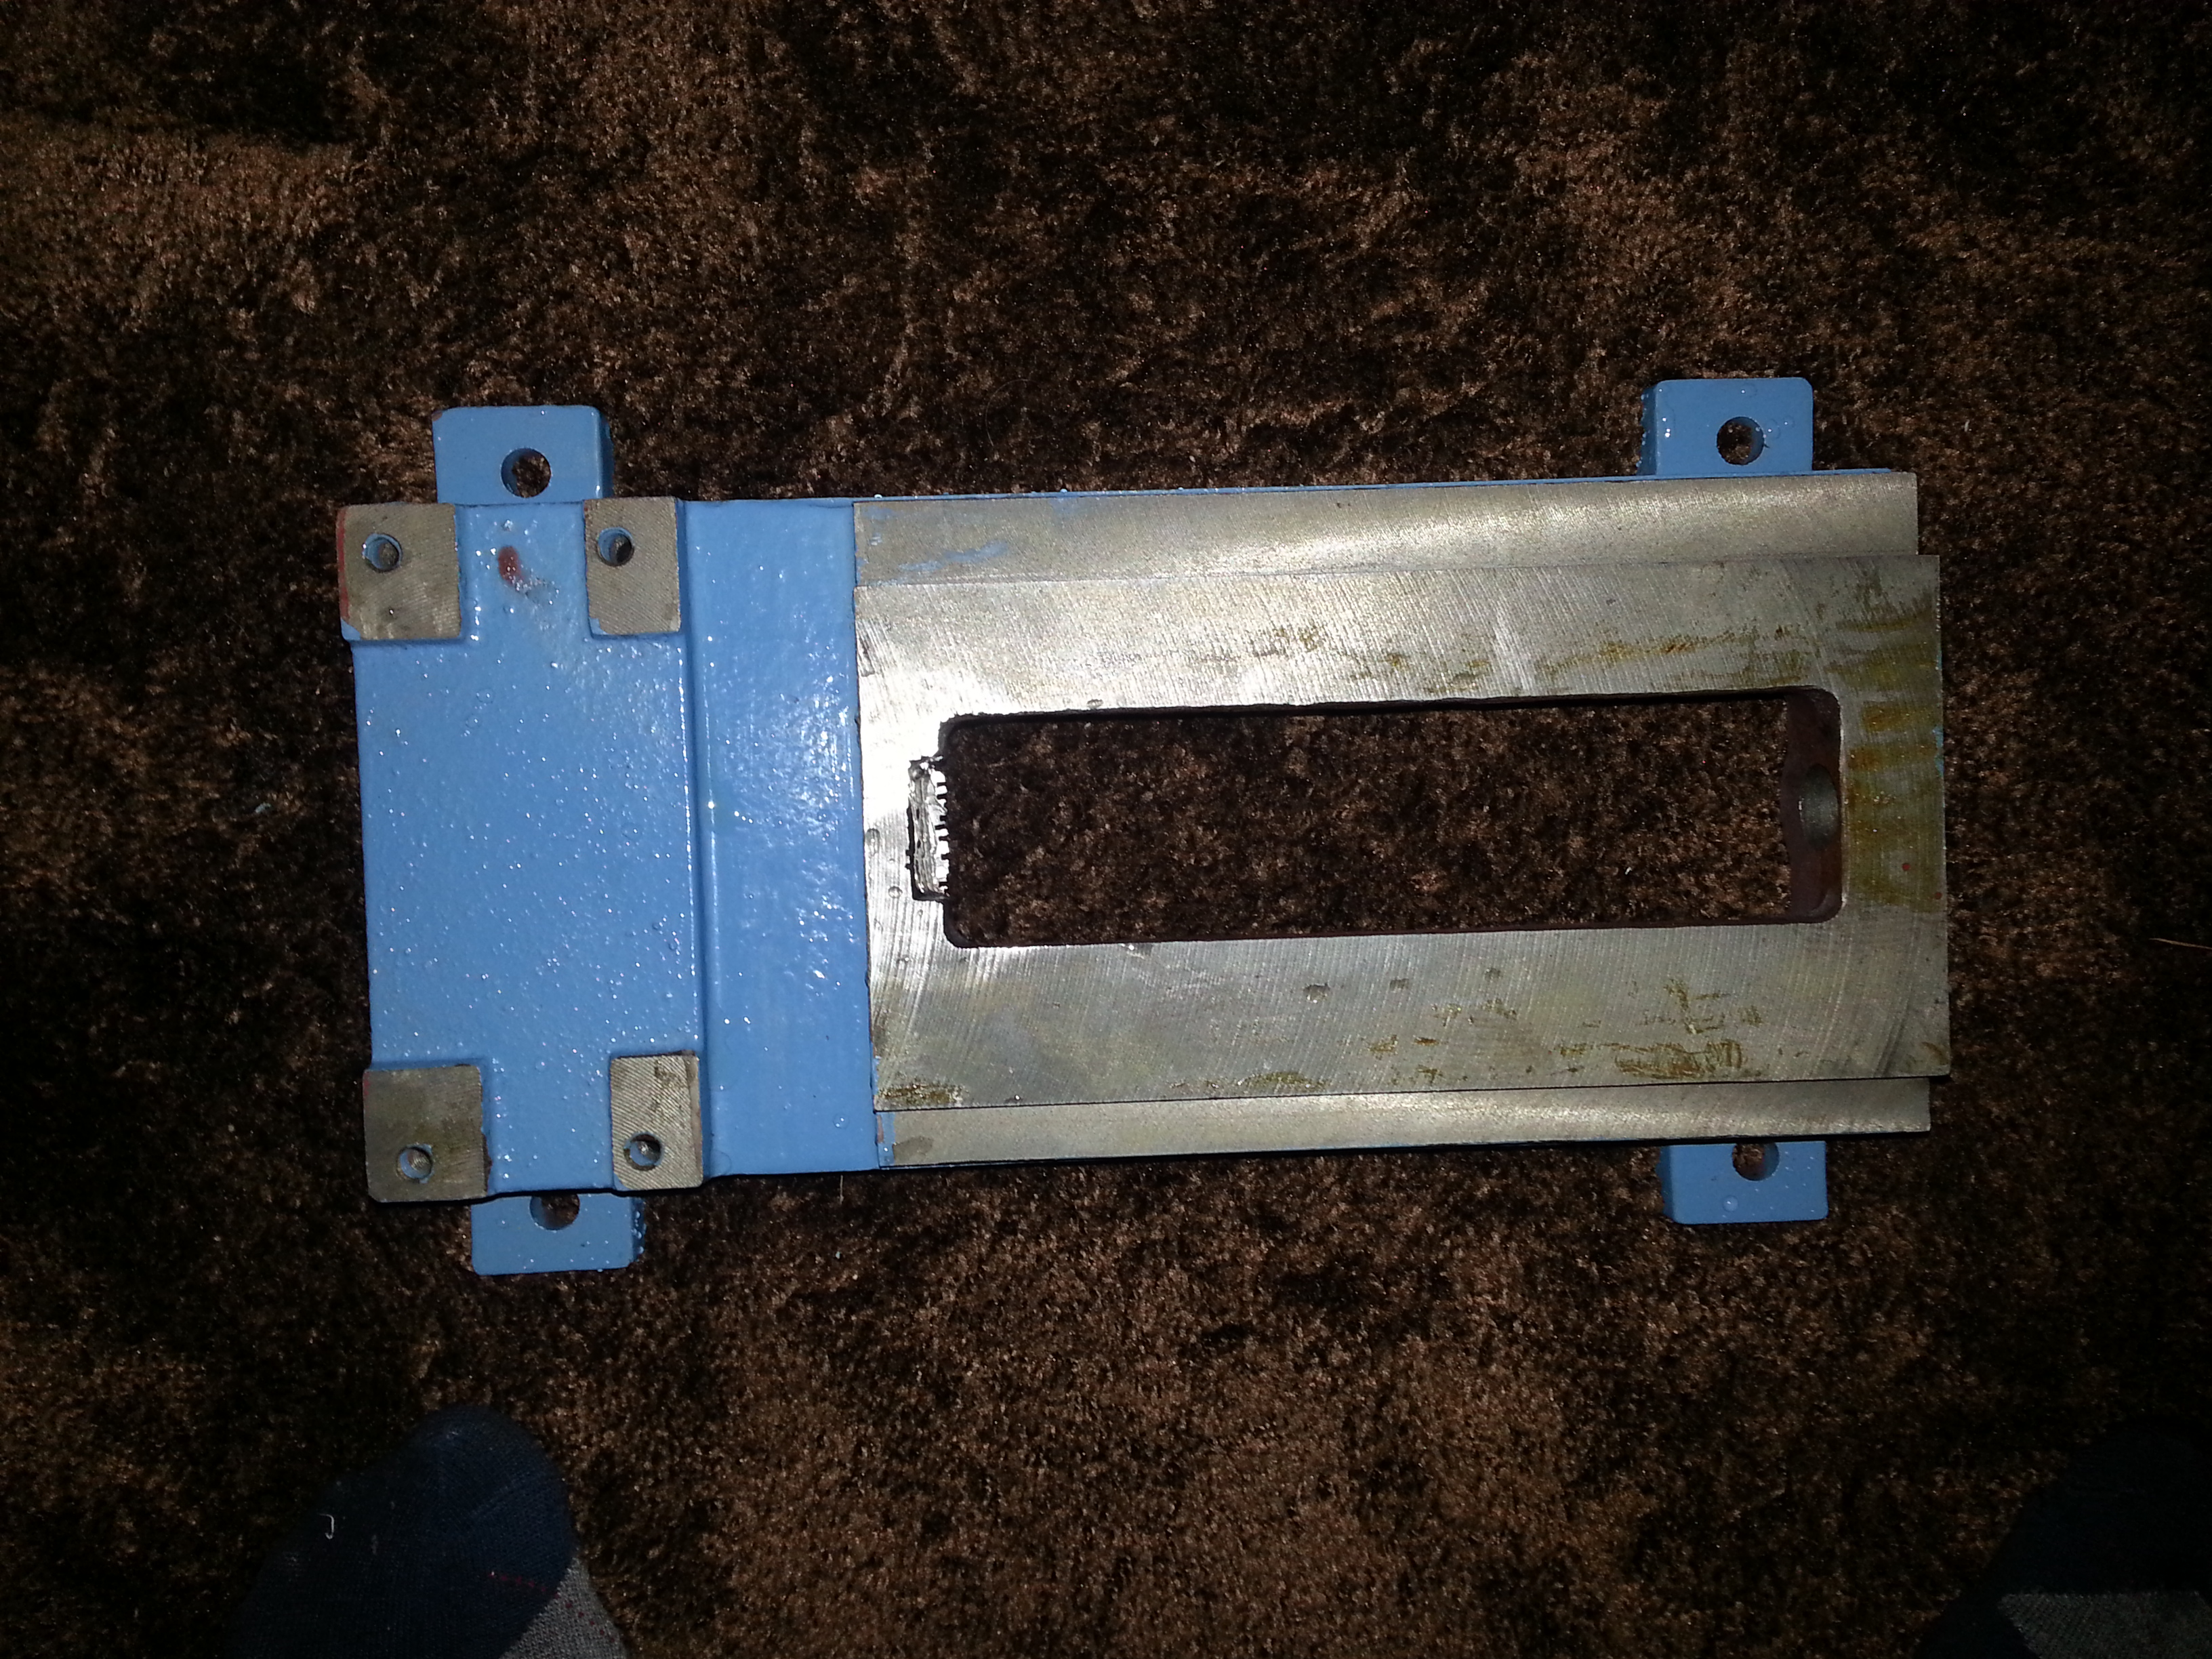
The ballscrew is slightly too long. So we will have to do a little metal removal.

The ballscrew hits the other side of the casting

Grinding out a small pocket to fit the ballscrew end. This was done with a rotary tool and a mini end mill.
Mounting the x ballscrew to the bottom of the x. I believe this mounted using the existing tapped holes.
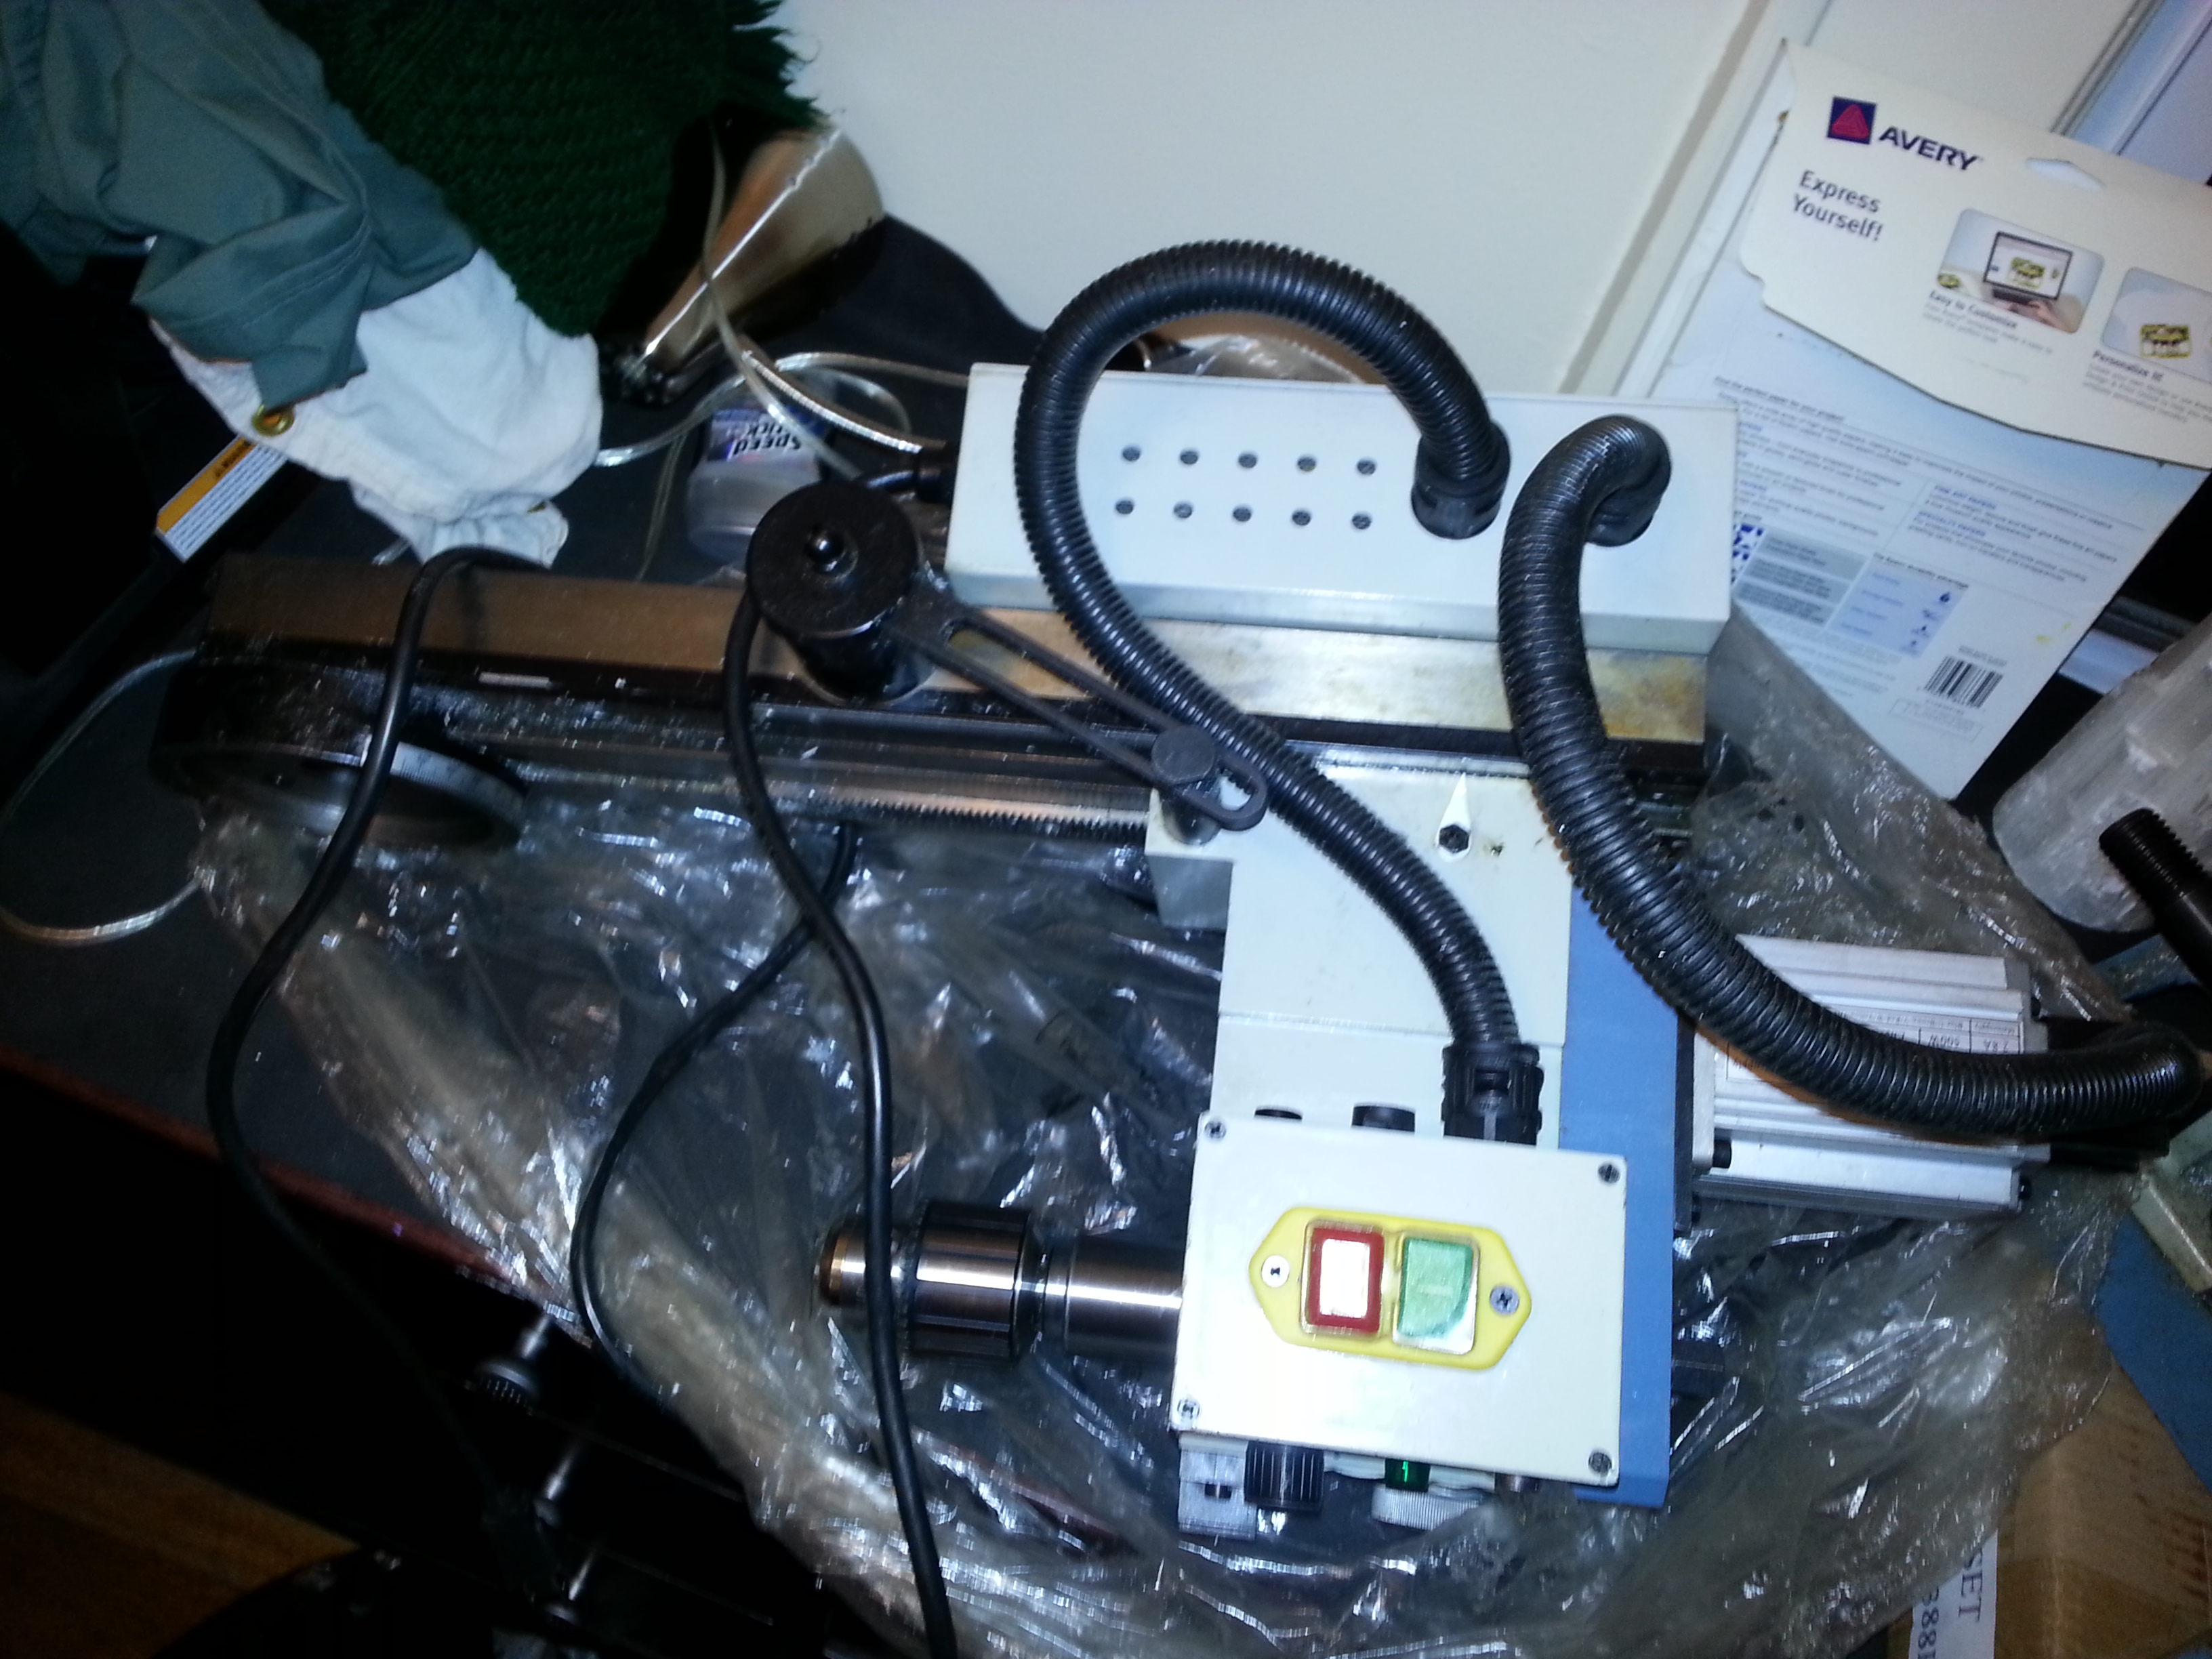
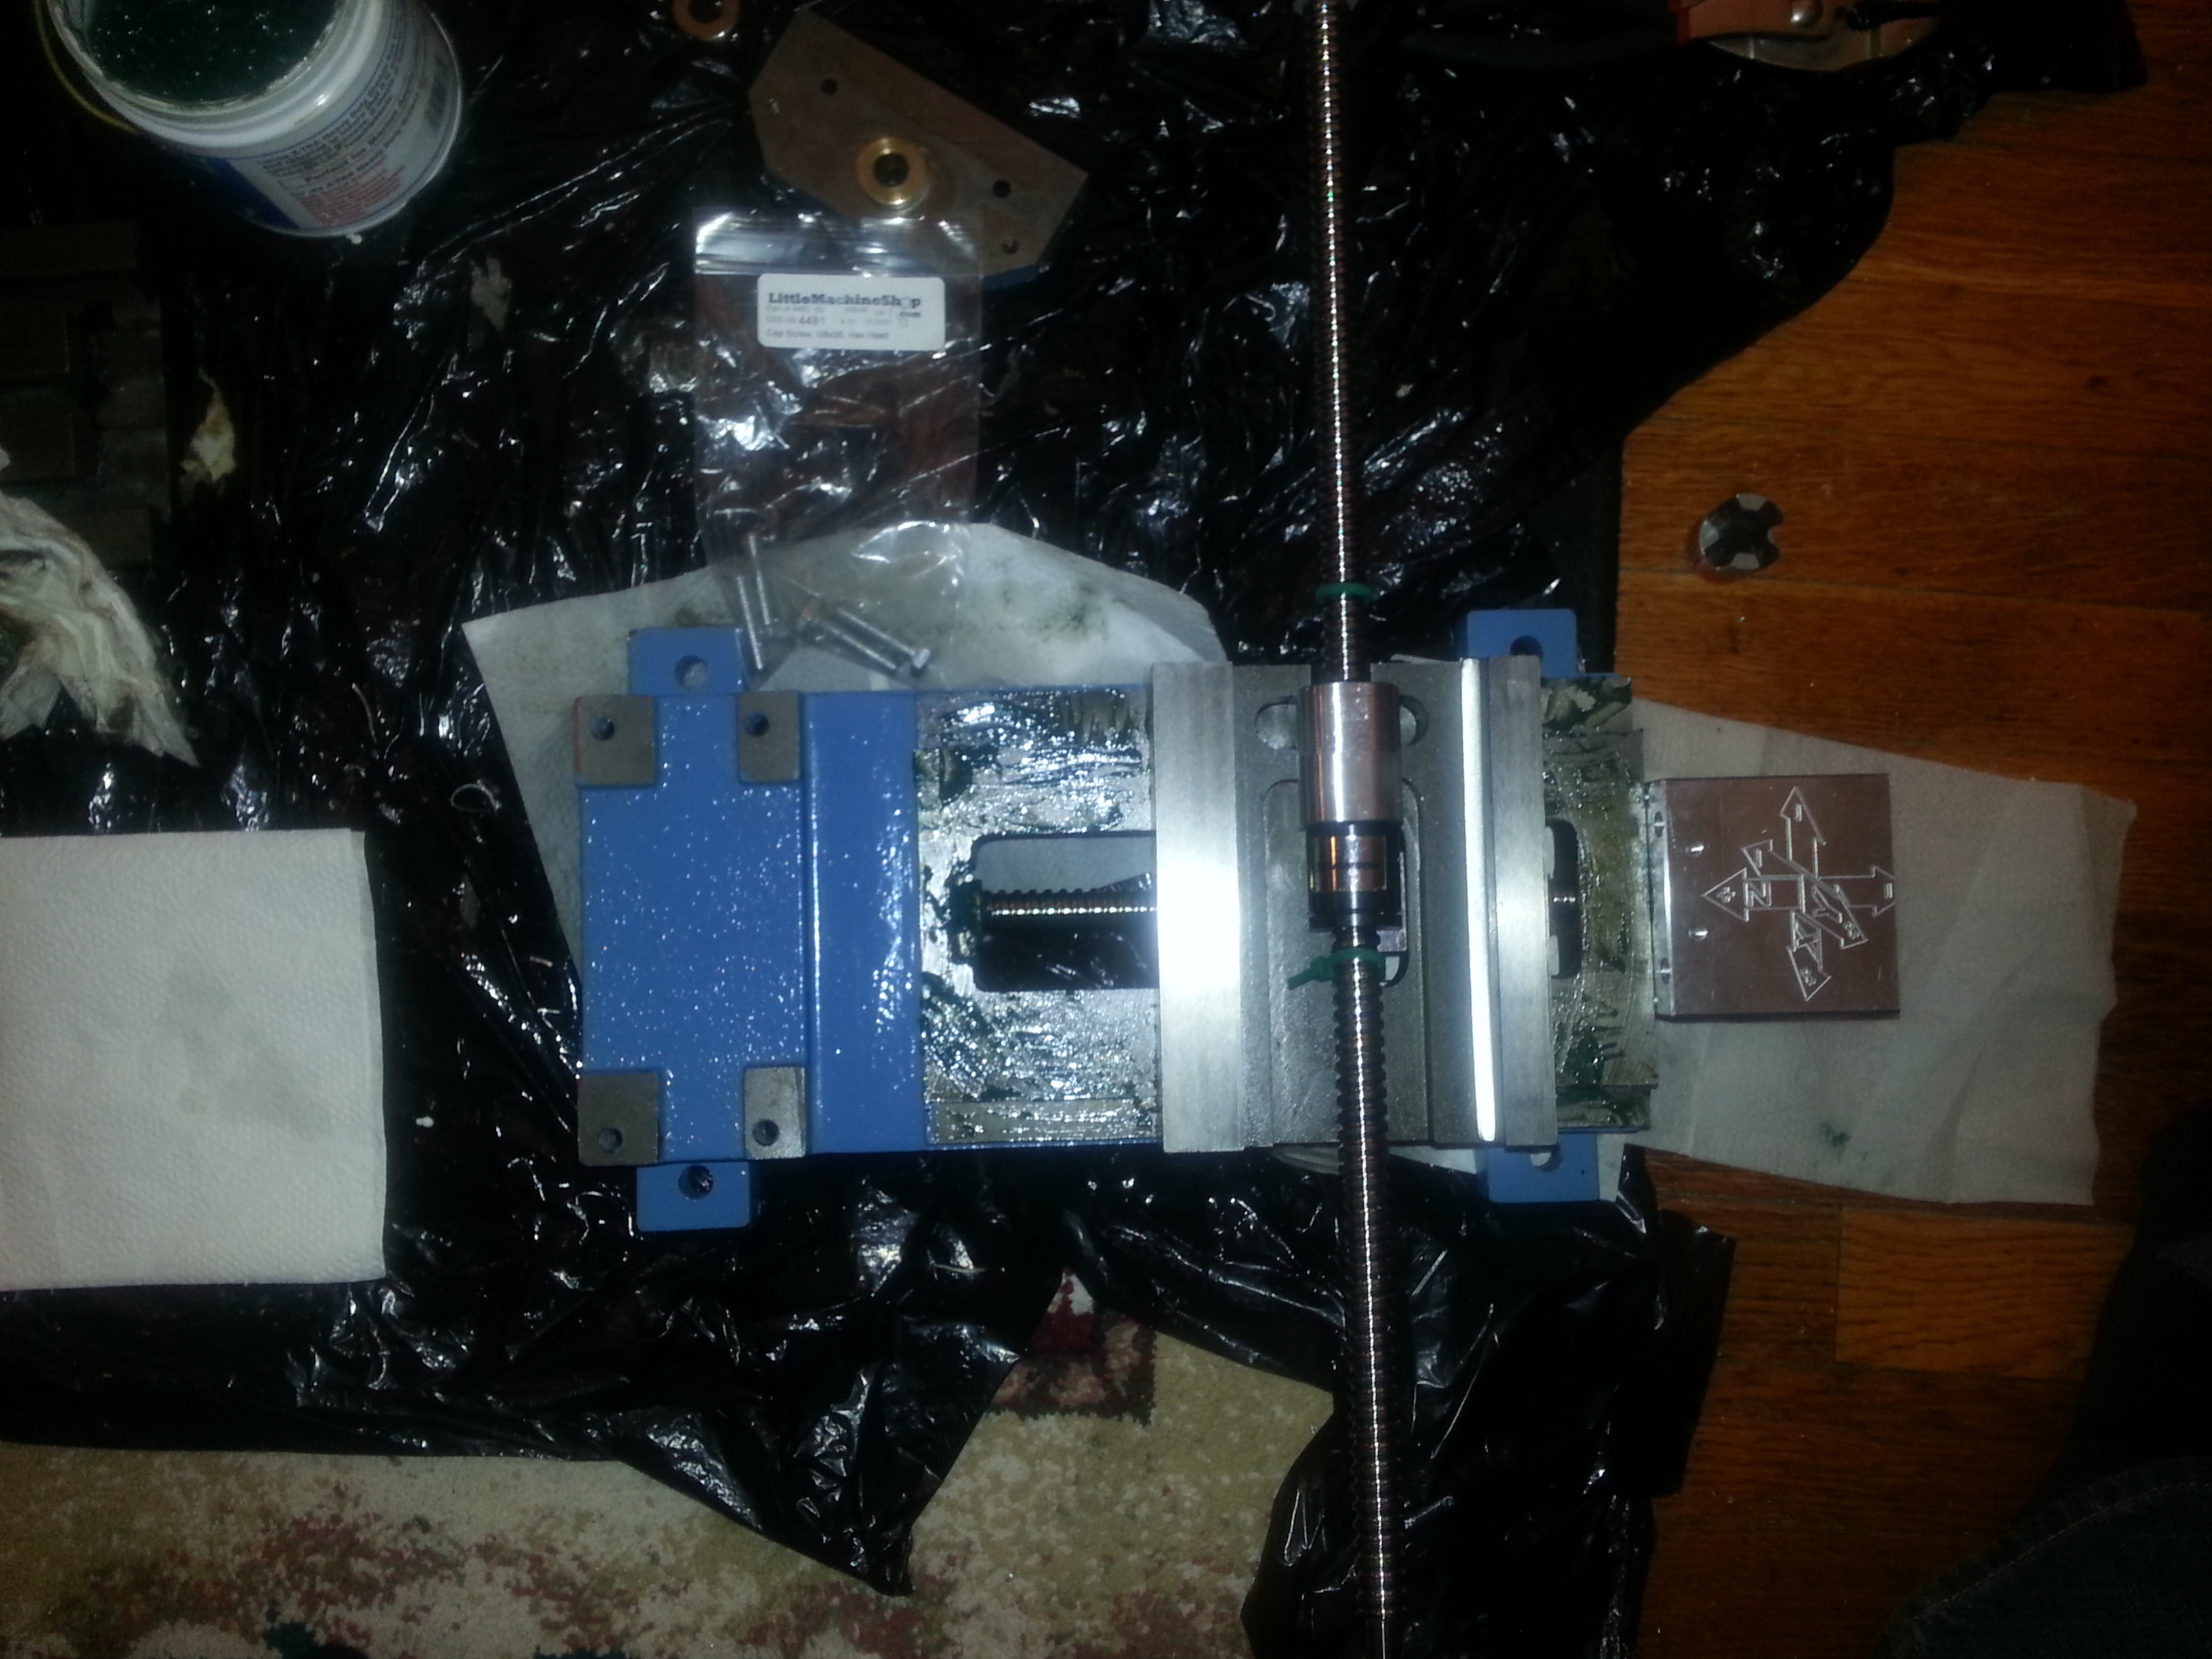
- Assembled X and Y table
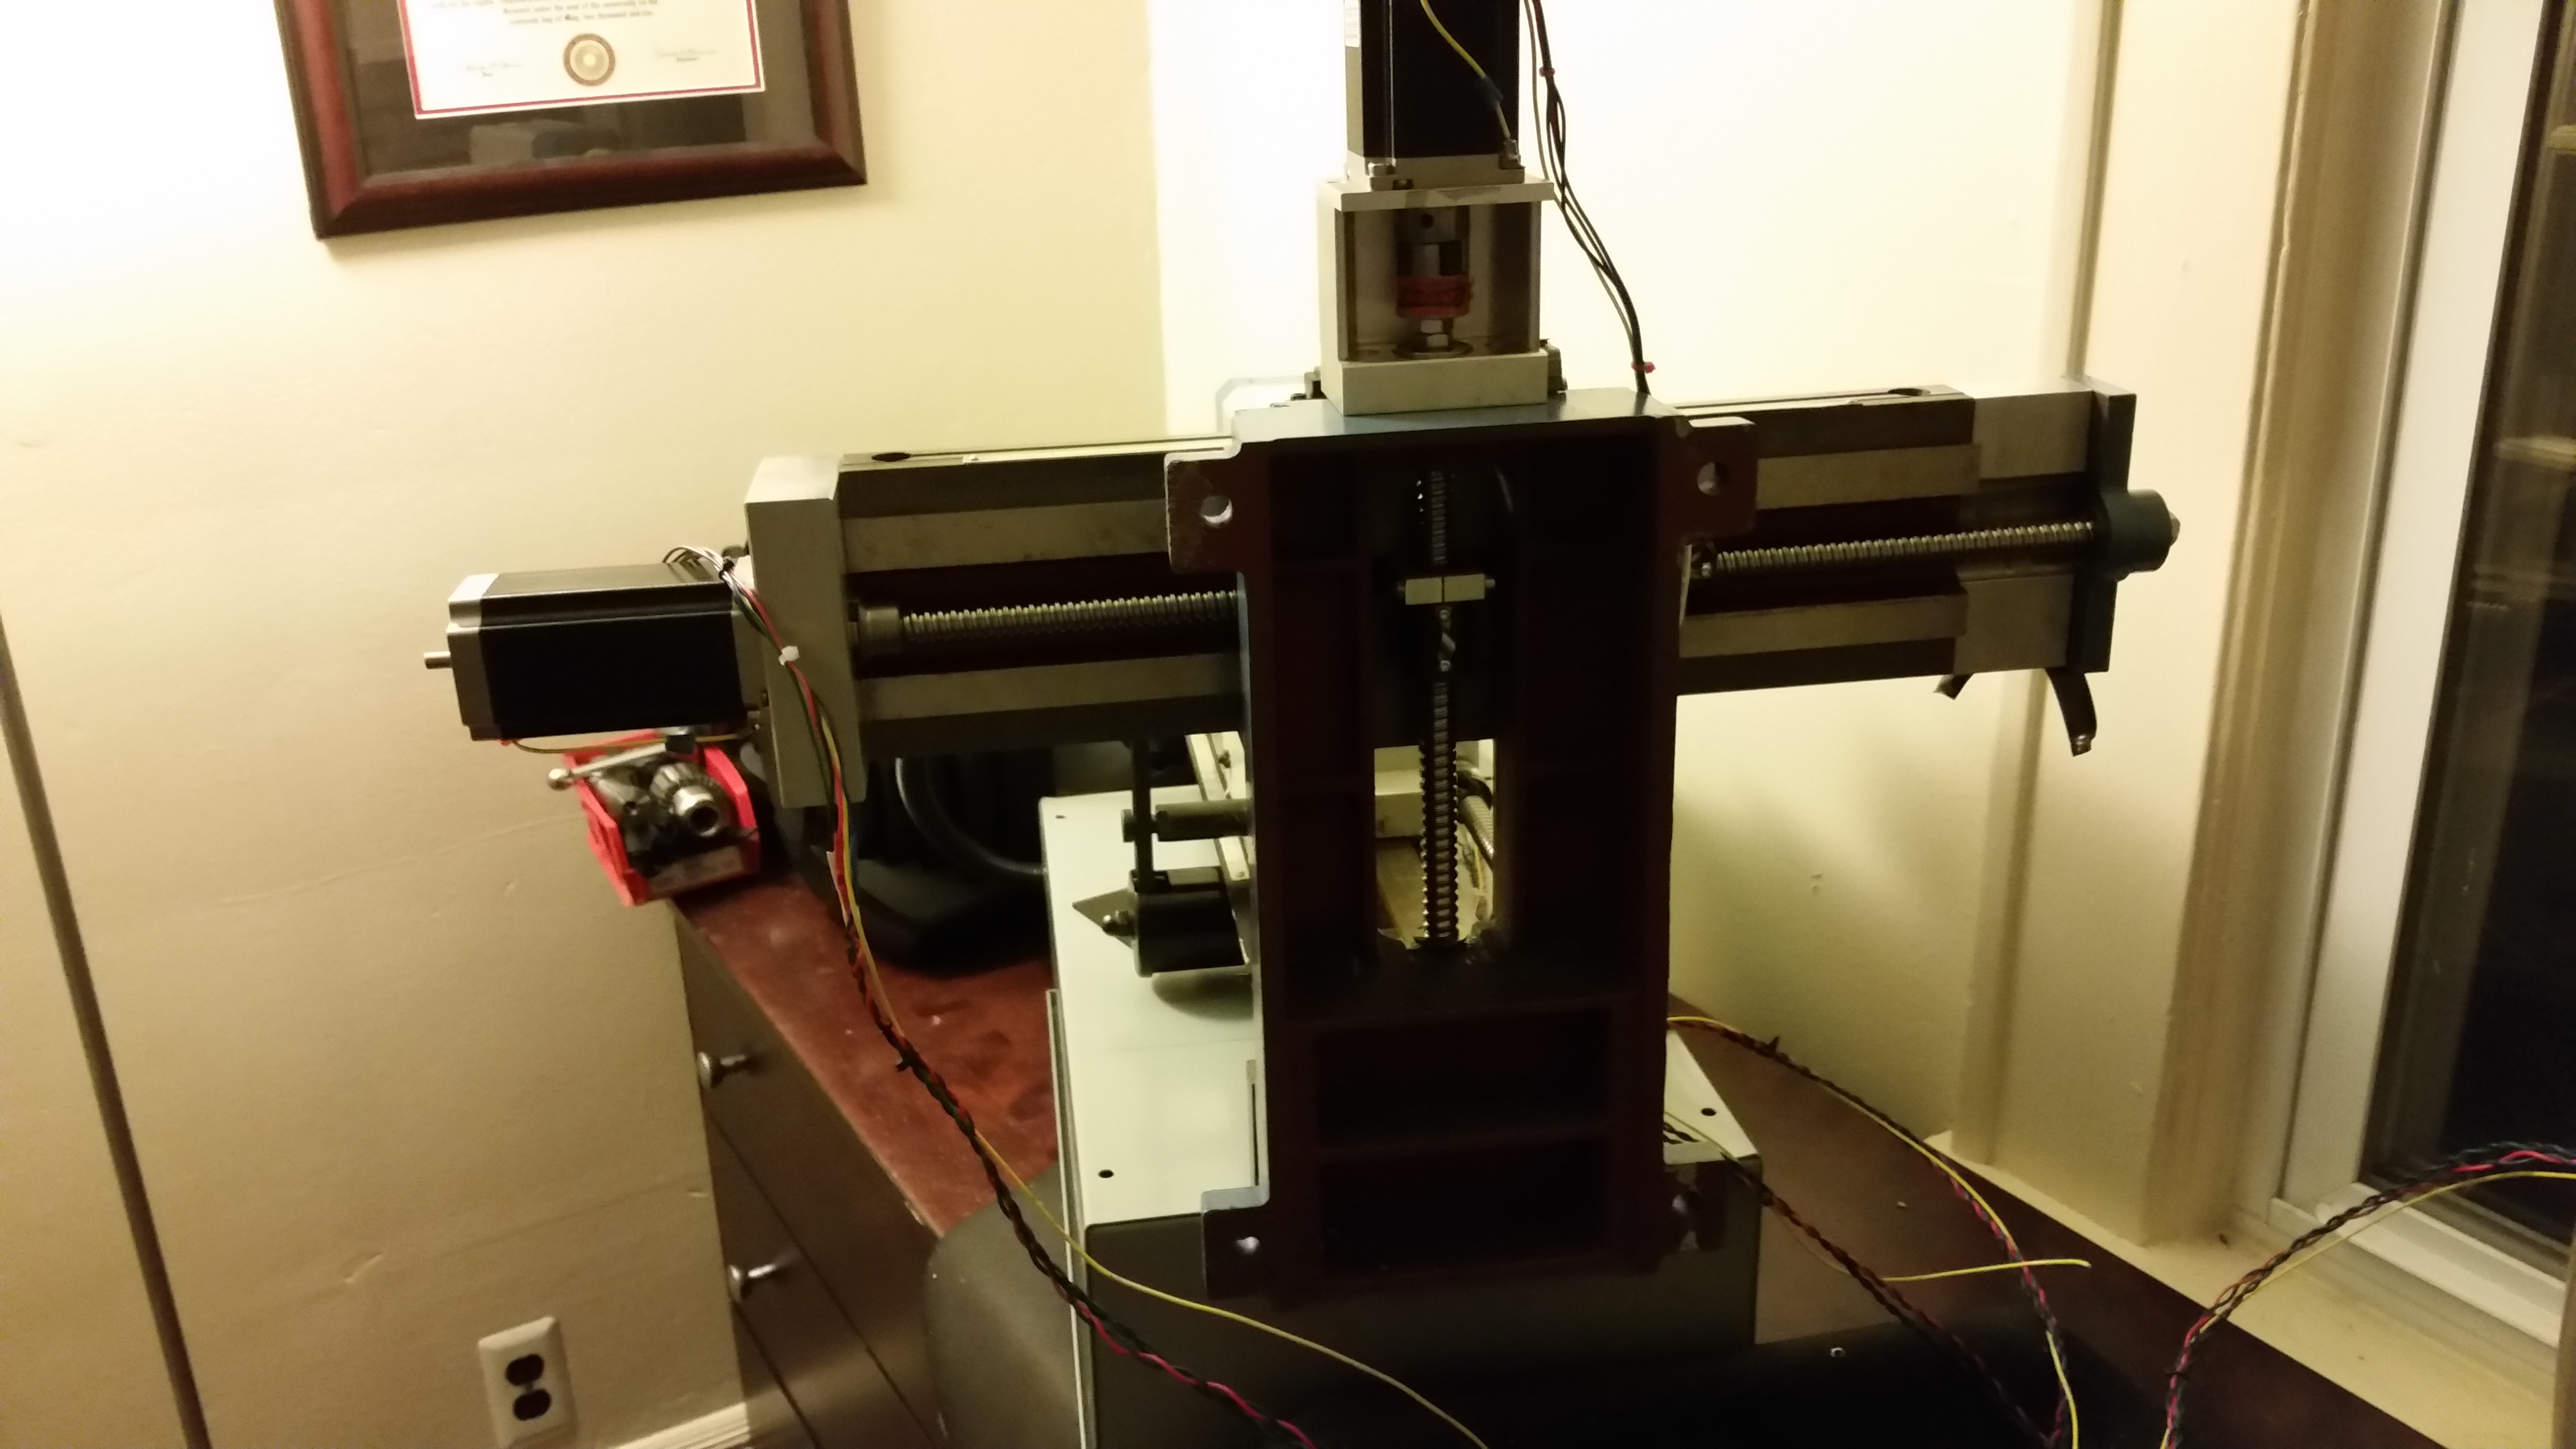
Z axis
- Tapping the mounting holes for the z axis ballscrew mount
 The z axis ballscrew is positioned off to the side of the main column. We have to attach a metal plate to the top of the column in order to mount the ballscrew. This requires locating the mounting plate. Using center taps to locate the mounting holes. Drilling the mounting holes. Tapping the mounting holes.
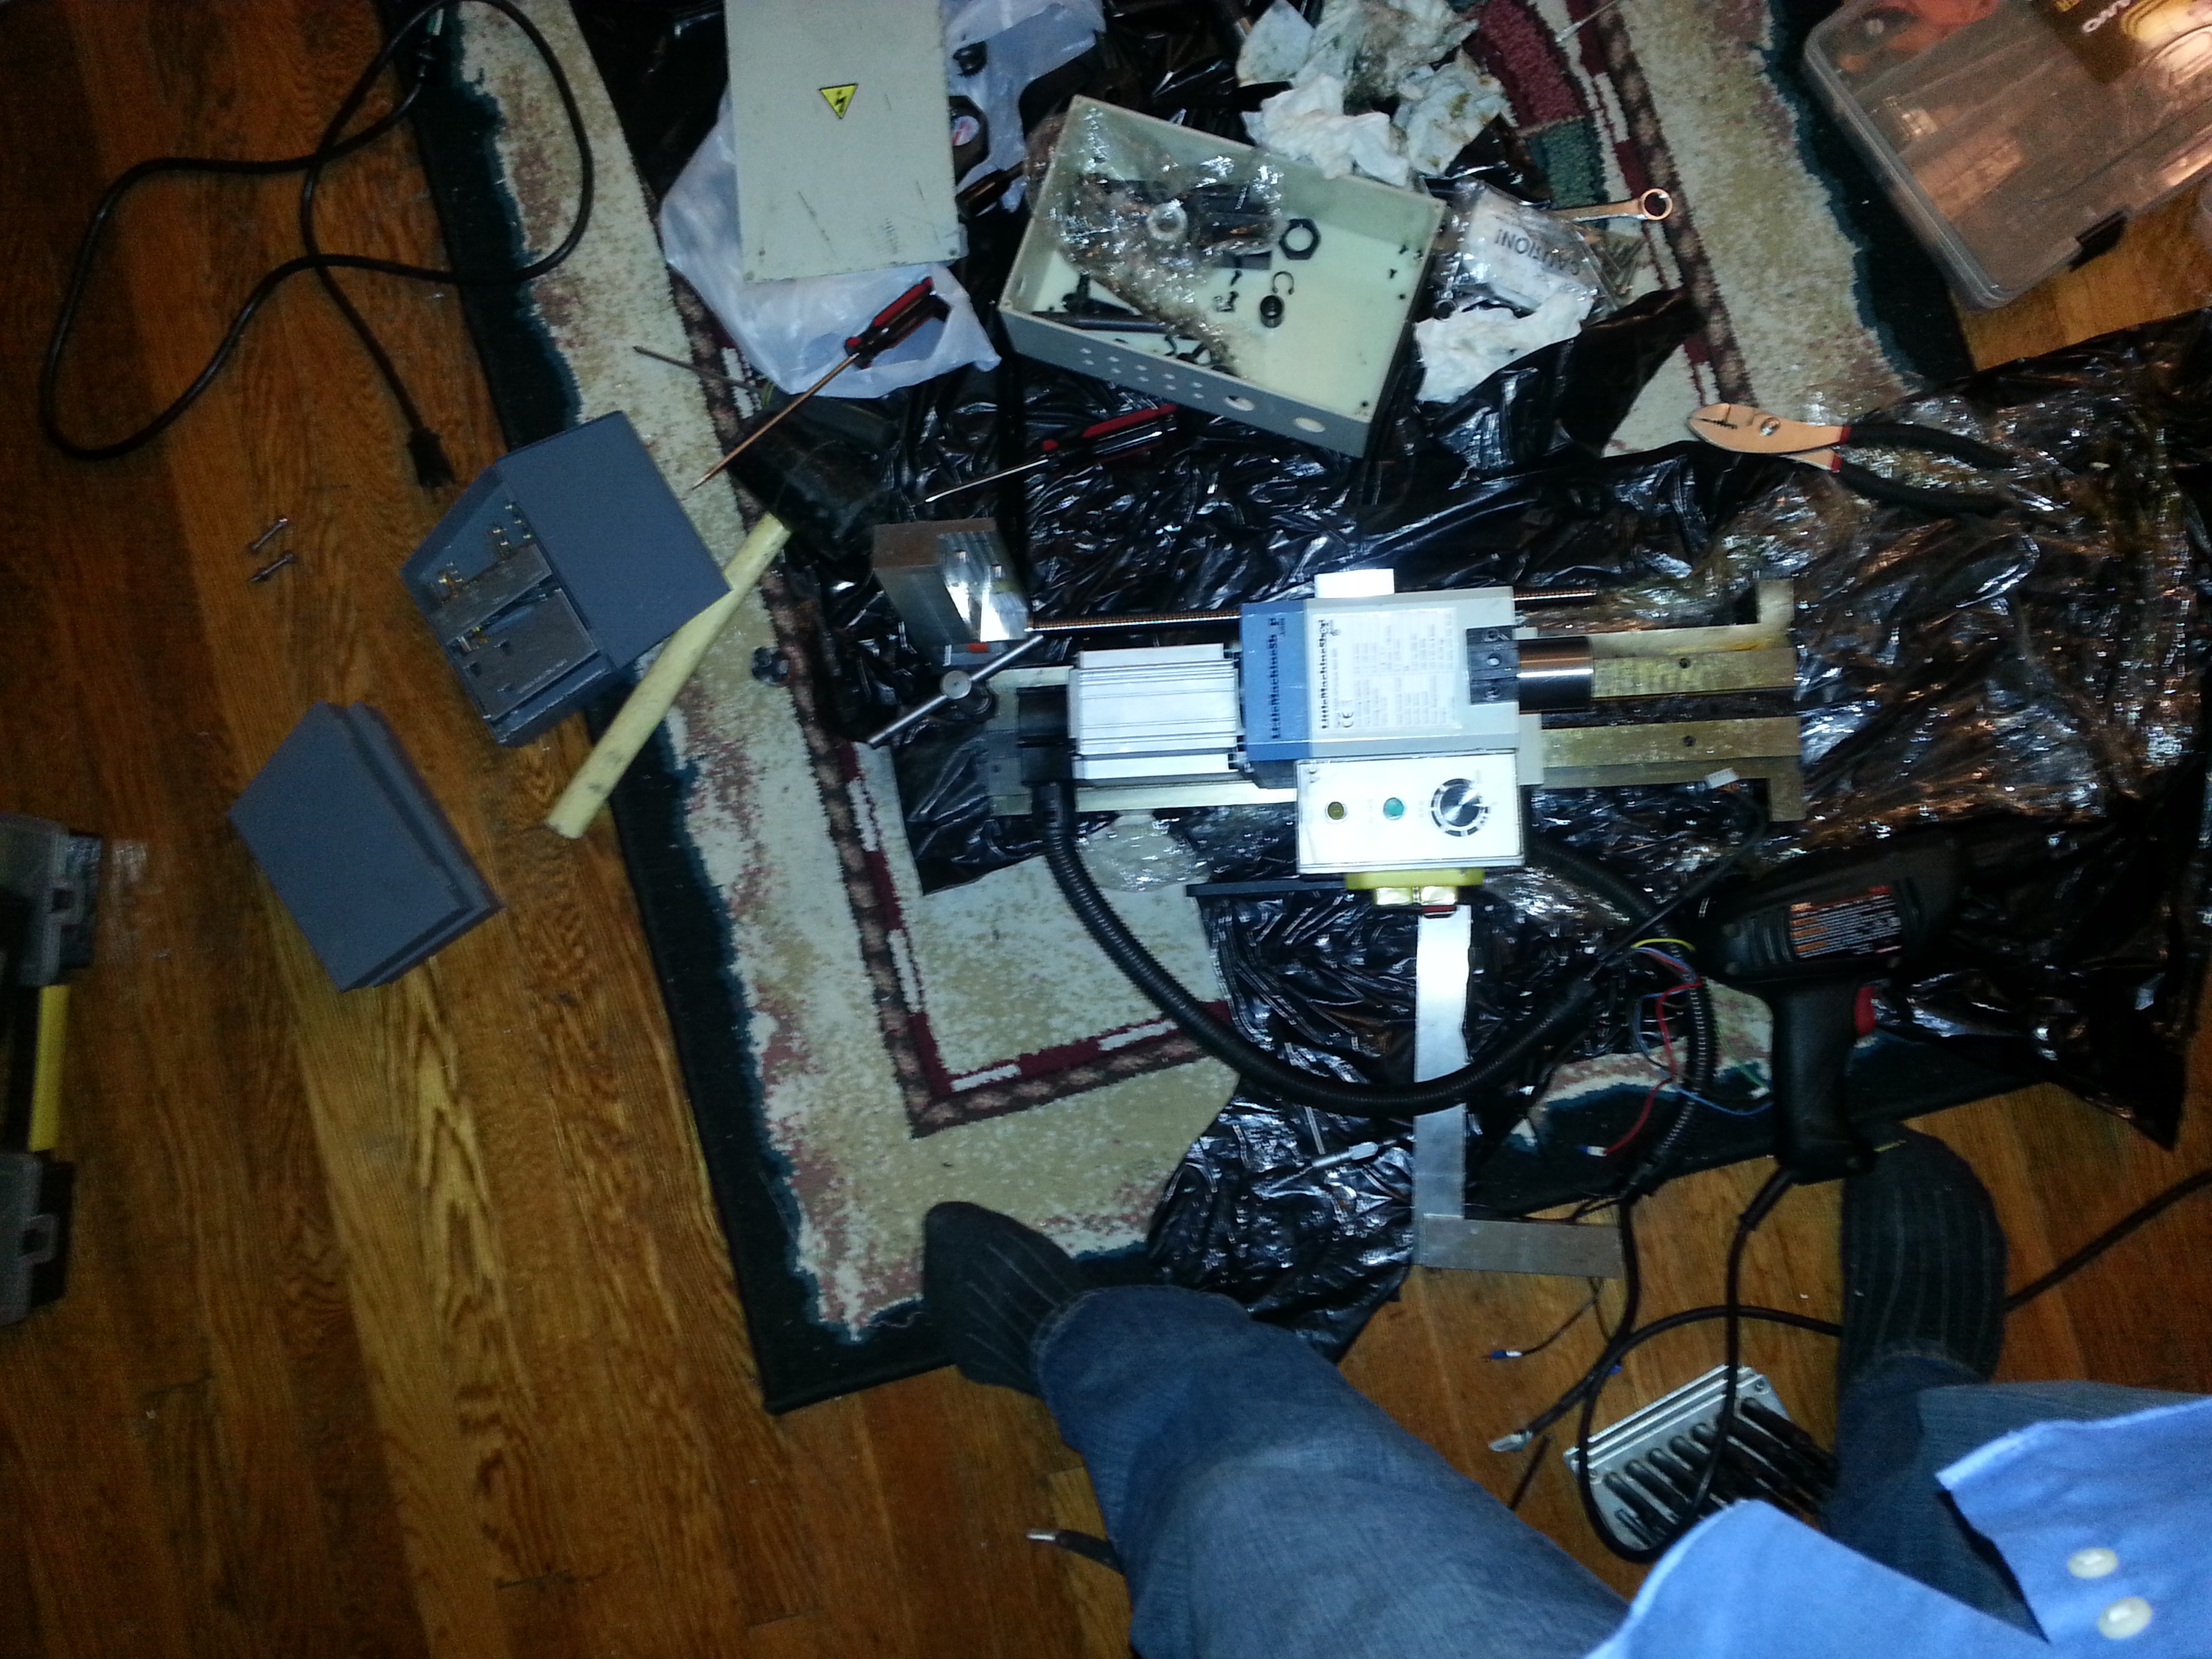
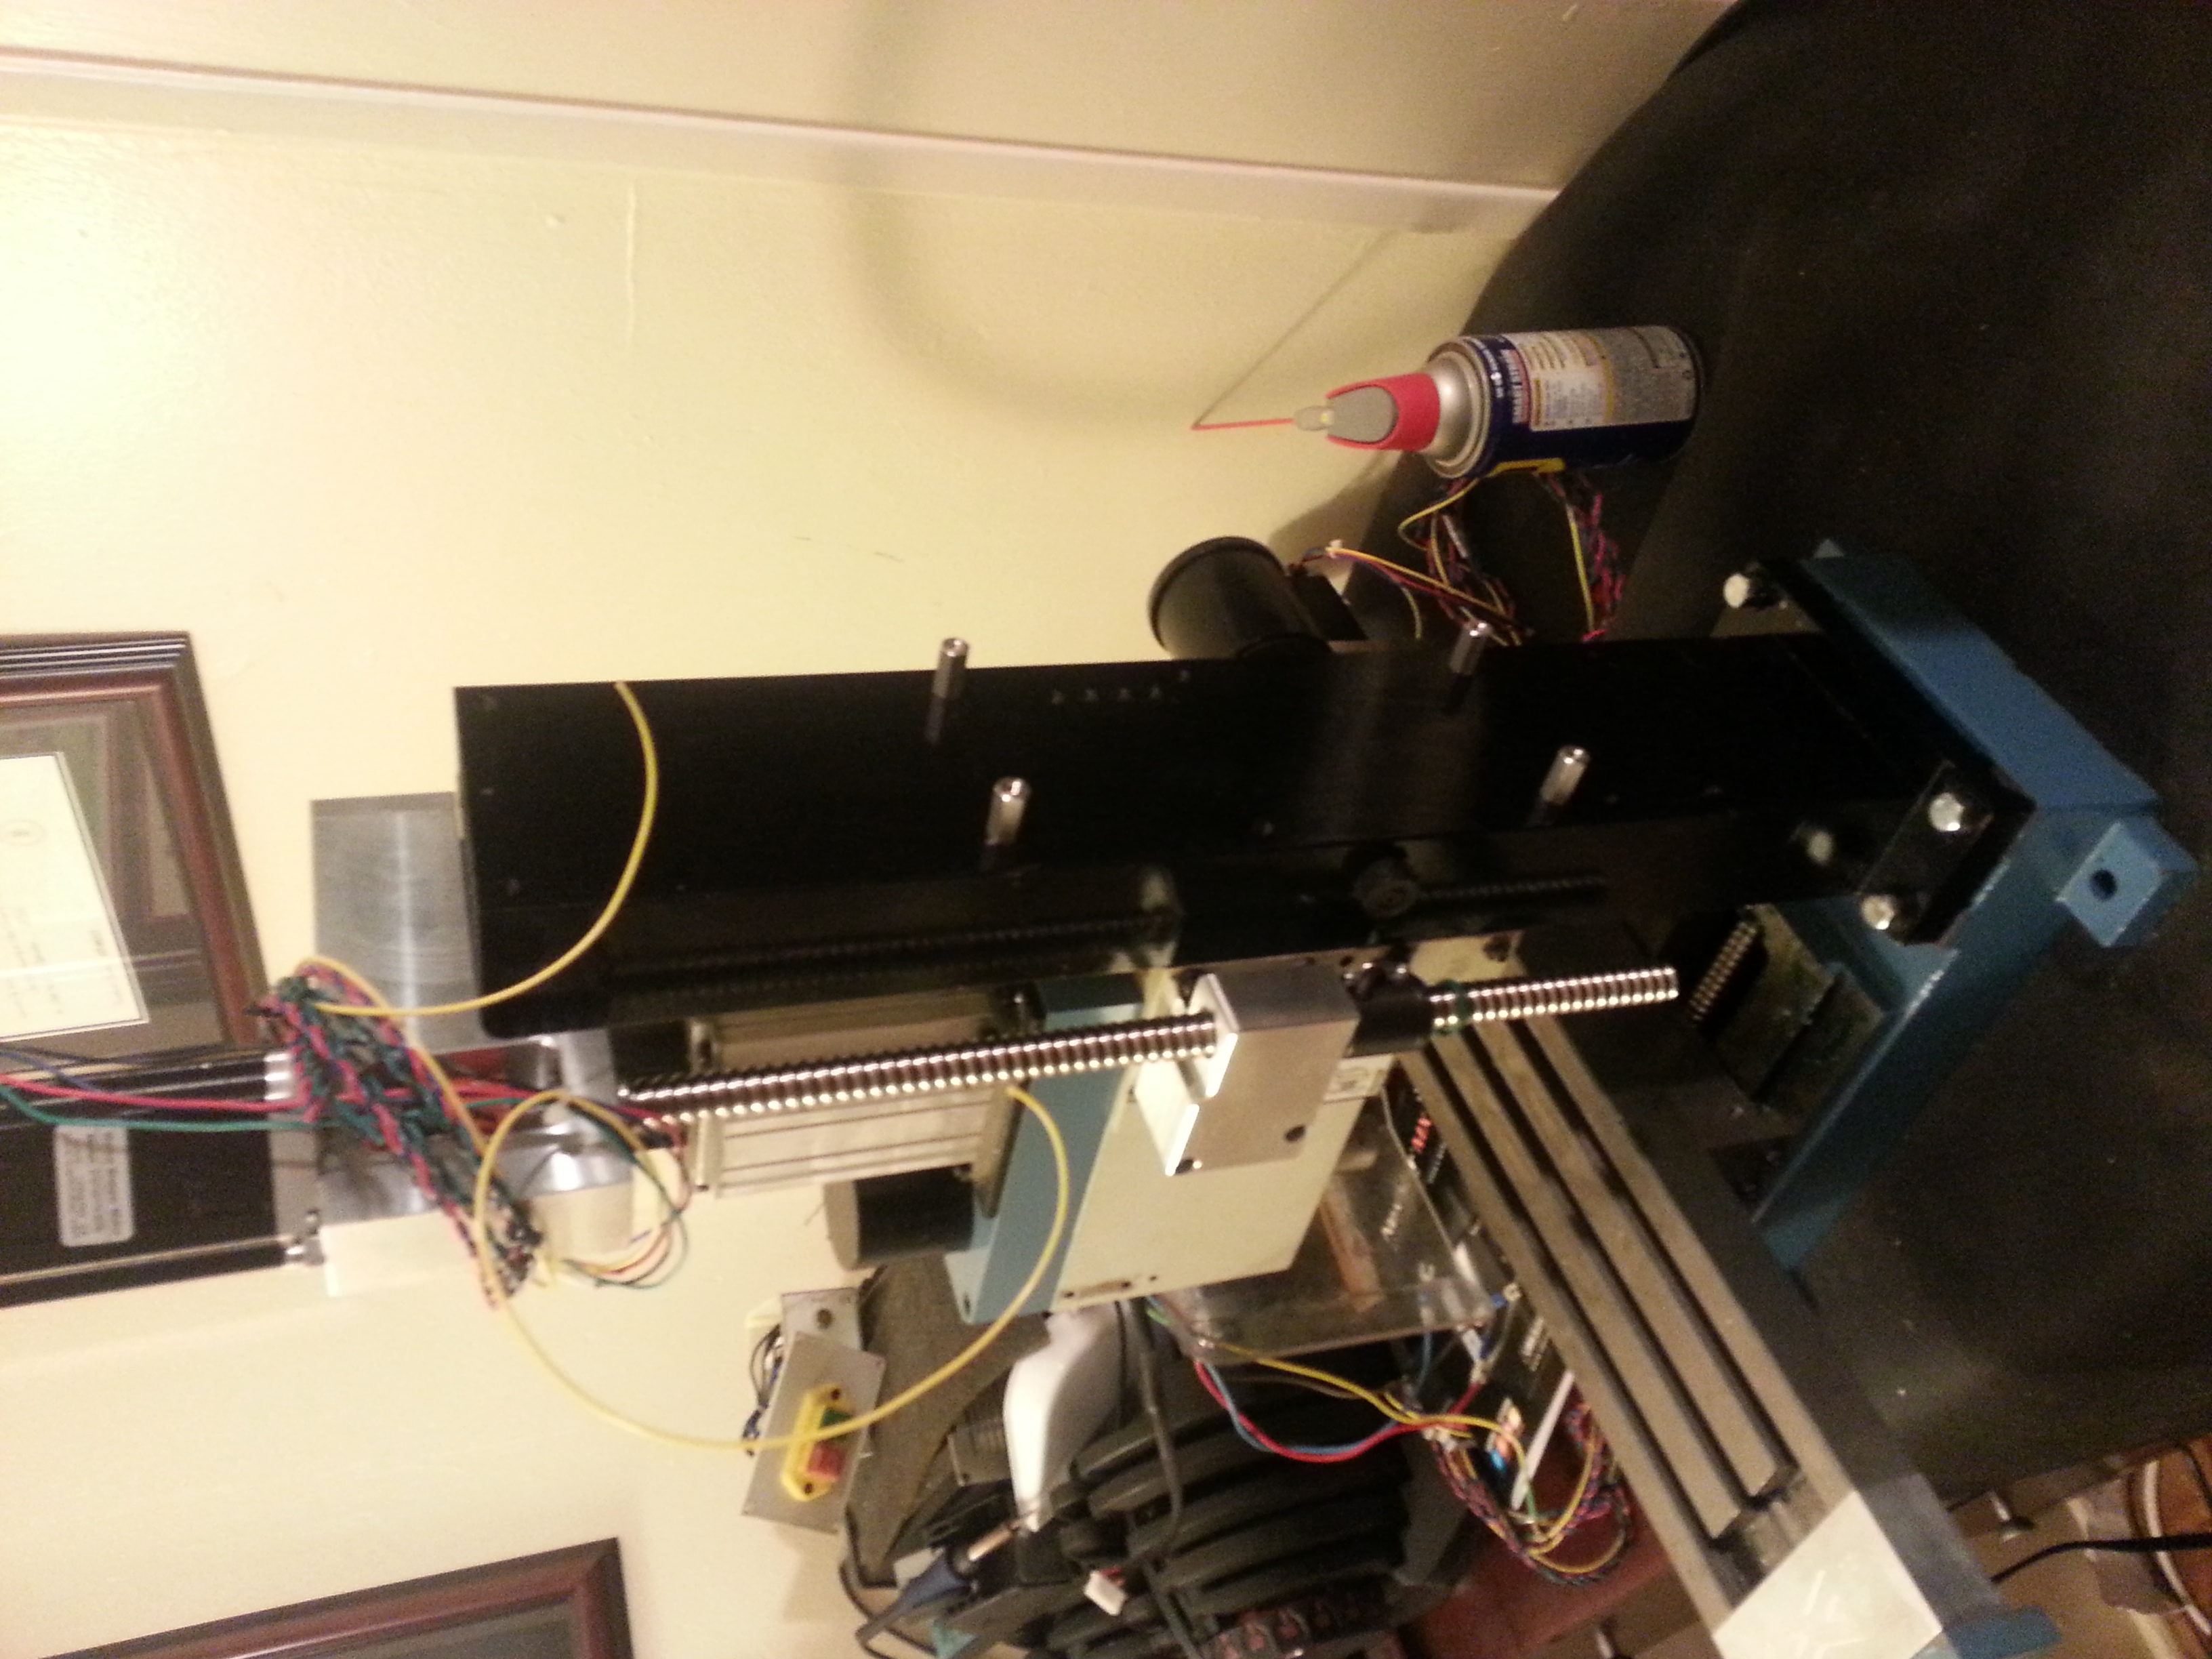
Z axis ballscrew mounted on the main column. Metal mounting plate attached to the top of the column. Ballscrew nut attached to the mill head via two mounting holes.
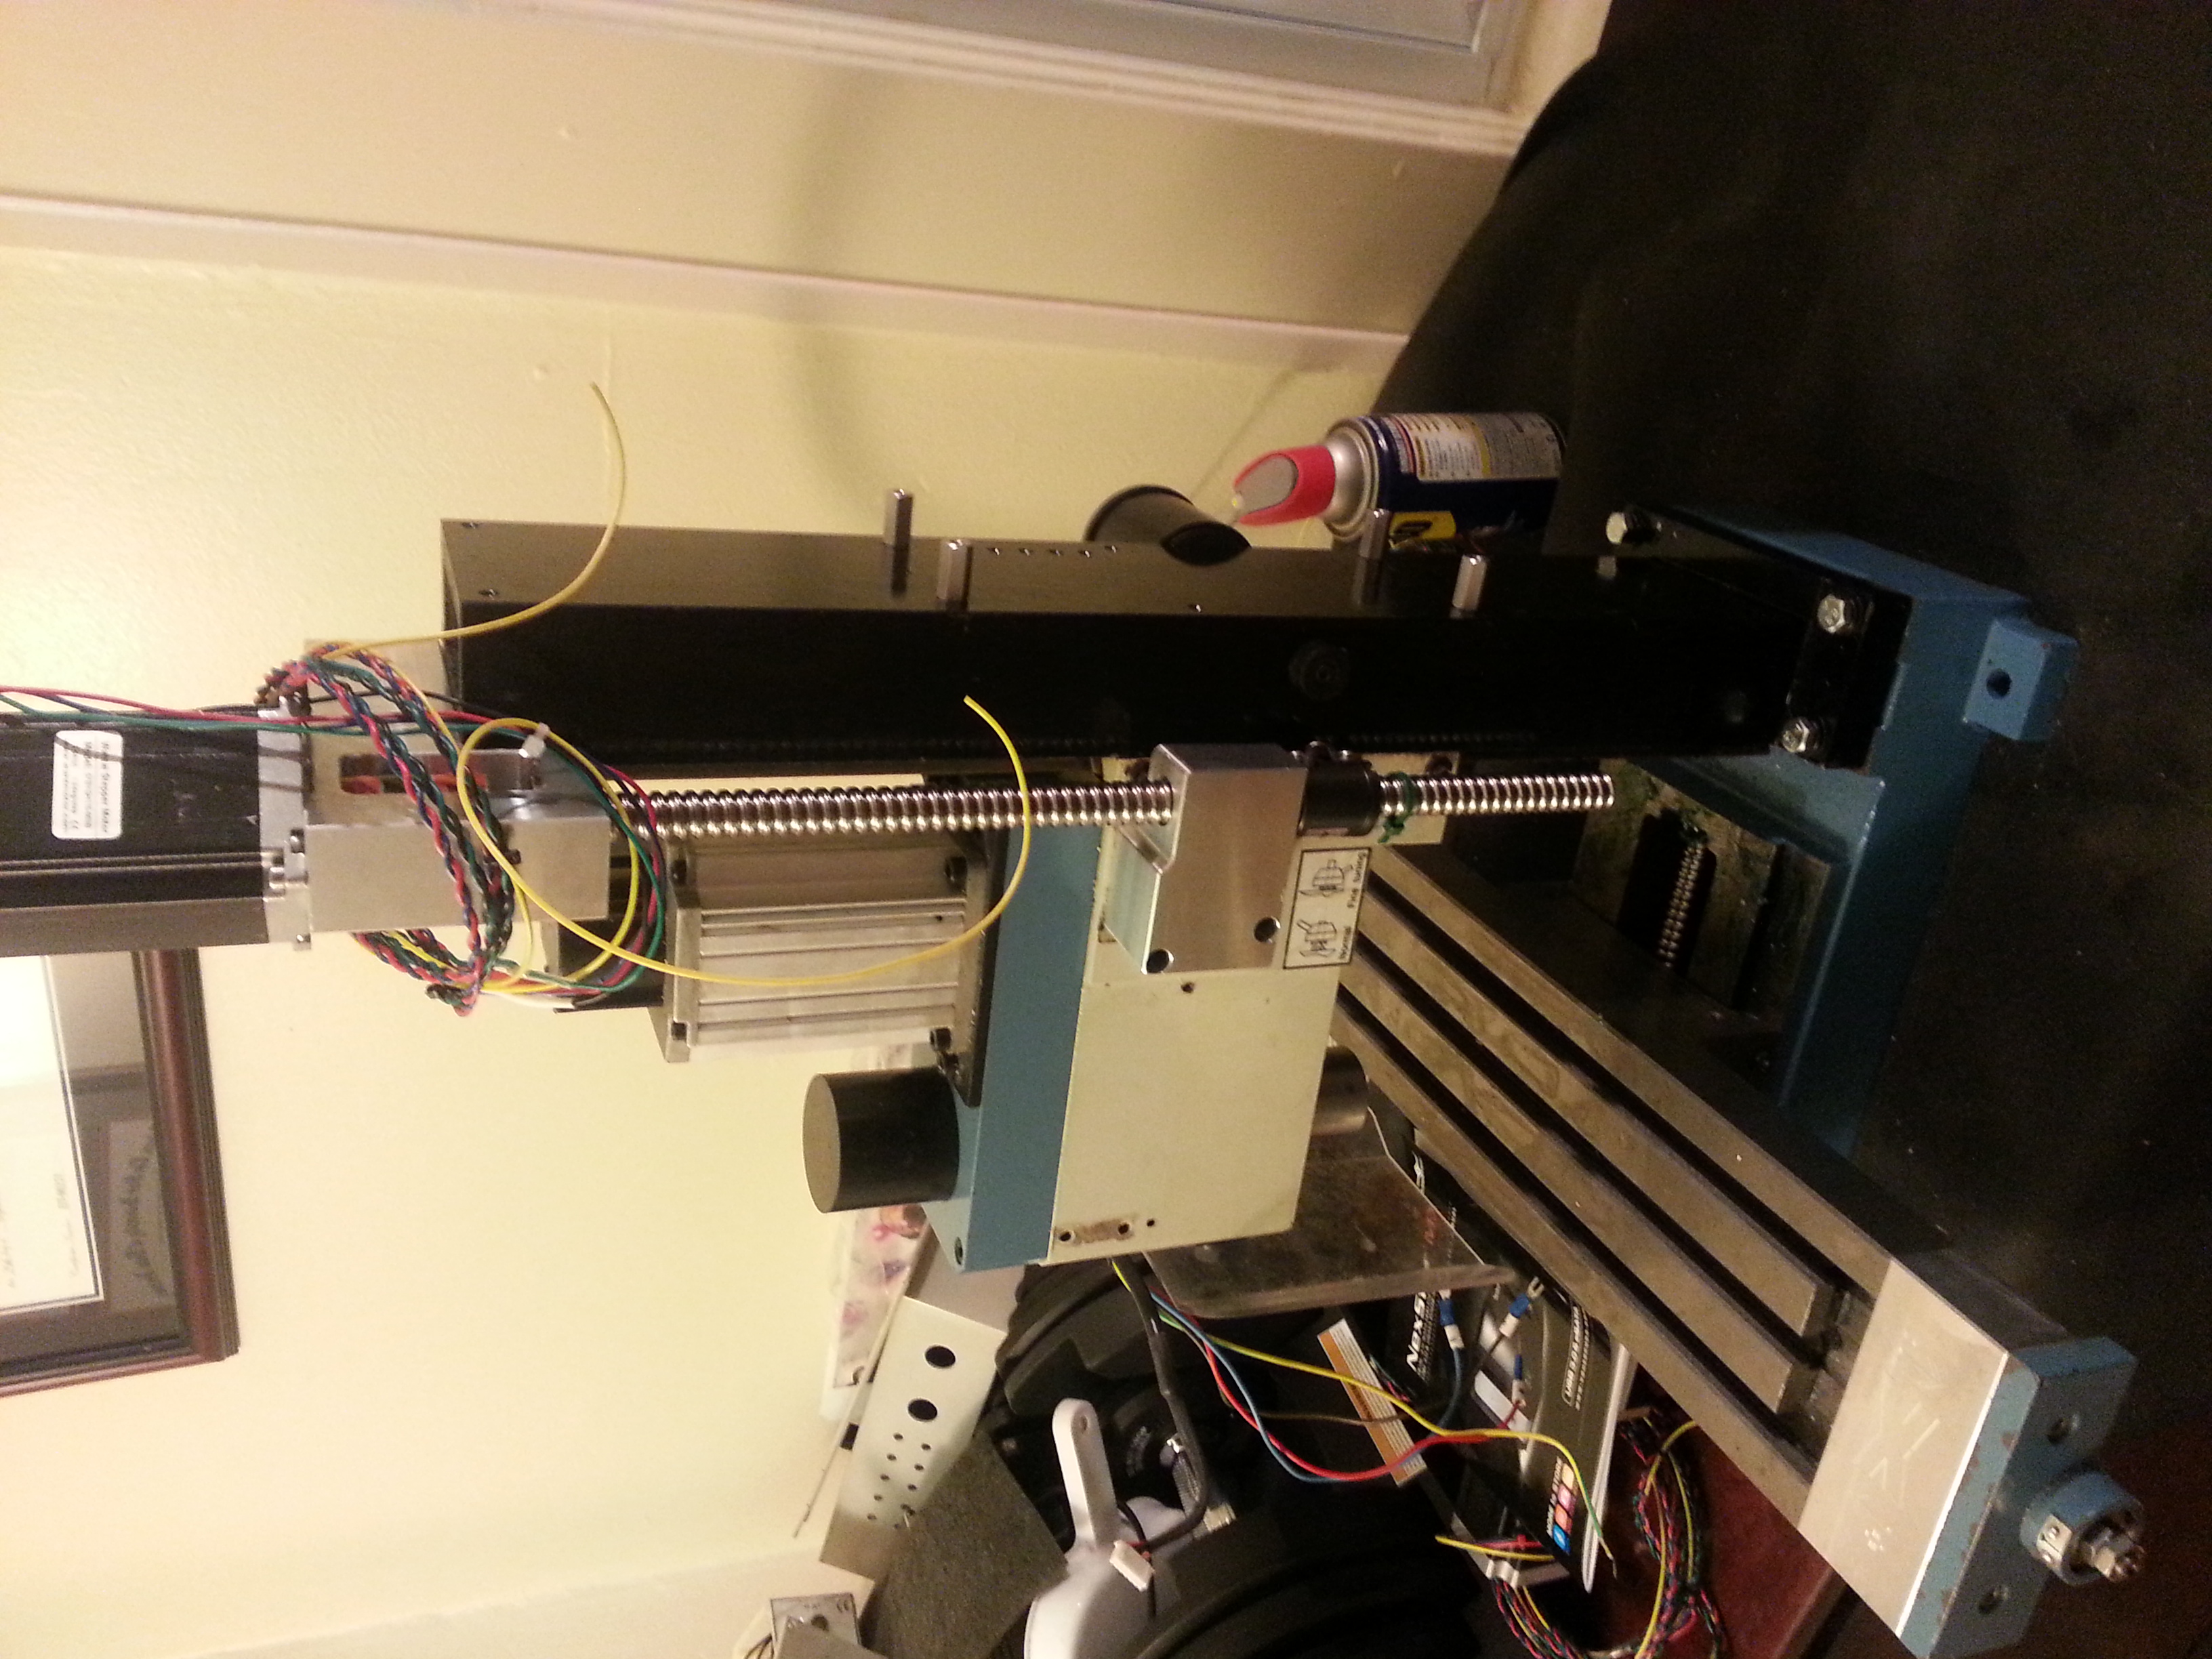
Another view of the z axis.
Electronics
Controller
- Beagle Bone Black

Interface card
C10- PARALLEL PORT INTERFACE CARD
Motor Controllers
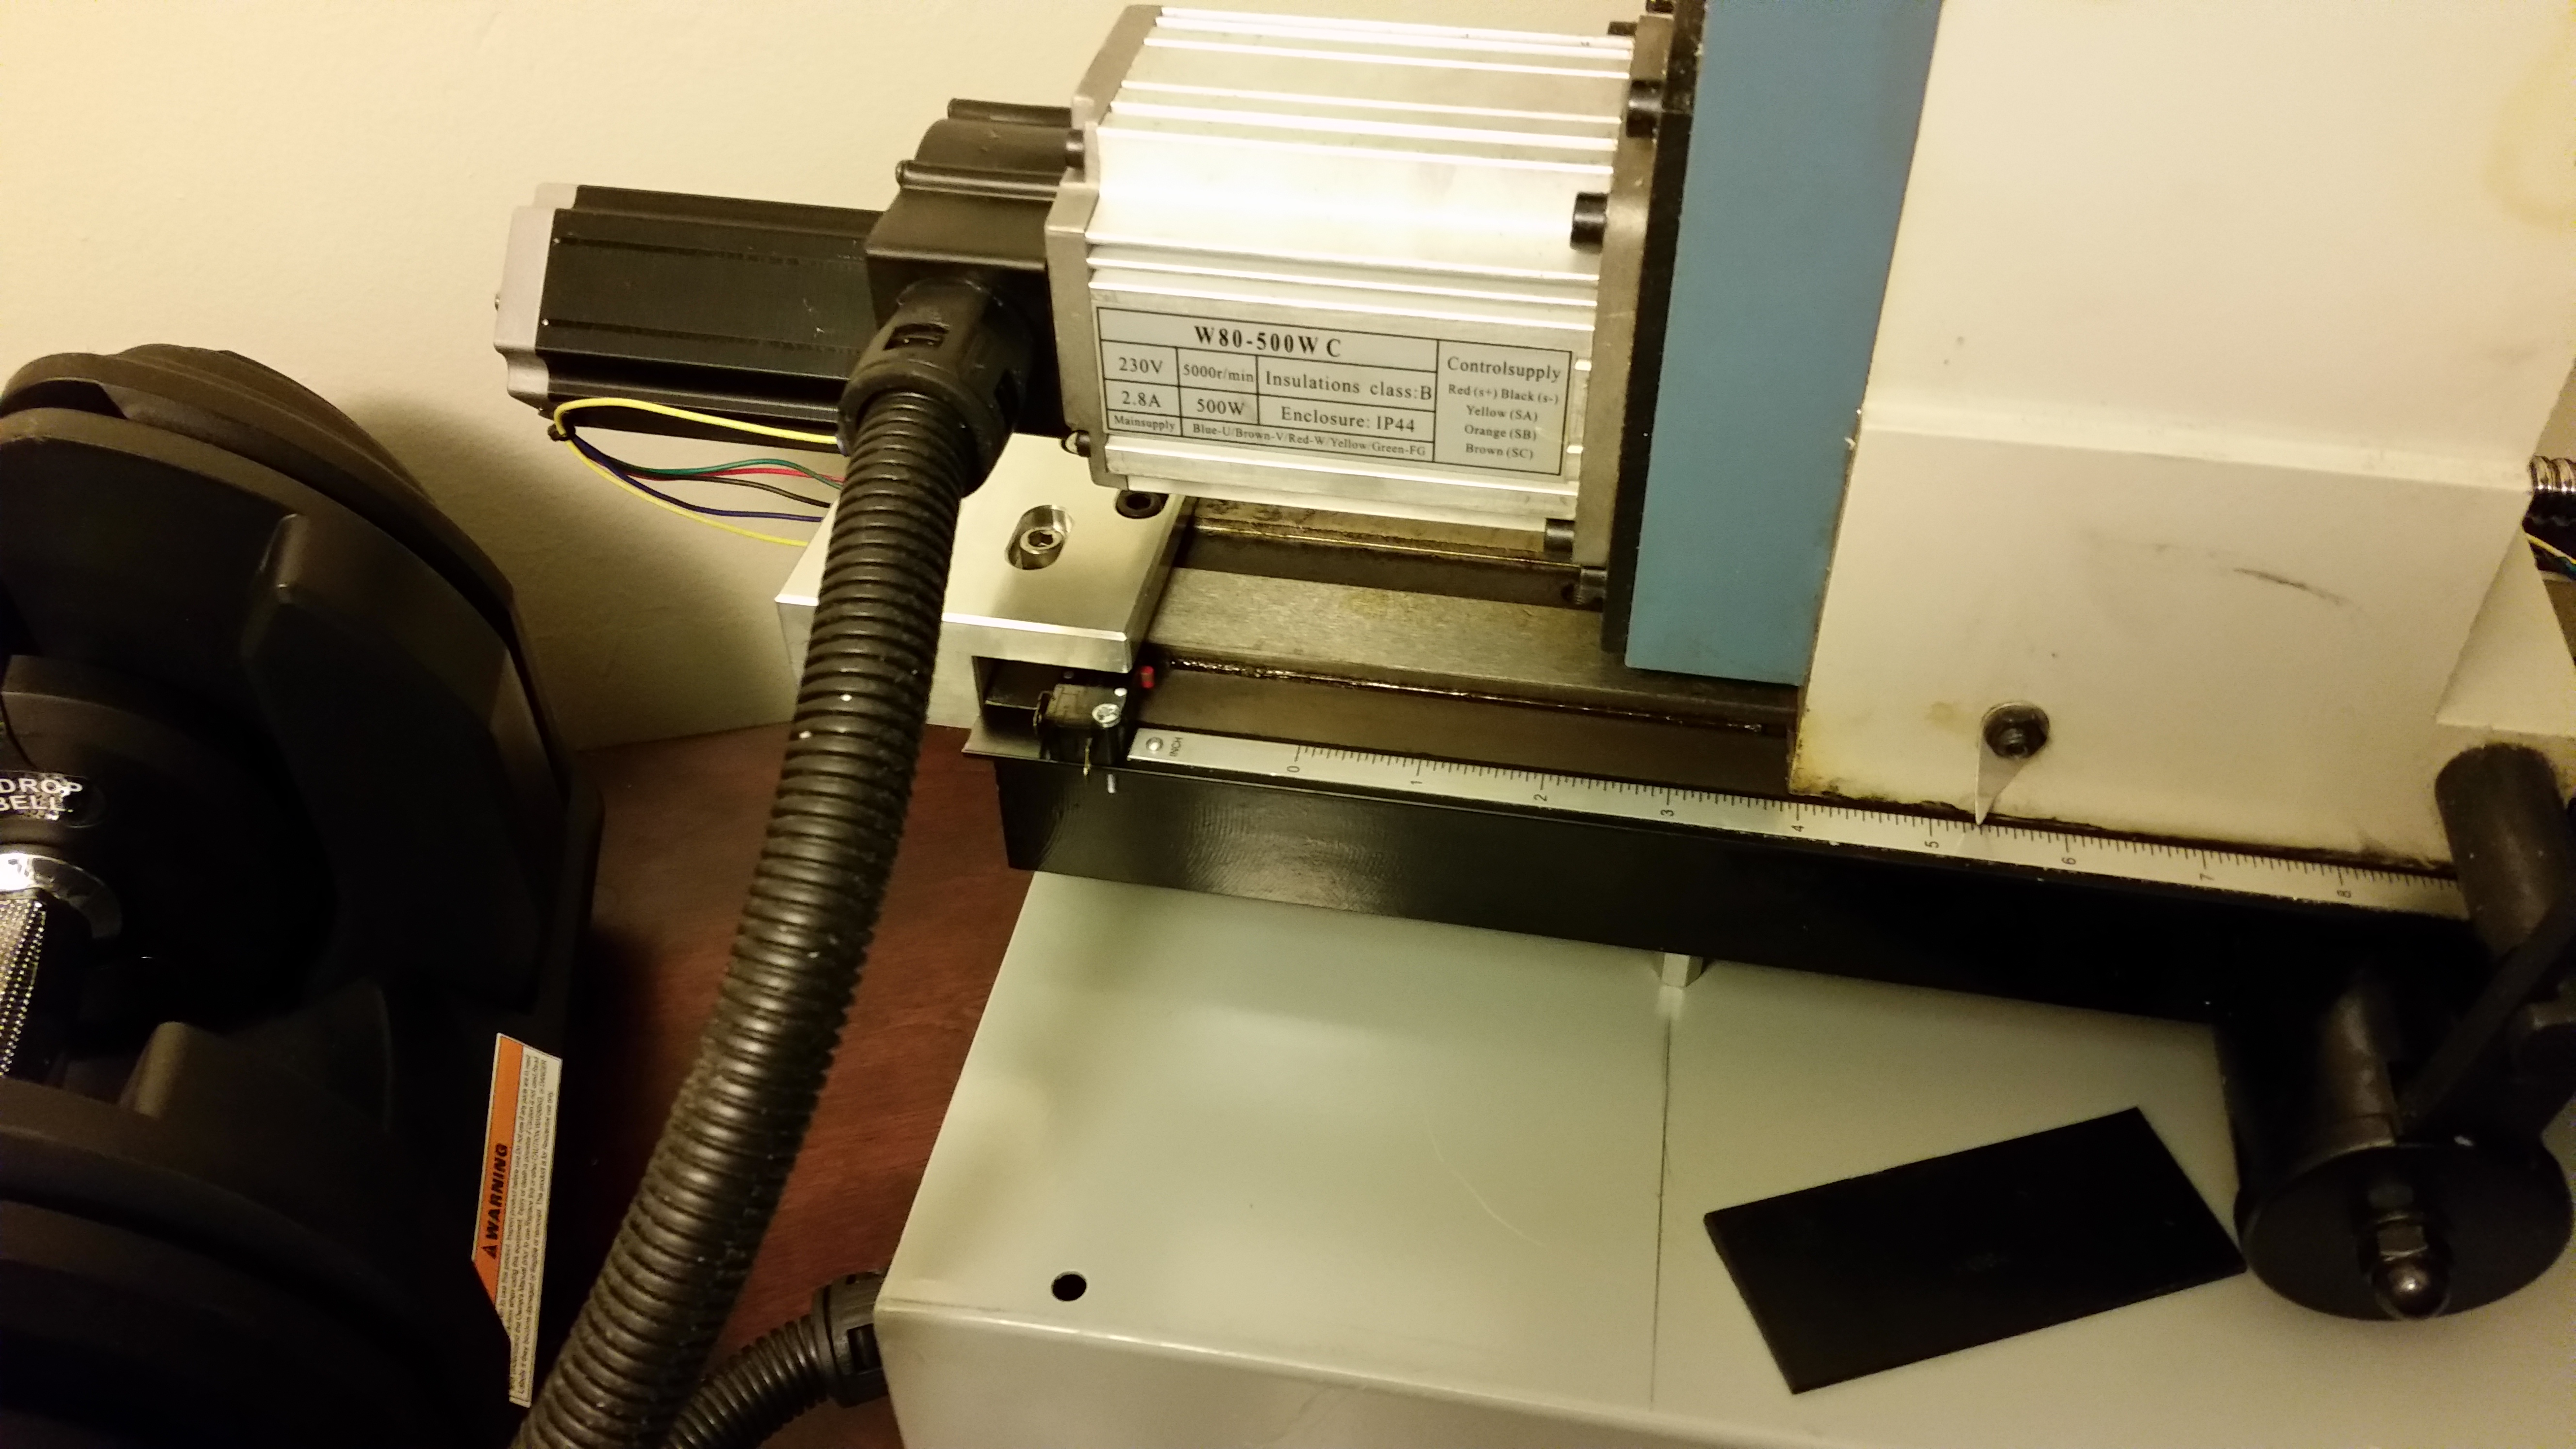
M880A
M880Am.pdfControl Board
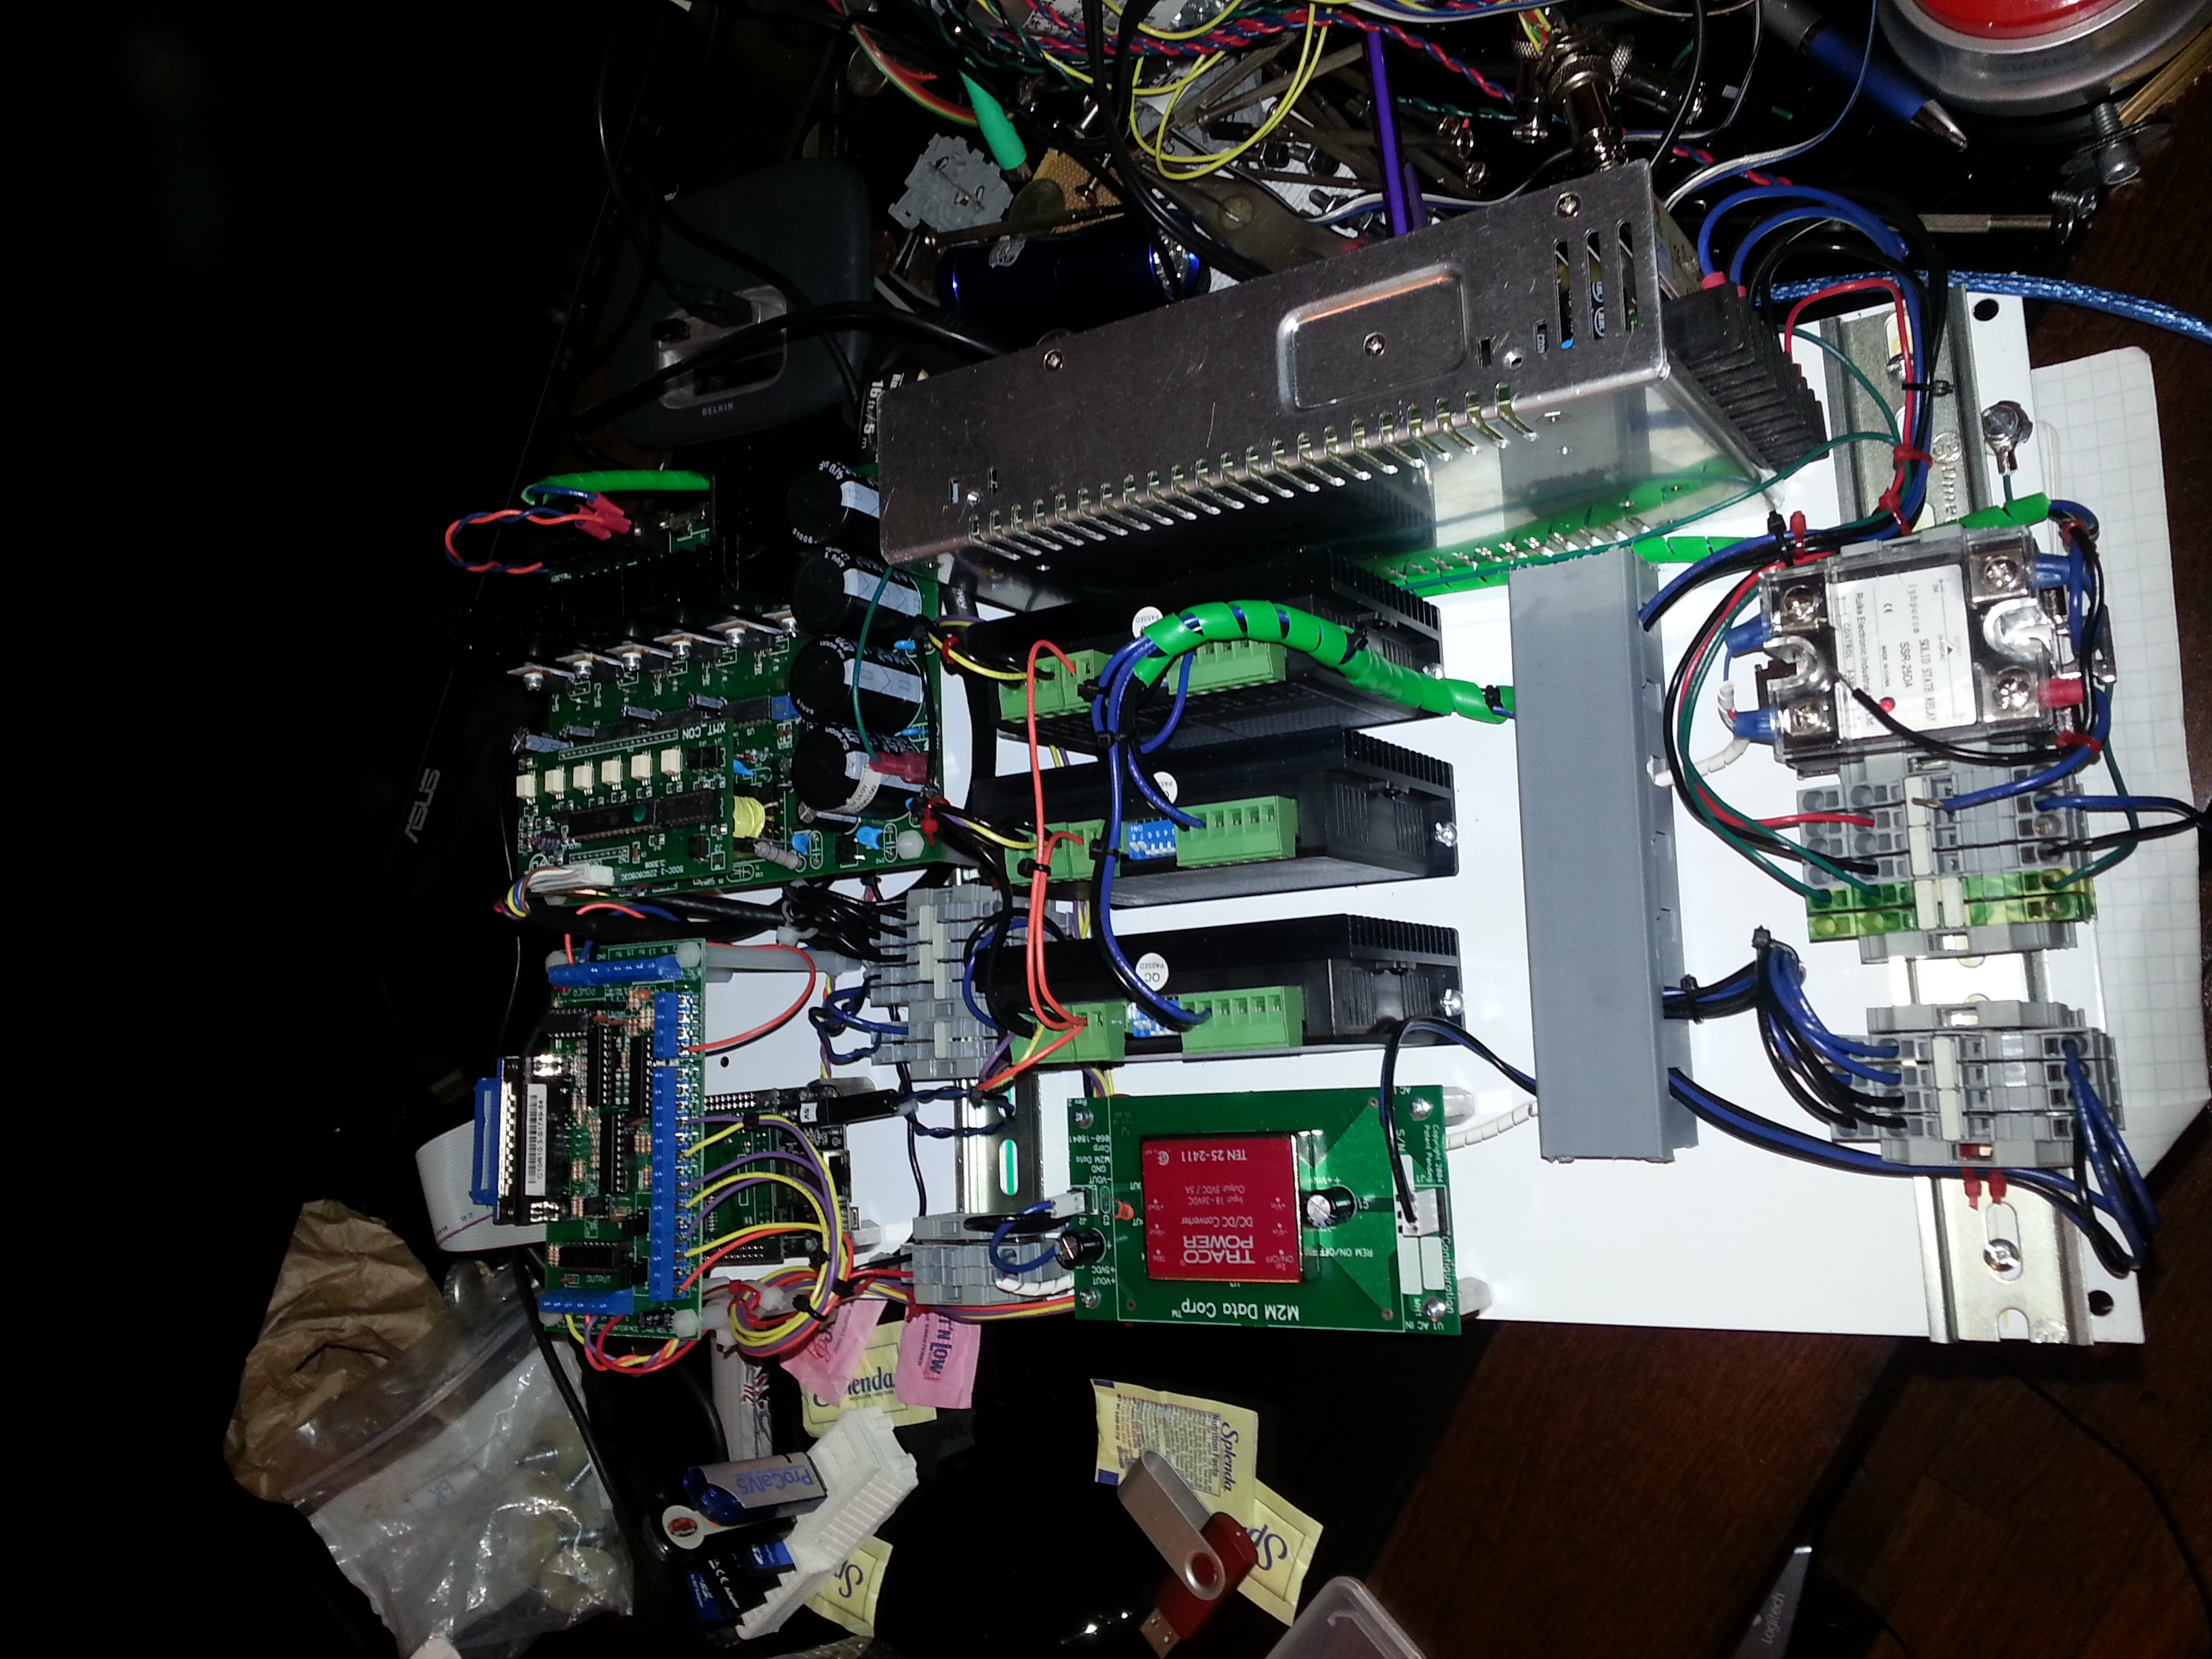

View of the inside of the electronics enclosure. This is a NEMA 4 enclosure the minimum you need when dealing with possible over spray.

Electronics mounted in the enclosure. Top left parallel port interface card mounted on standoffs above the beagle bone black. Top right the CNC electronics from the original hi torque mini mill. Left middle - A DC to DC power supply to produce 5v for all 5 volt components including the beagle bone black and parallel port card. Center middle - Stepper motor controllers. Right middle 36 v power supply. Bottom Din rail mounted terminal strip.

Spindle Control
The original mill only had a simple pot to turn for spindle control. This will not work for a CNC that needs to vary the spindle control throughout a job. To correct this short coming we’re going to replace the original spindle control with a 0-10 volt control. This will allow the beagle bone black him costume the books speed and direction via then parallel port adapter.
CNC Spindle Control Upgrade Kit, Mini Lathe and Mini Mill
4213CNCSpindleControlUpgradeKit.pdf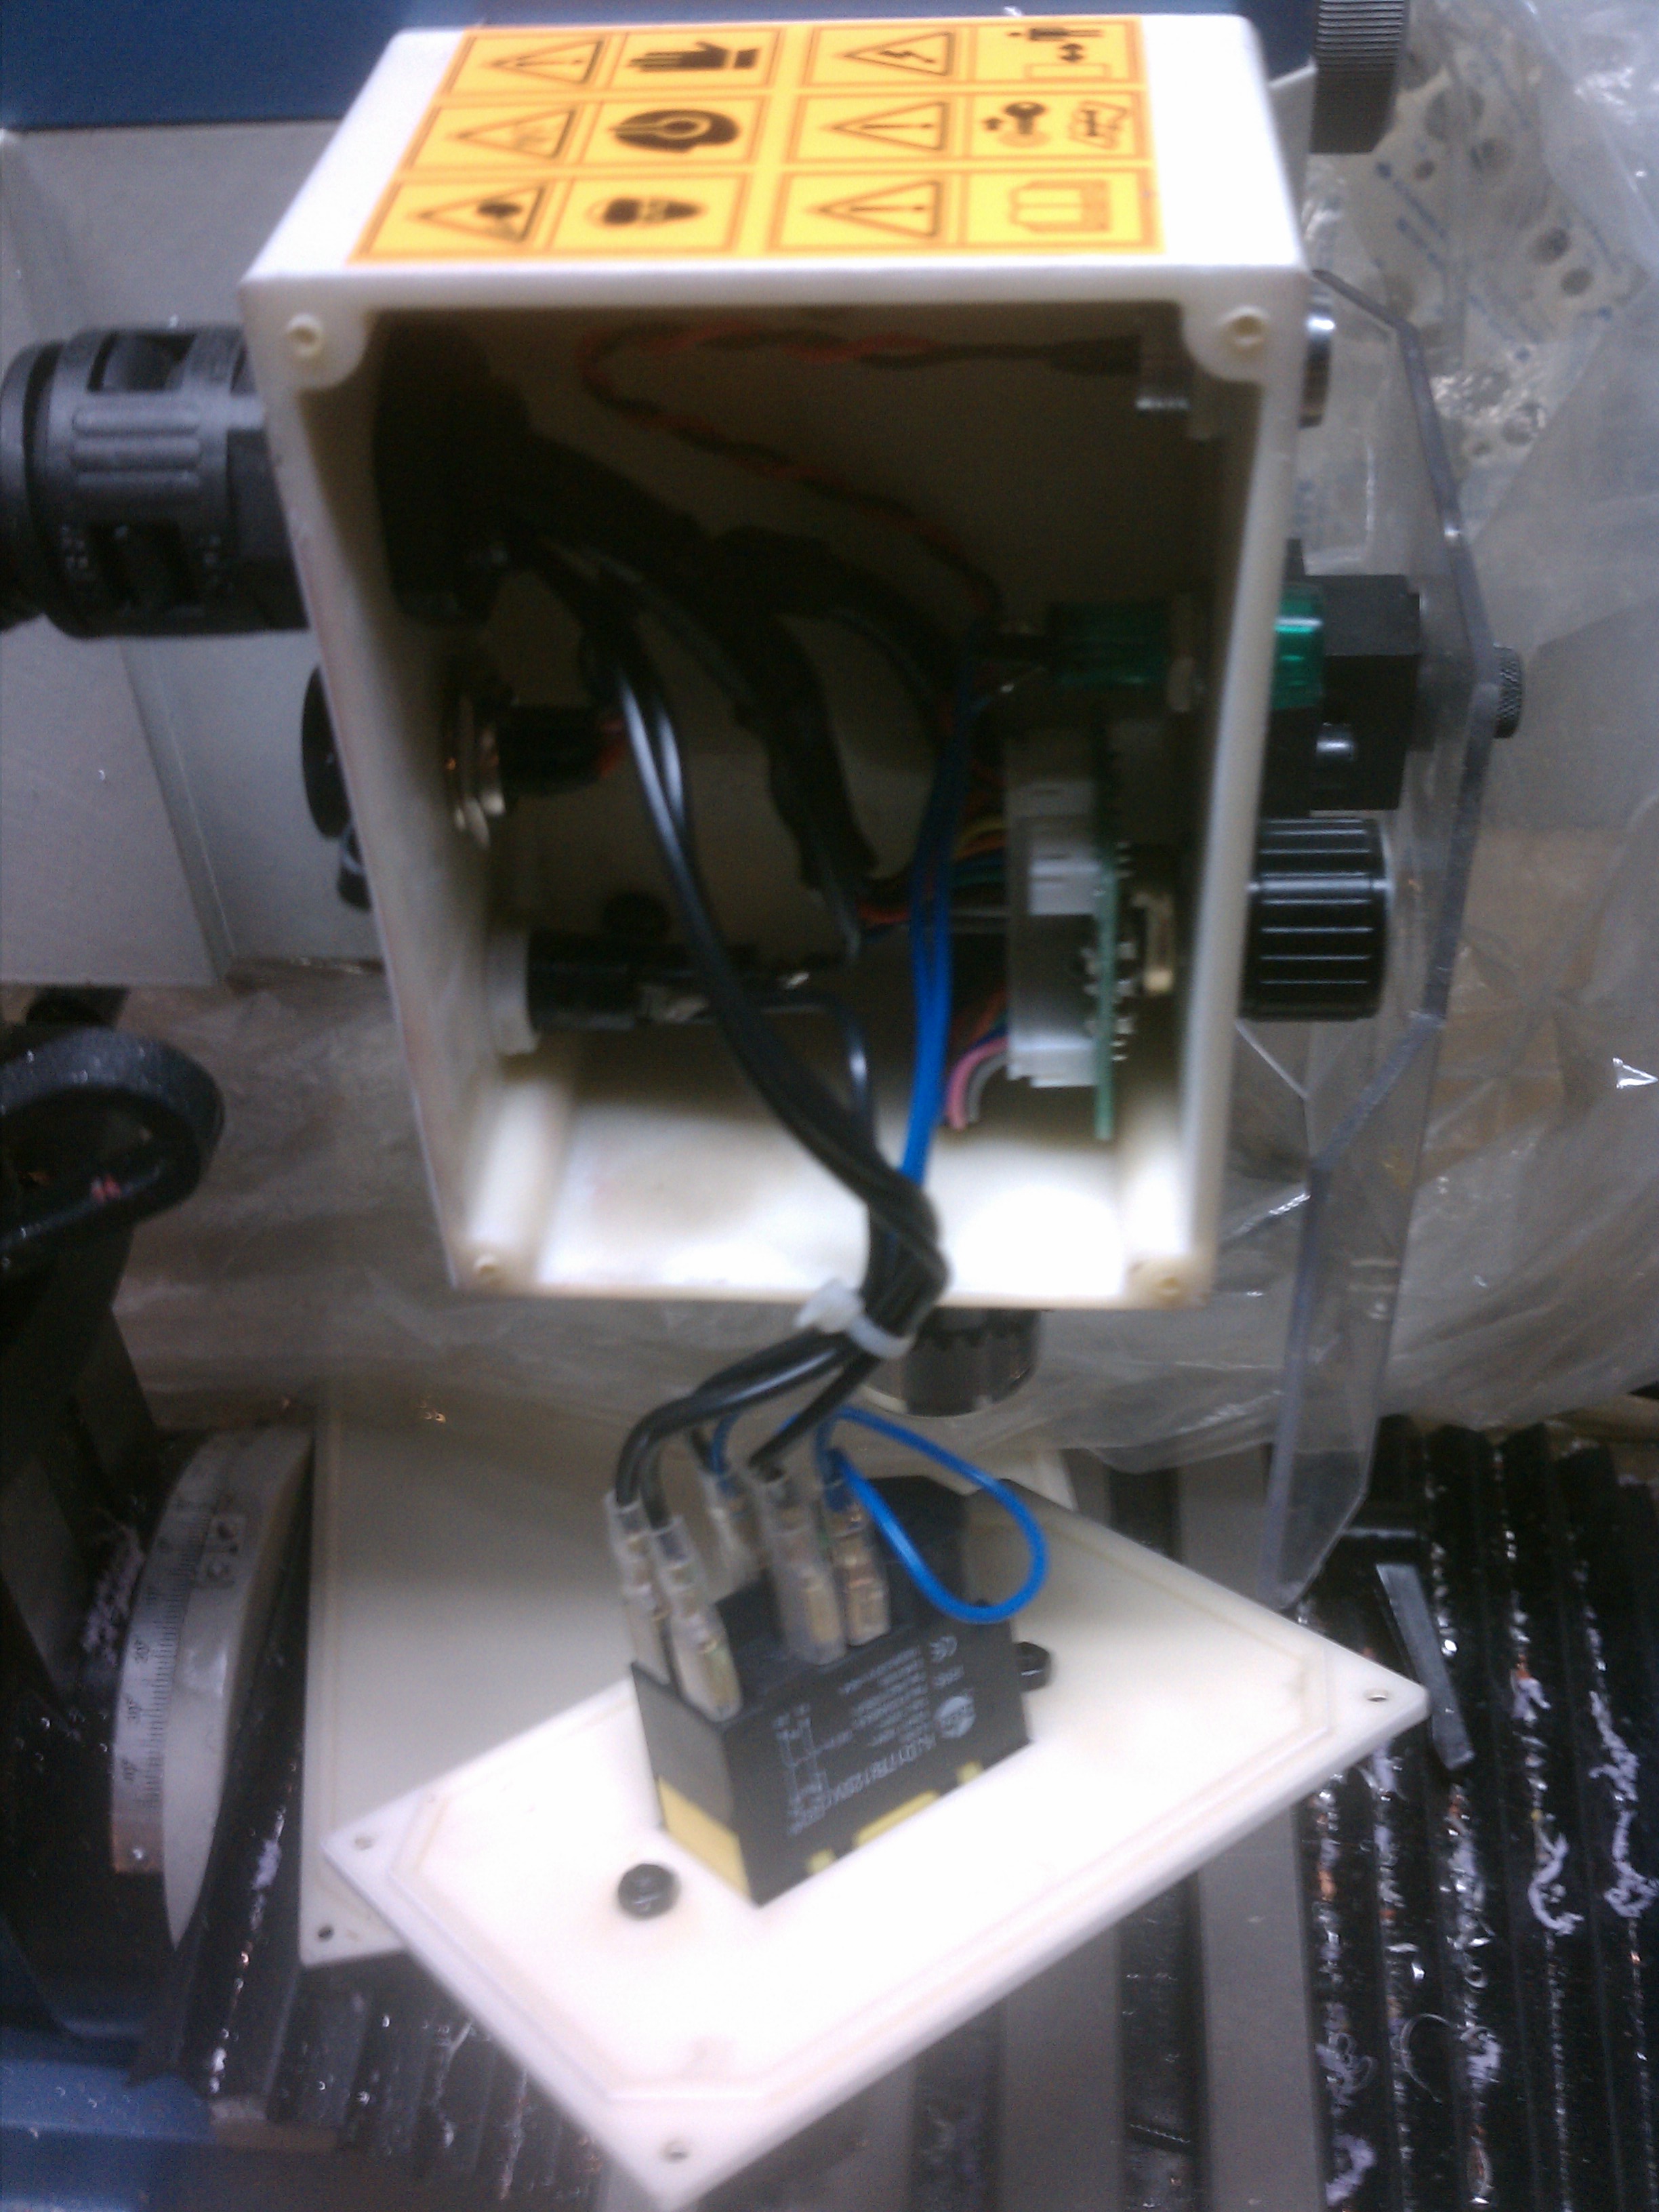

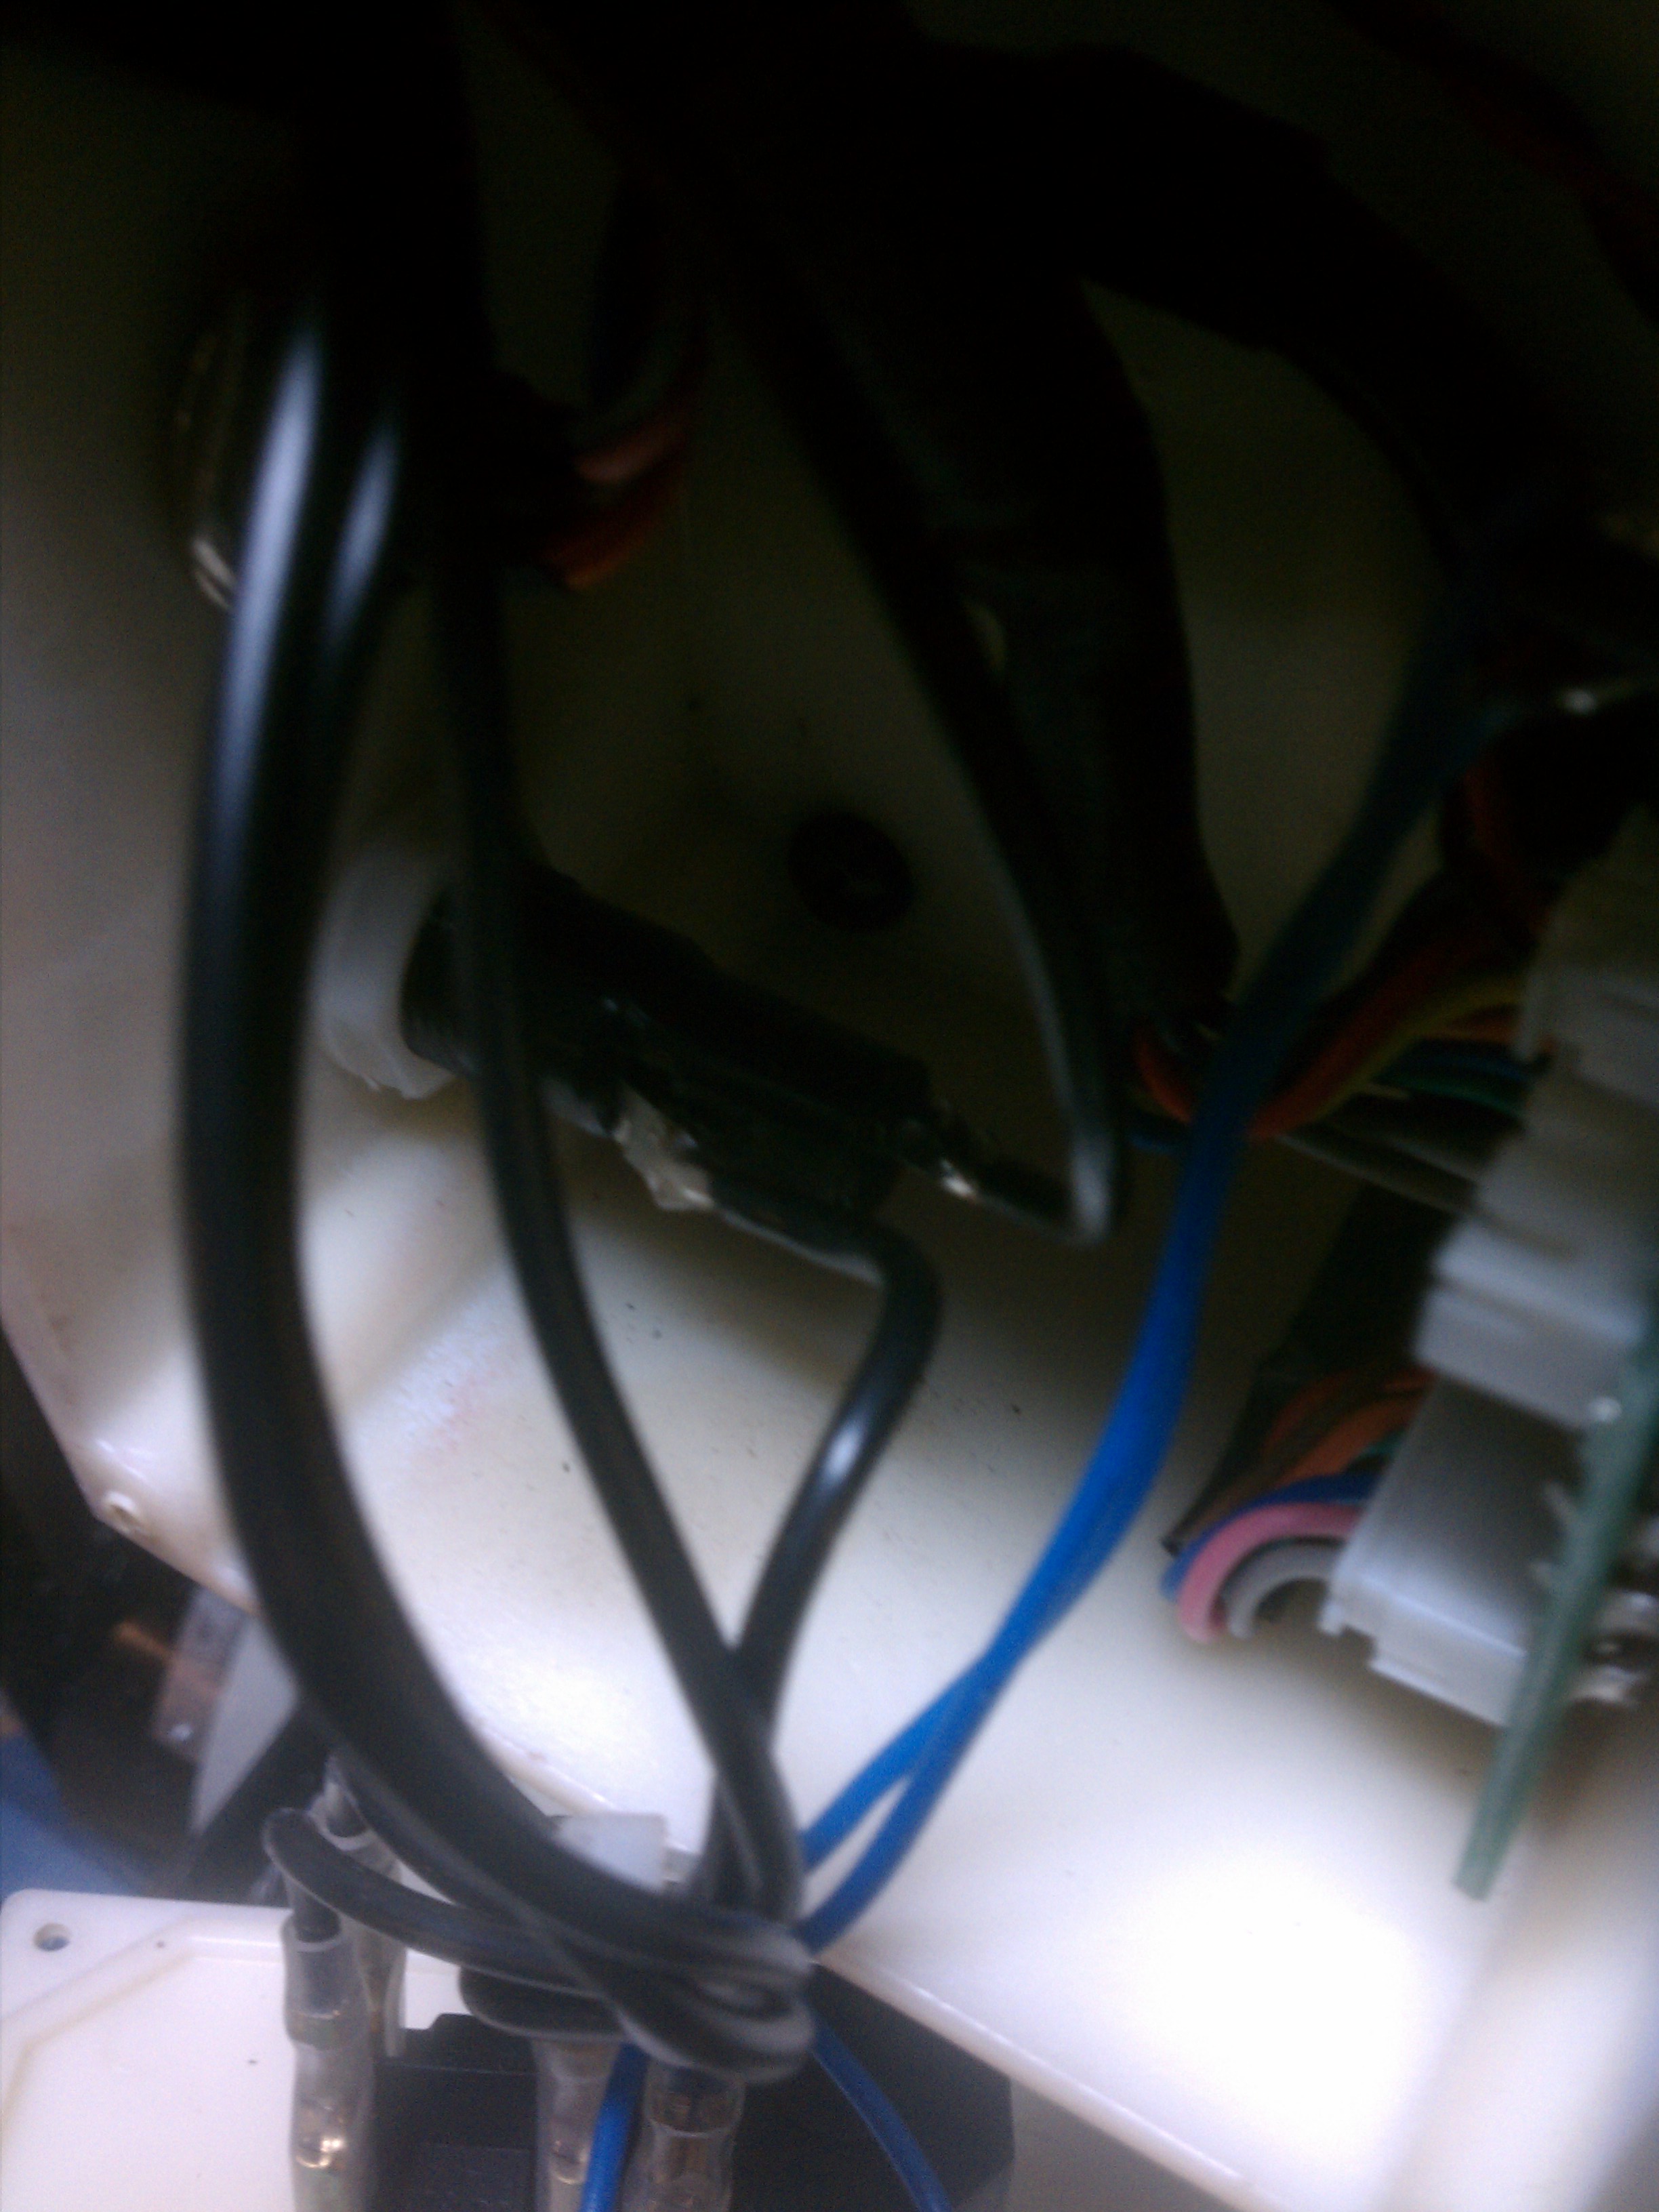
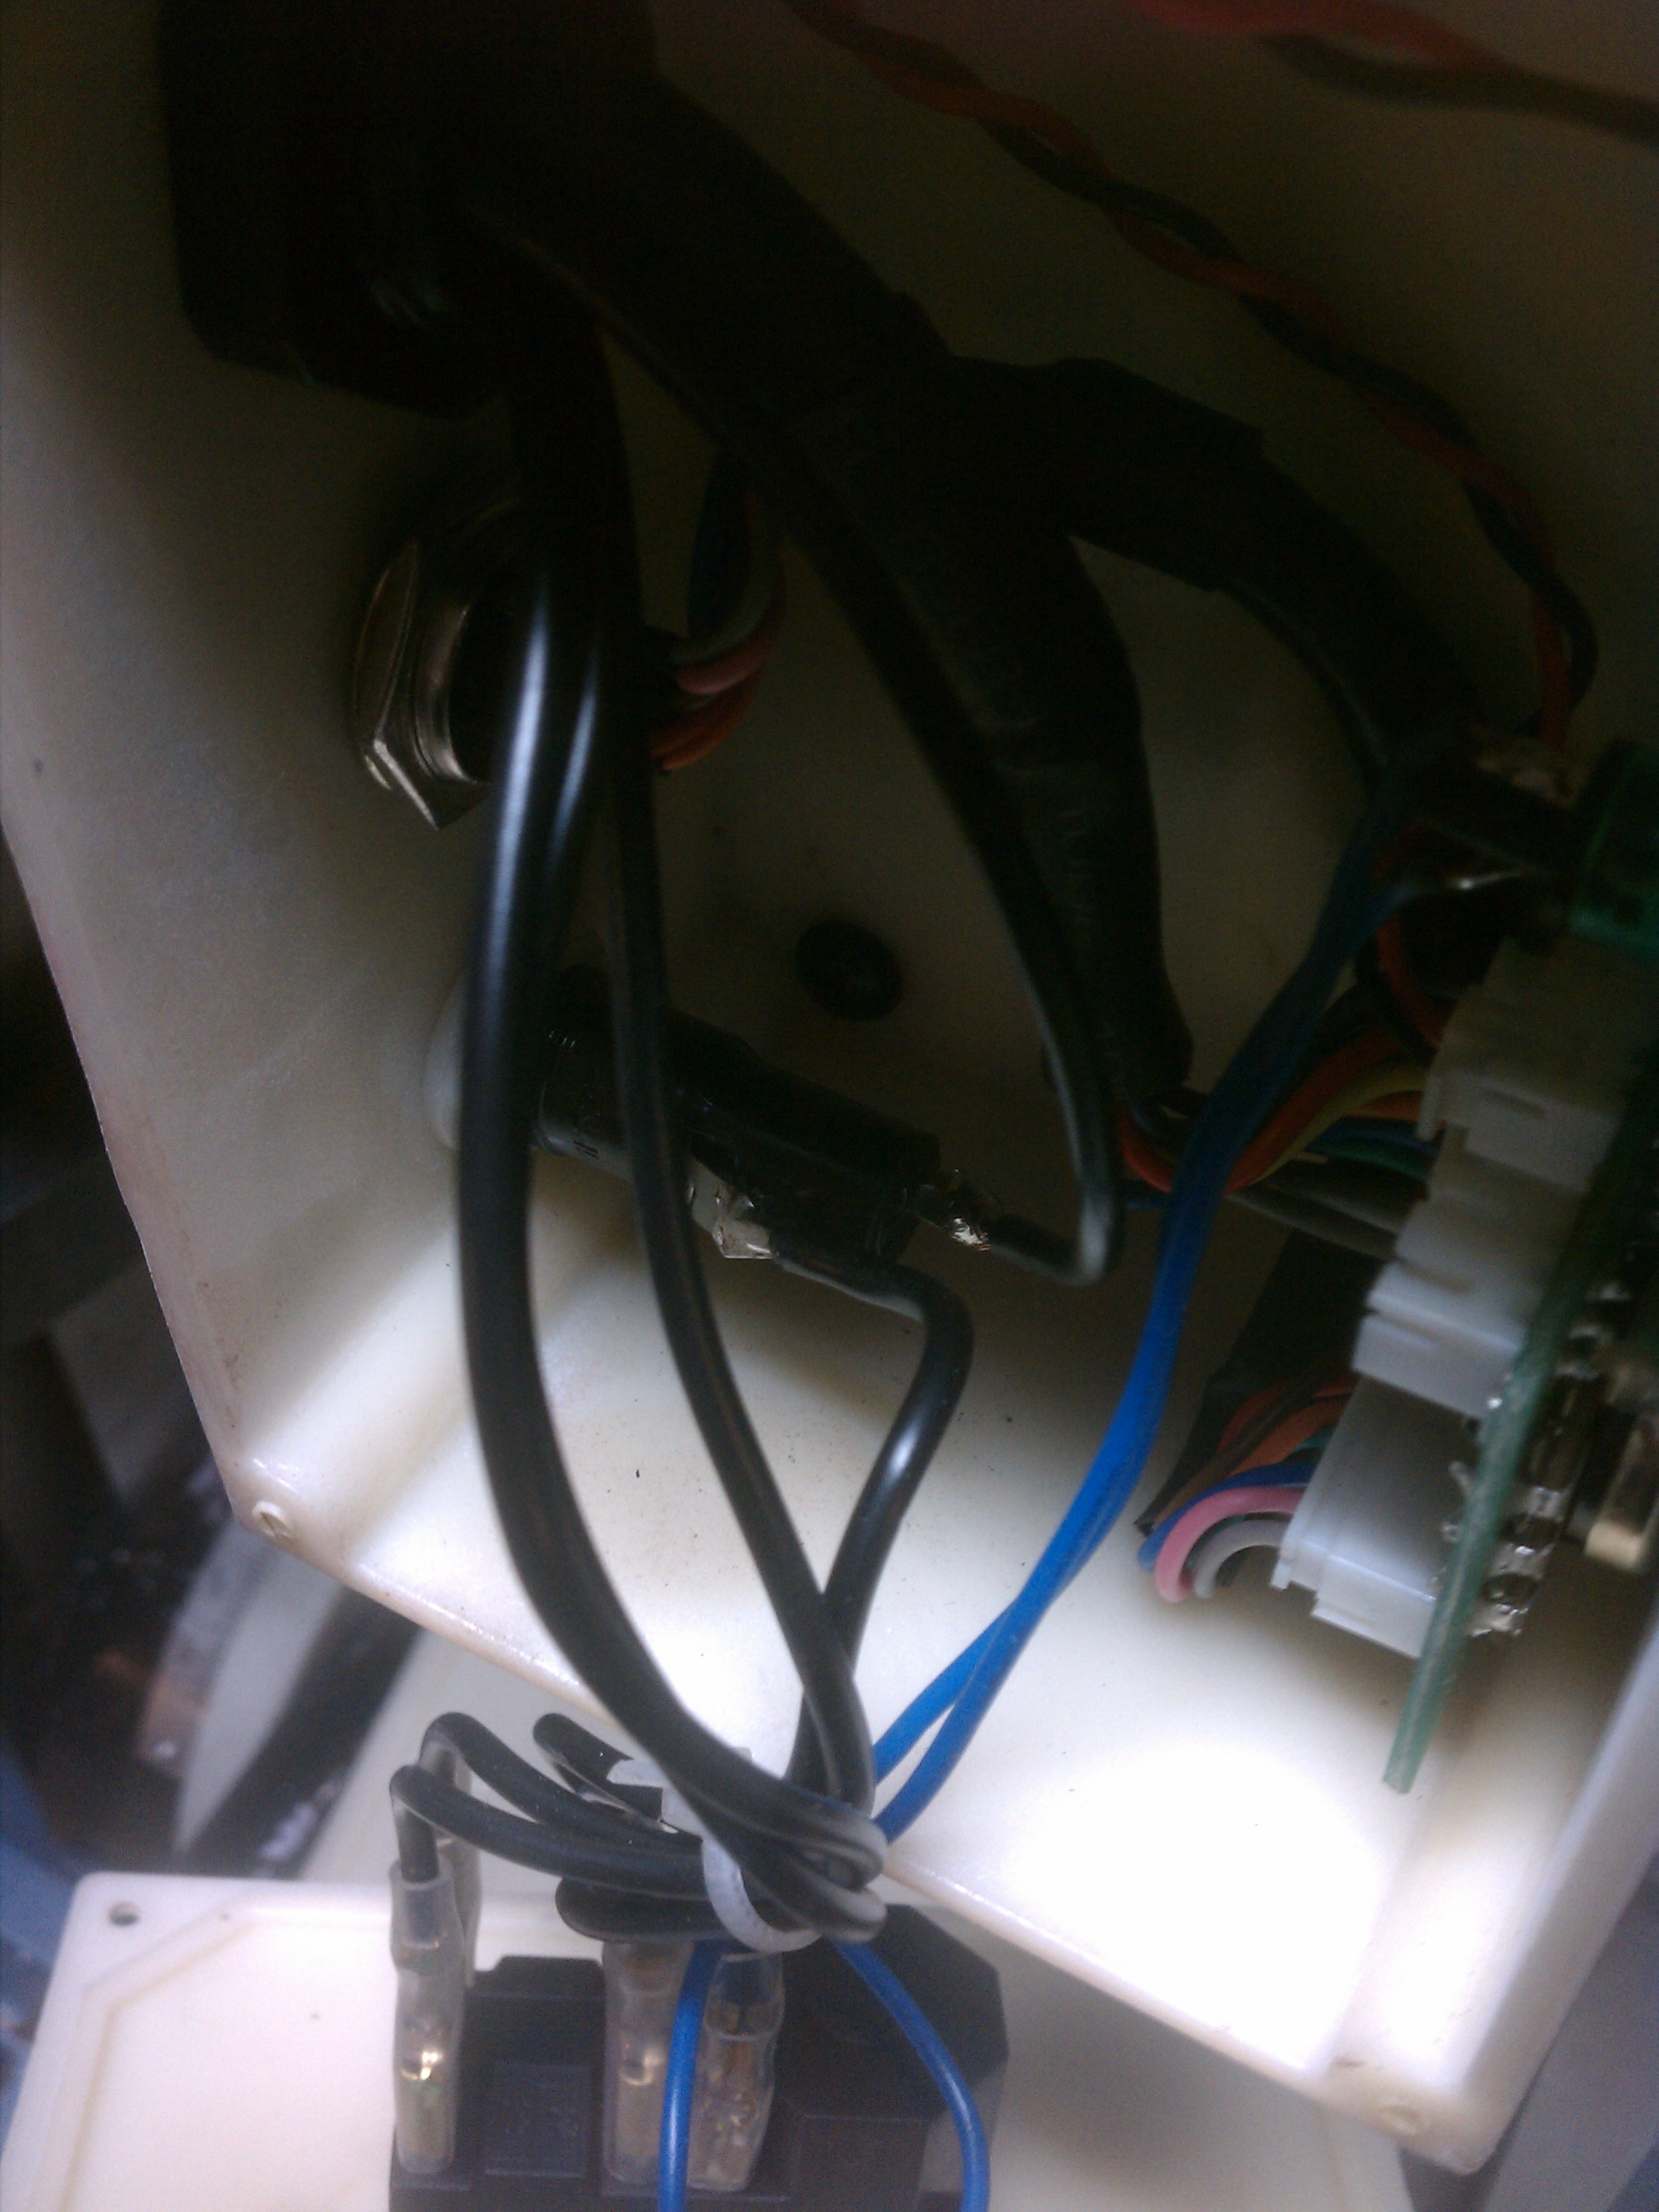
Mounting the spindle control
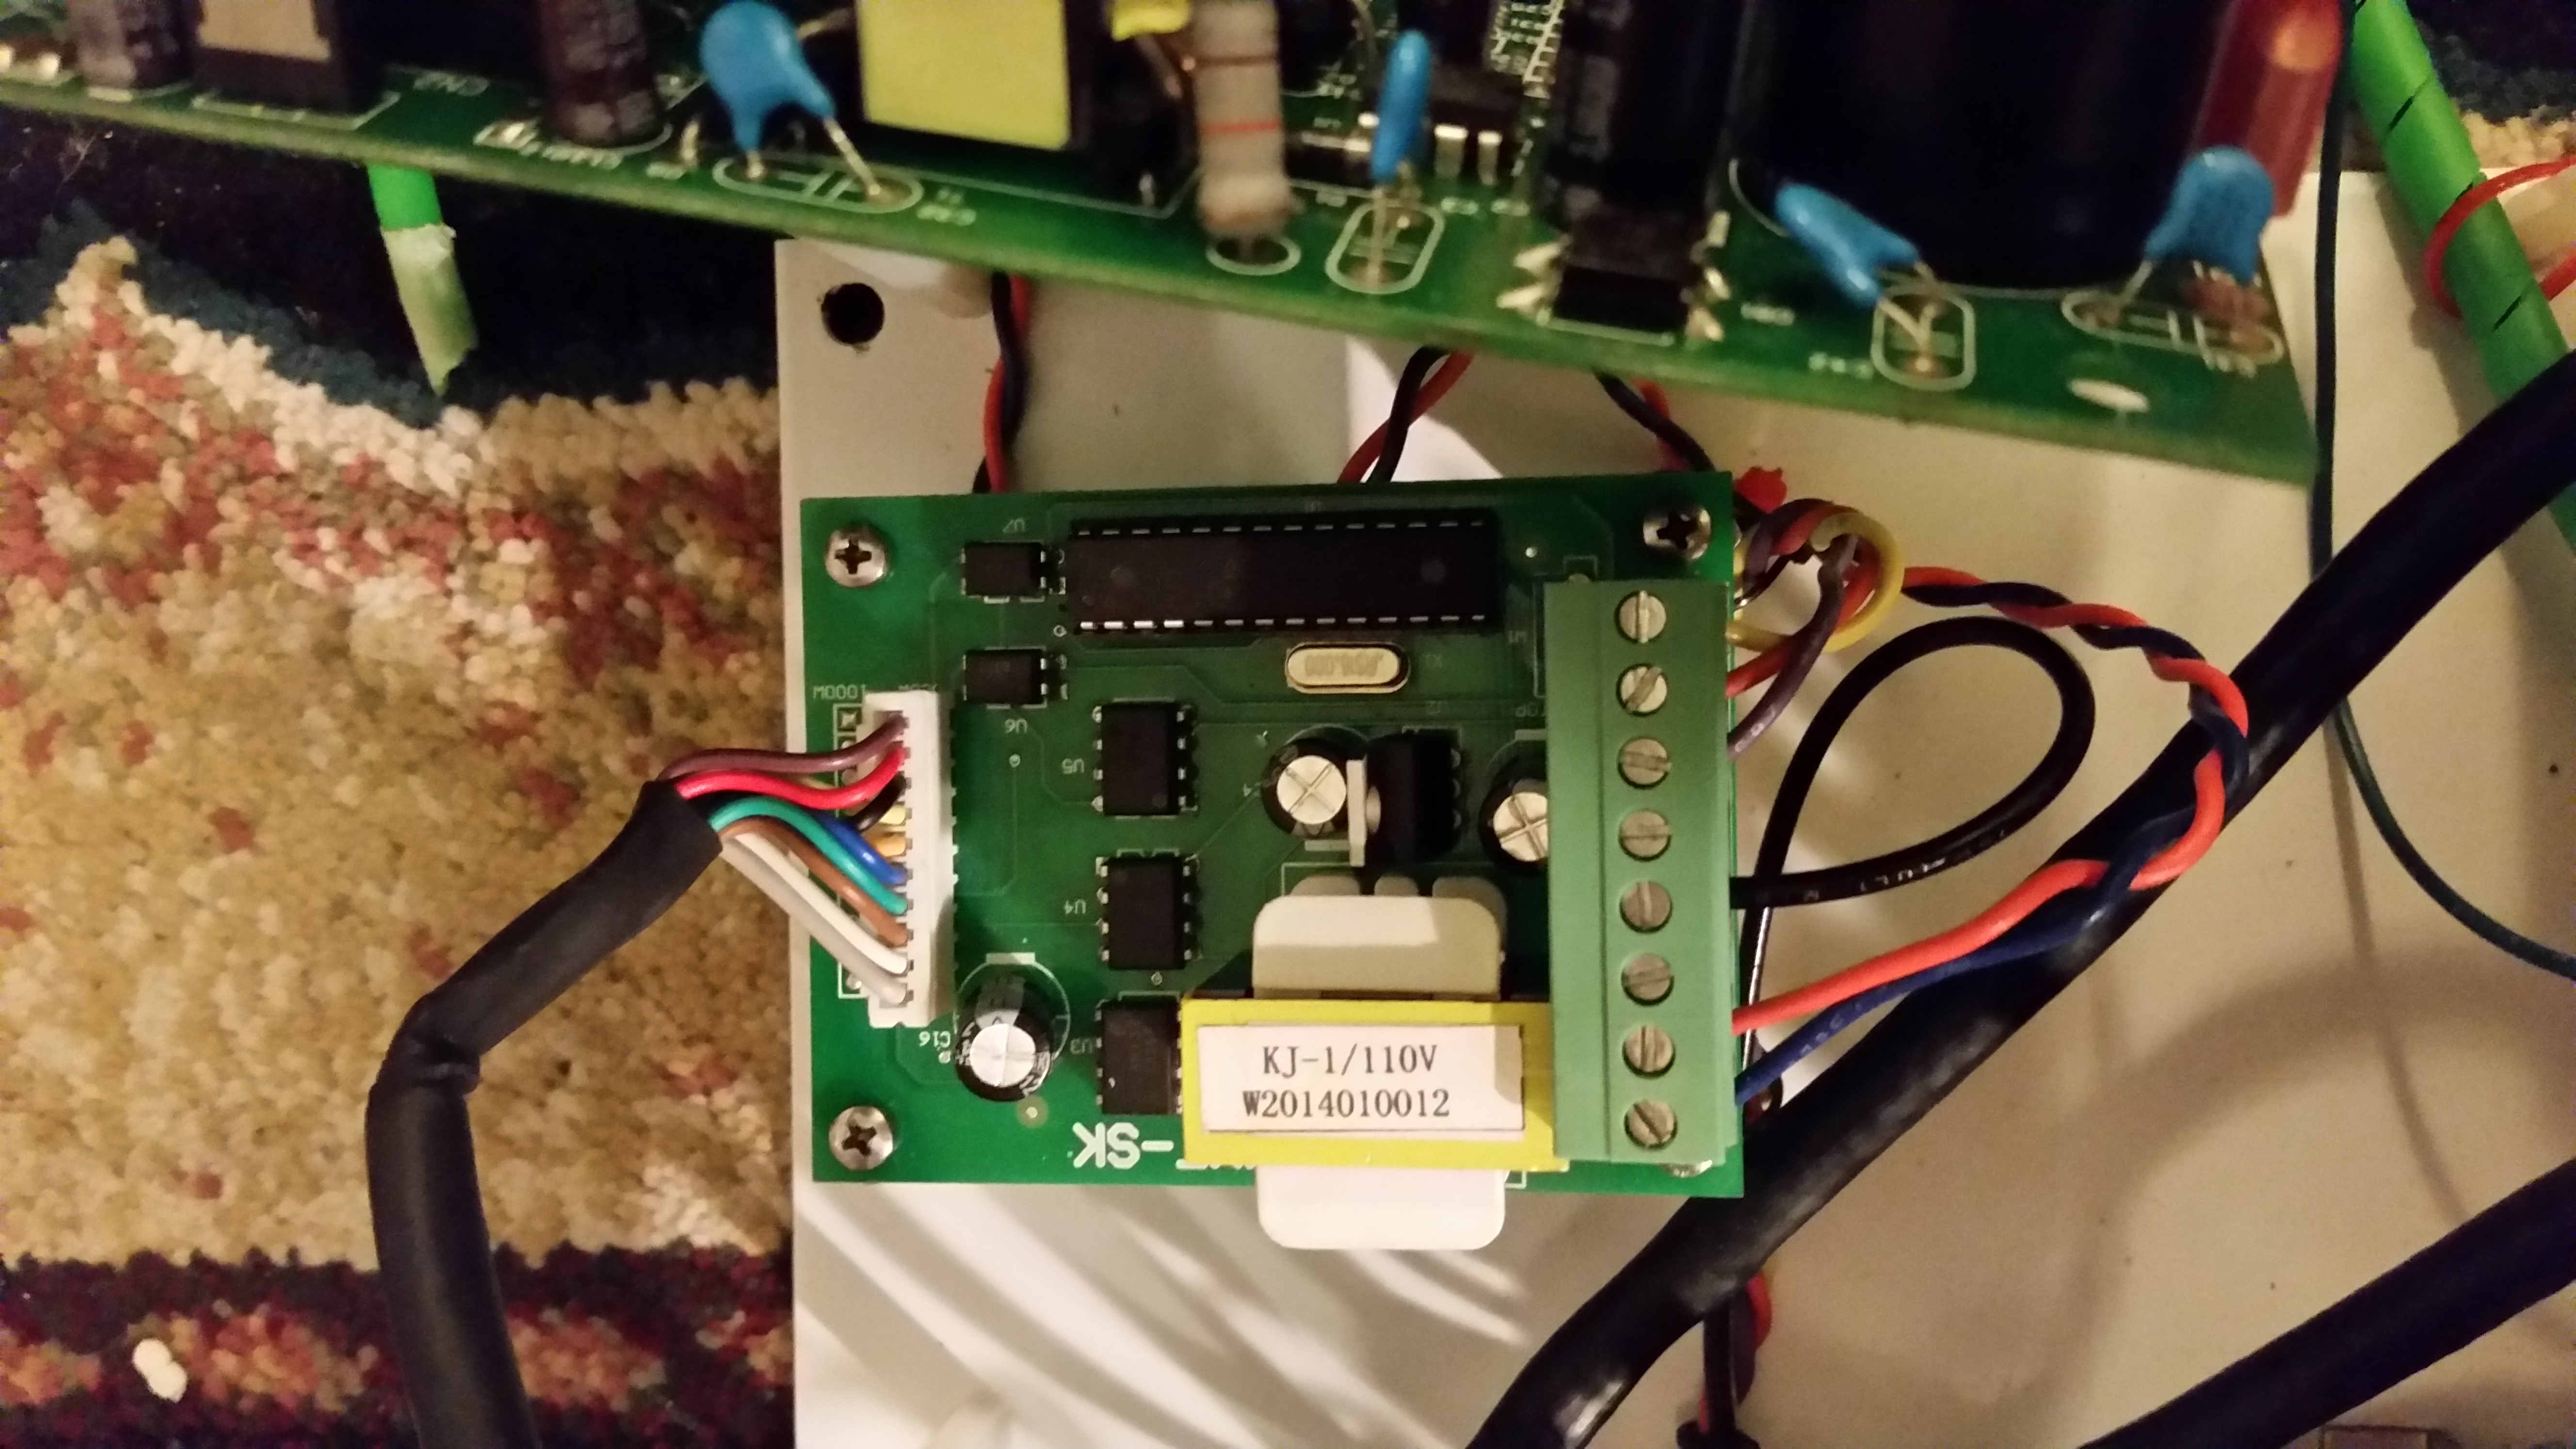
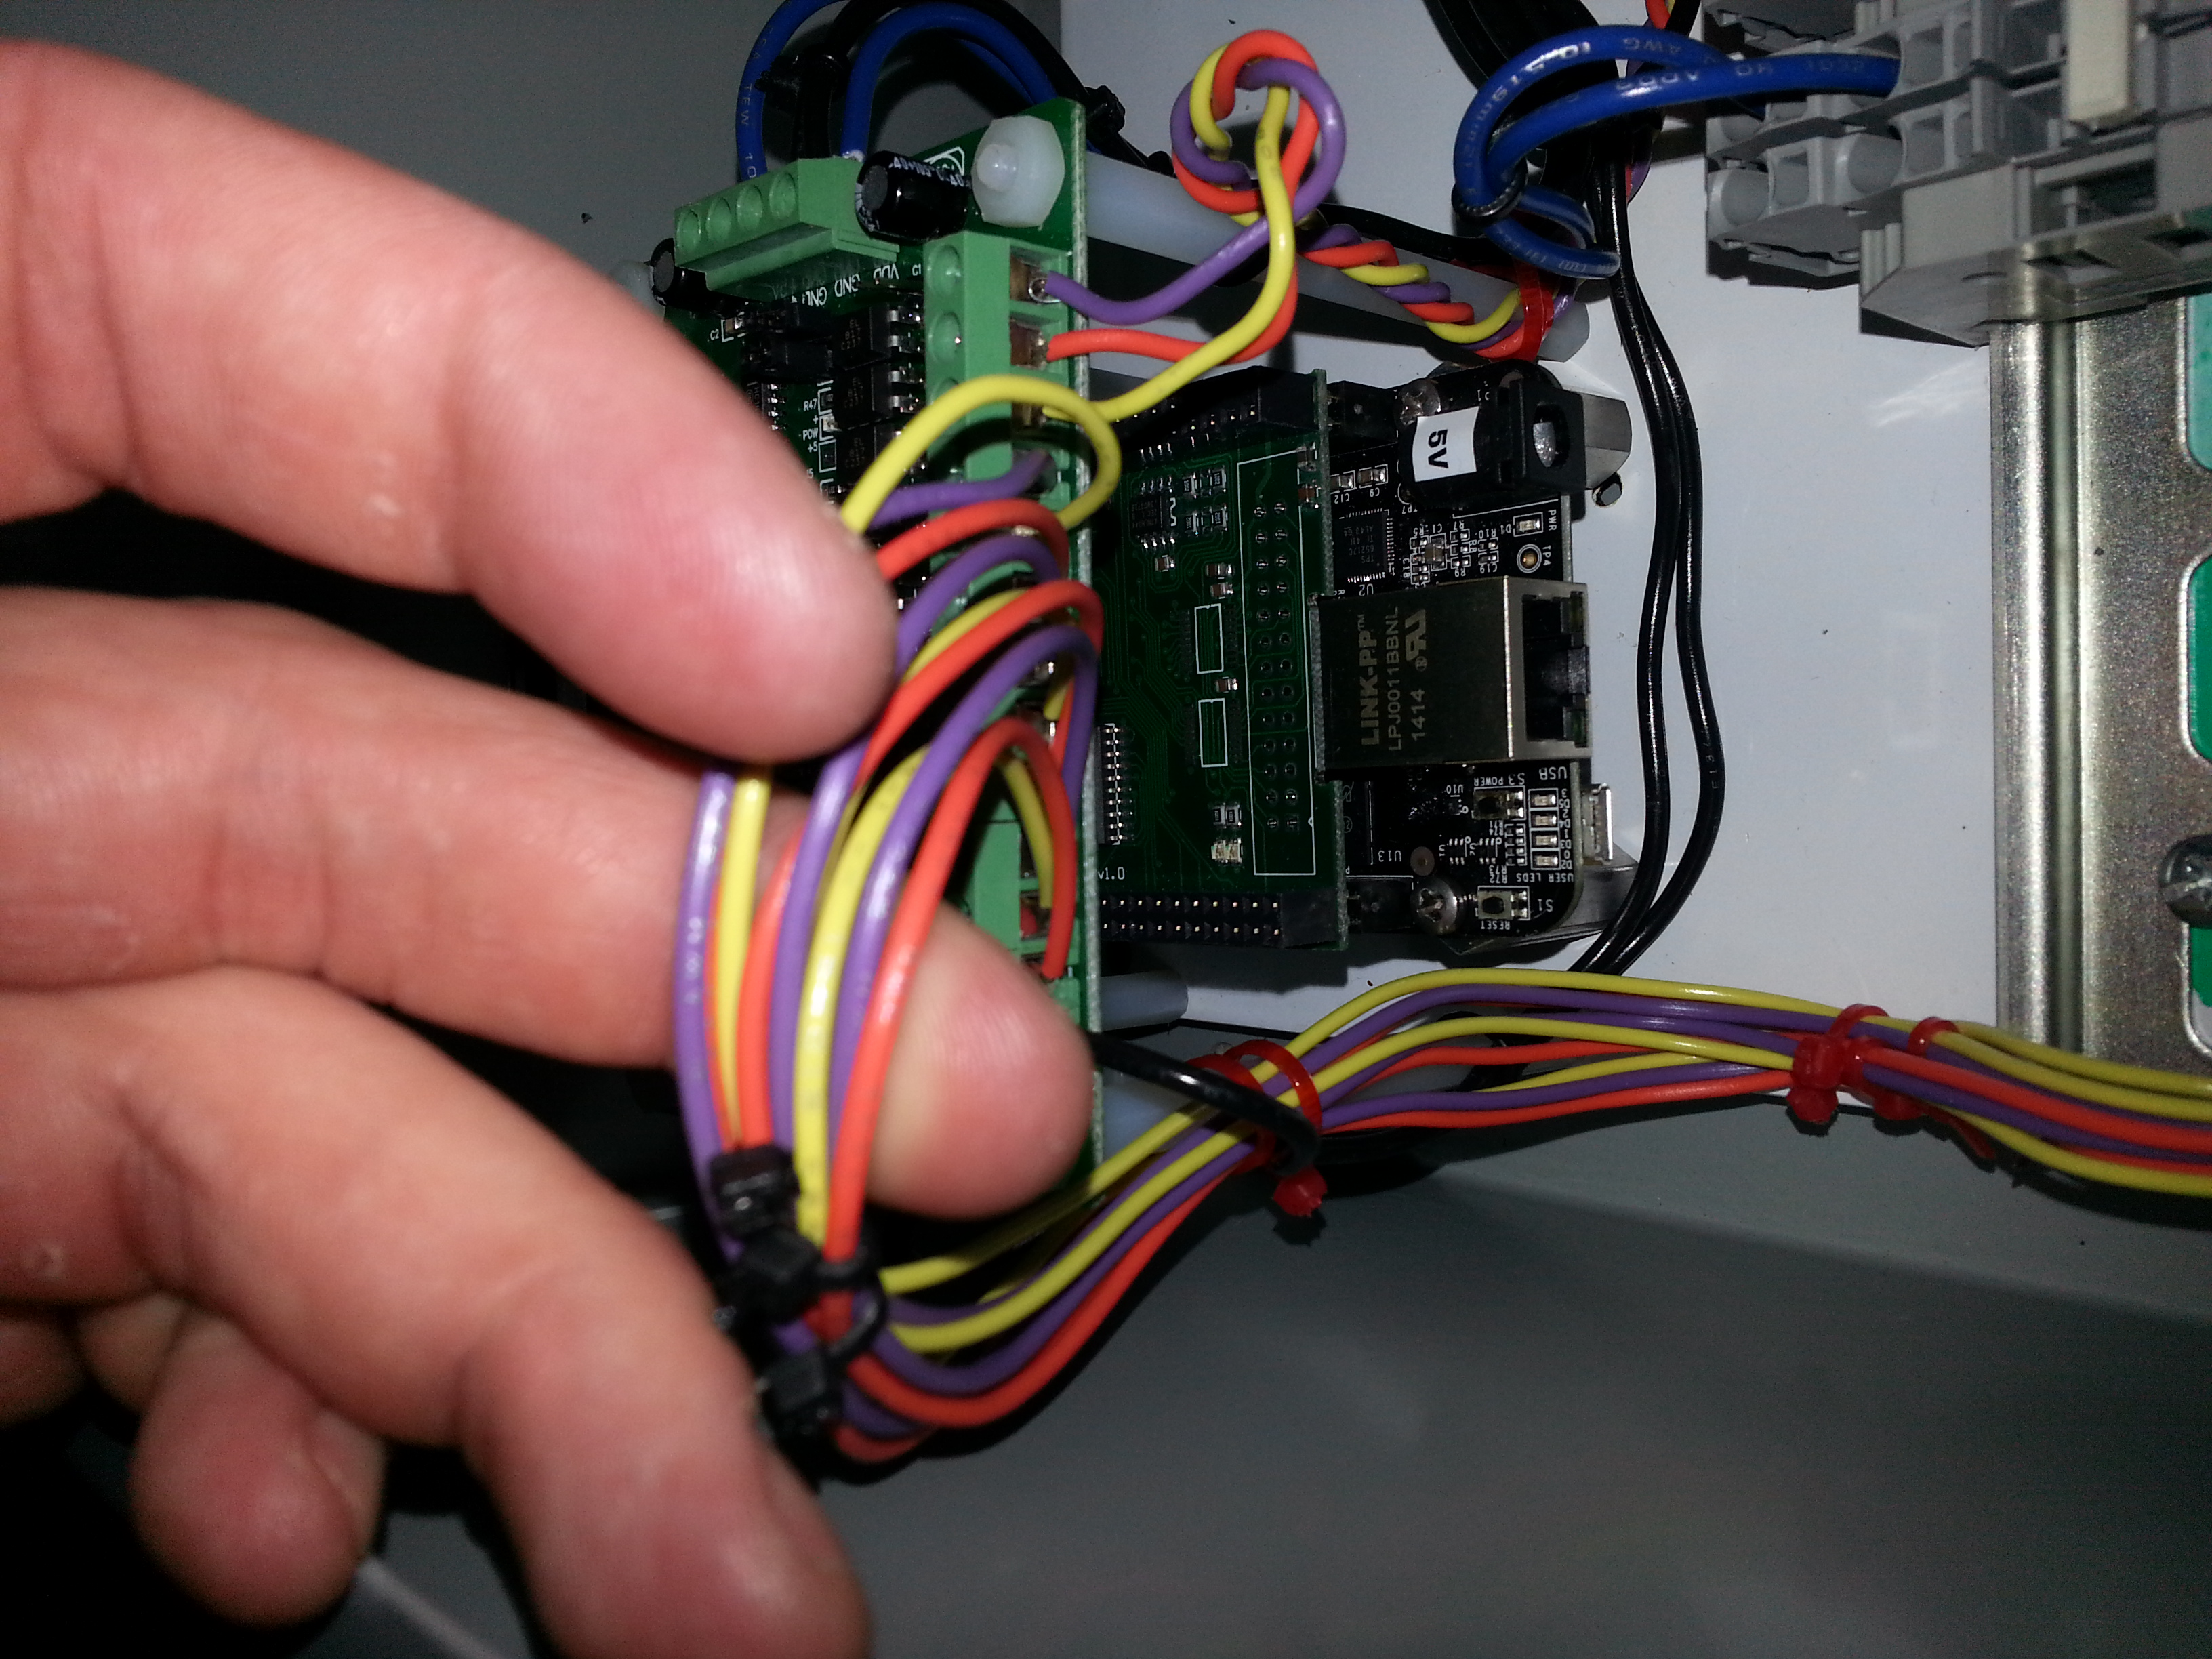
Wiring the spindle control to the CNC controller board. This is a direct replacement available for this mill from Little Machine Shop.

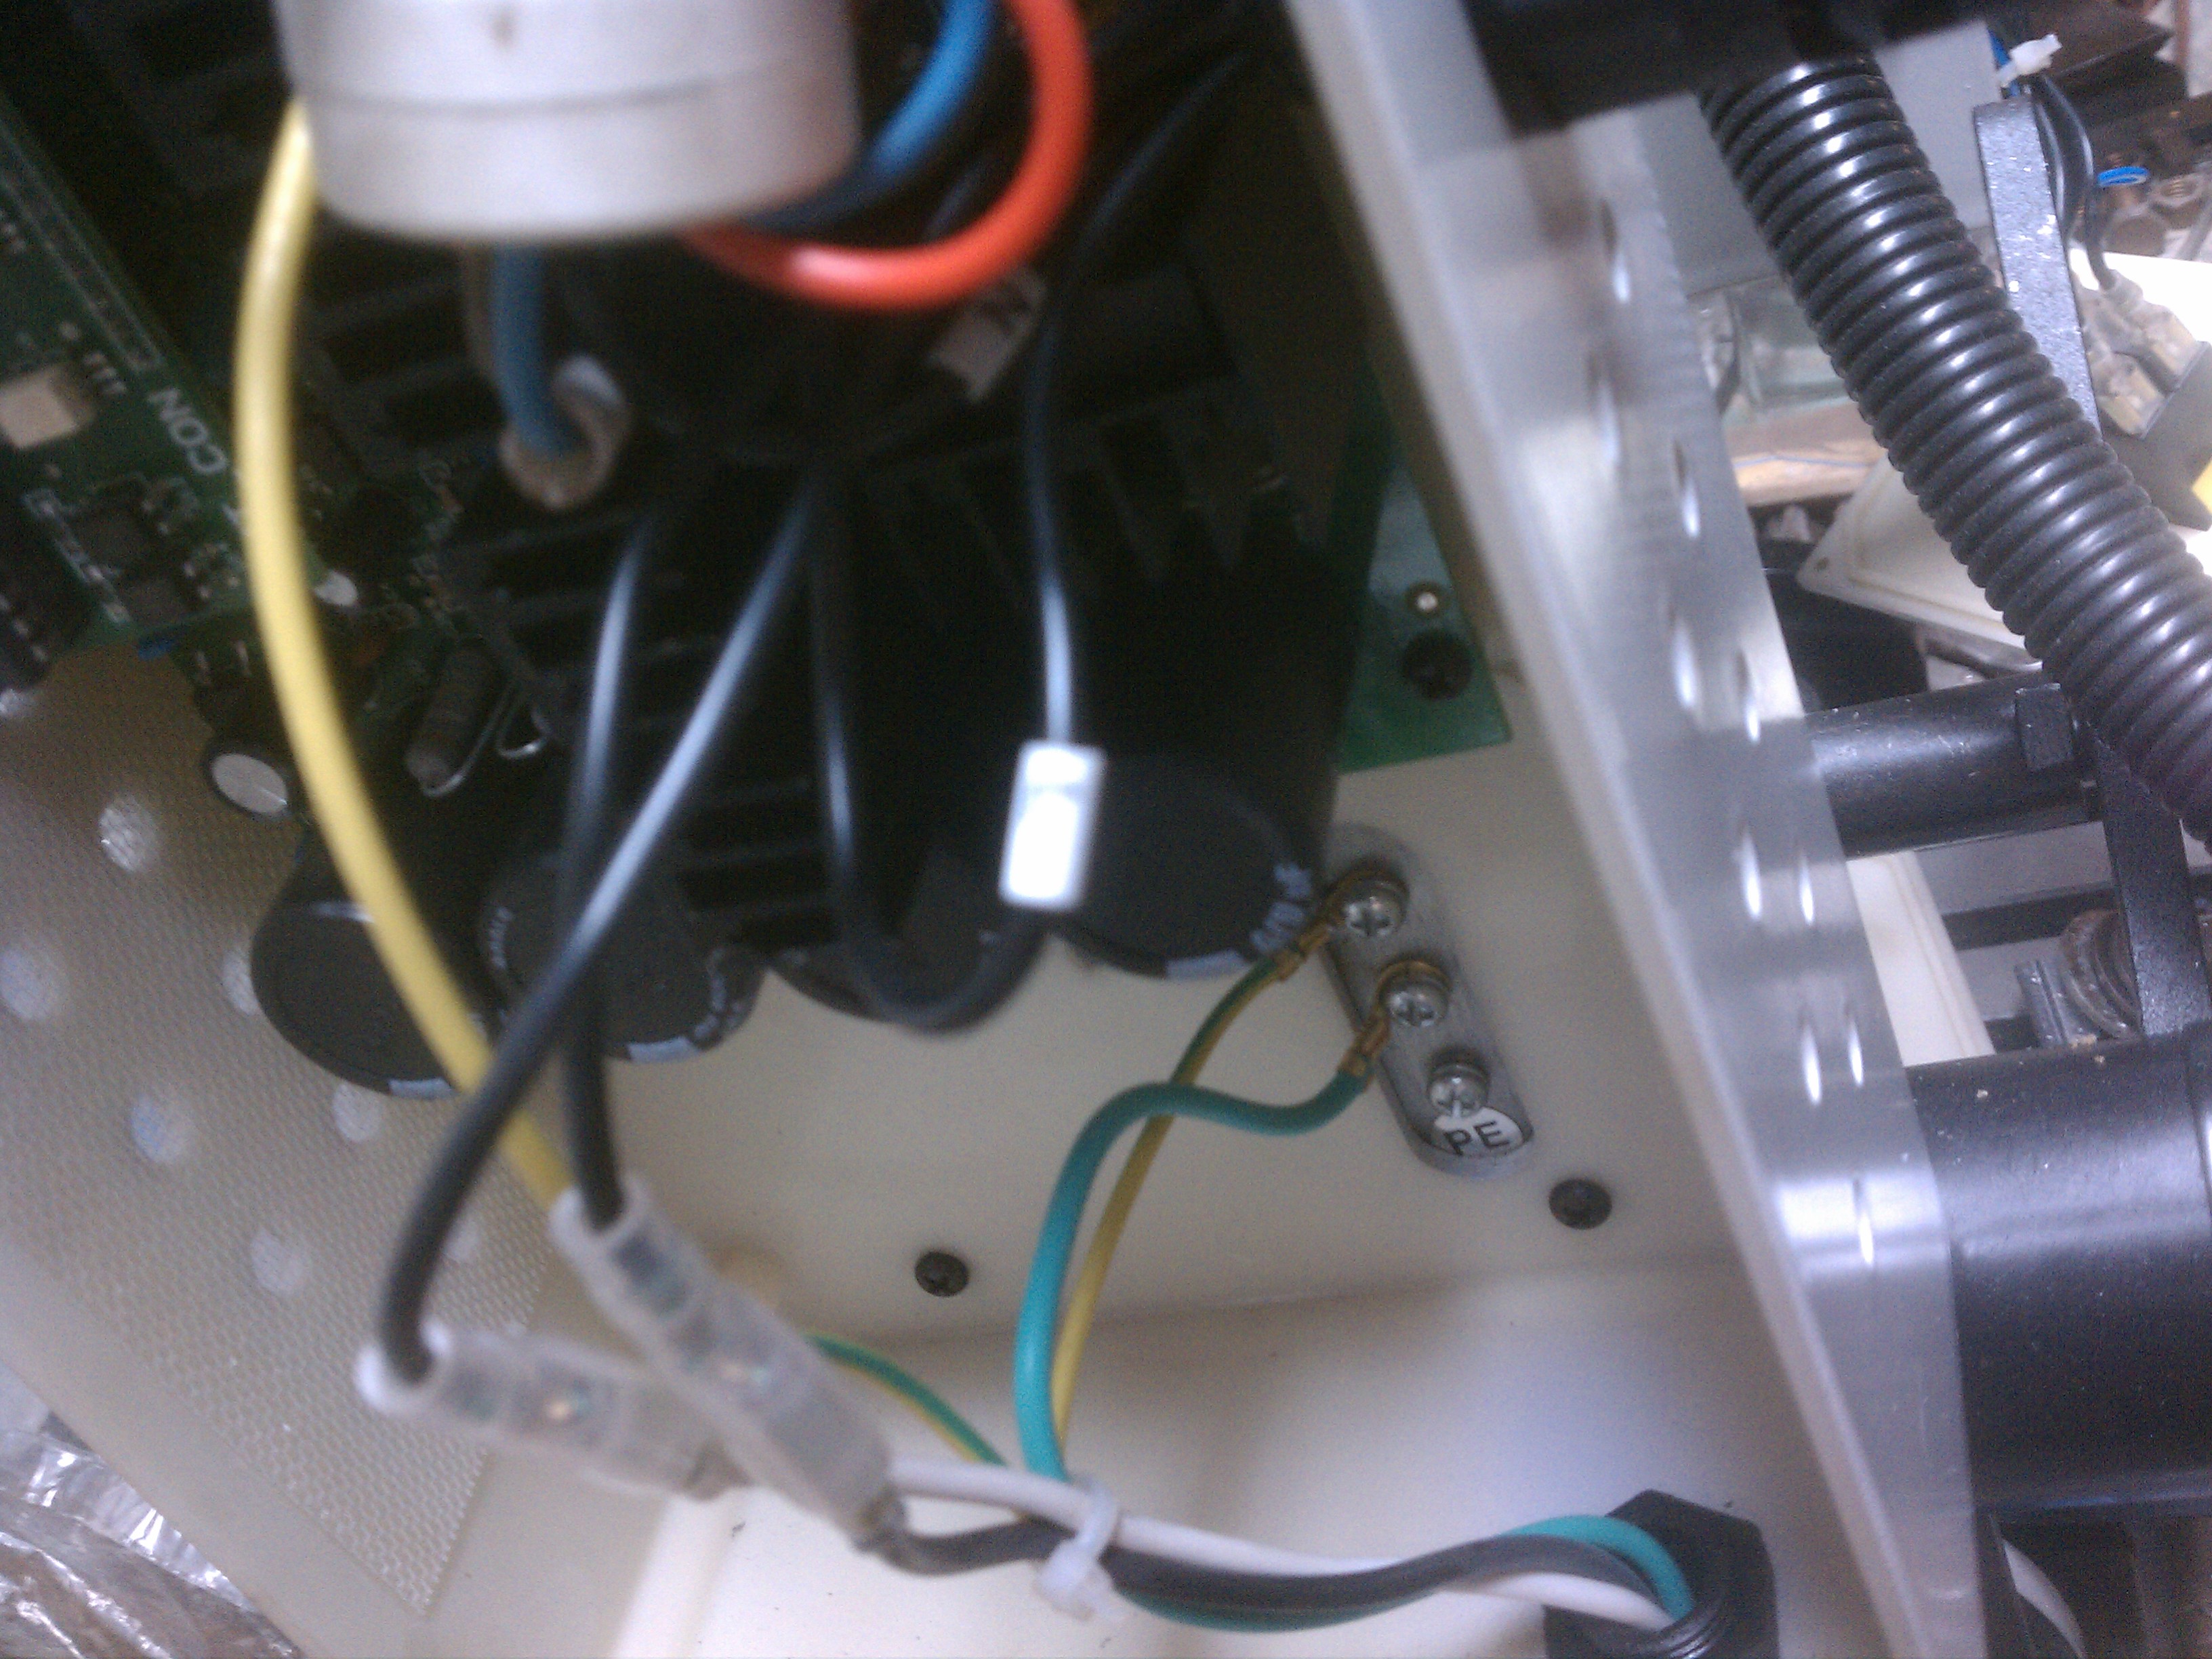
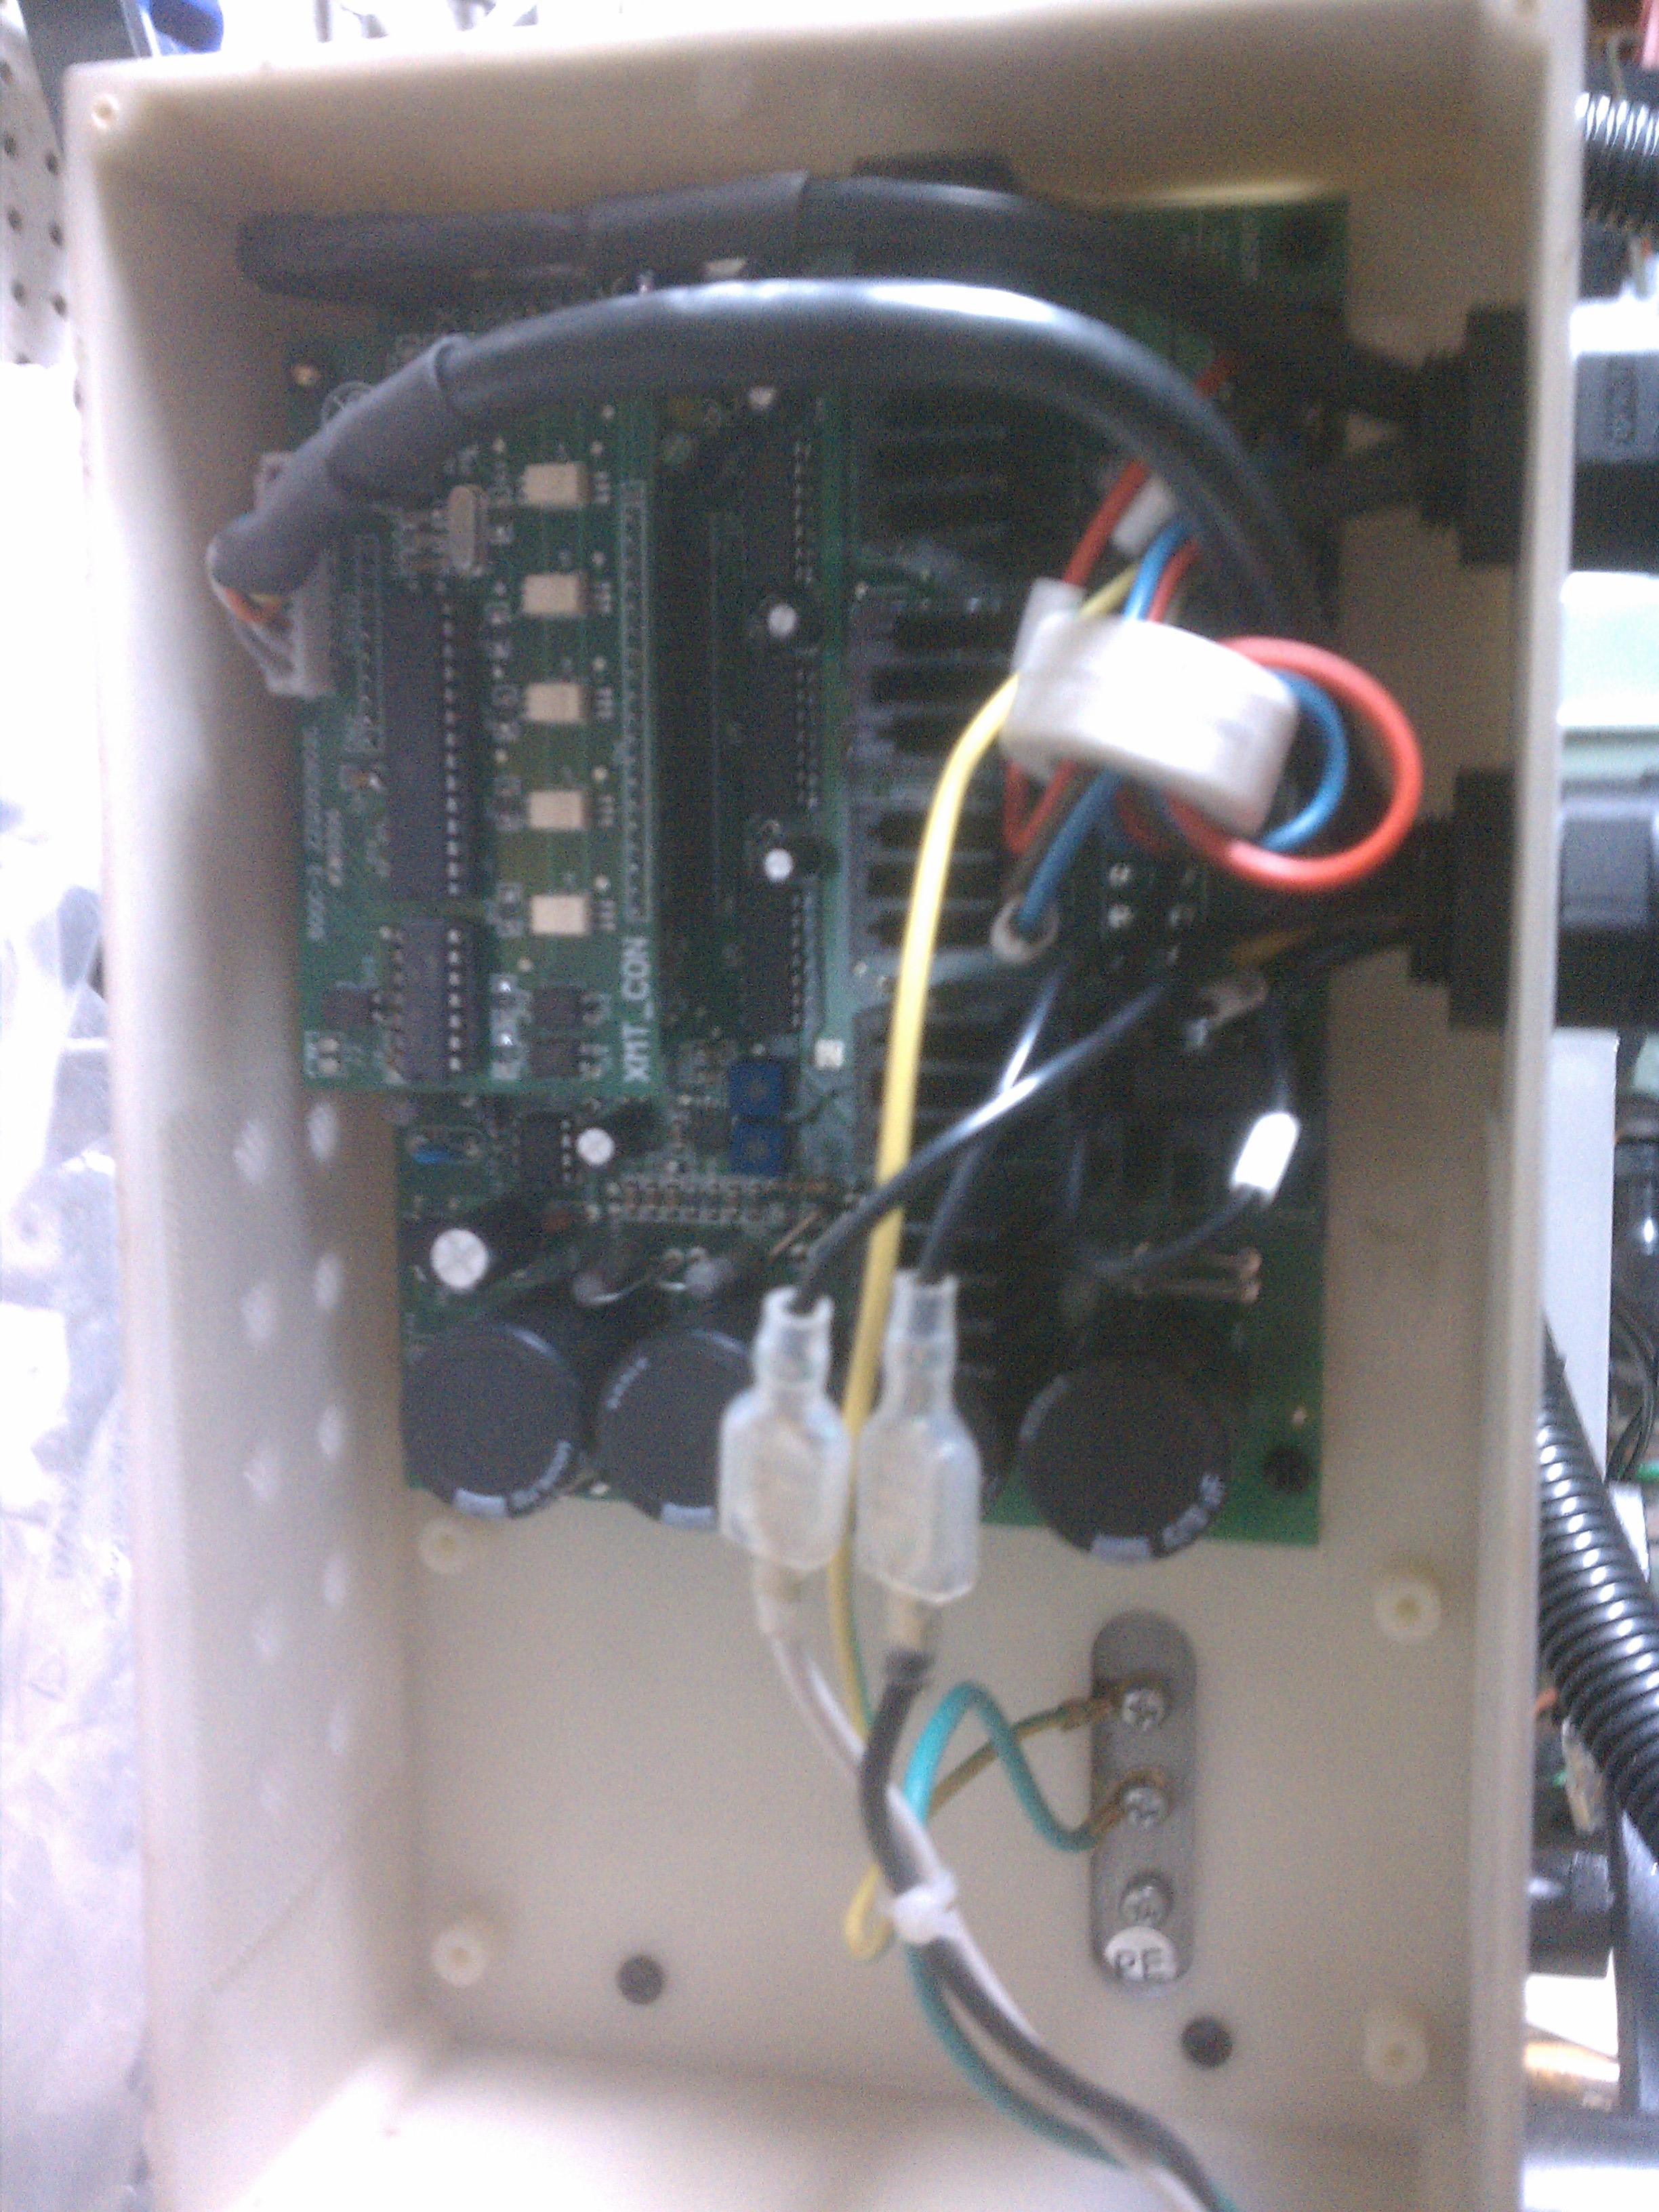
Cnc control board as seen mounted on the enclosure.
Electronics Enclosure

Mounting the read of the main column

View of the connections to the motors and end stops. I also added HDMI, USB, and Ethernet pass throughs to allow connection to the beagle bone.
Complete
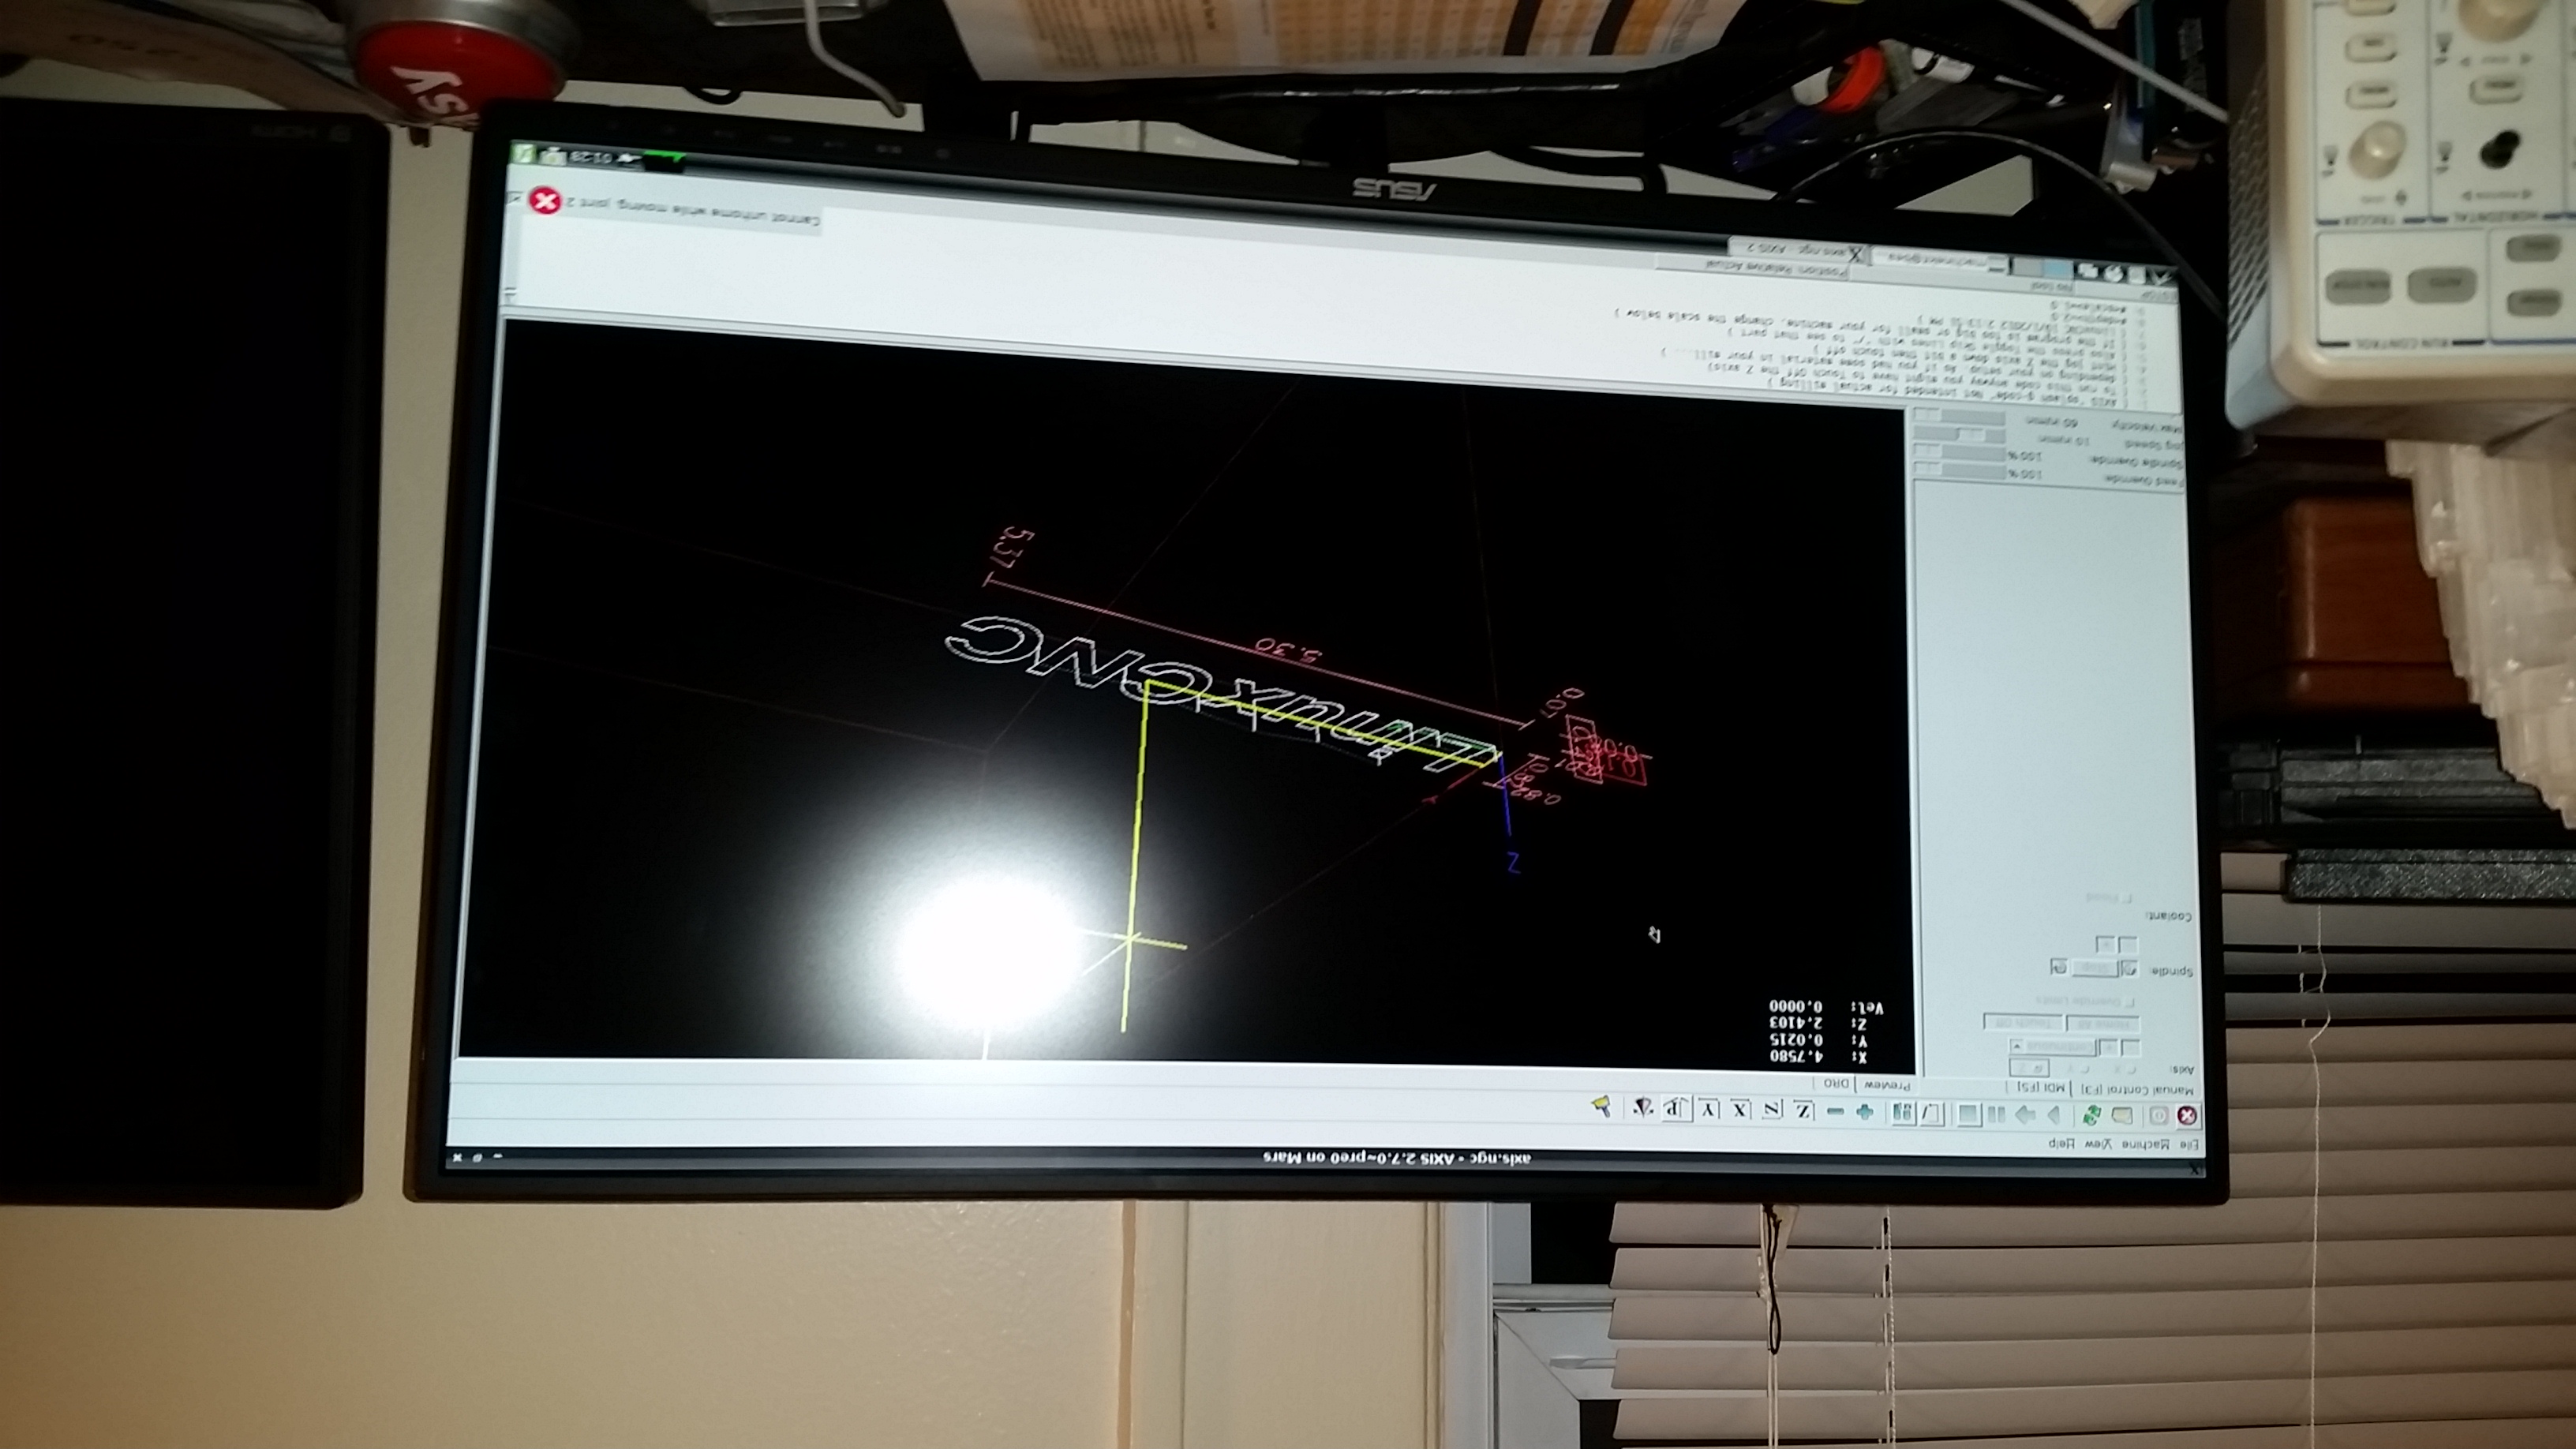
View of machine kit (Linux cnc) running on the beagle bone black.
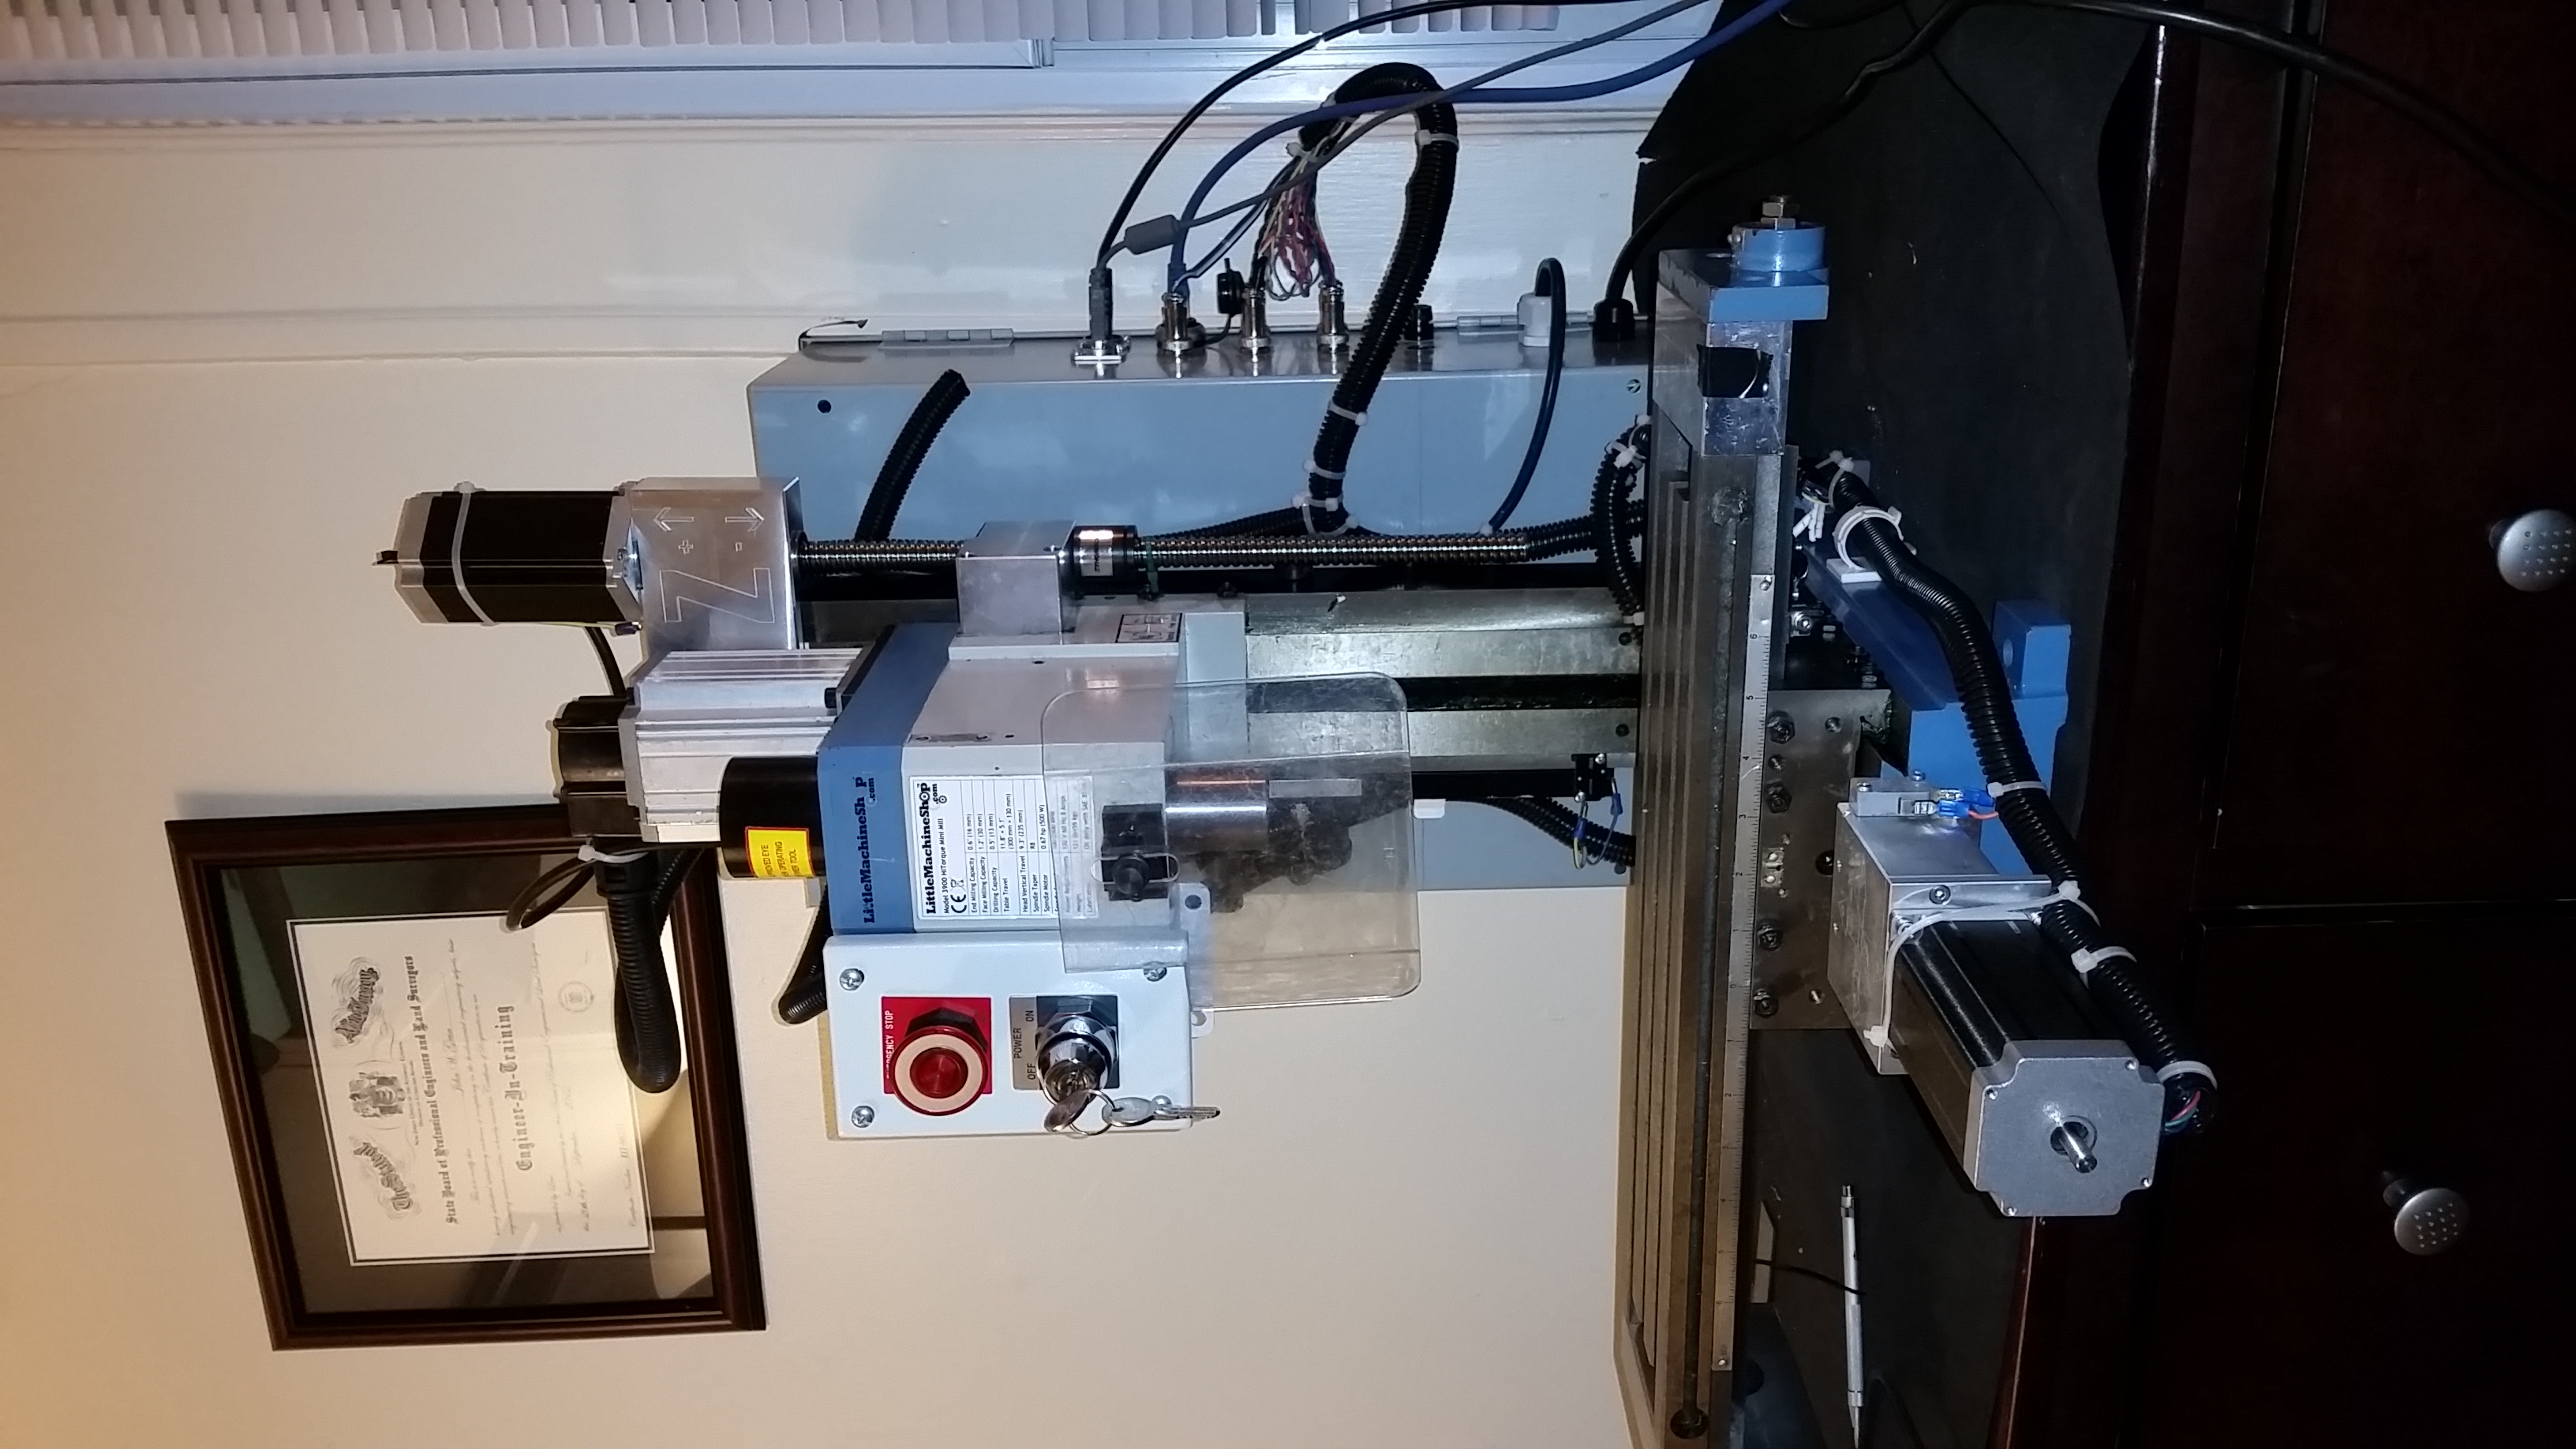
Completed CNC machine
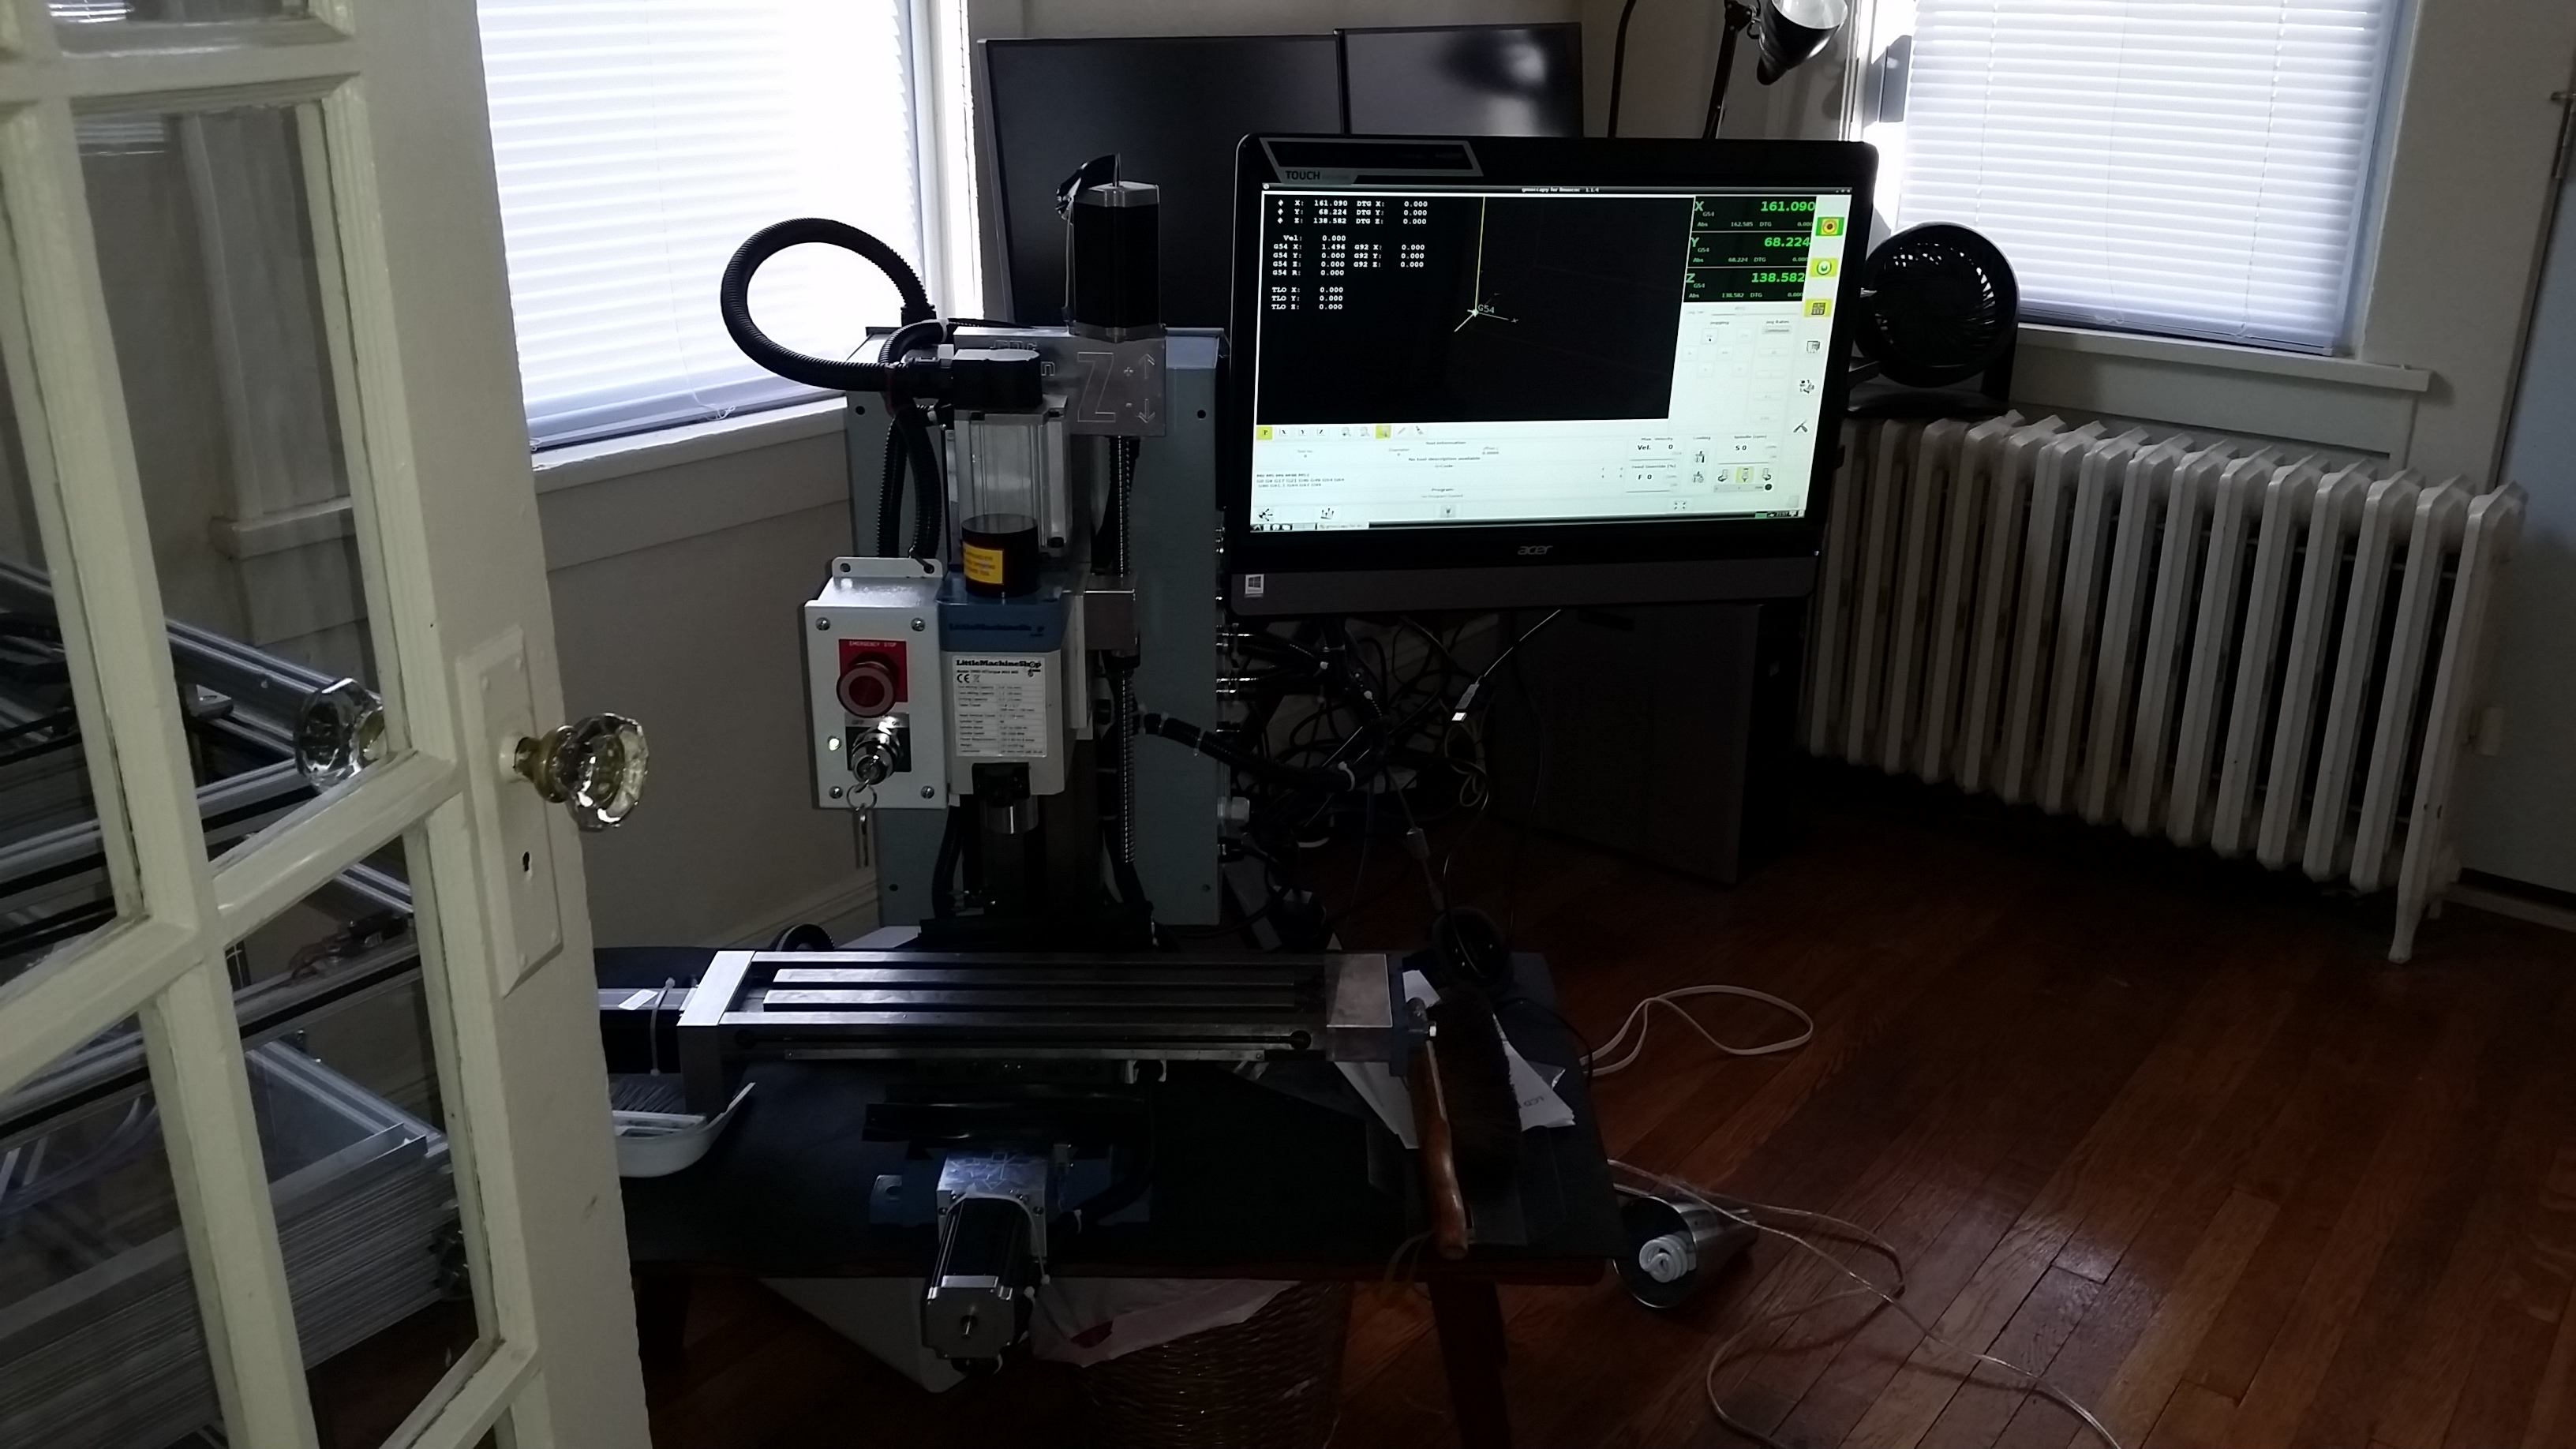
Cnc up and running with monitor mounted on side.