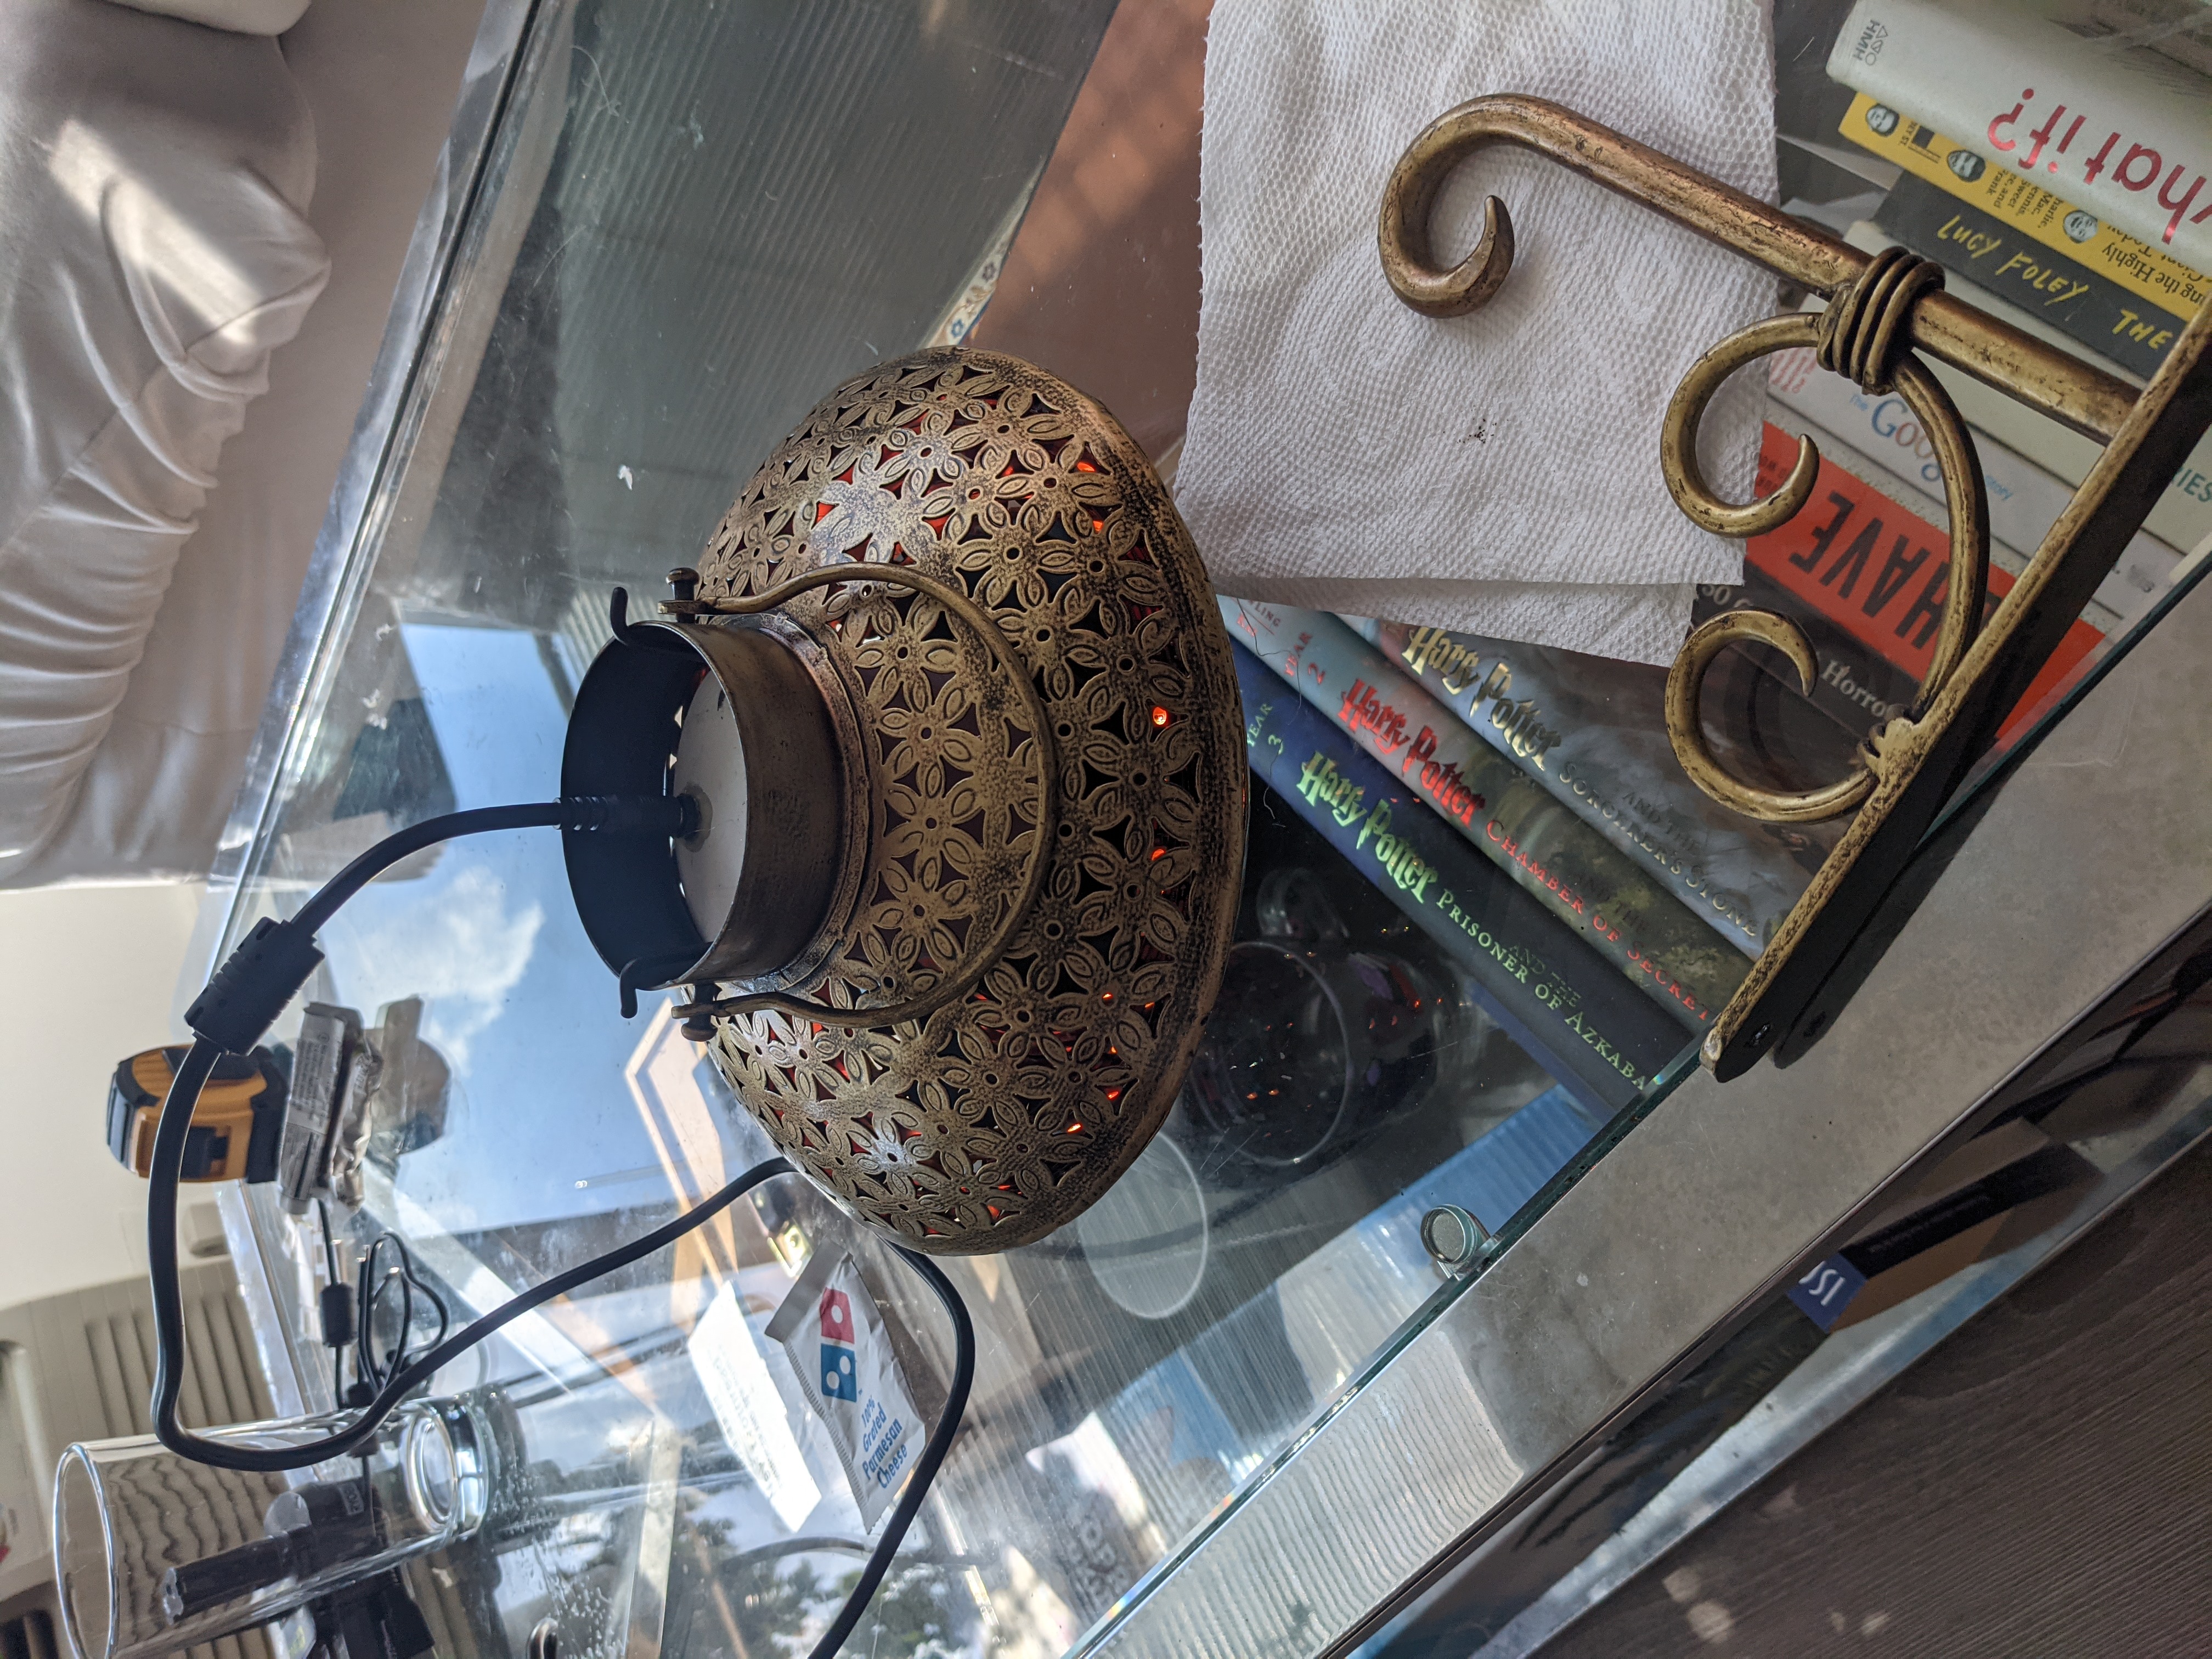
While traveling in India I came across these nice looking tin lamps.

It is sometimes called a Degchi lamp. Since I am not a fan of open flames so leds will have to fill in the role of a candle. This build will be a bit rough. I will refine the lamp in later posts.
Parts
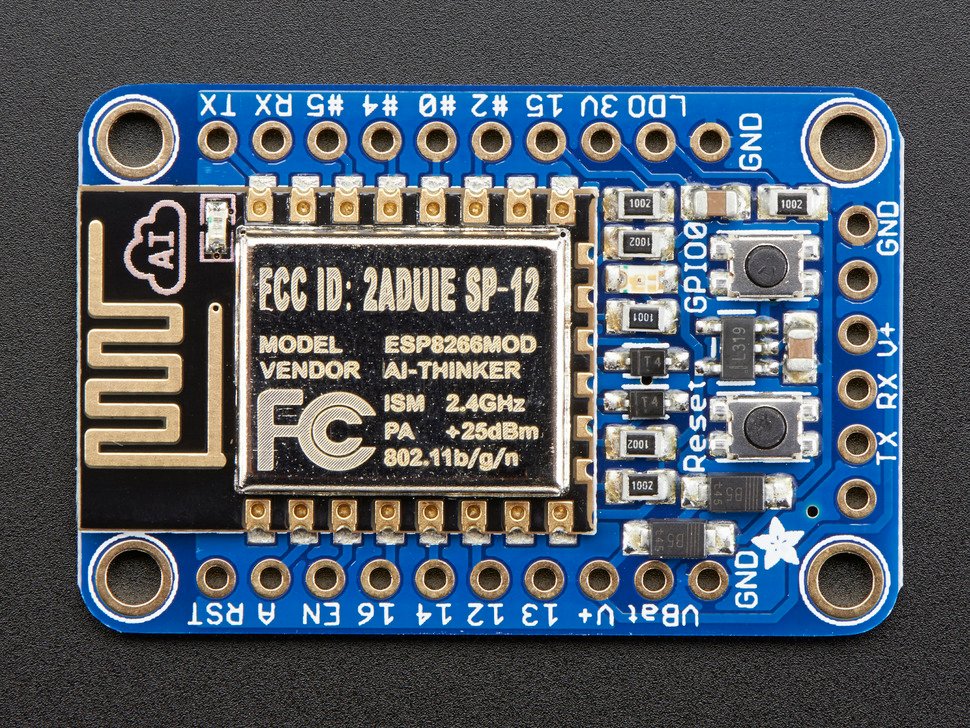
Controller
ESP8266
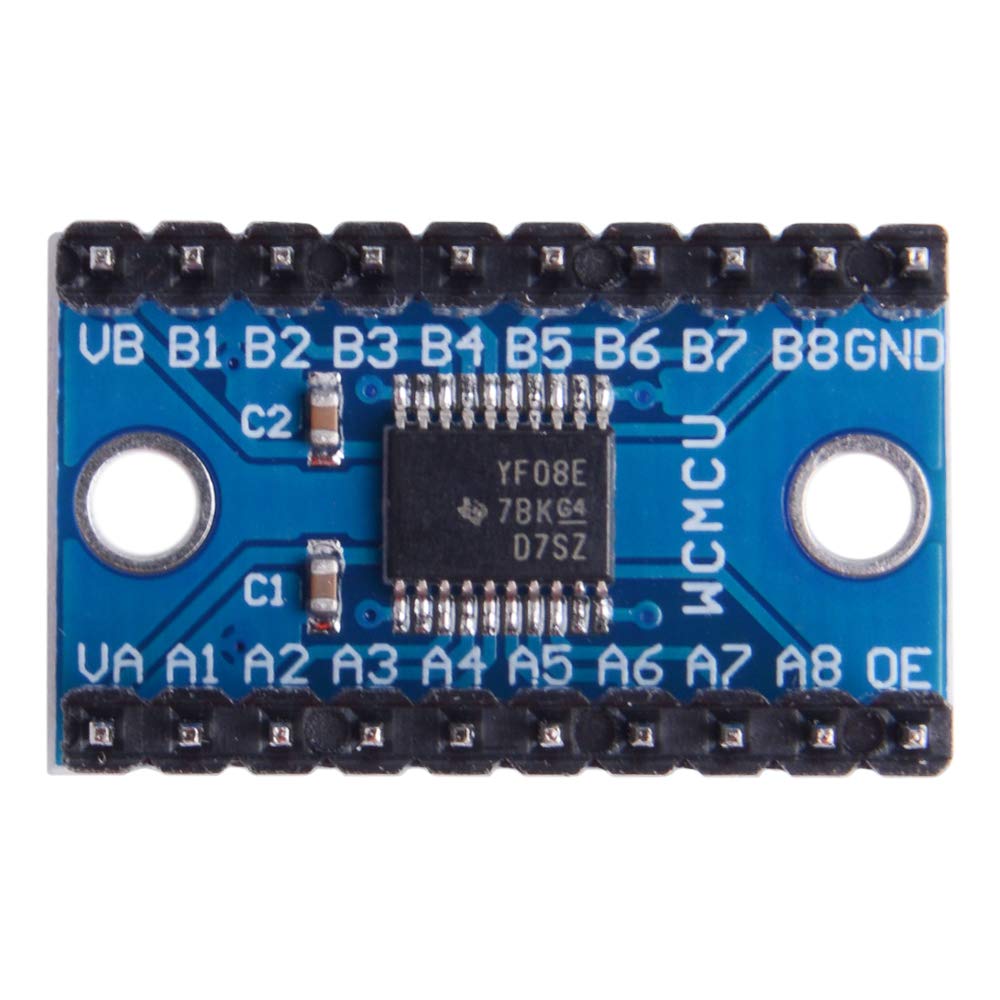
Level shifter
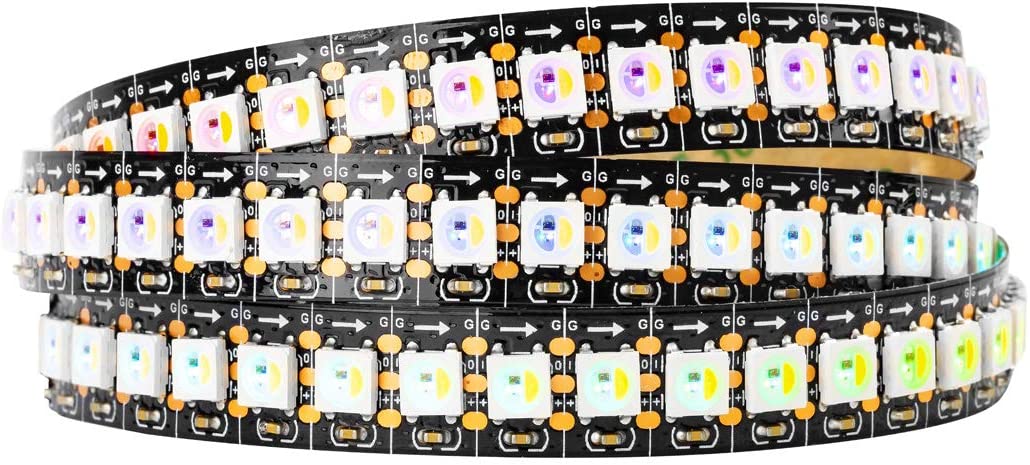
LED Strip
Power supply
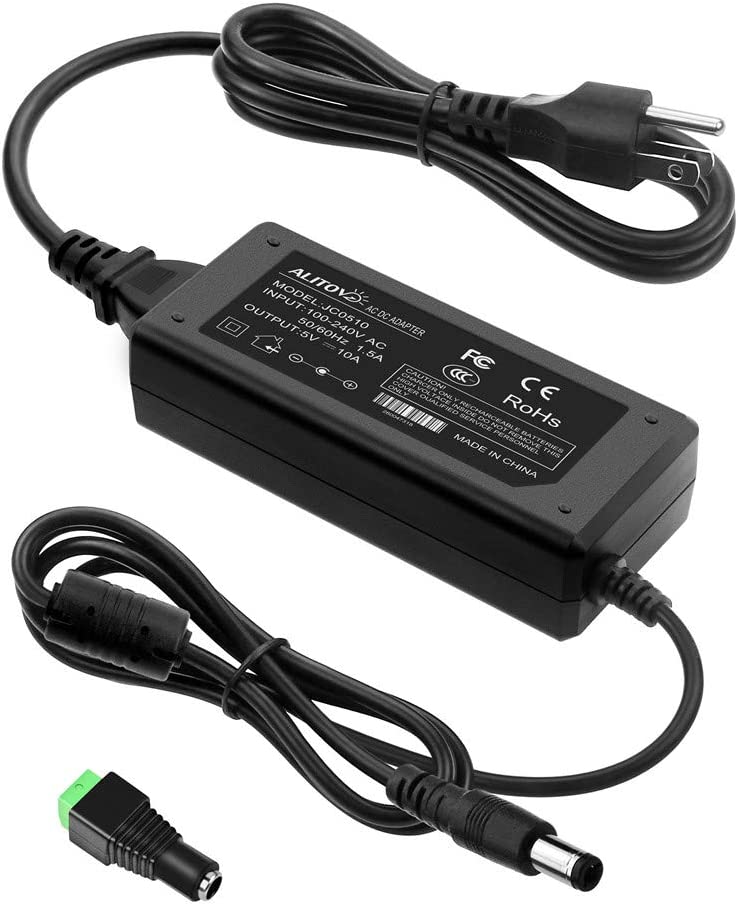
5v 10 amp power upply with barrel plug
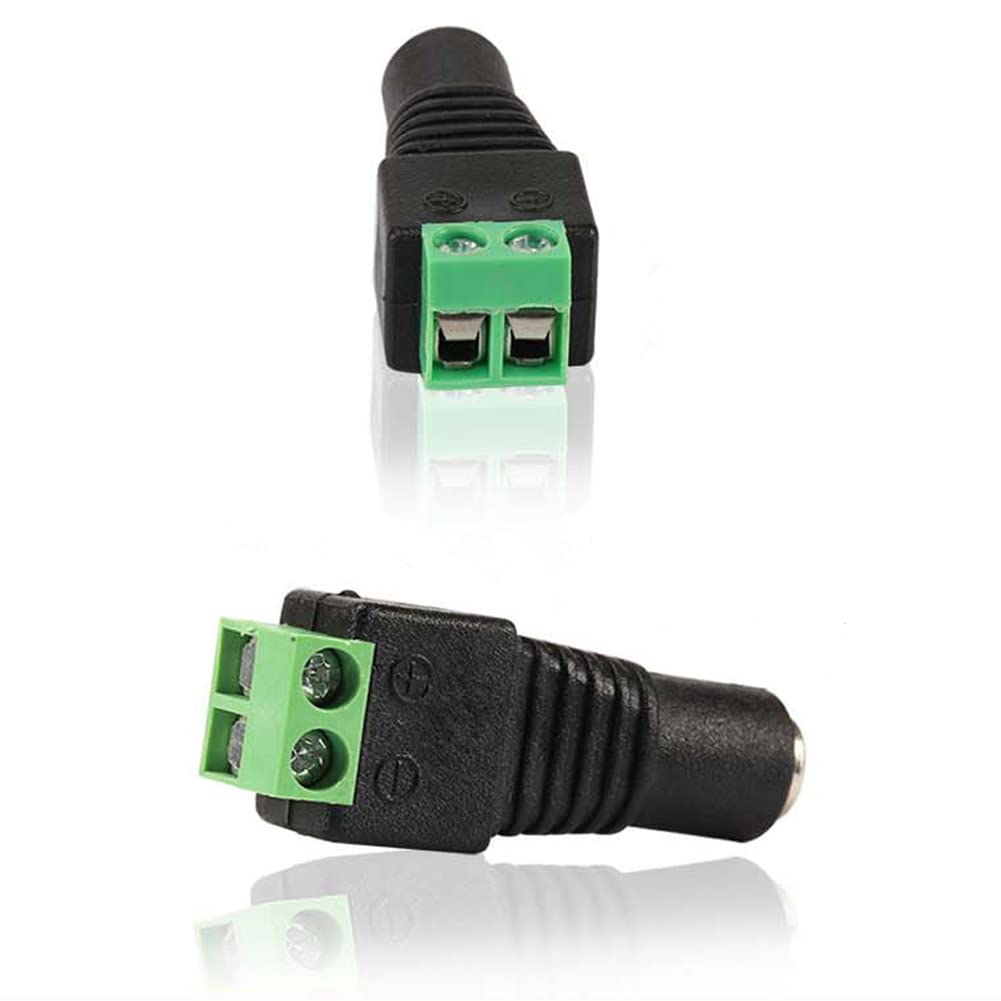
Plug
Software
WLED
Binary
Flashing
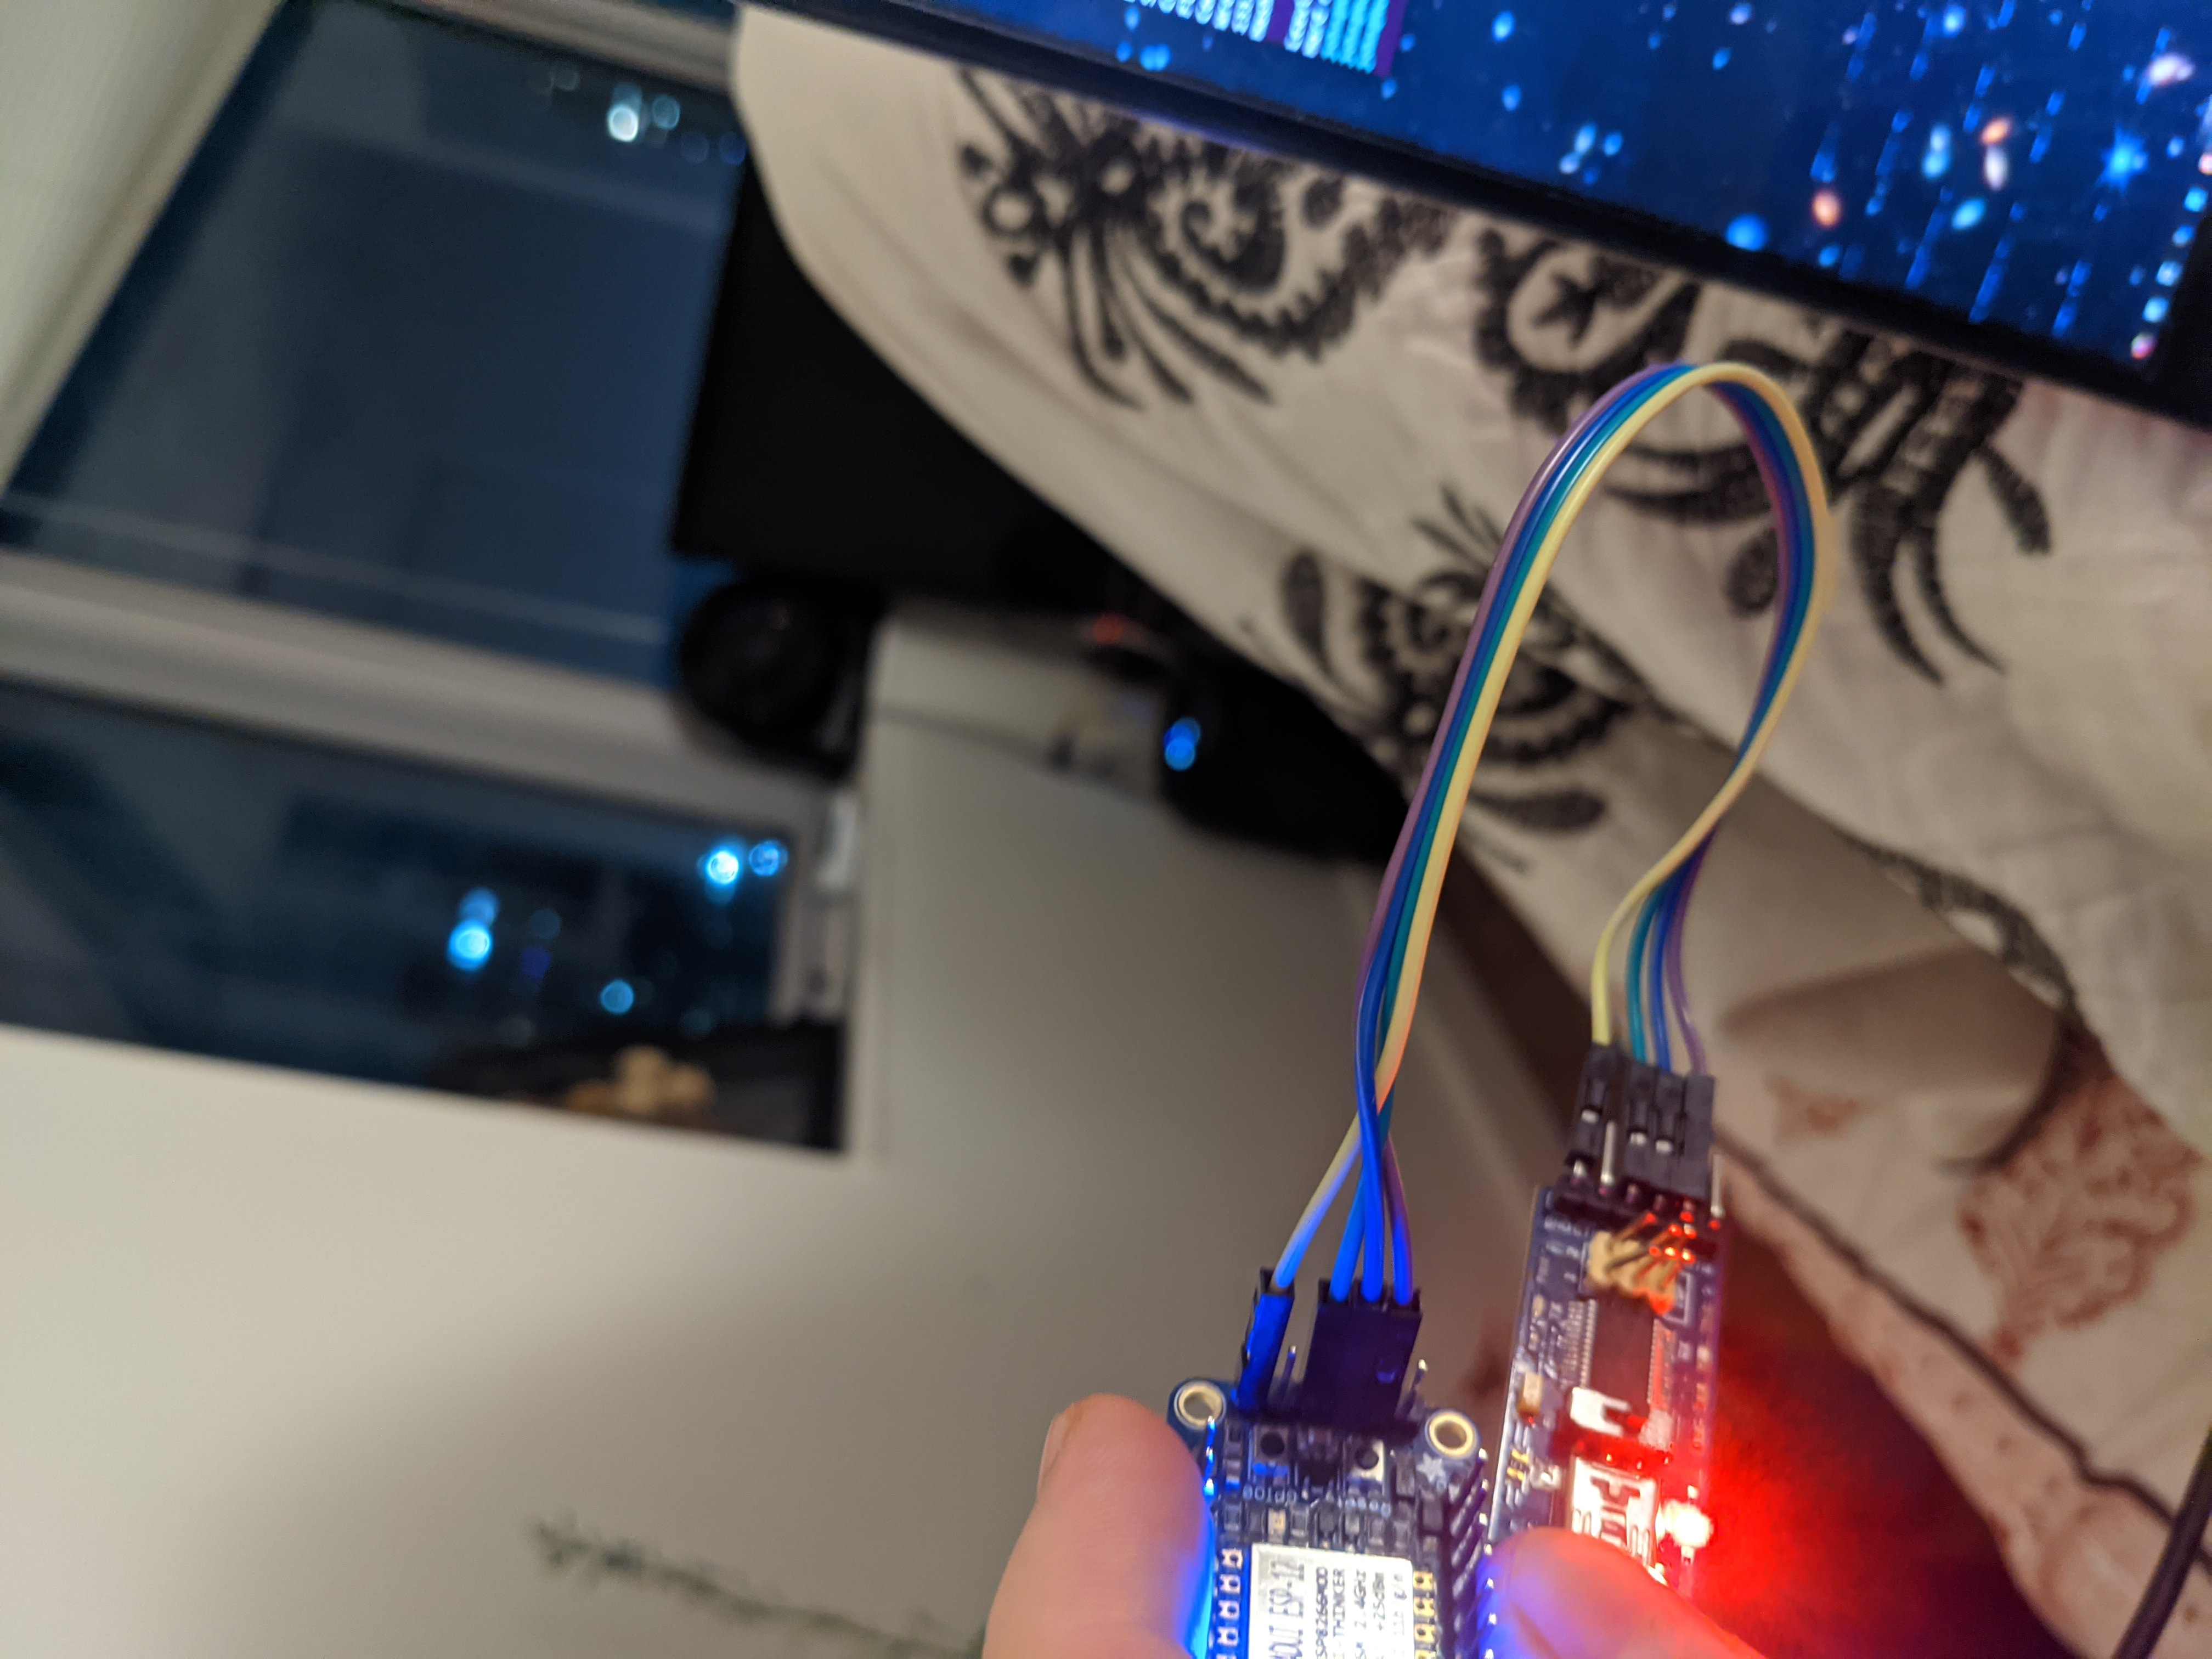
You will need a 3.3v usb to serial adapter. An FTDI based usb to serial adapteris perfered.
https://docs.espressif.com/projects/esptool/en/latest/esp32/
Method 2 https://kno.wled.ge/basics/install-binary/
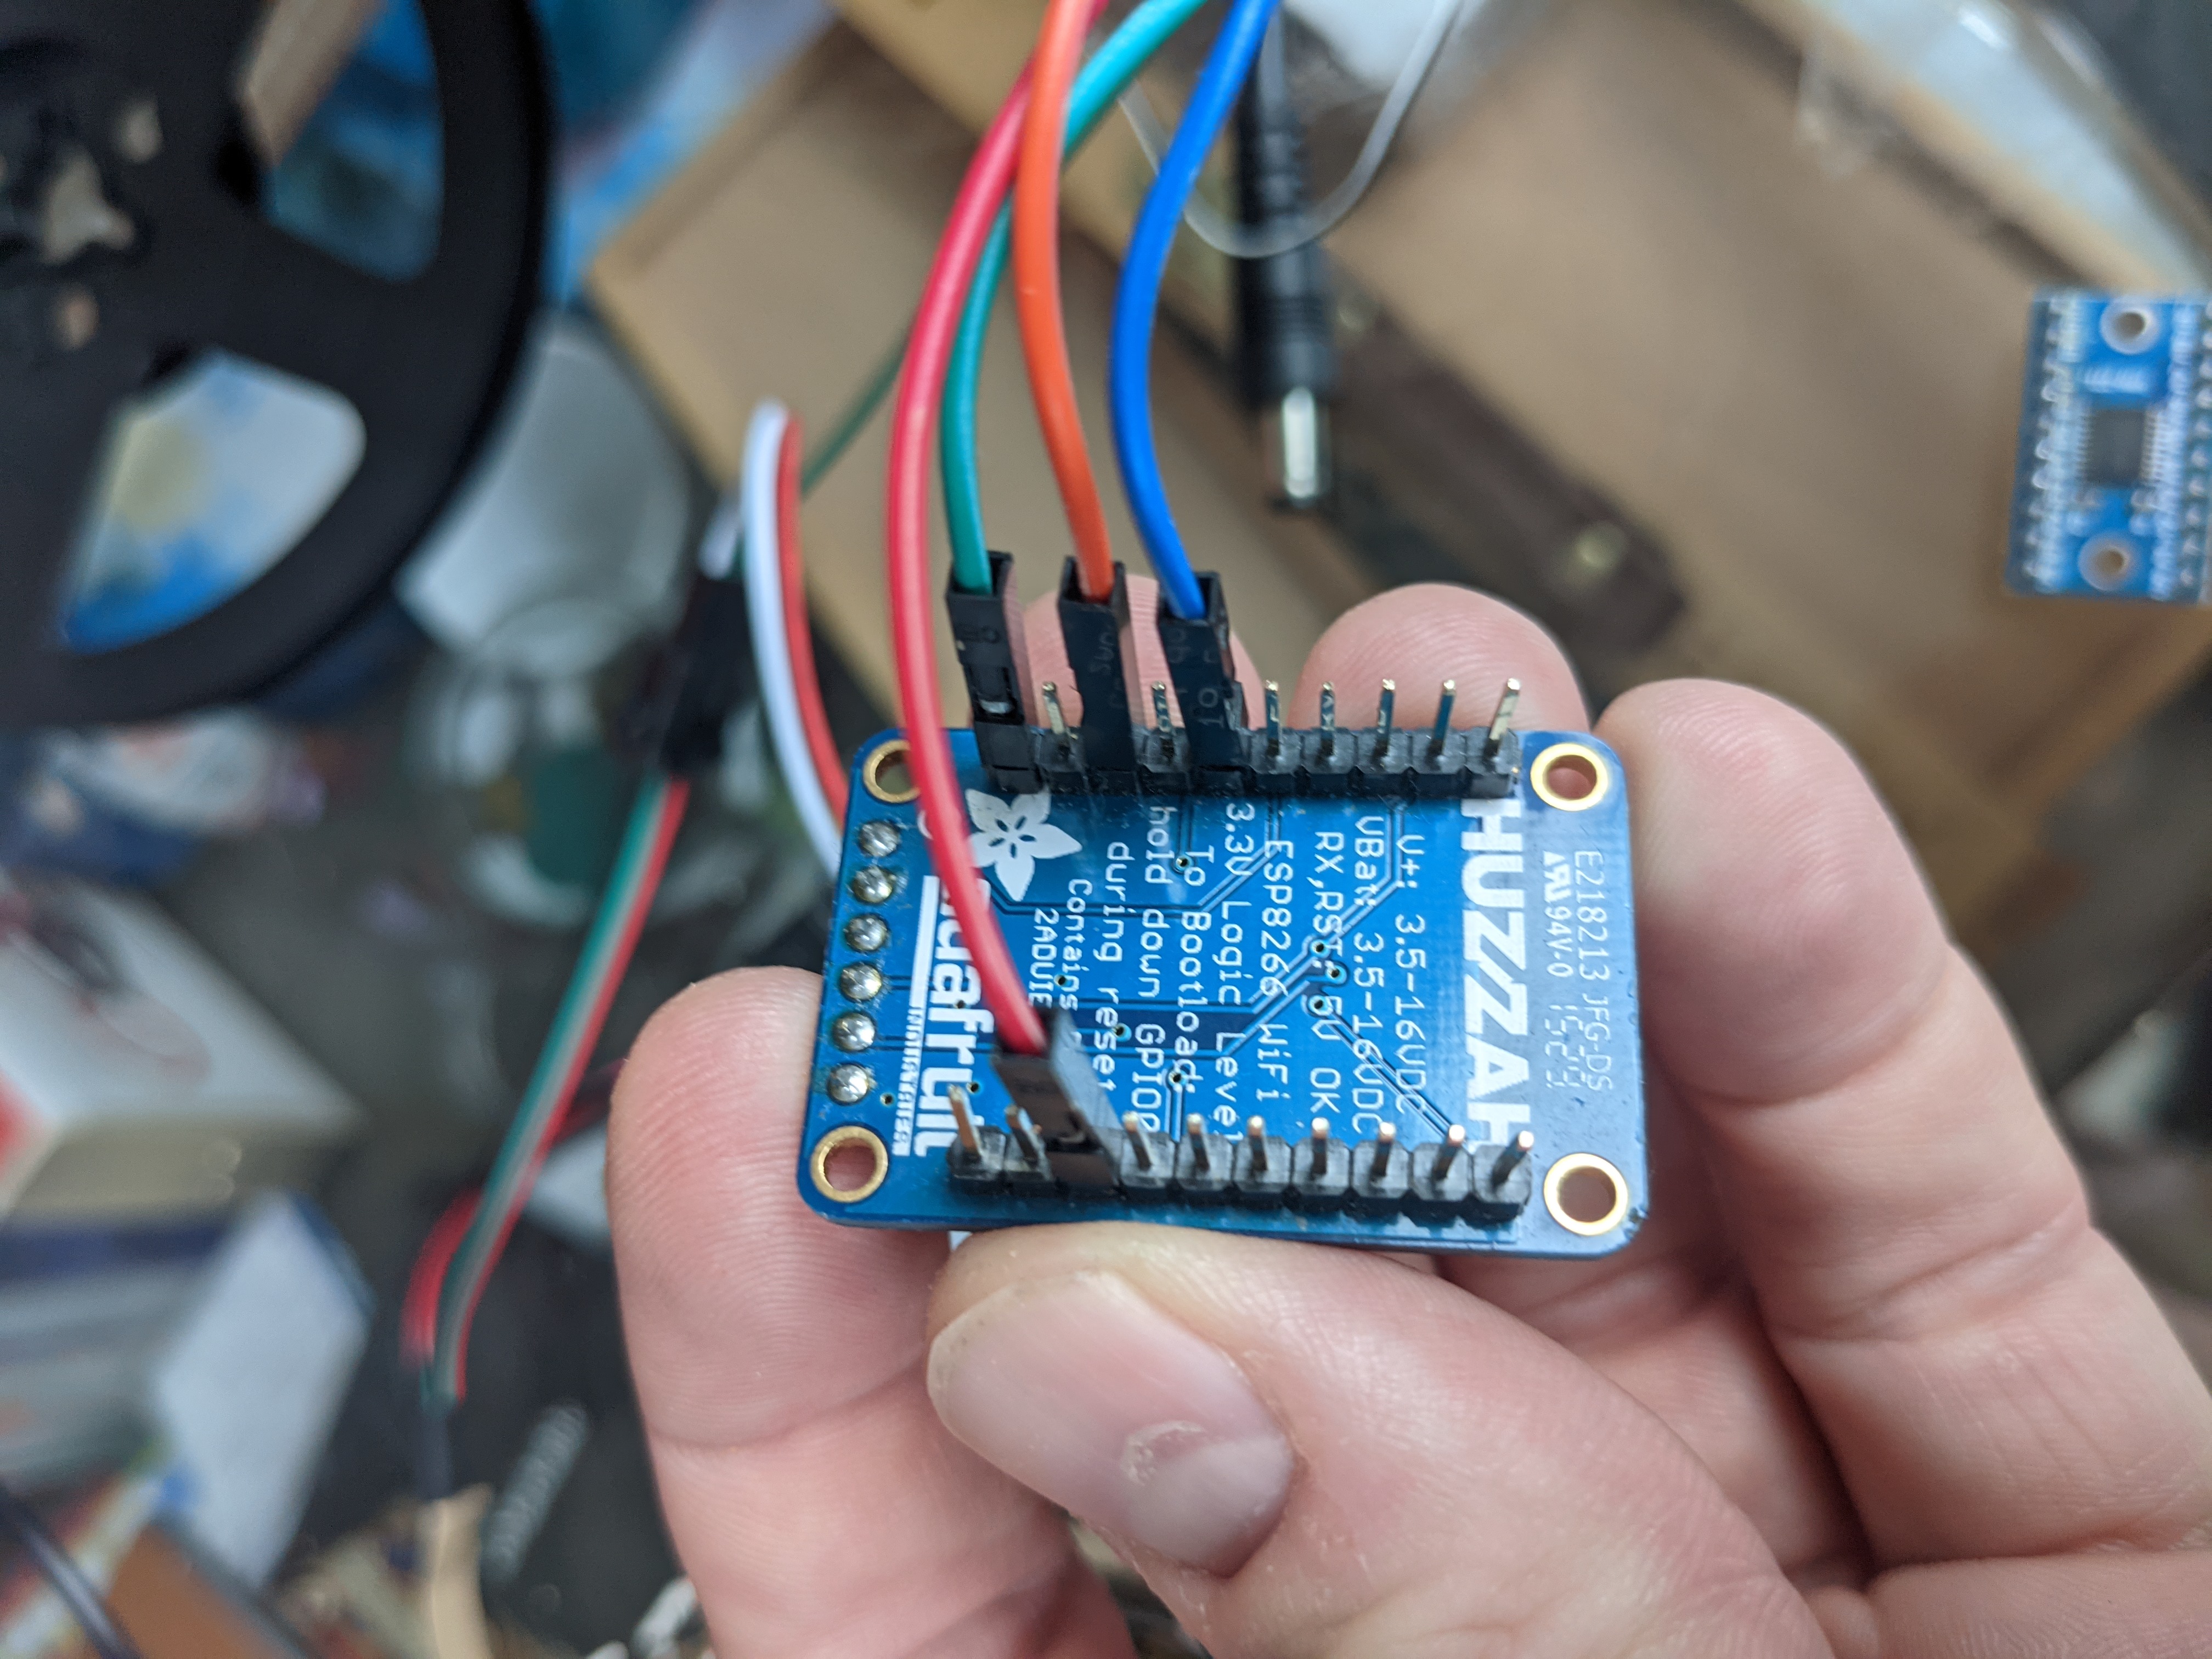
Connections
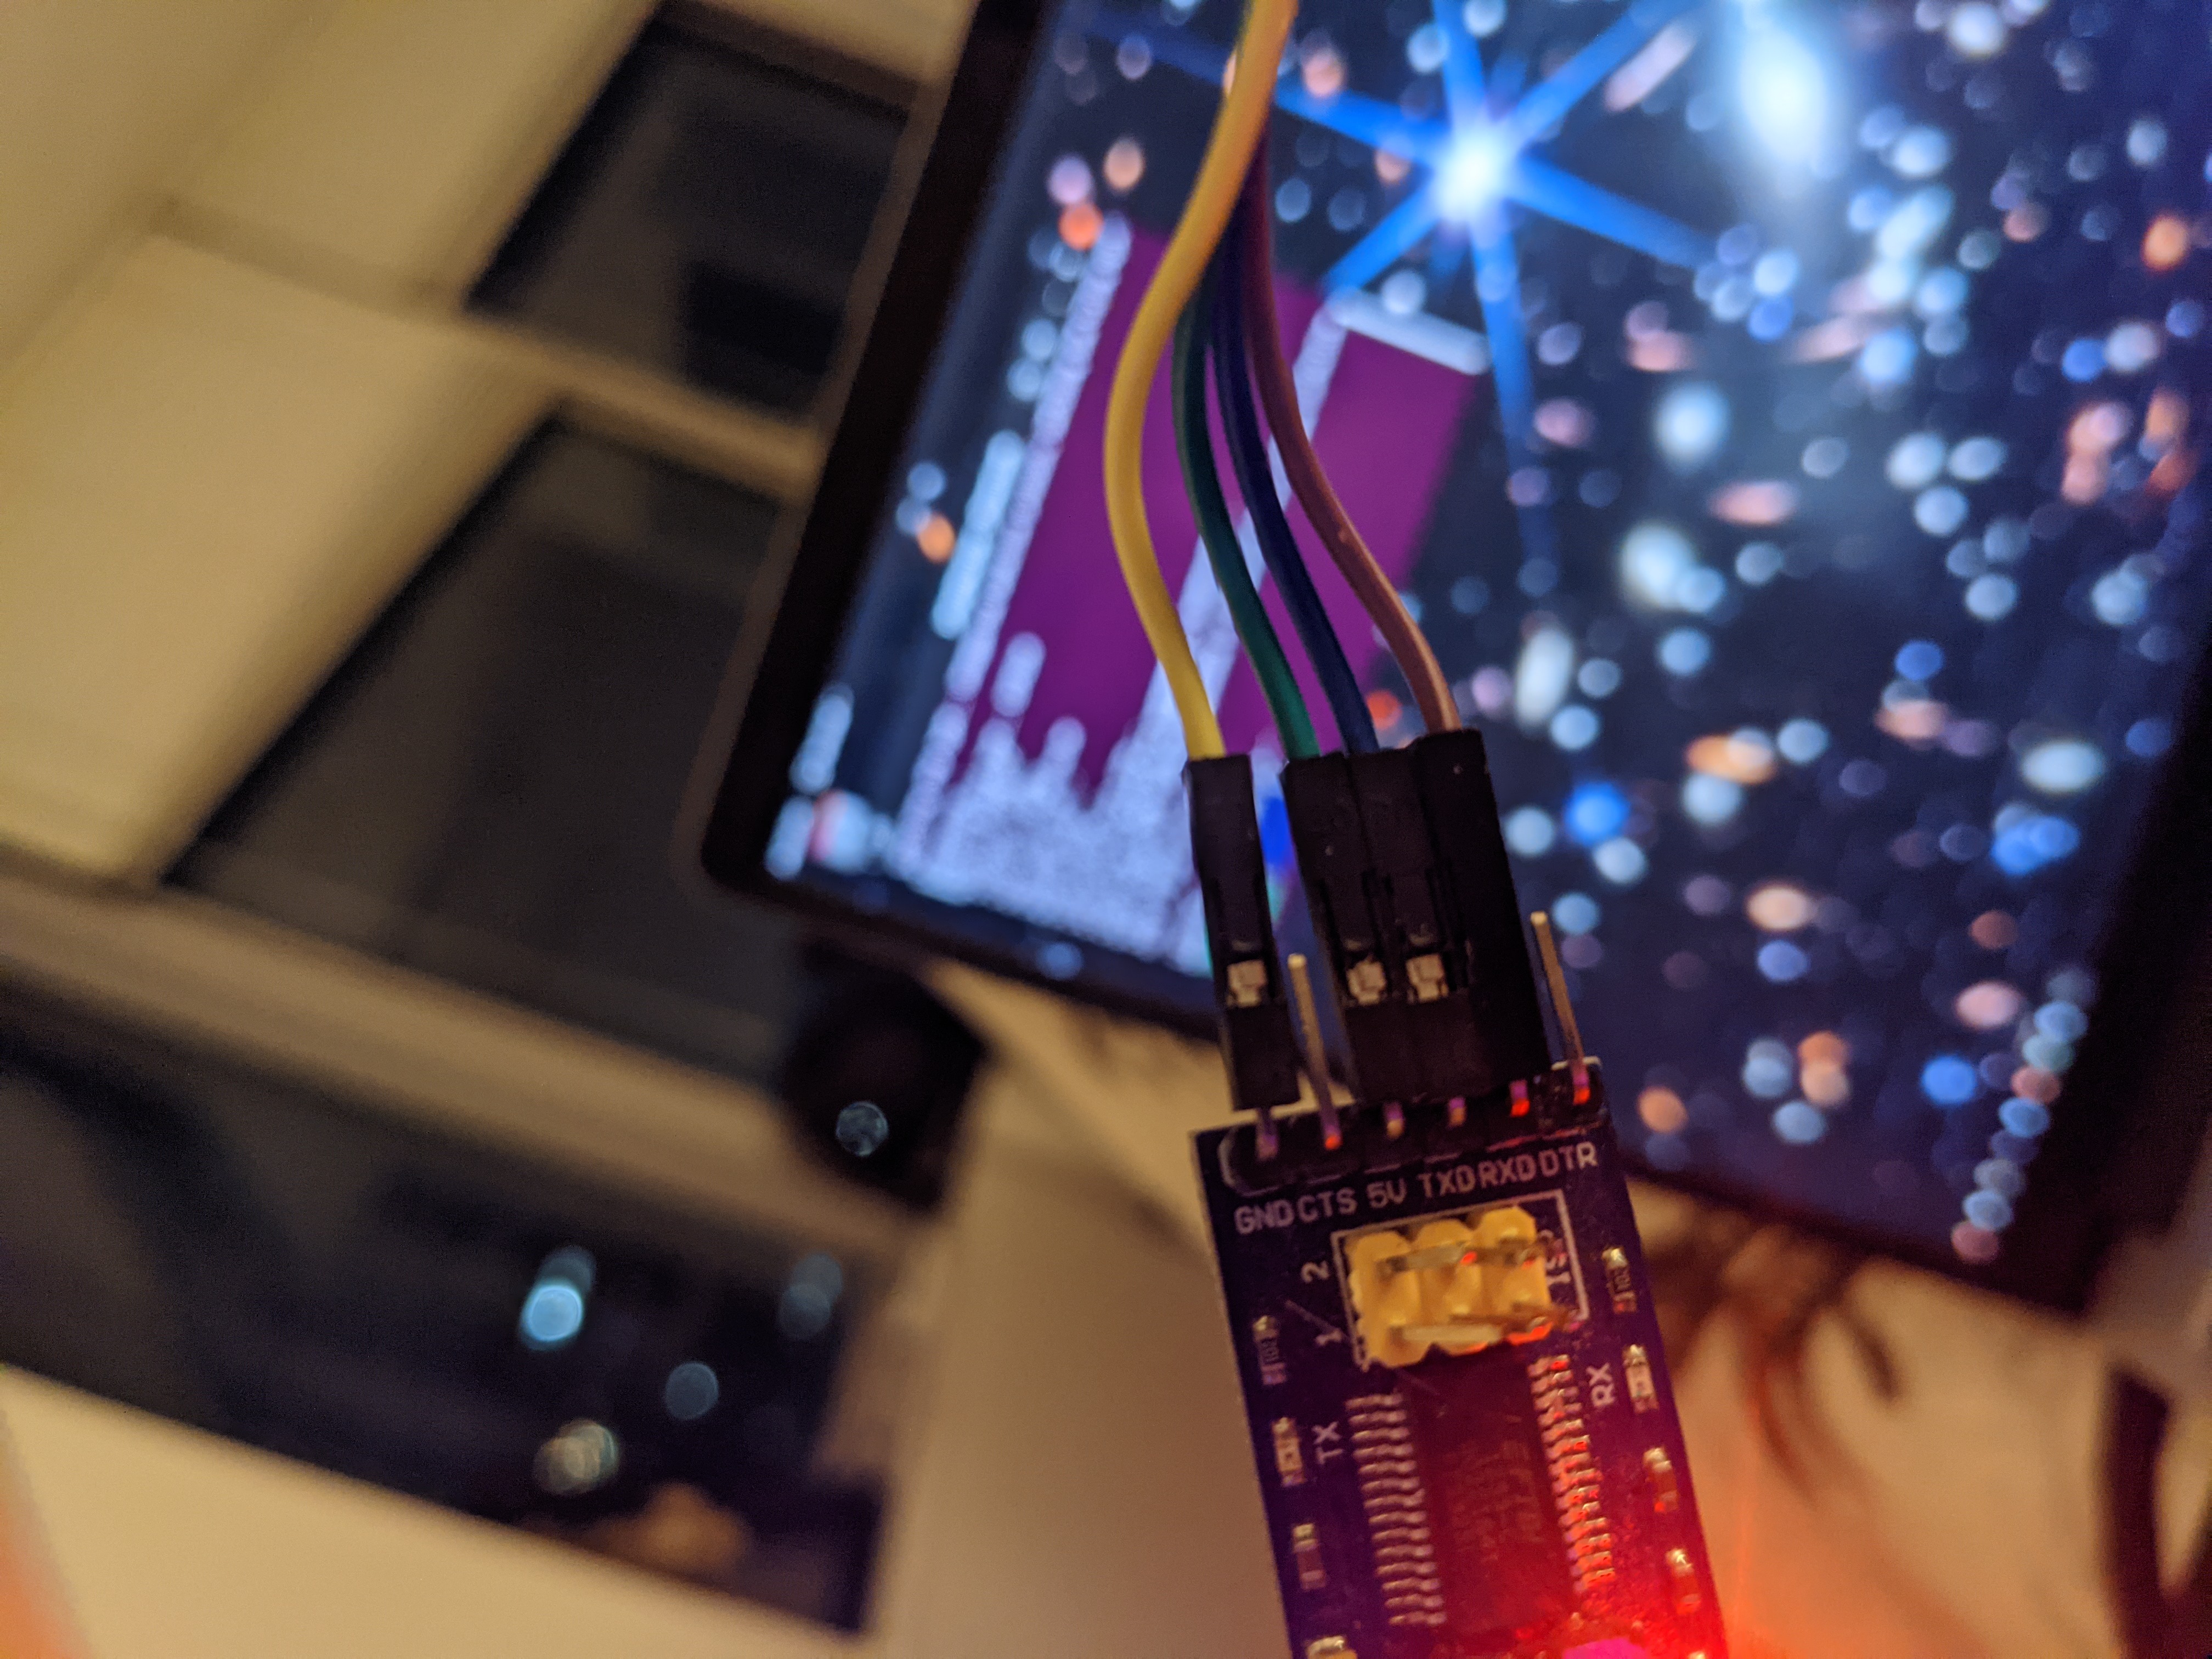
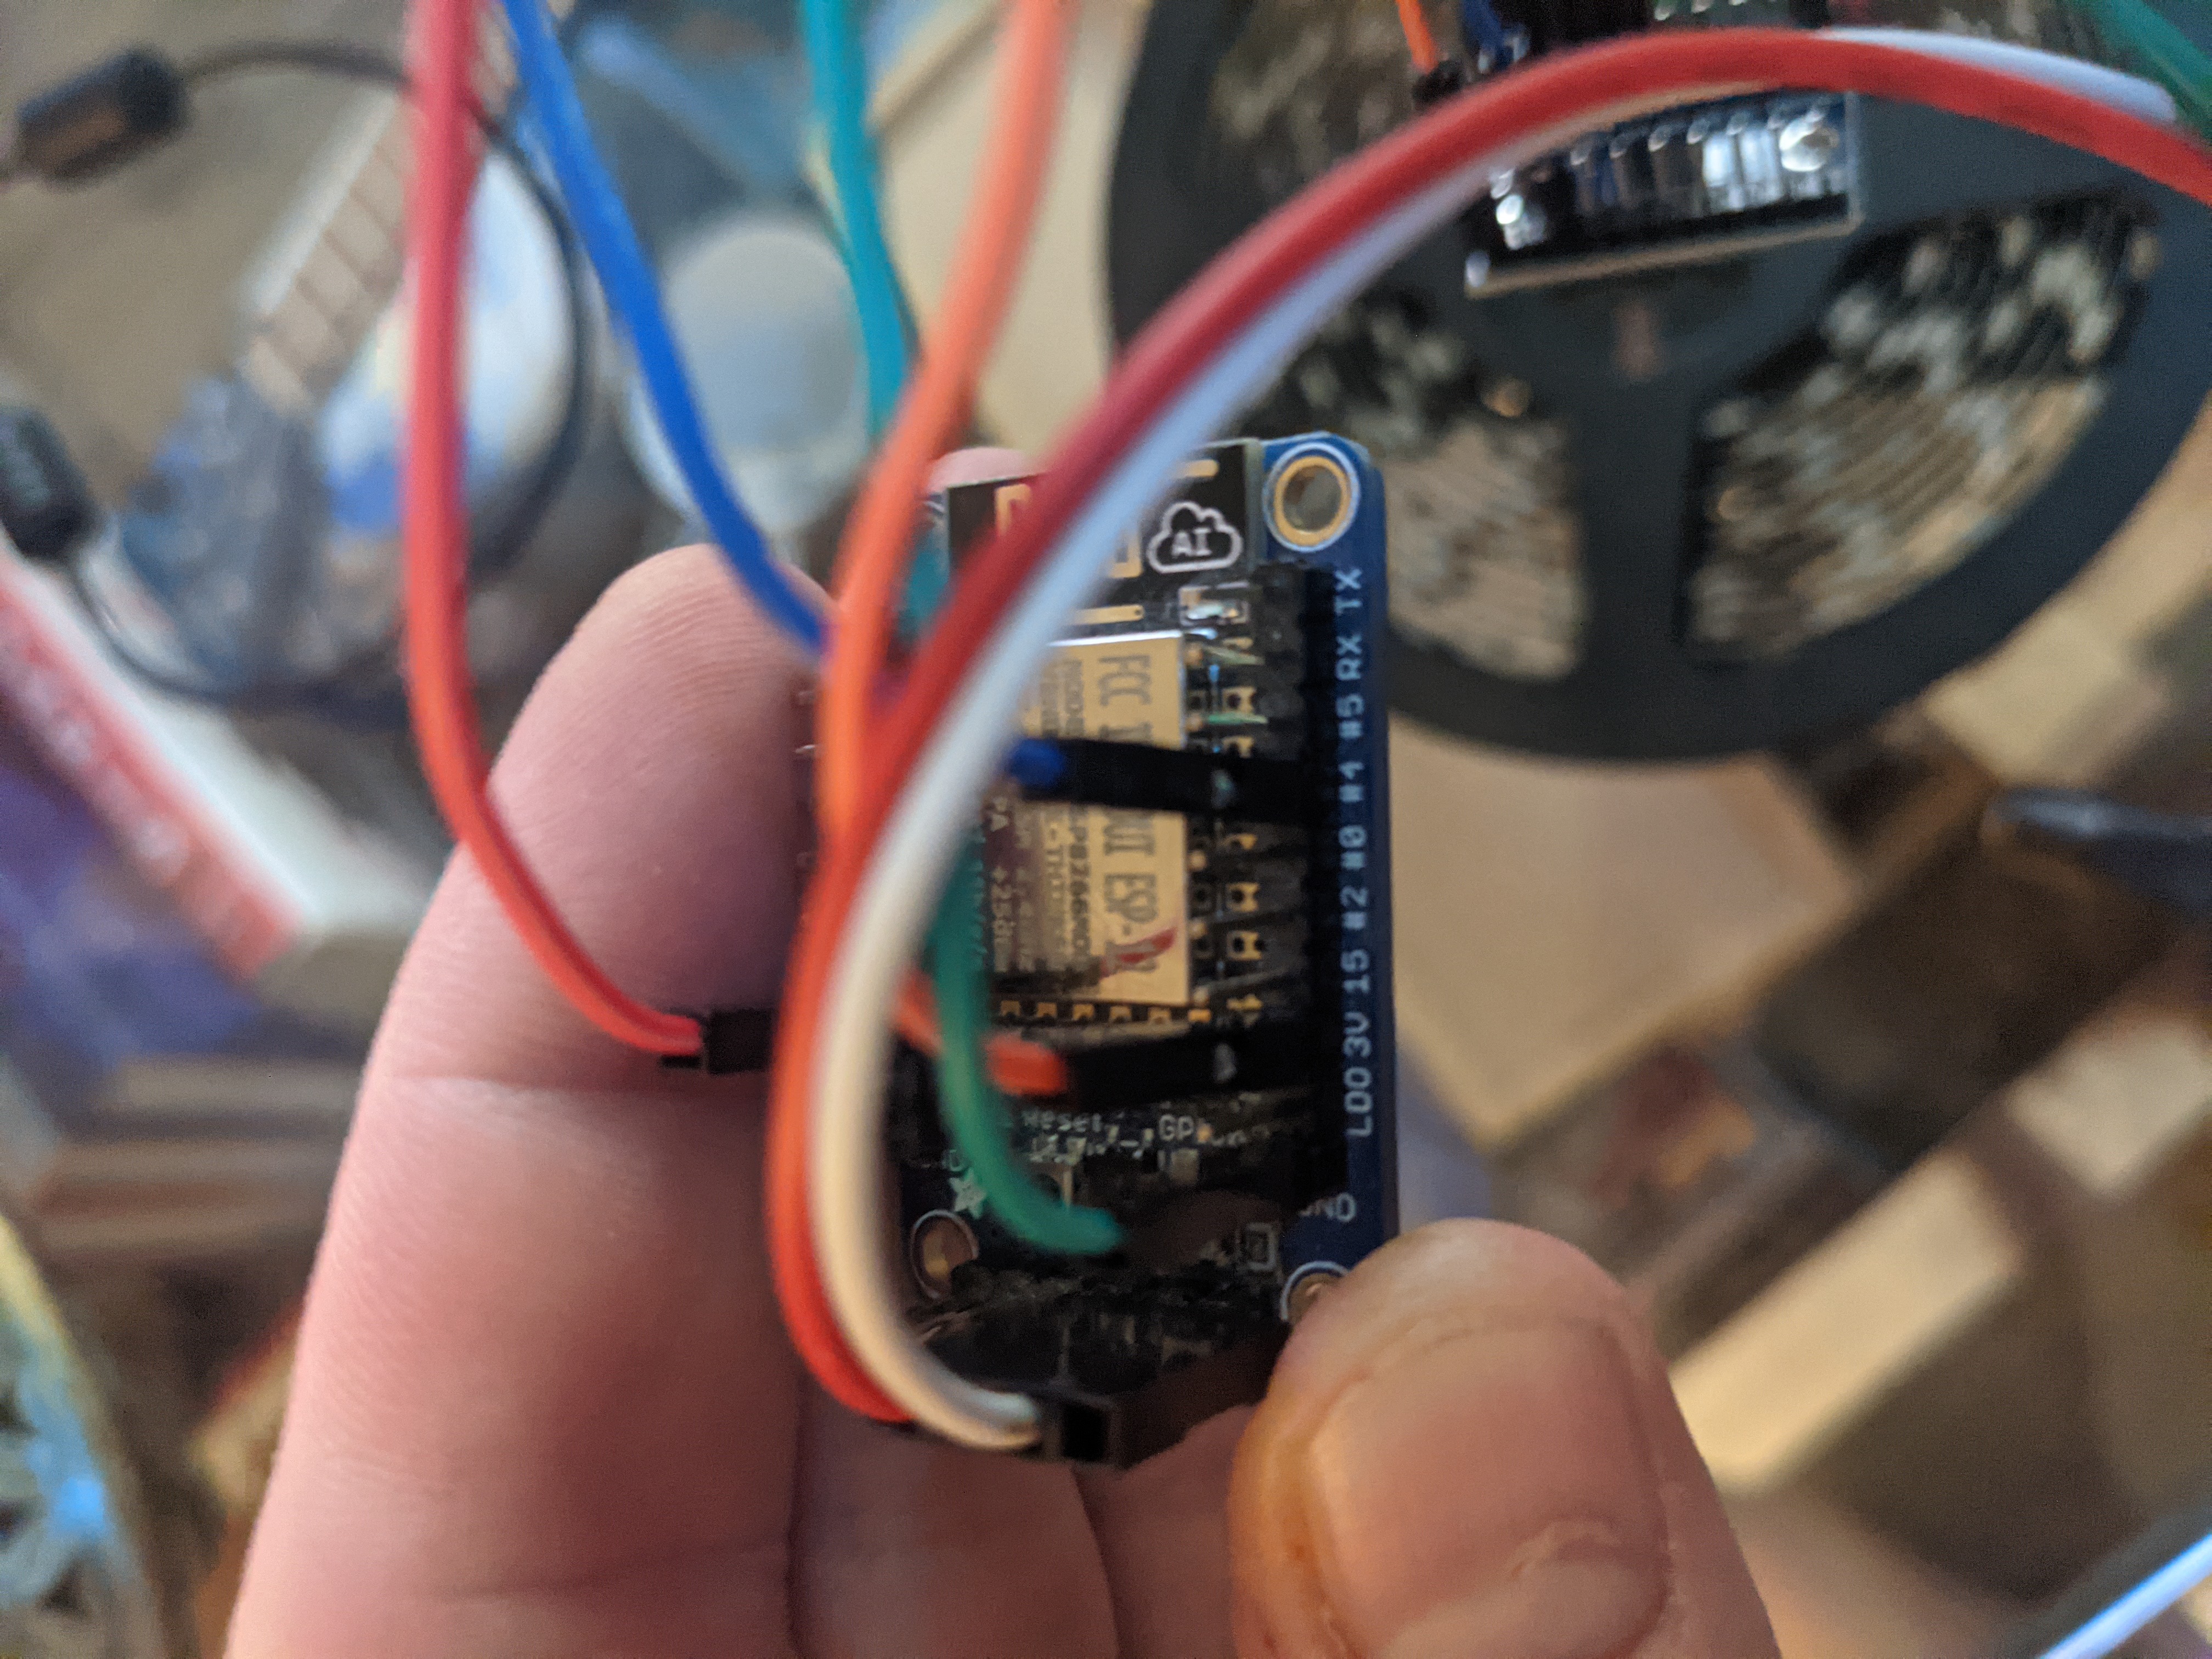
Connection between the usb to serial adapter and the ESP8266.
- Logic Level set to 3.3V
- ESP -> FTDI
- TX -> RX
- RX -> TX
- VCC -> 5V
- GND -> GND
Operating system permission workarounds
In order to write data to ttyUSB or other serieal ports you must be a member of the dialout group.
sudo usermod -a -G dialout your_user_name

Log out log in
Flash WLED onto the ESP
sudo python3 ./esptool.py -p /dev/ttyUSB0 write_flash 0x0 ./WLED_0.13.1_ESP8266.binElectronics
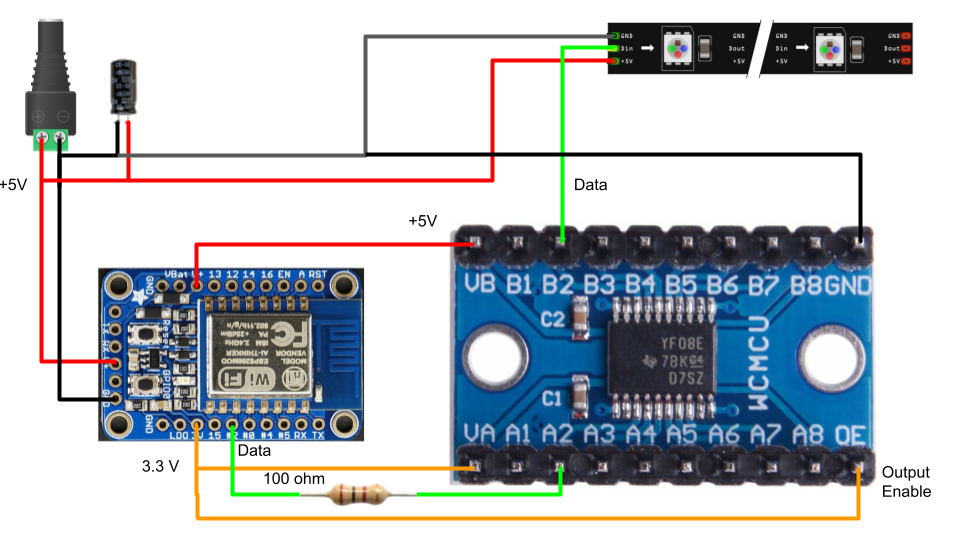
Schematic
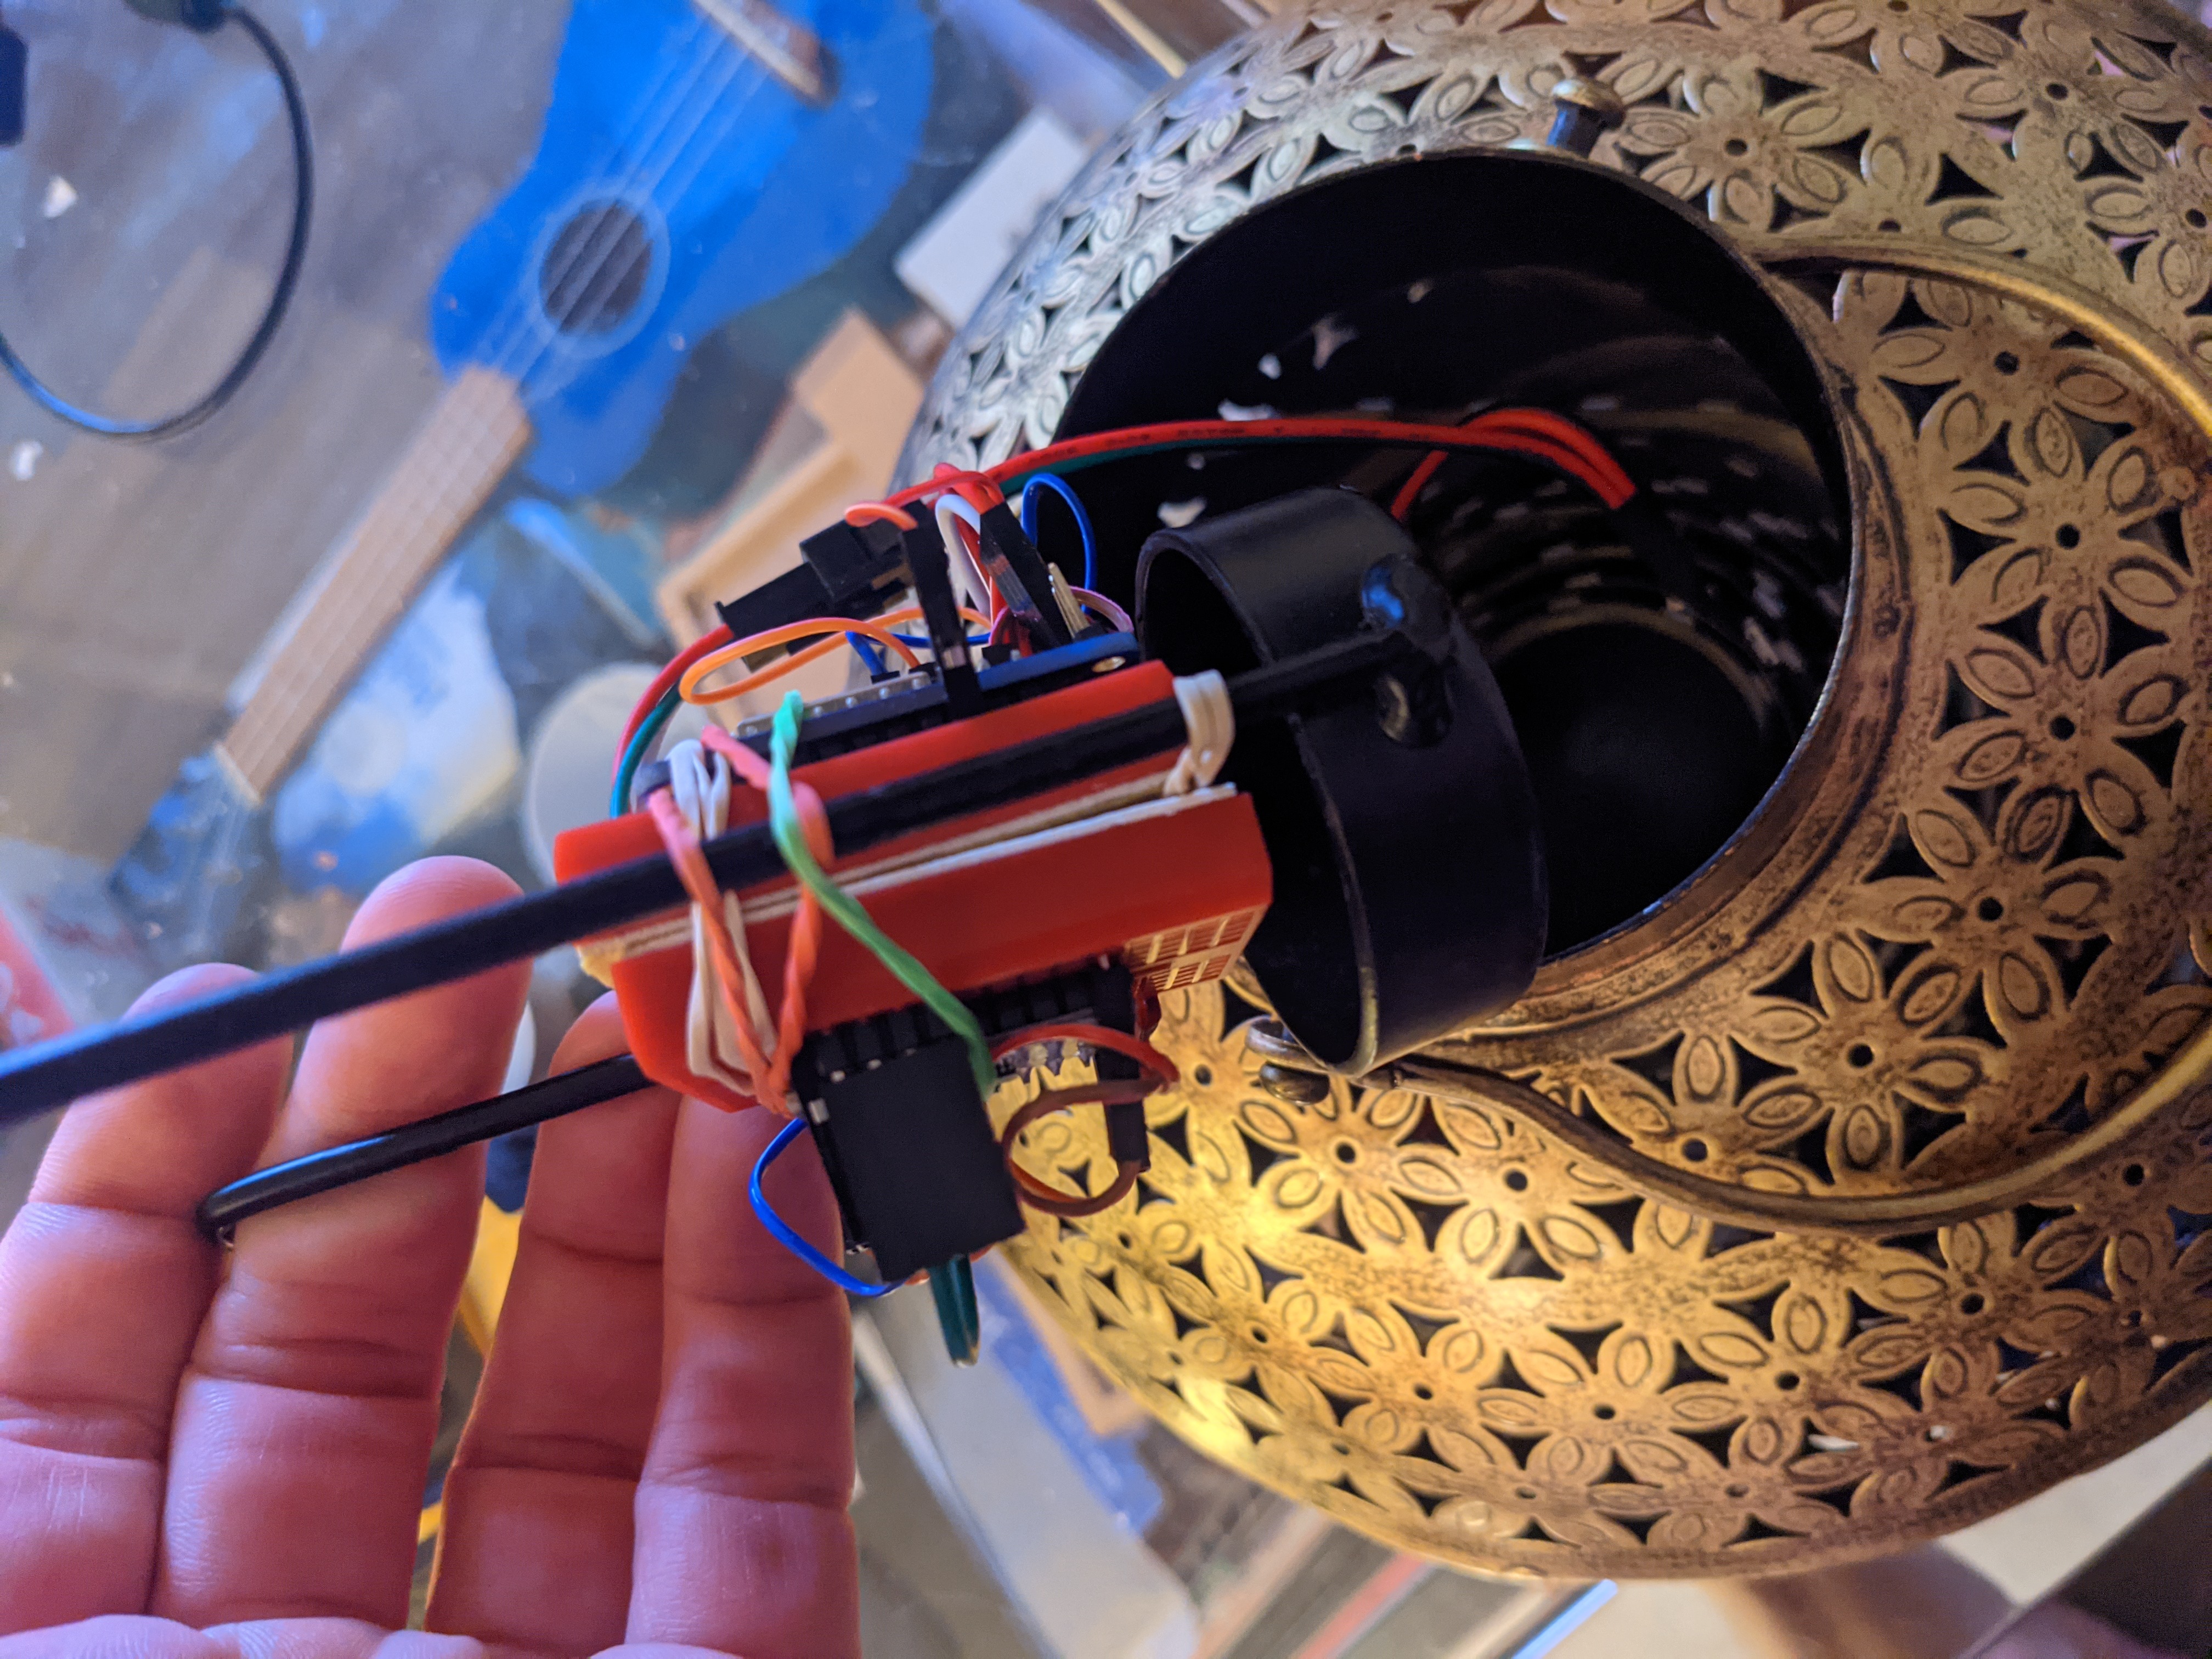
Electronics Rough Fit
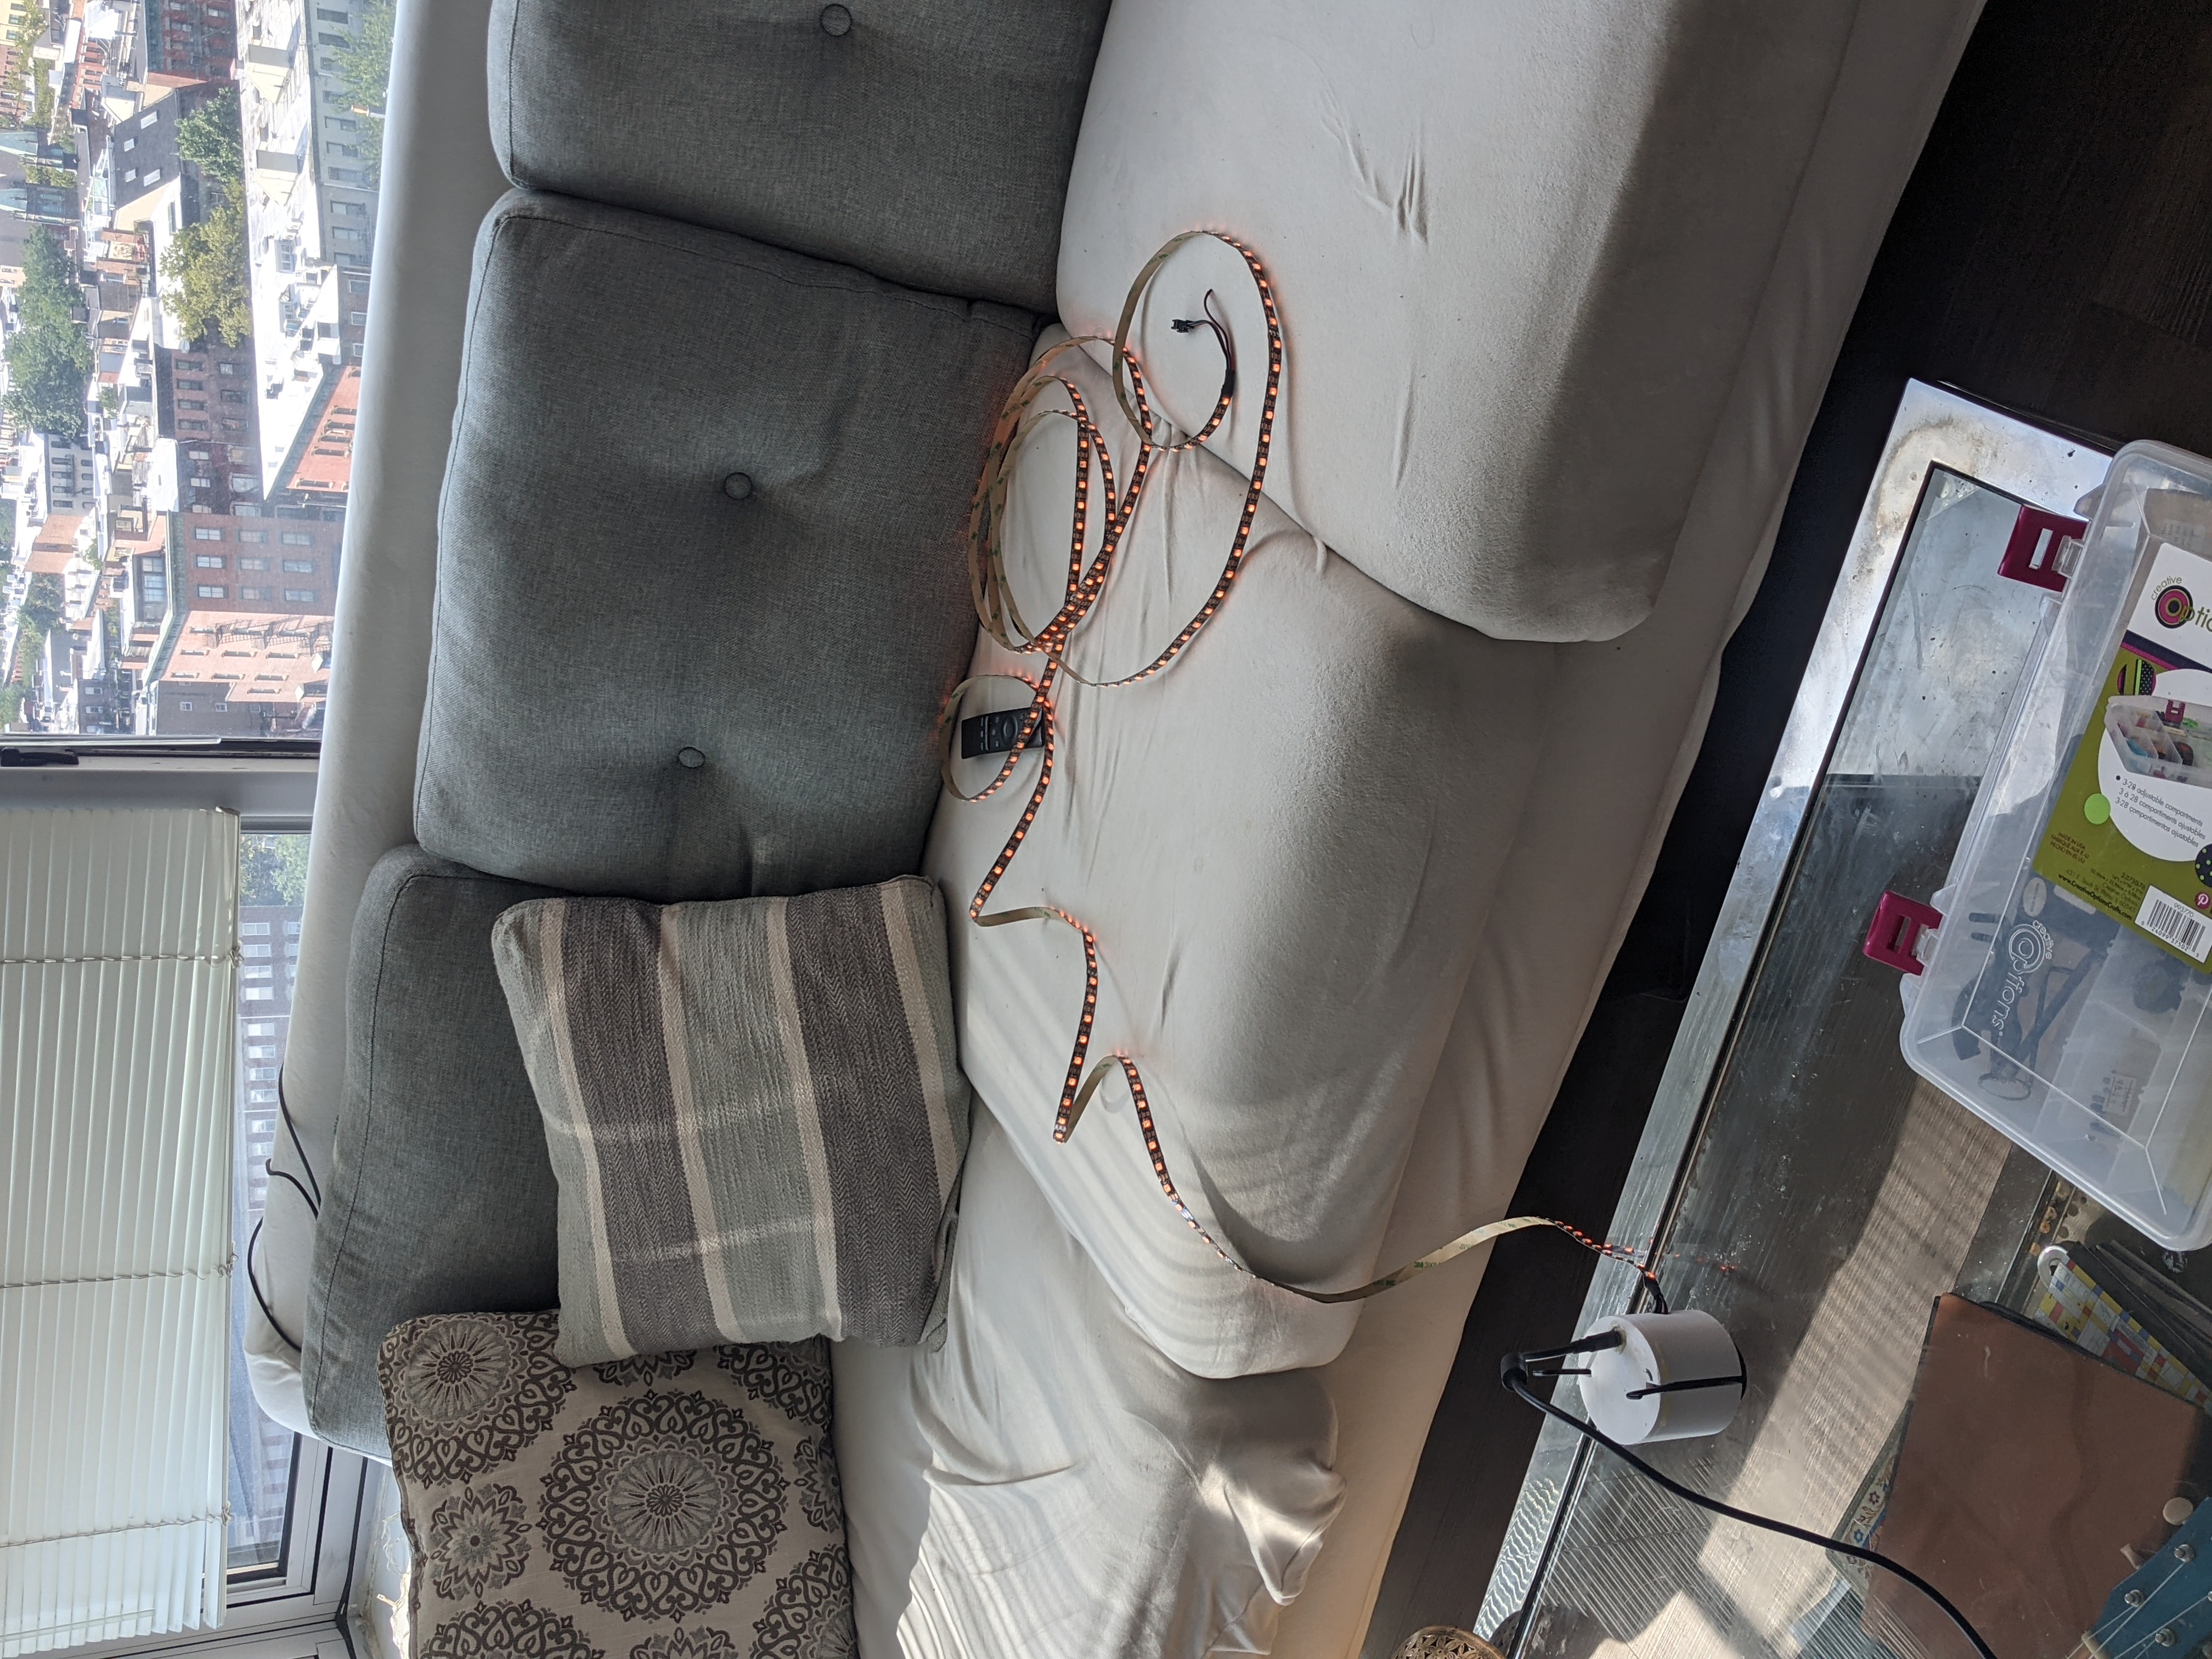
Playing around with the electronics to confirm that the design works as expected.
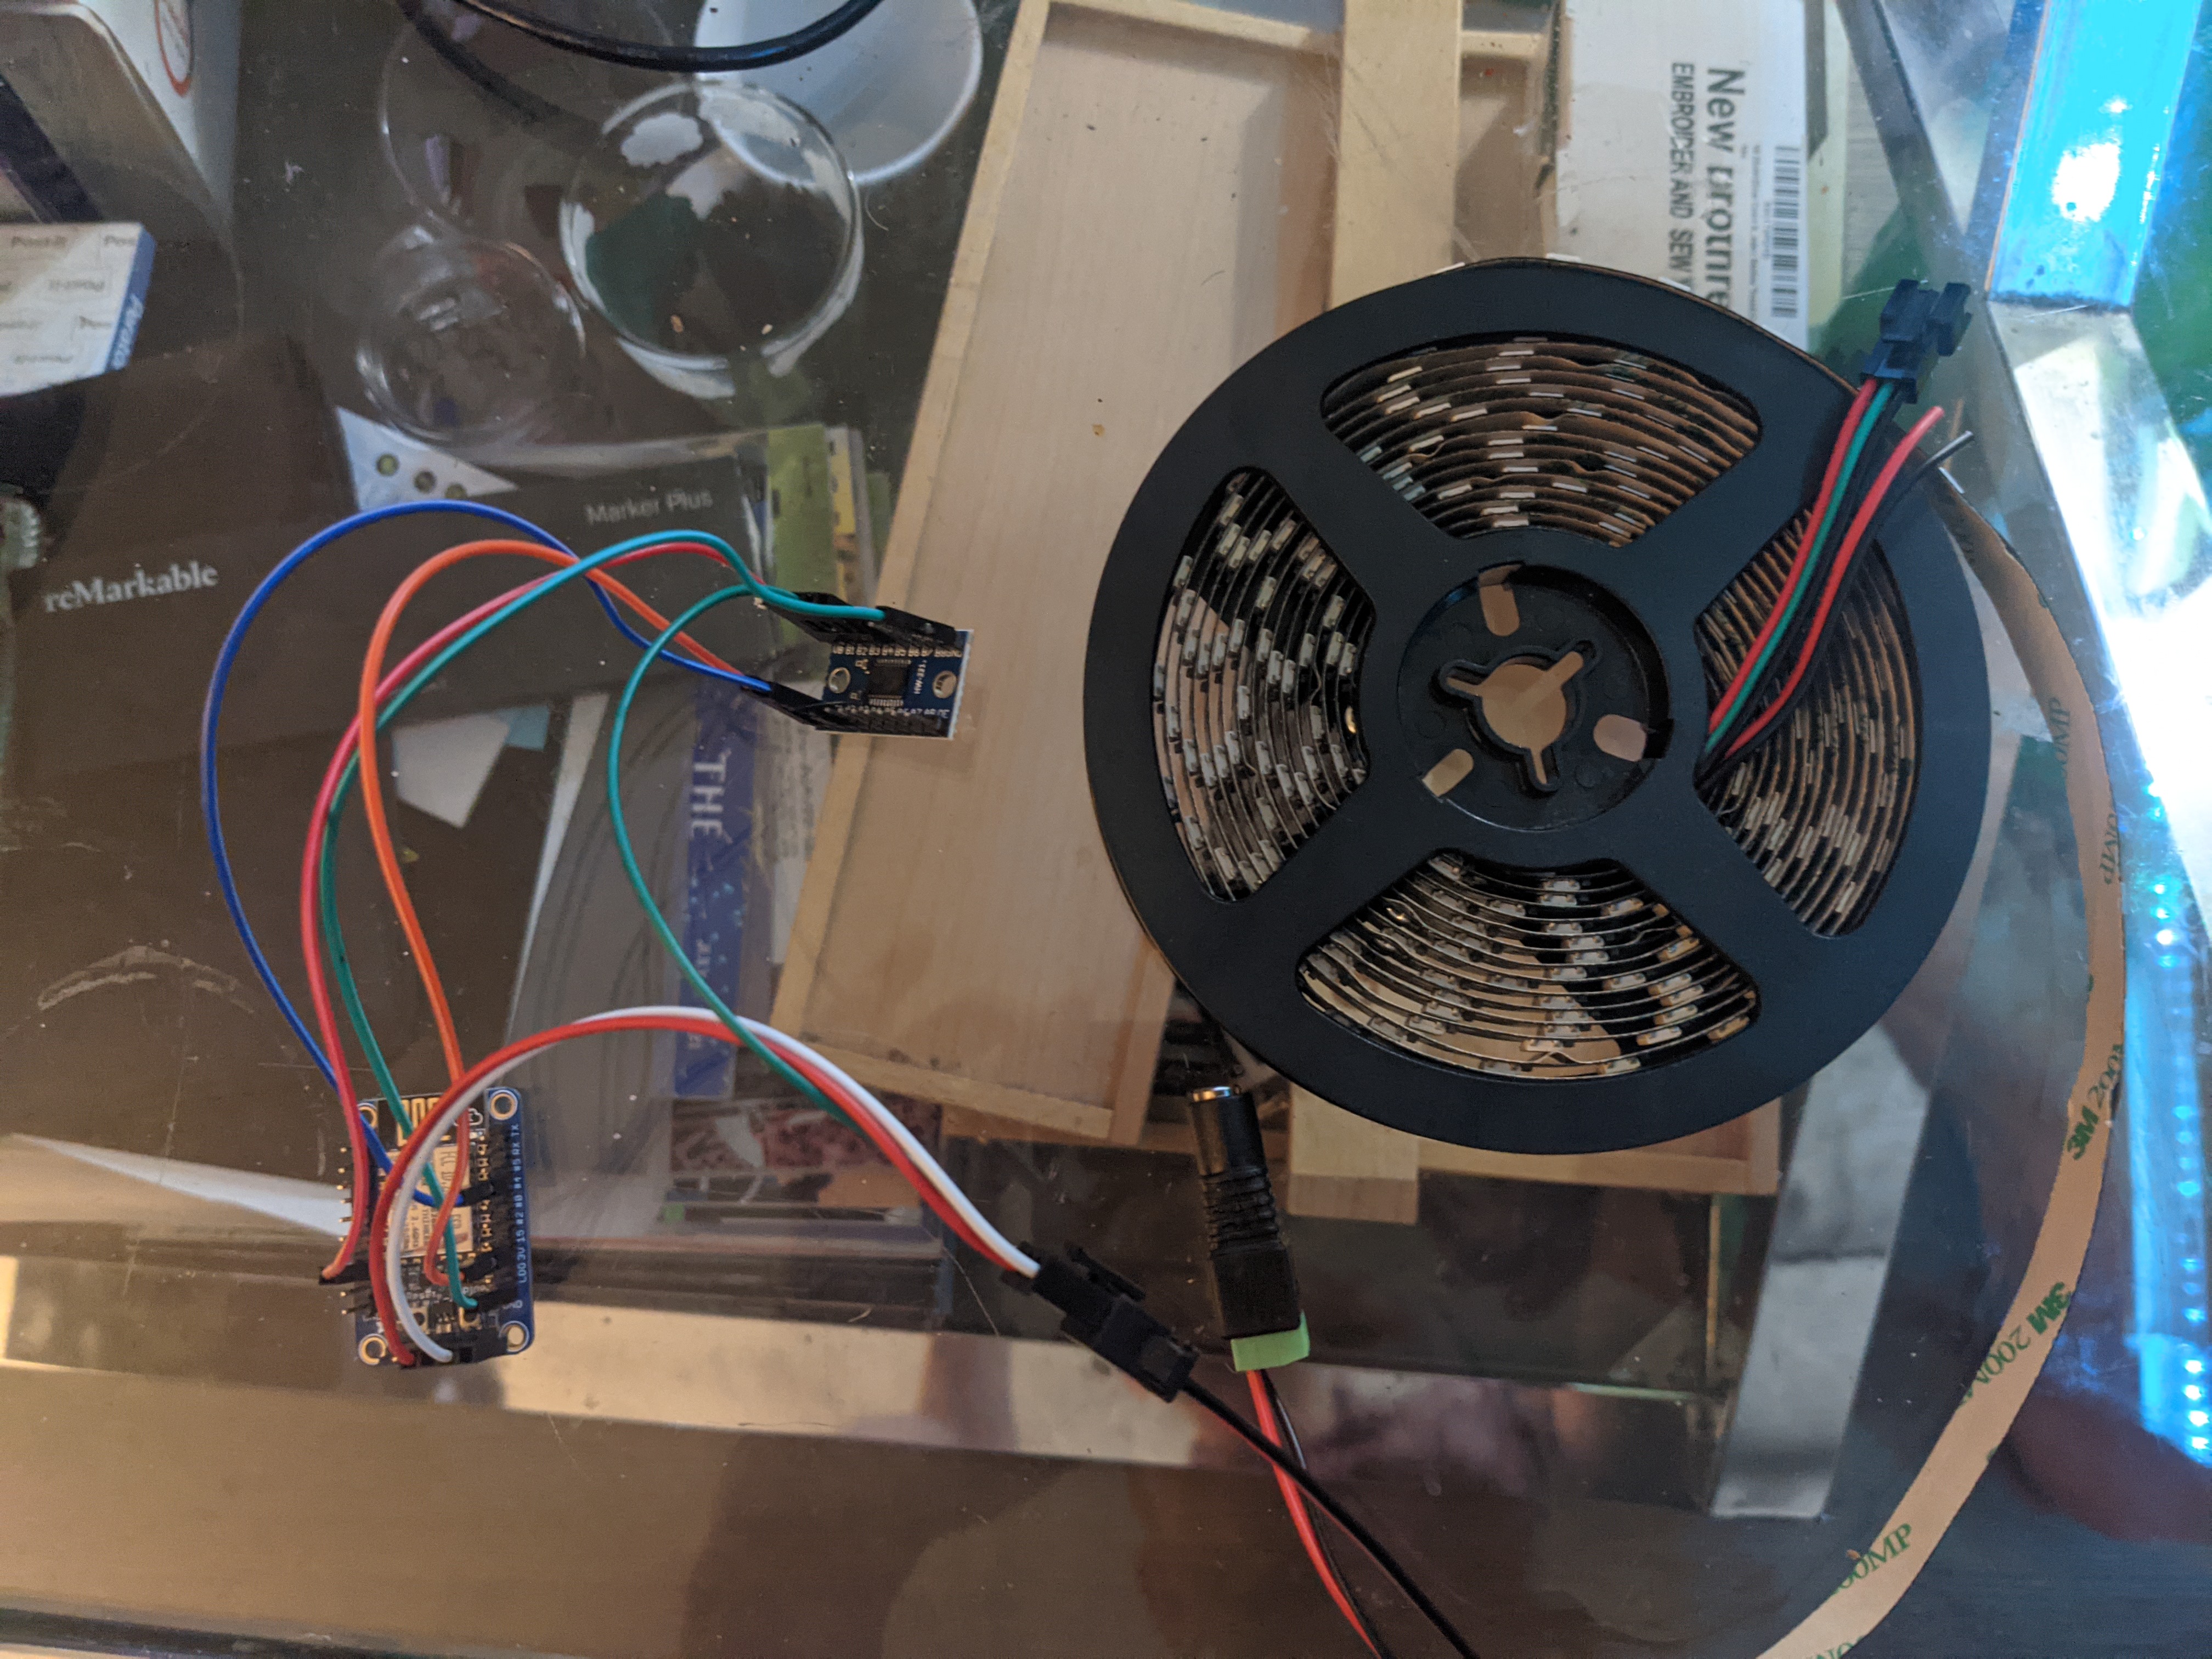
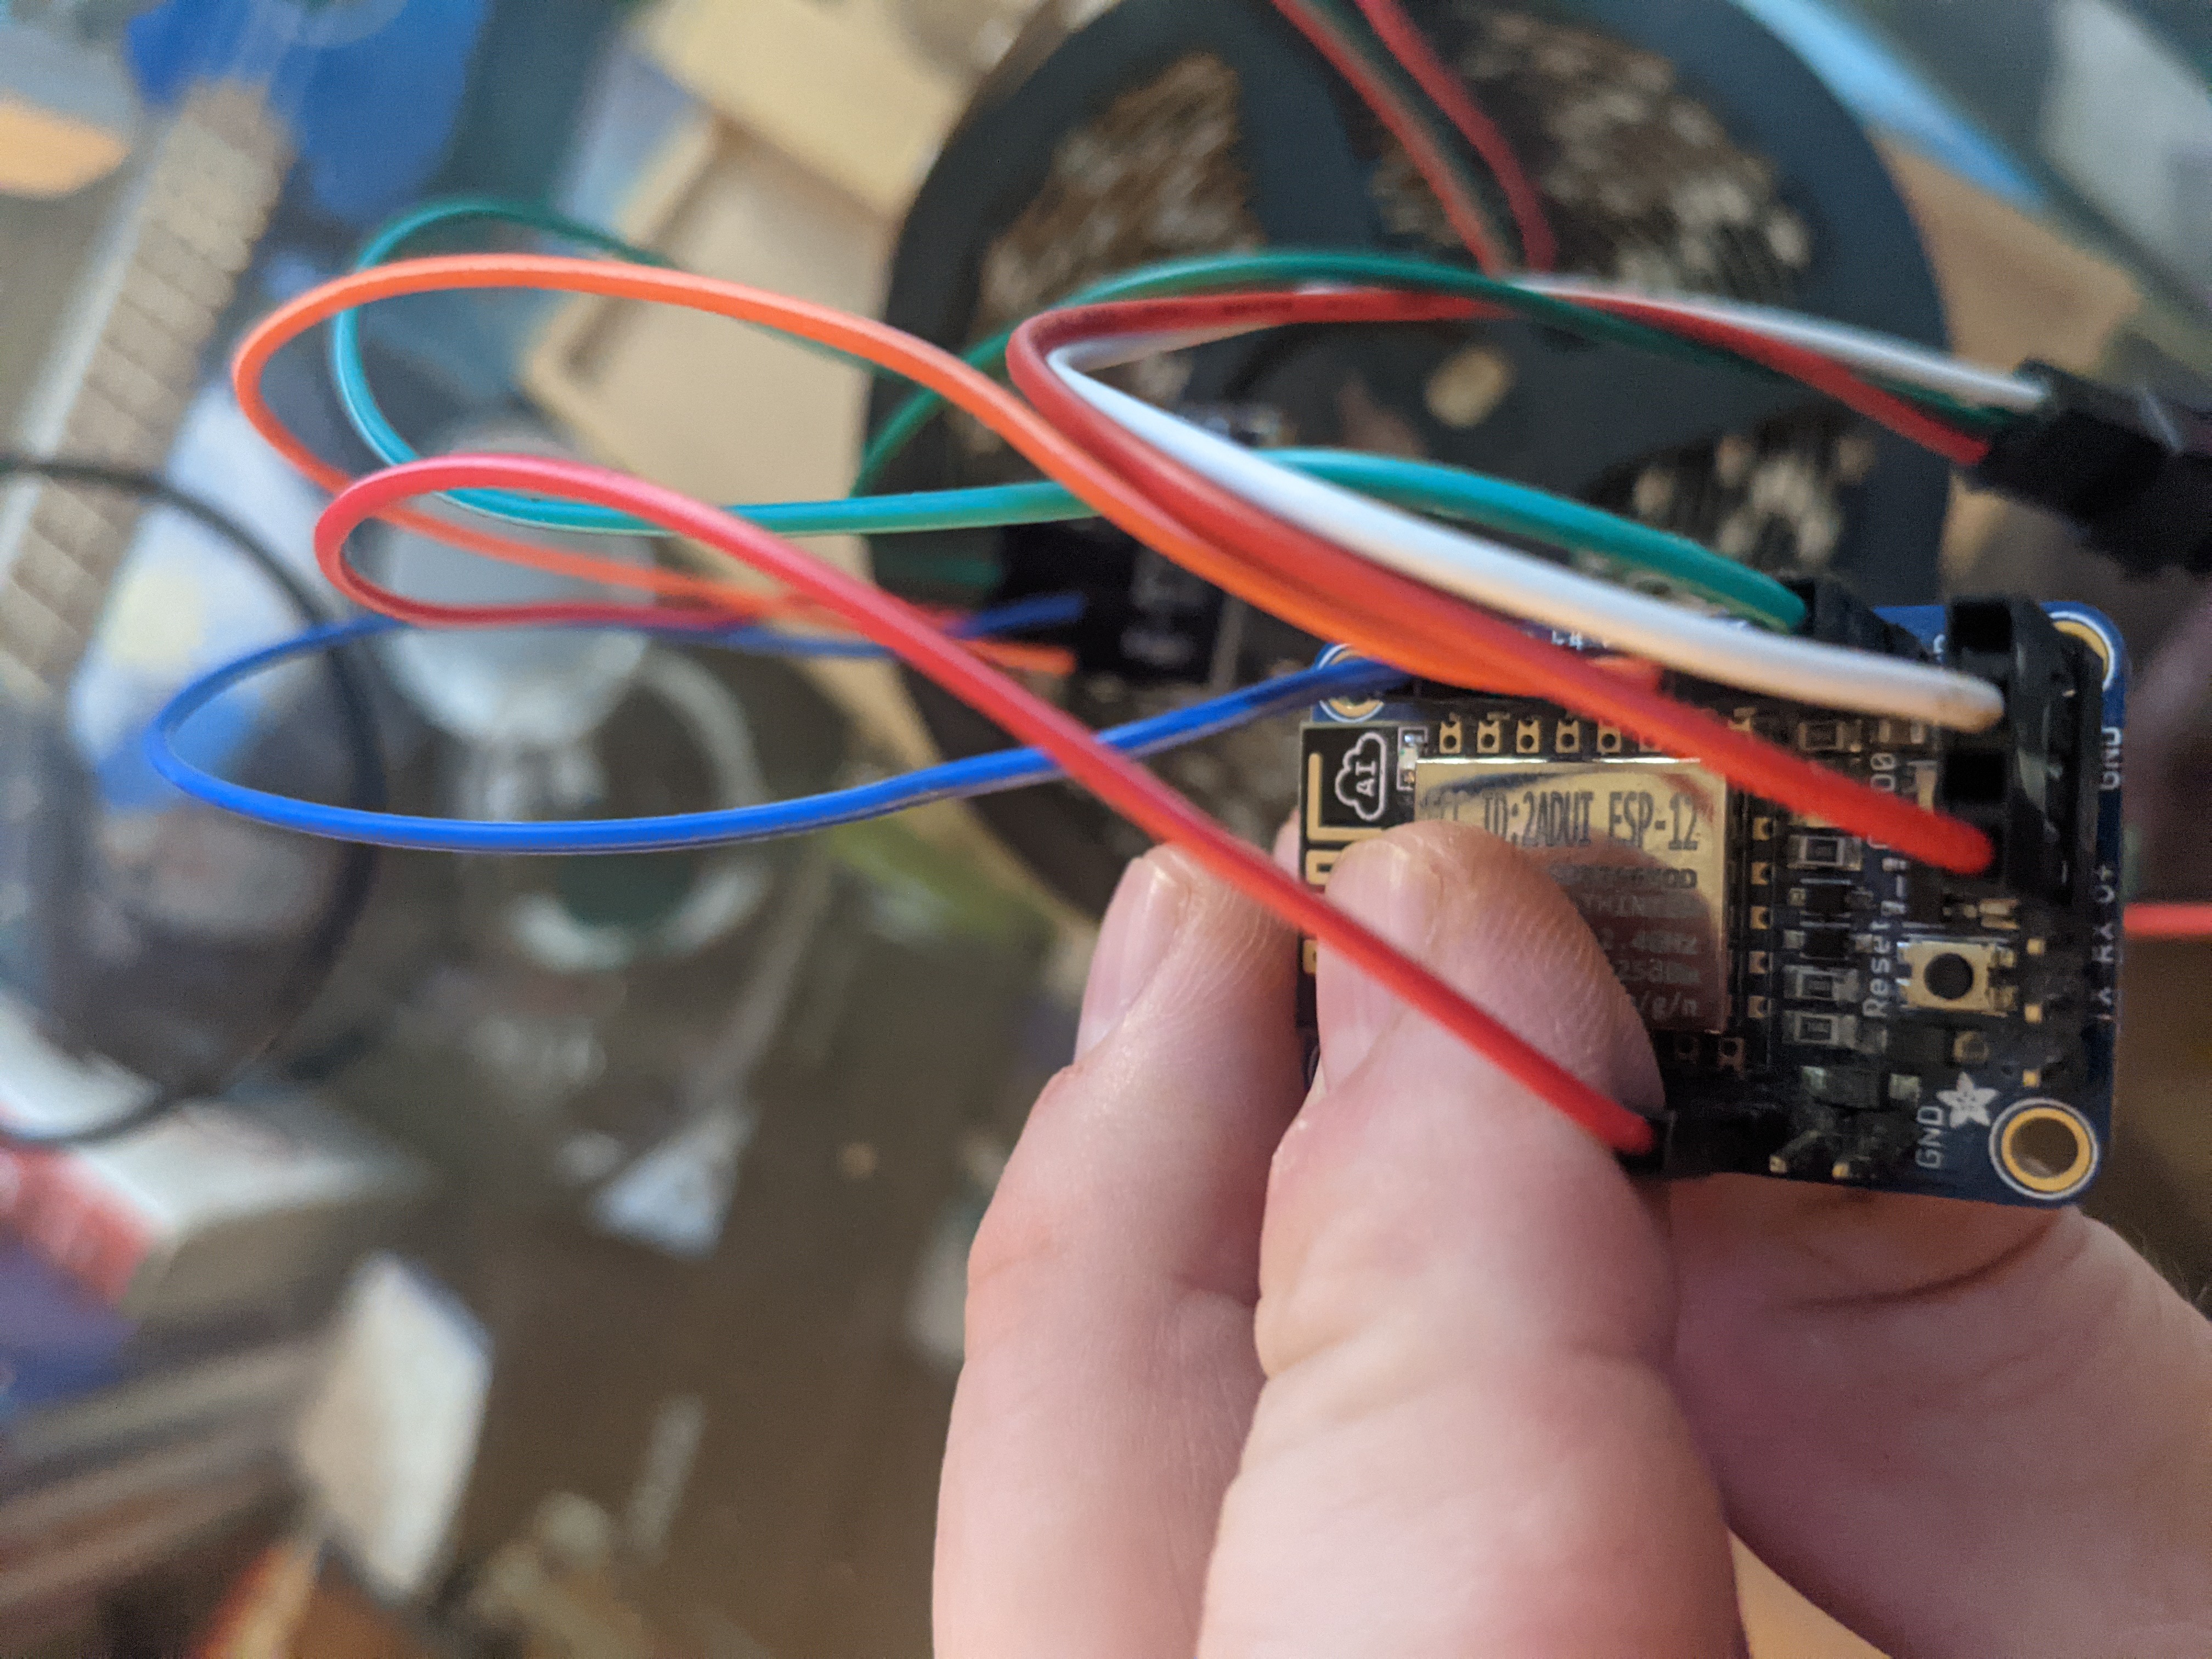
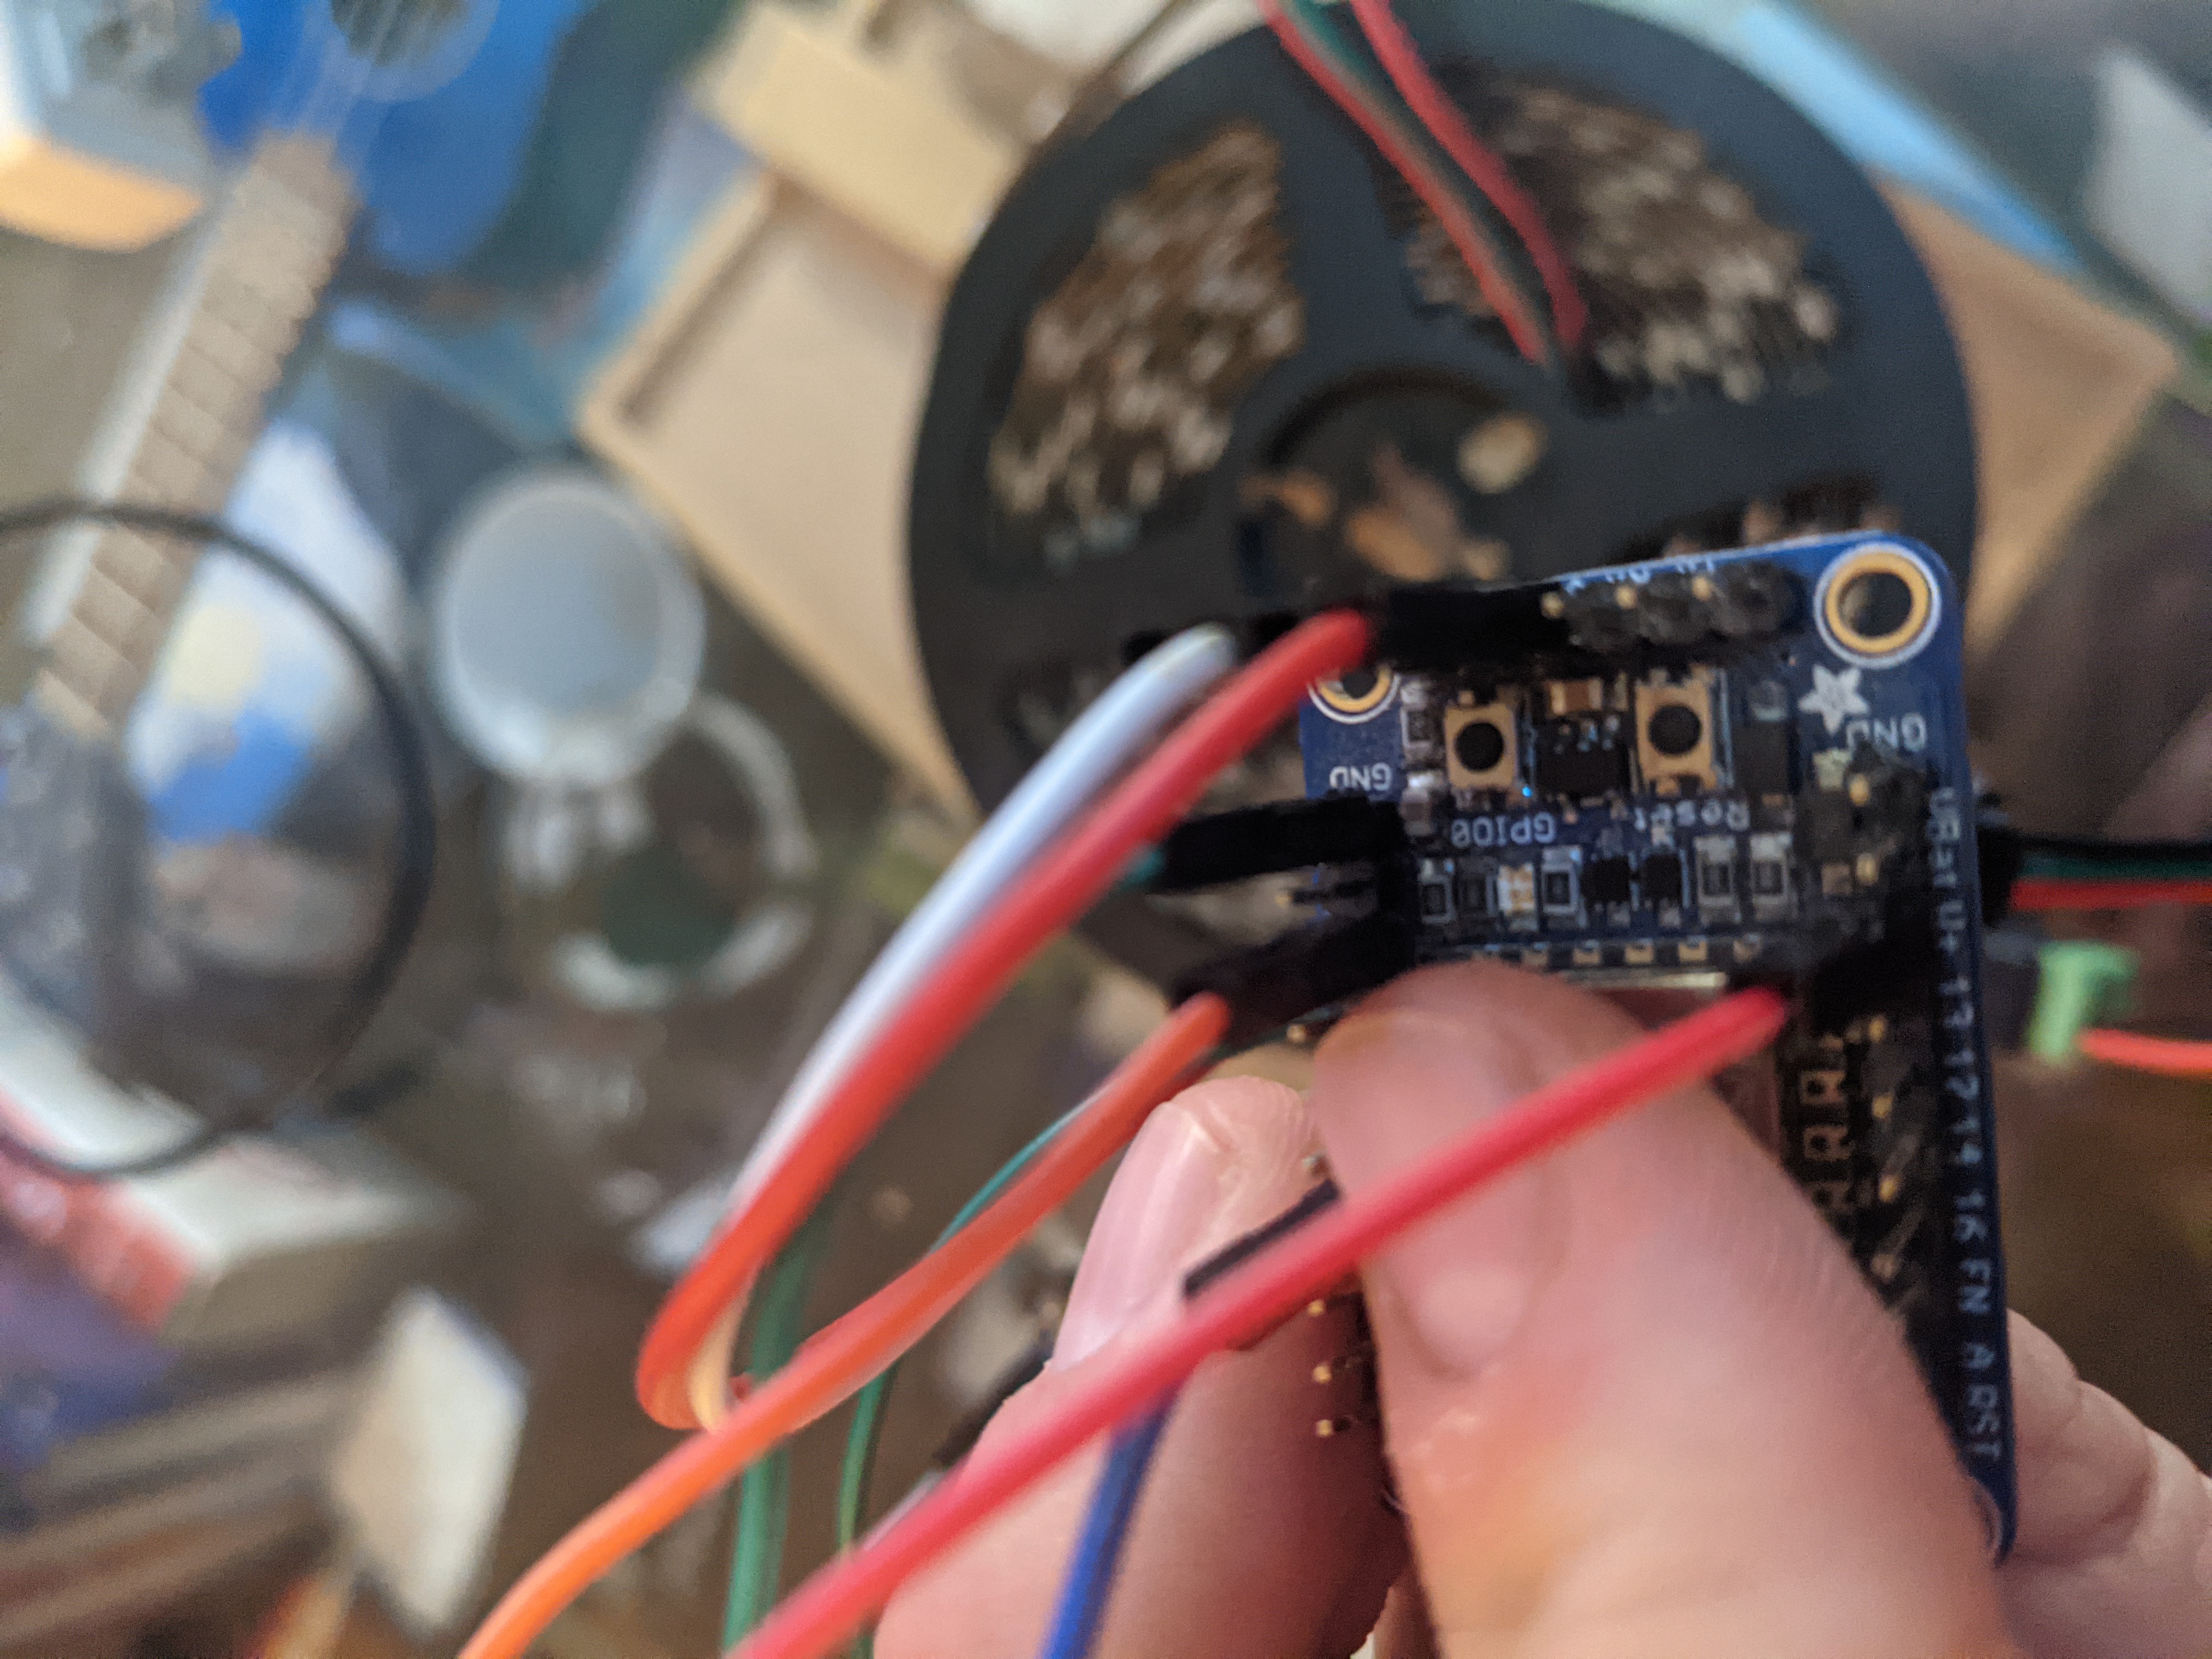
Everything is hooked up but the lights are not working.
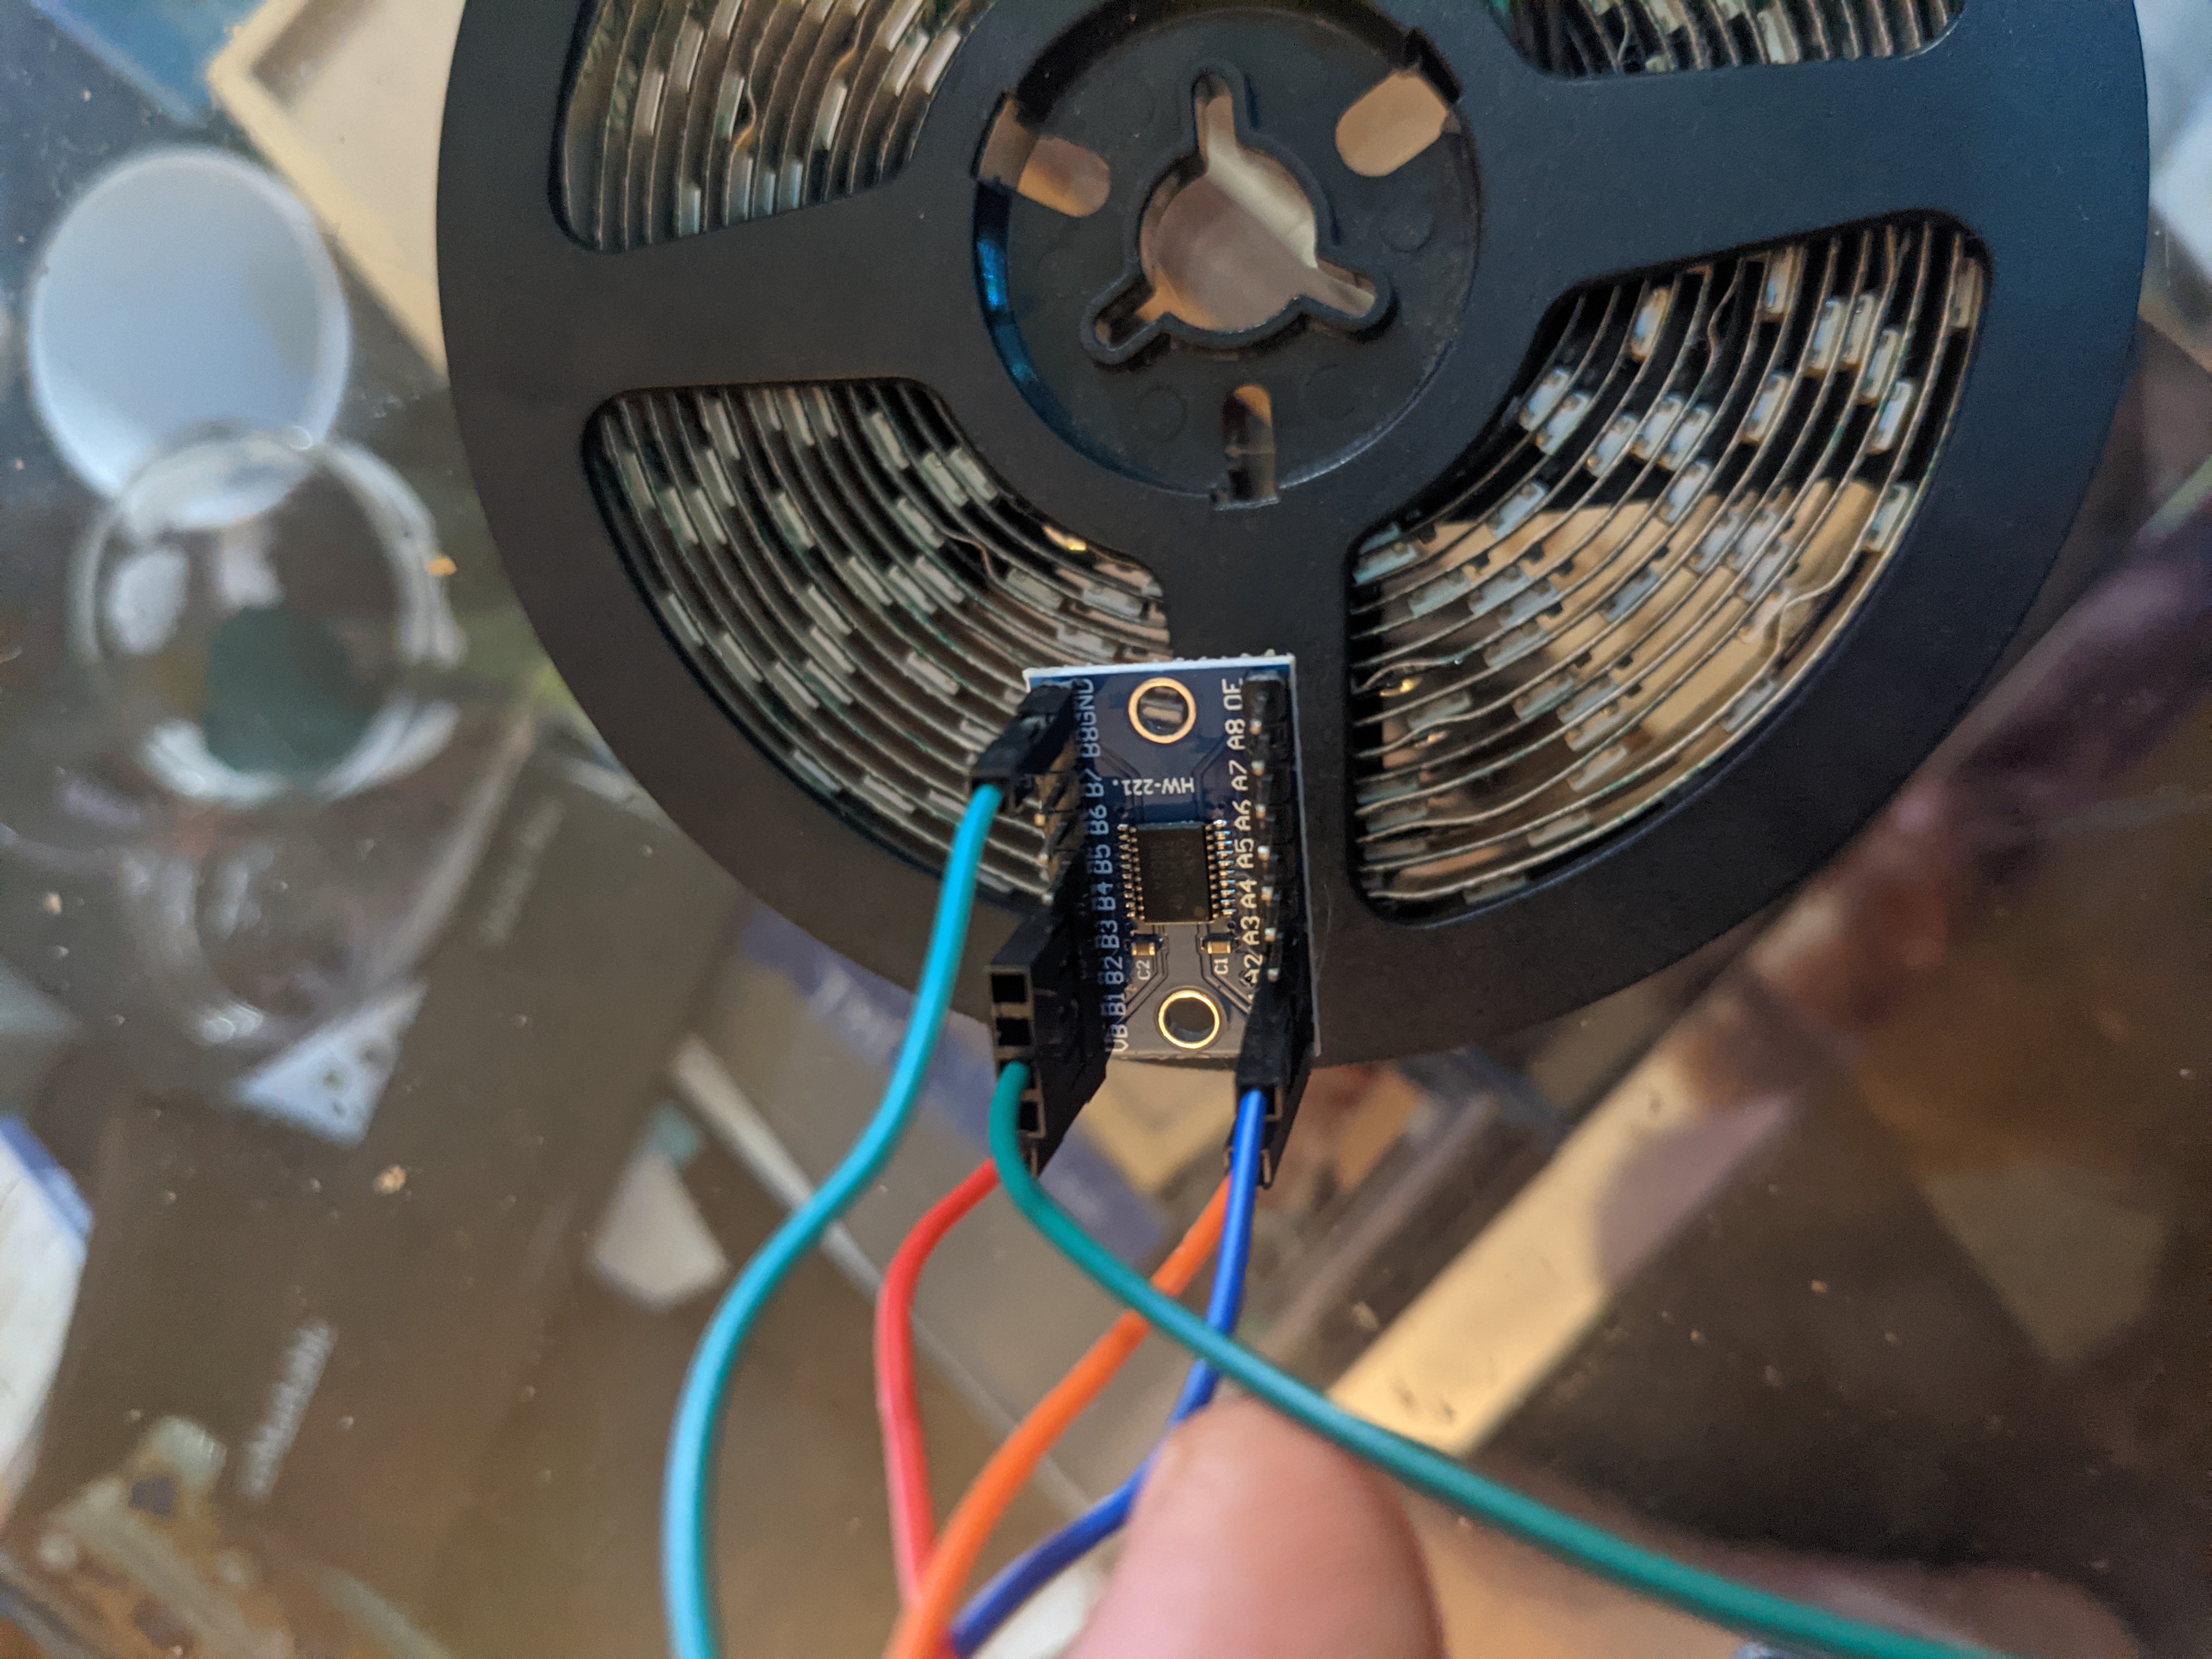
Discovered that the OE pin on the TXS0108E needs to be pulled high to VA (ESP Logic Level High 3.3V)
Physical Construction
Lamp
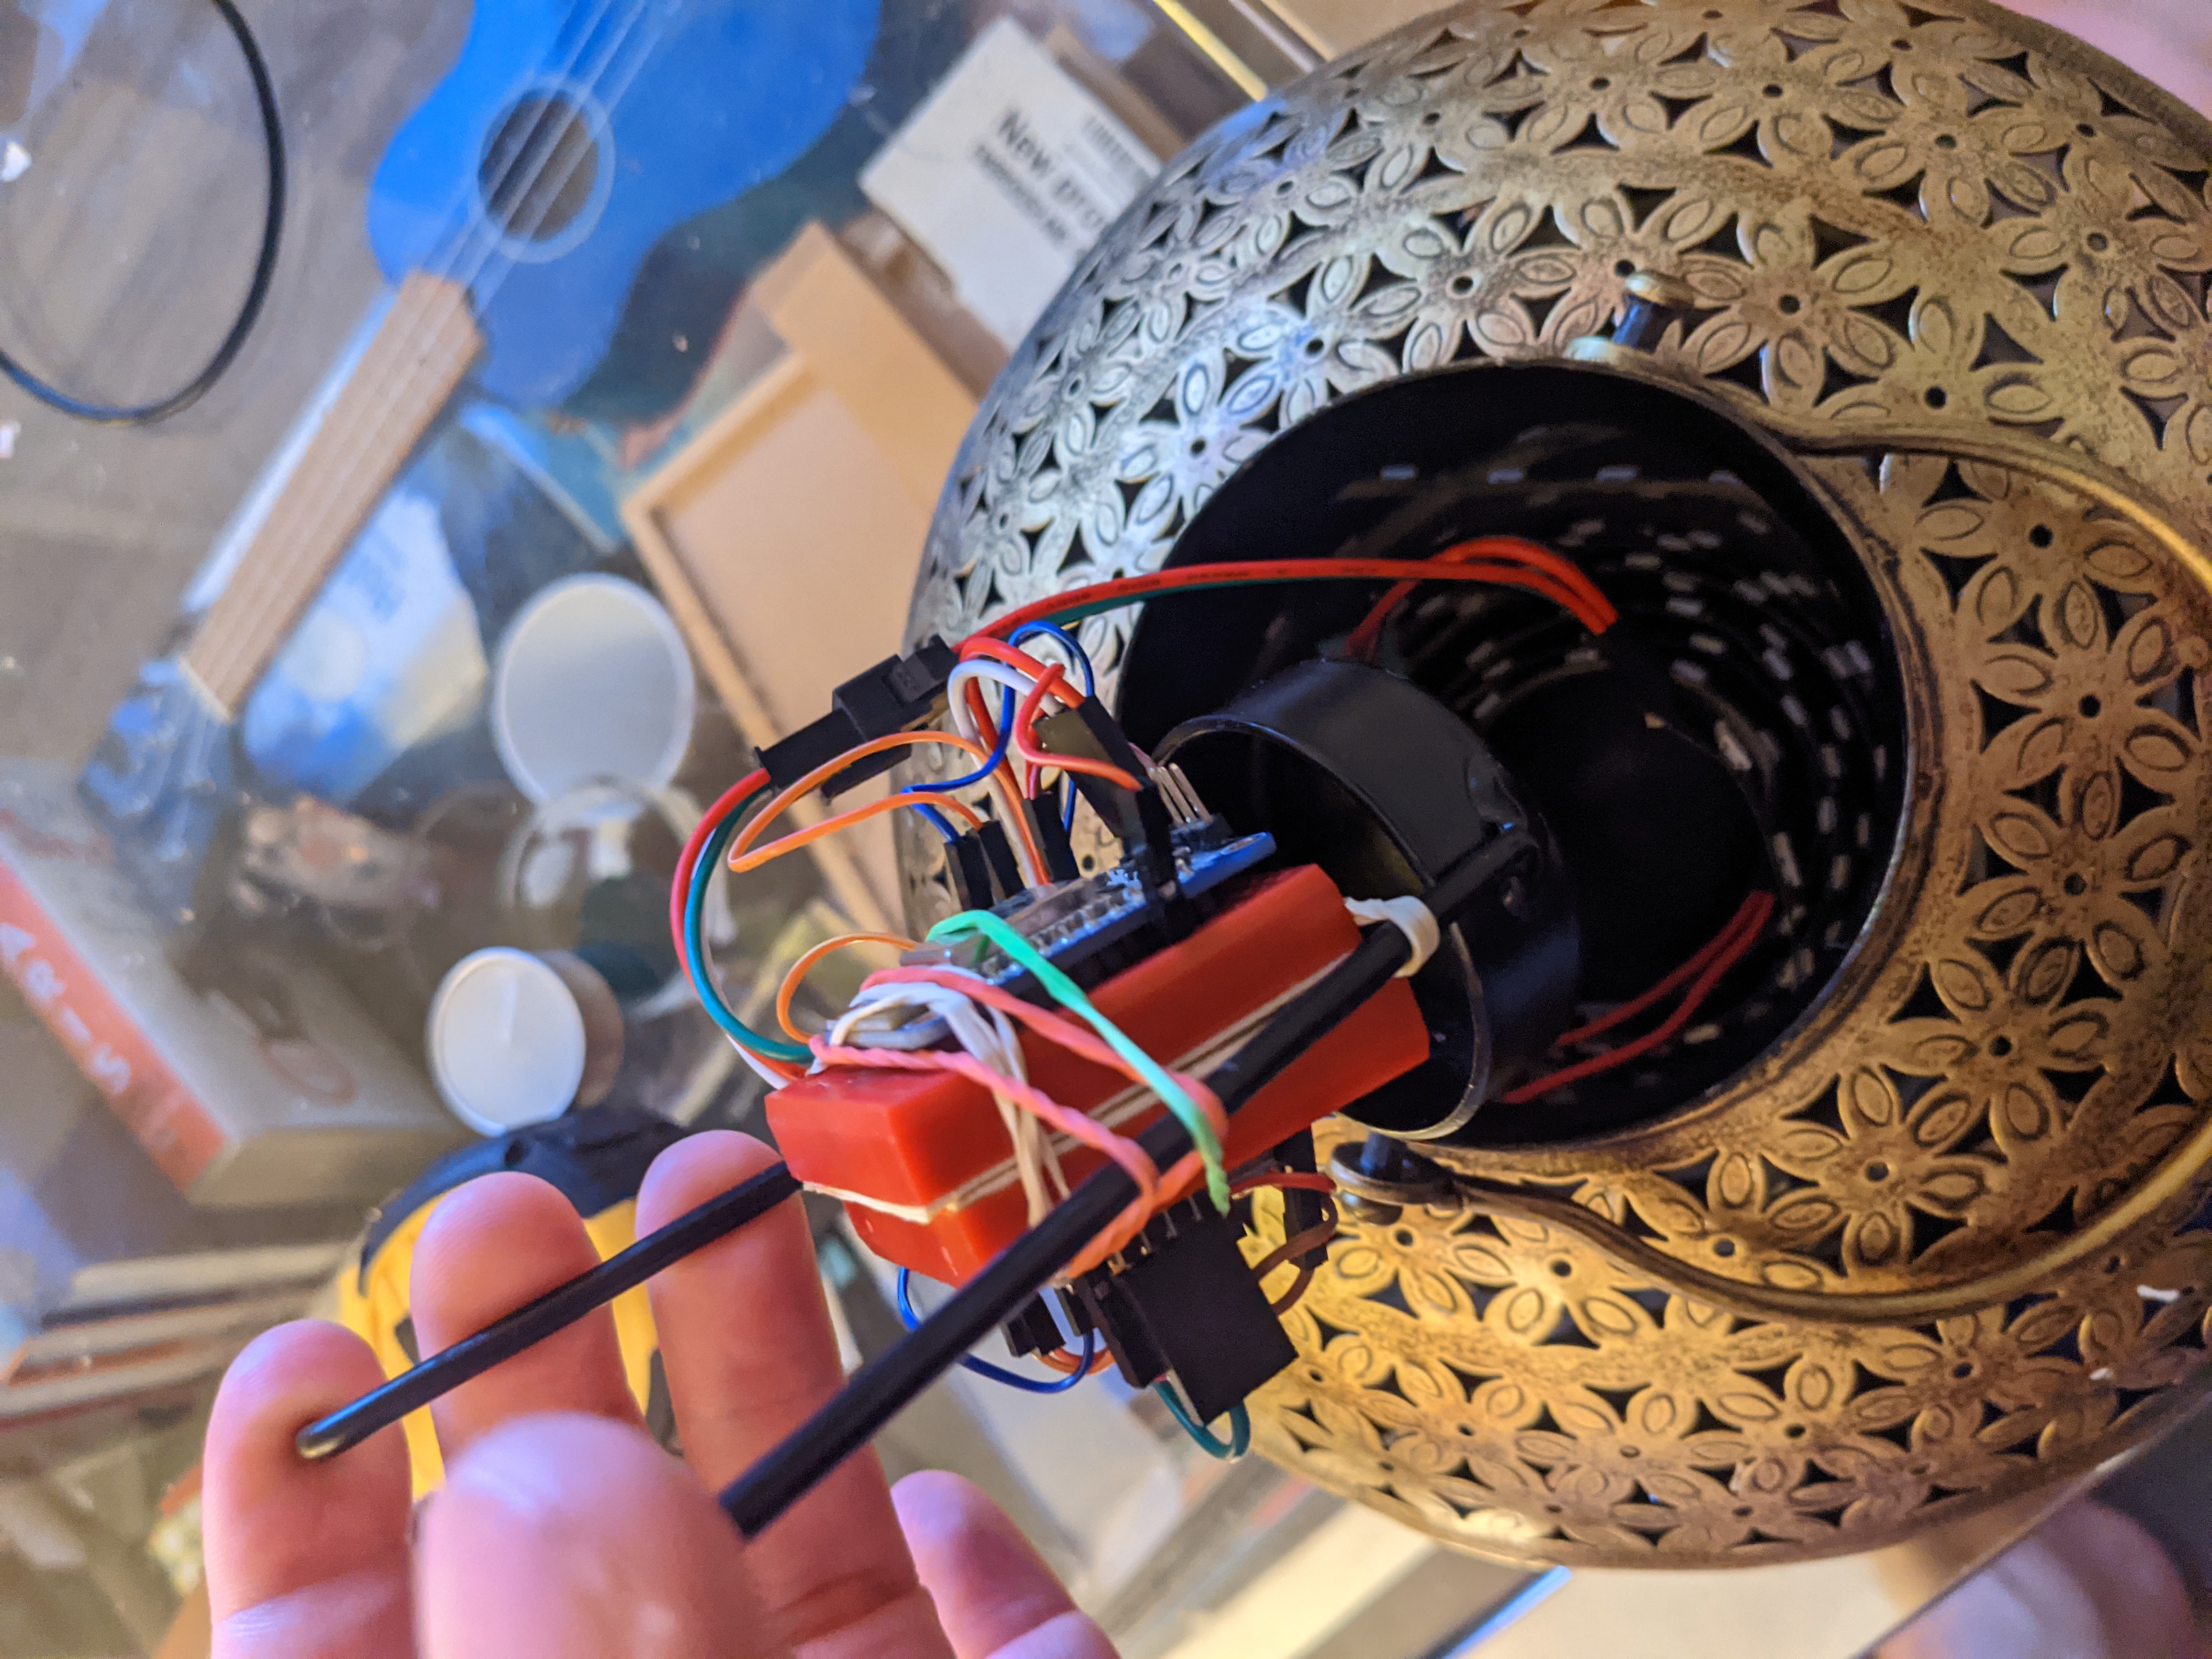
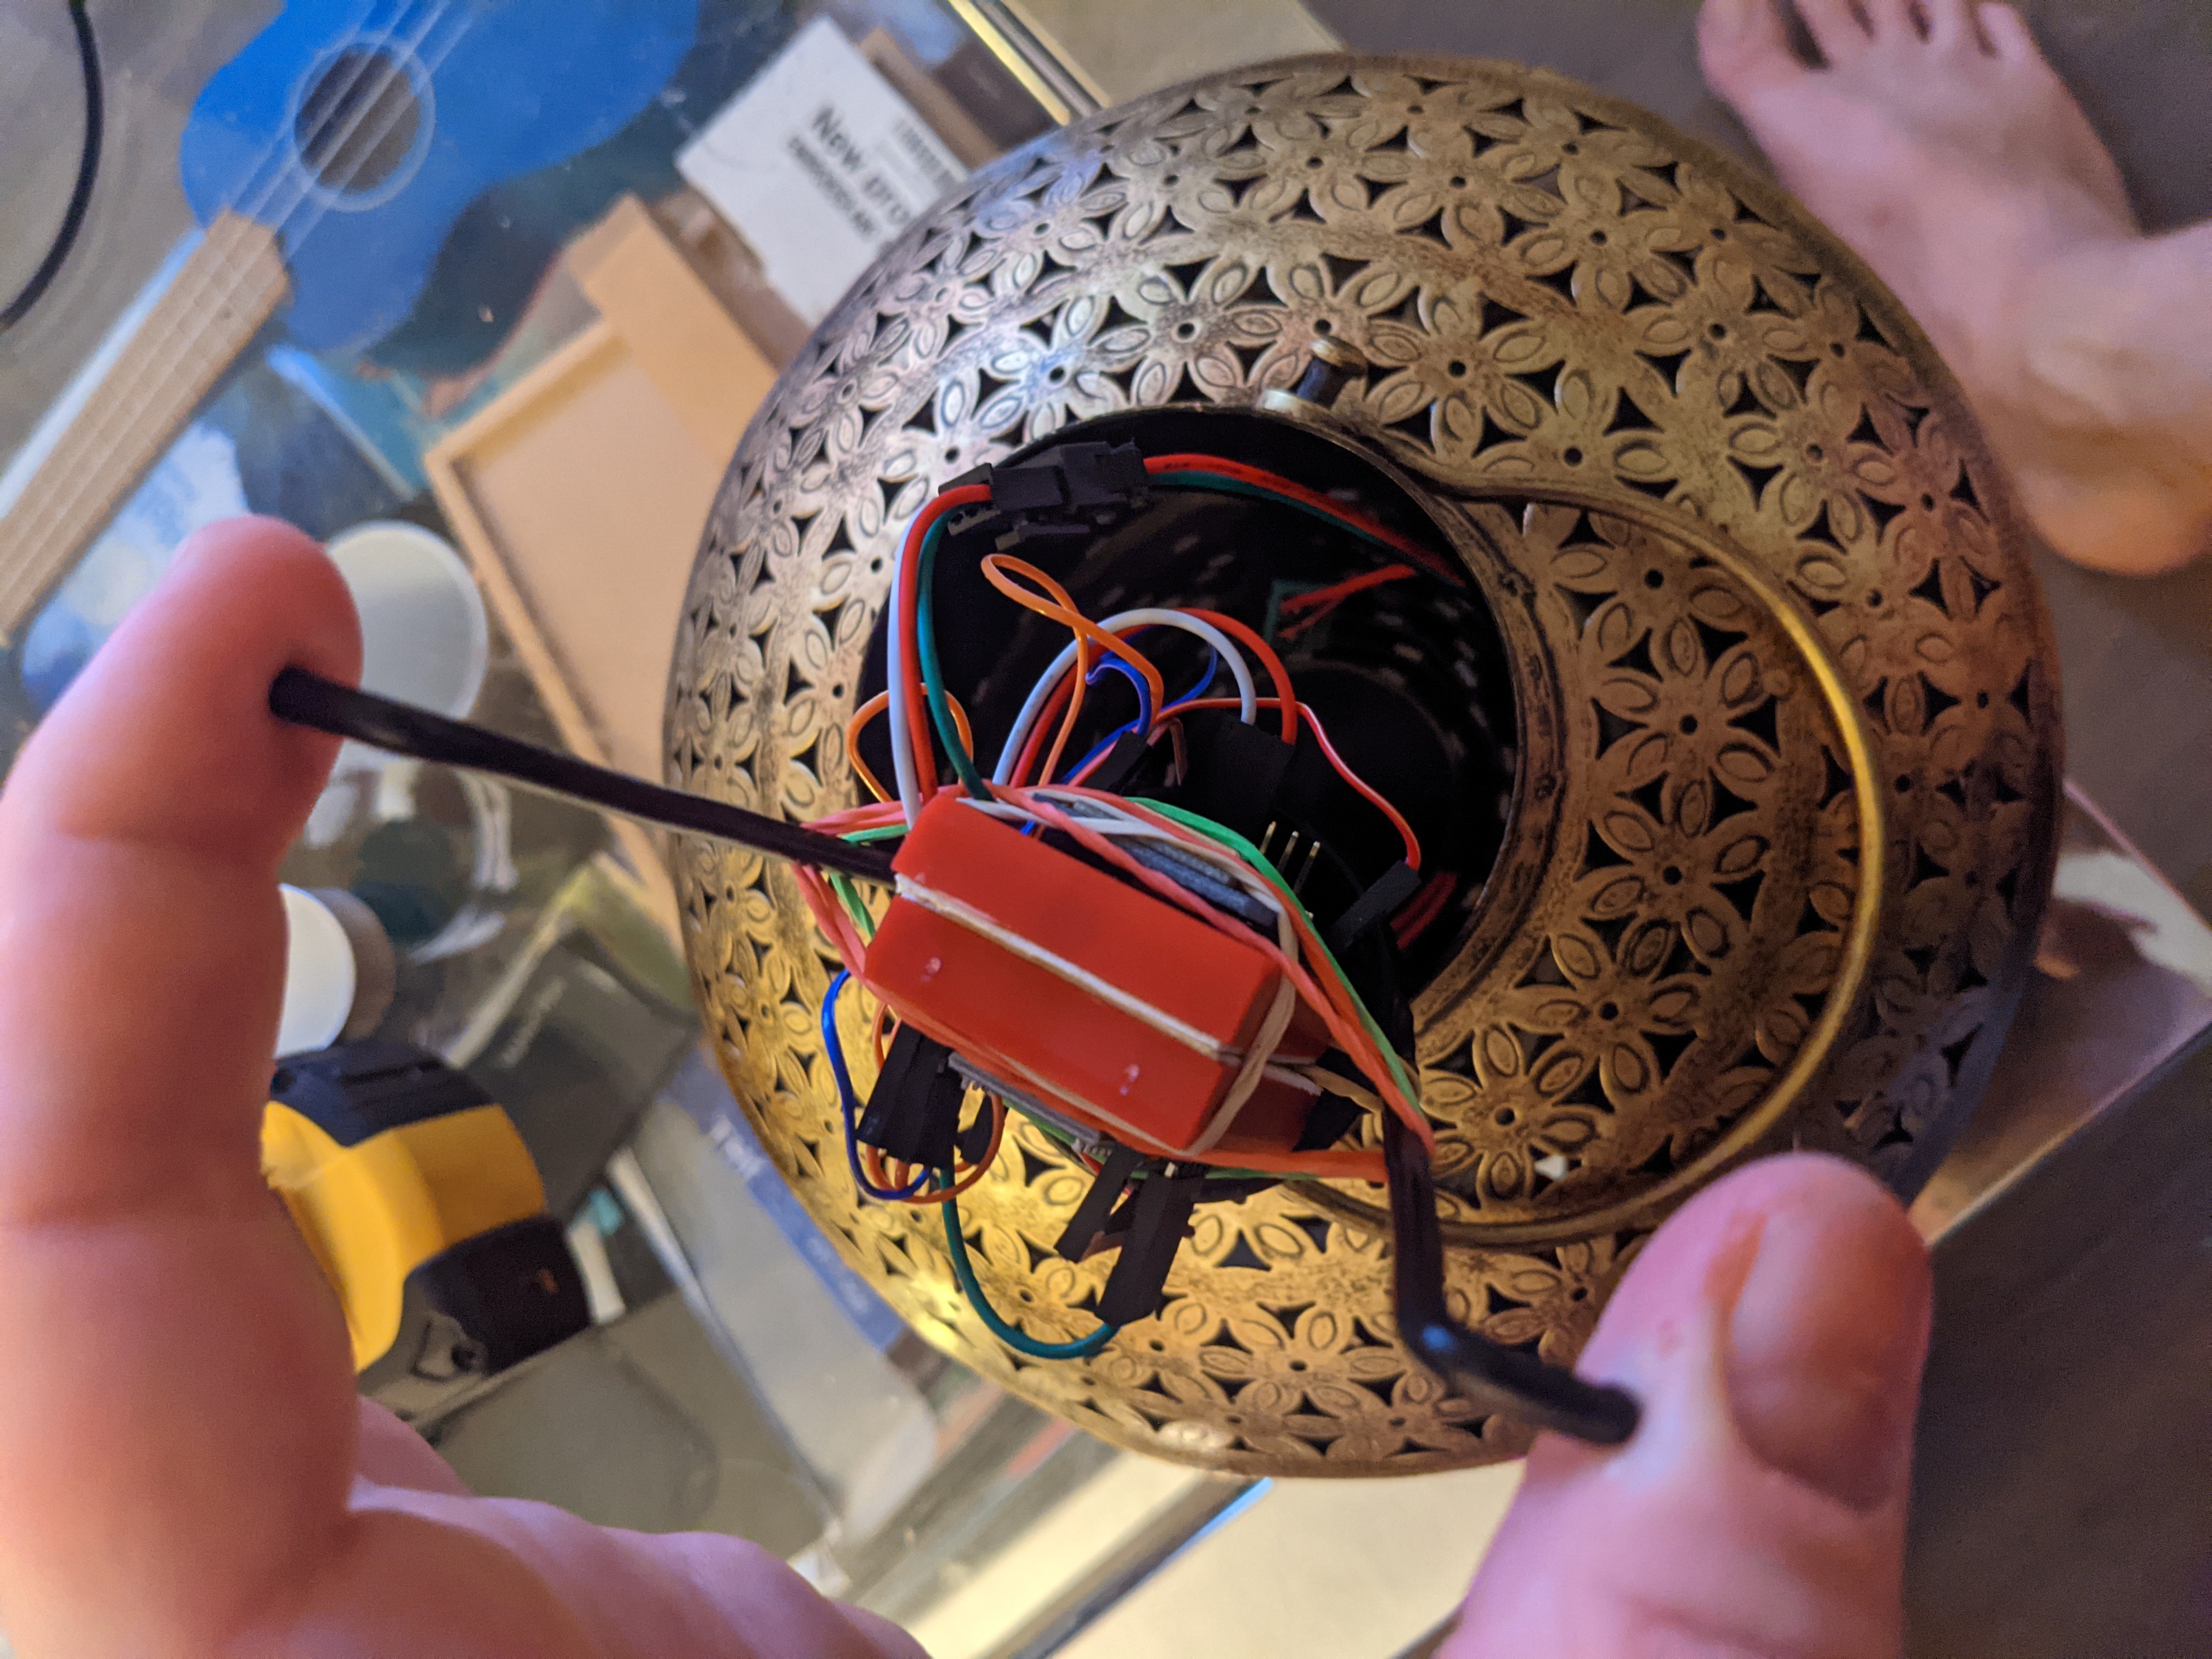
Test Fit
Lets see how everything could fit inside the lamp. Who cares how it looks at the moment. We will polish it later.
Electronics Enclosure
FreeCad Model
Degchi_Lamp_Enclosure.FCStd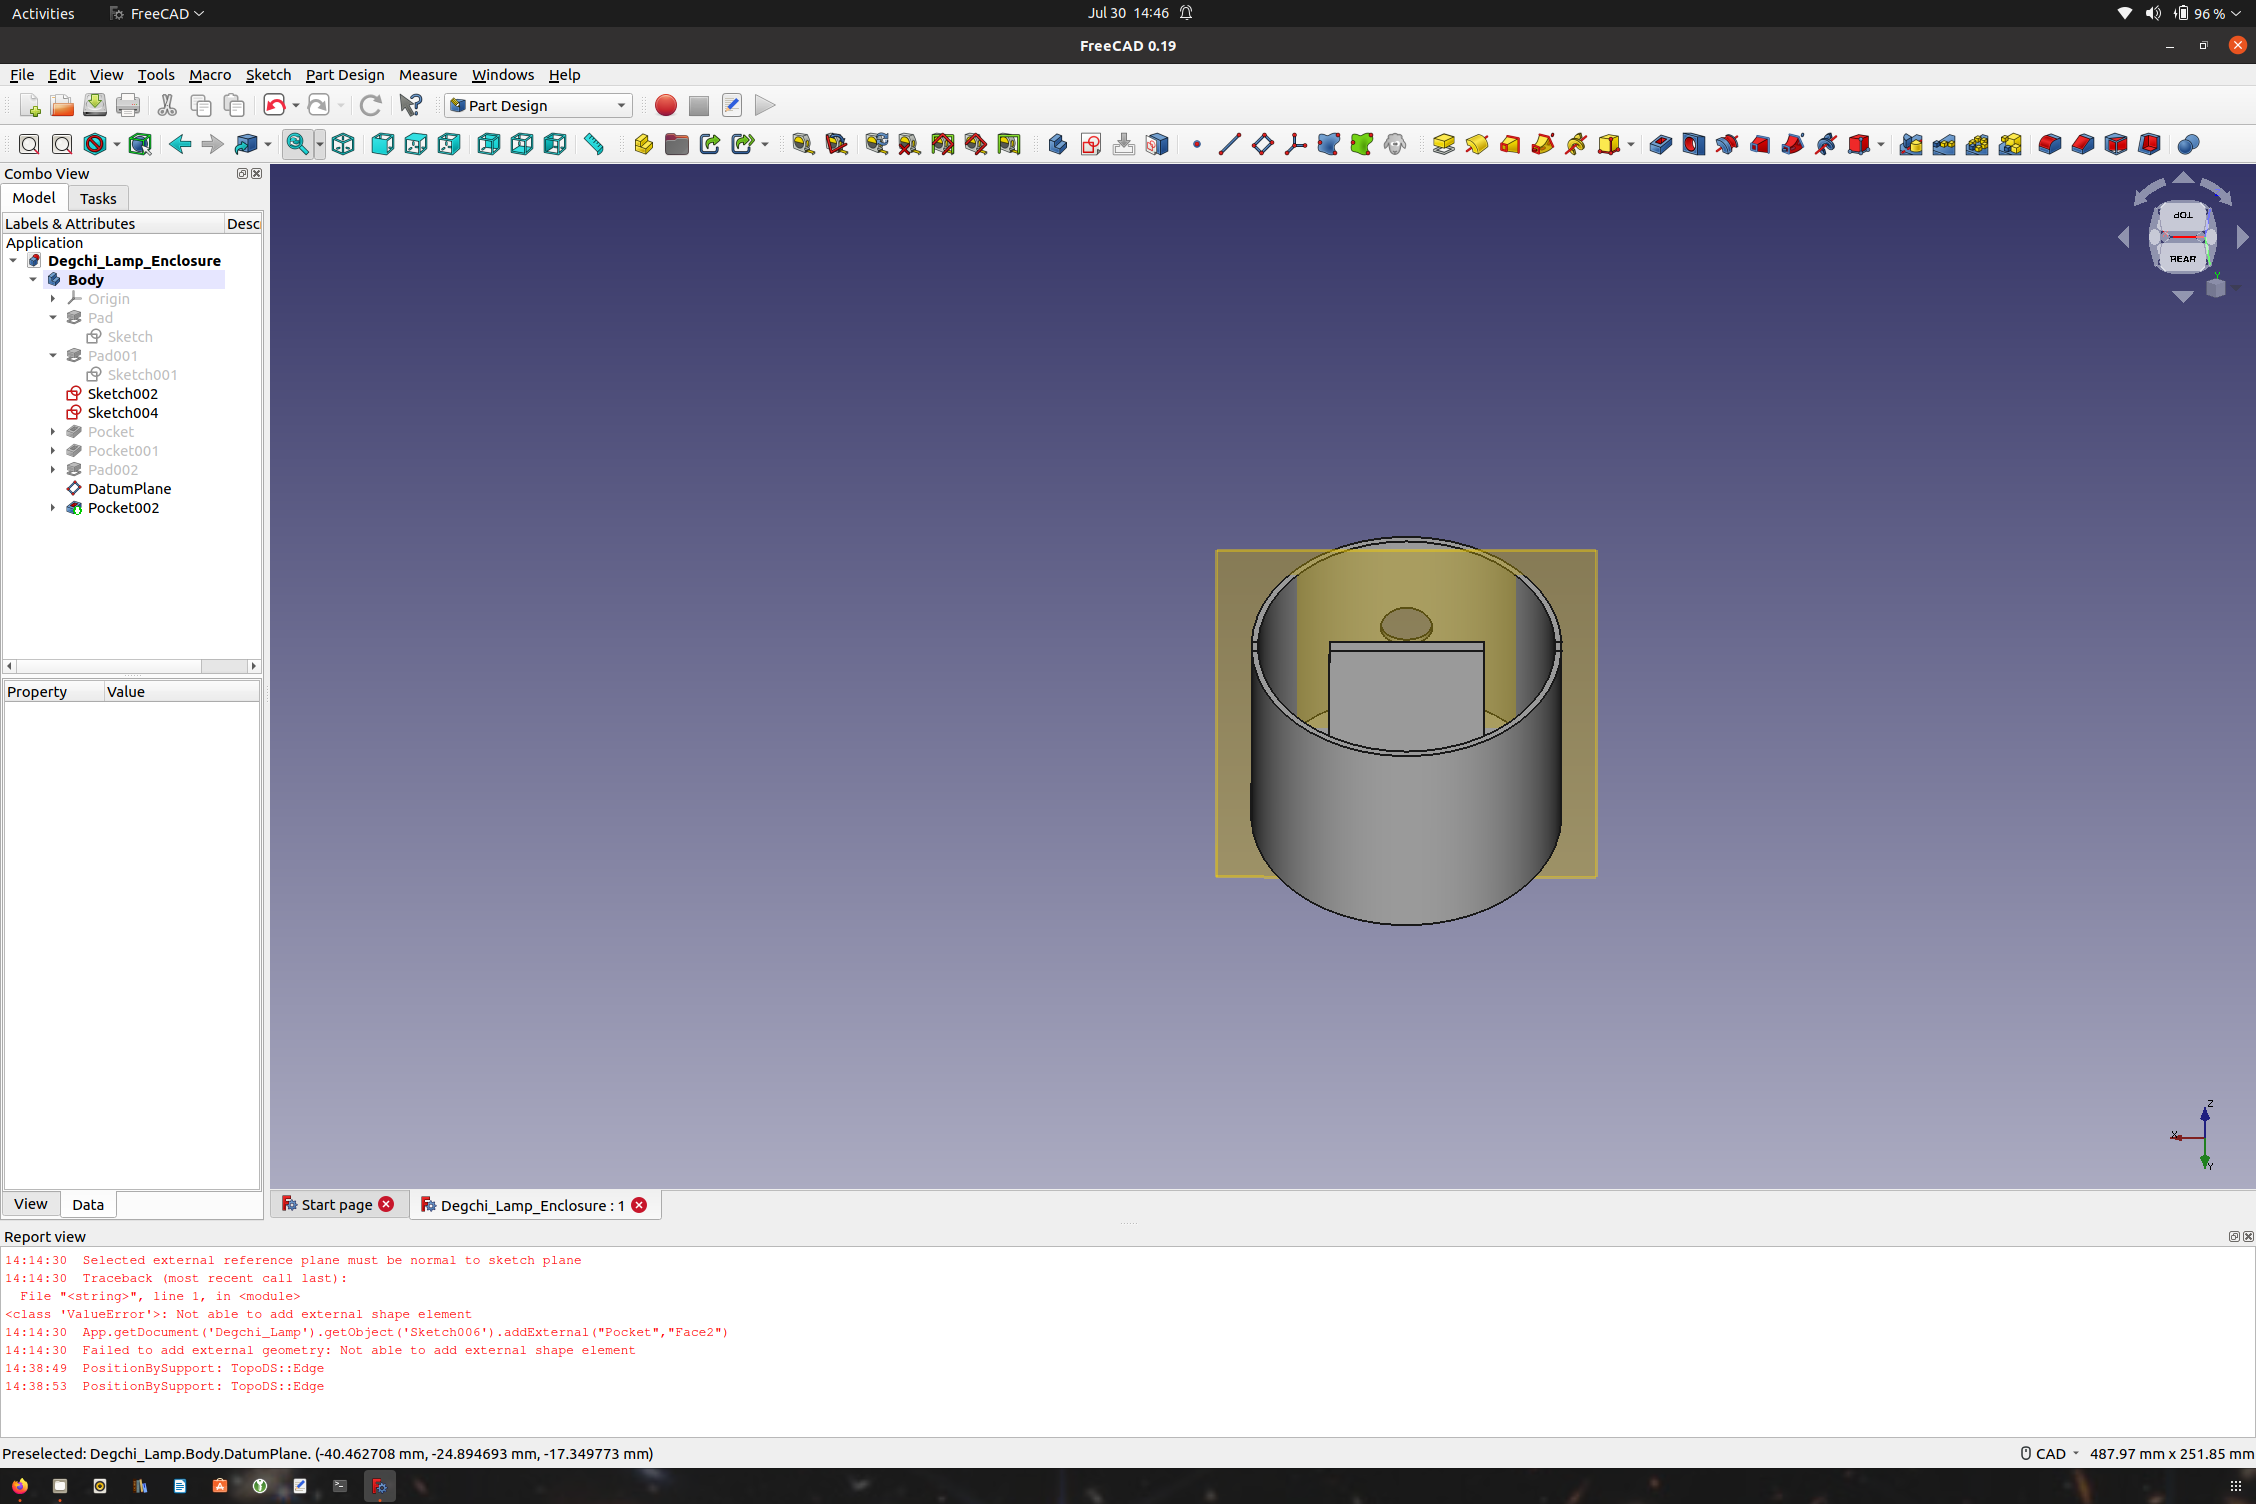
First atttempt to create a quick enclosure.
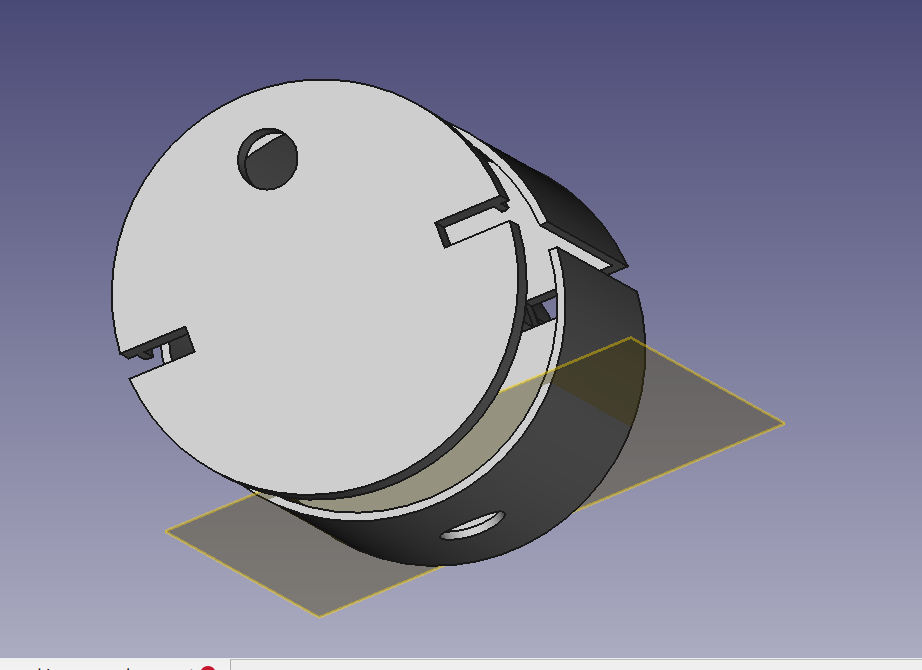
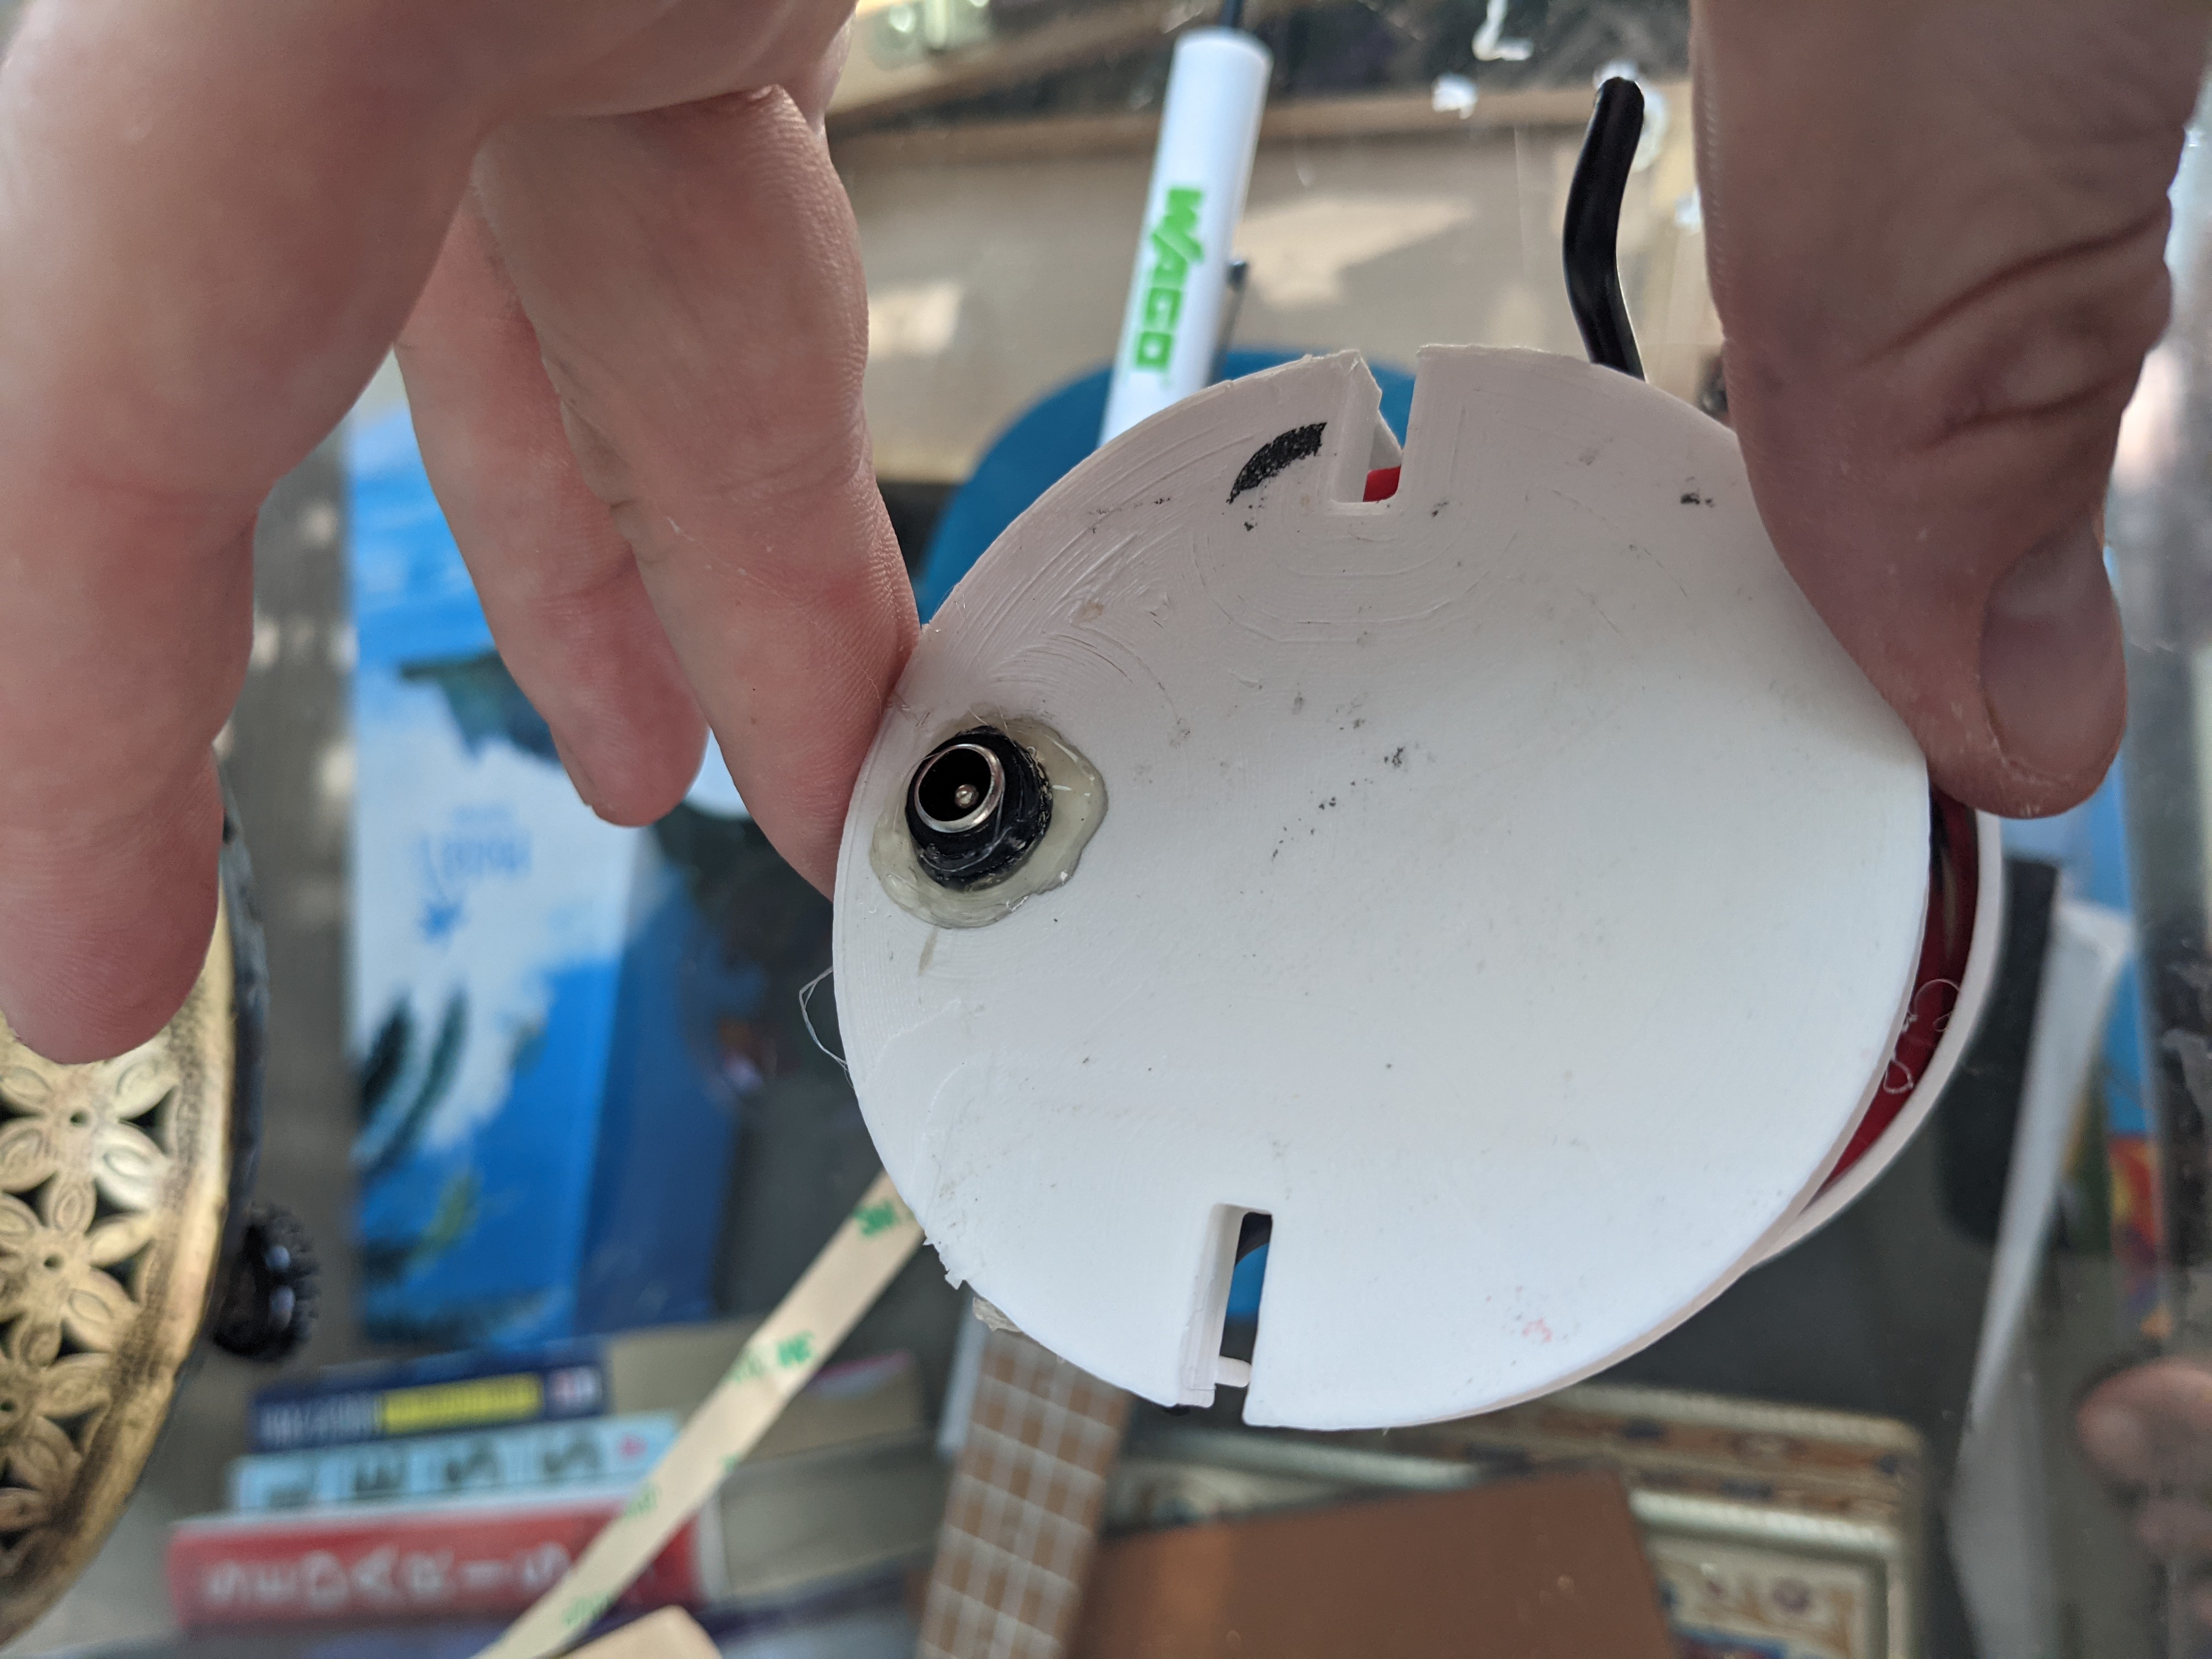
View of the enclosure lid.
Enclosure STLs
Degchi_Lamp_Enclosure-Degchi_Lamp_Electronics_Enclosure.stlEnclosure Main Body
Degchi_Lamp_Enclosure-Degchi_Lamp_Electronics_Cover.stlEnclosure Main Body
Enclosure Assembly
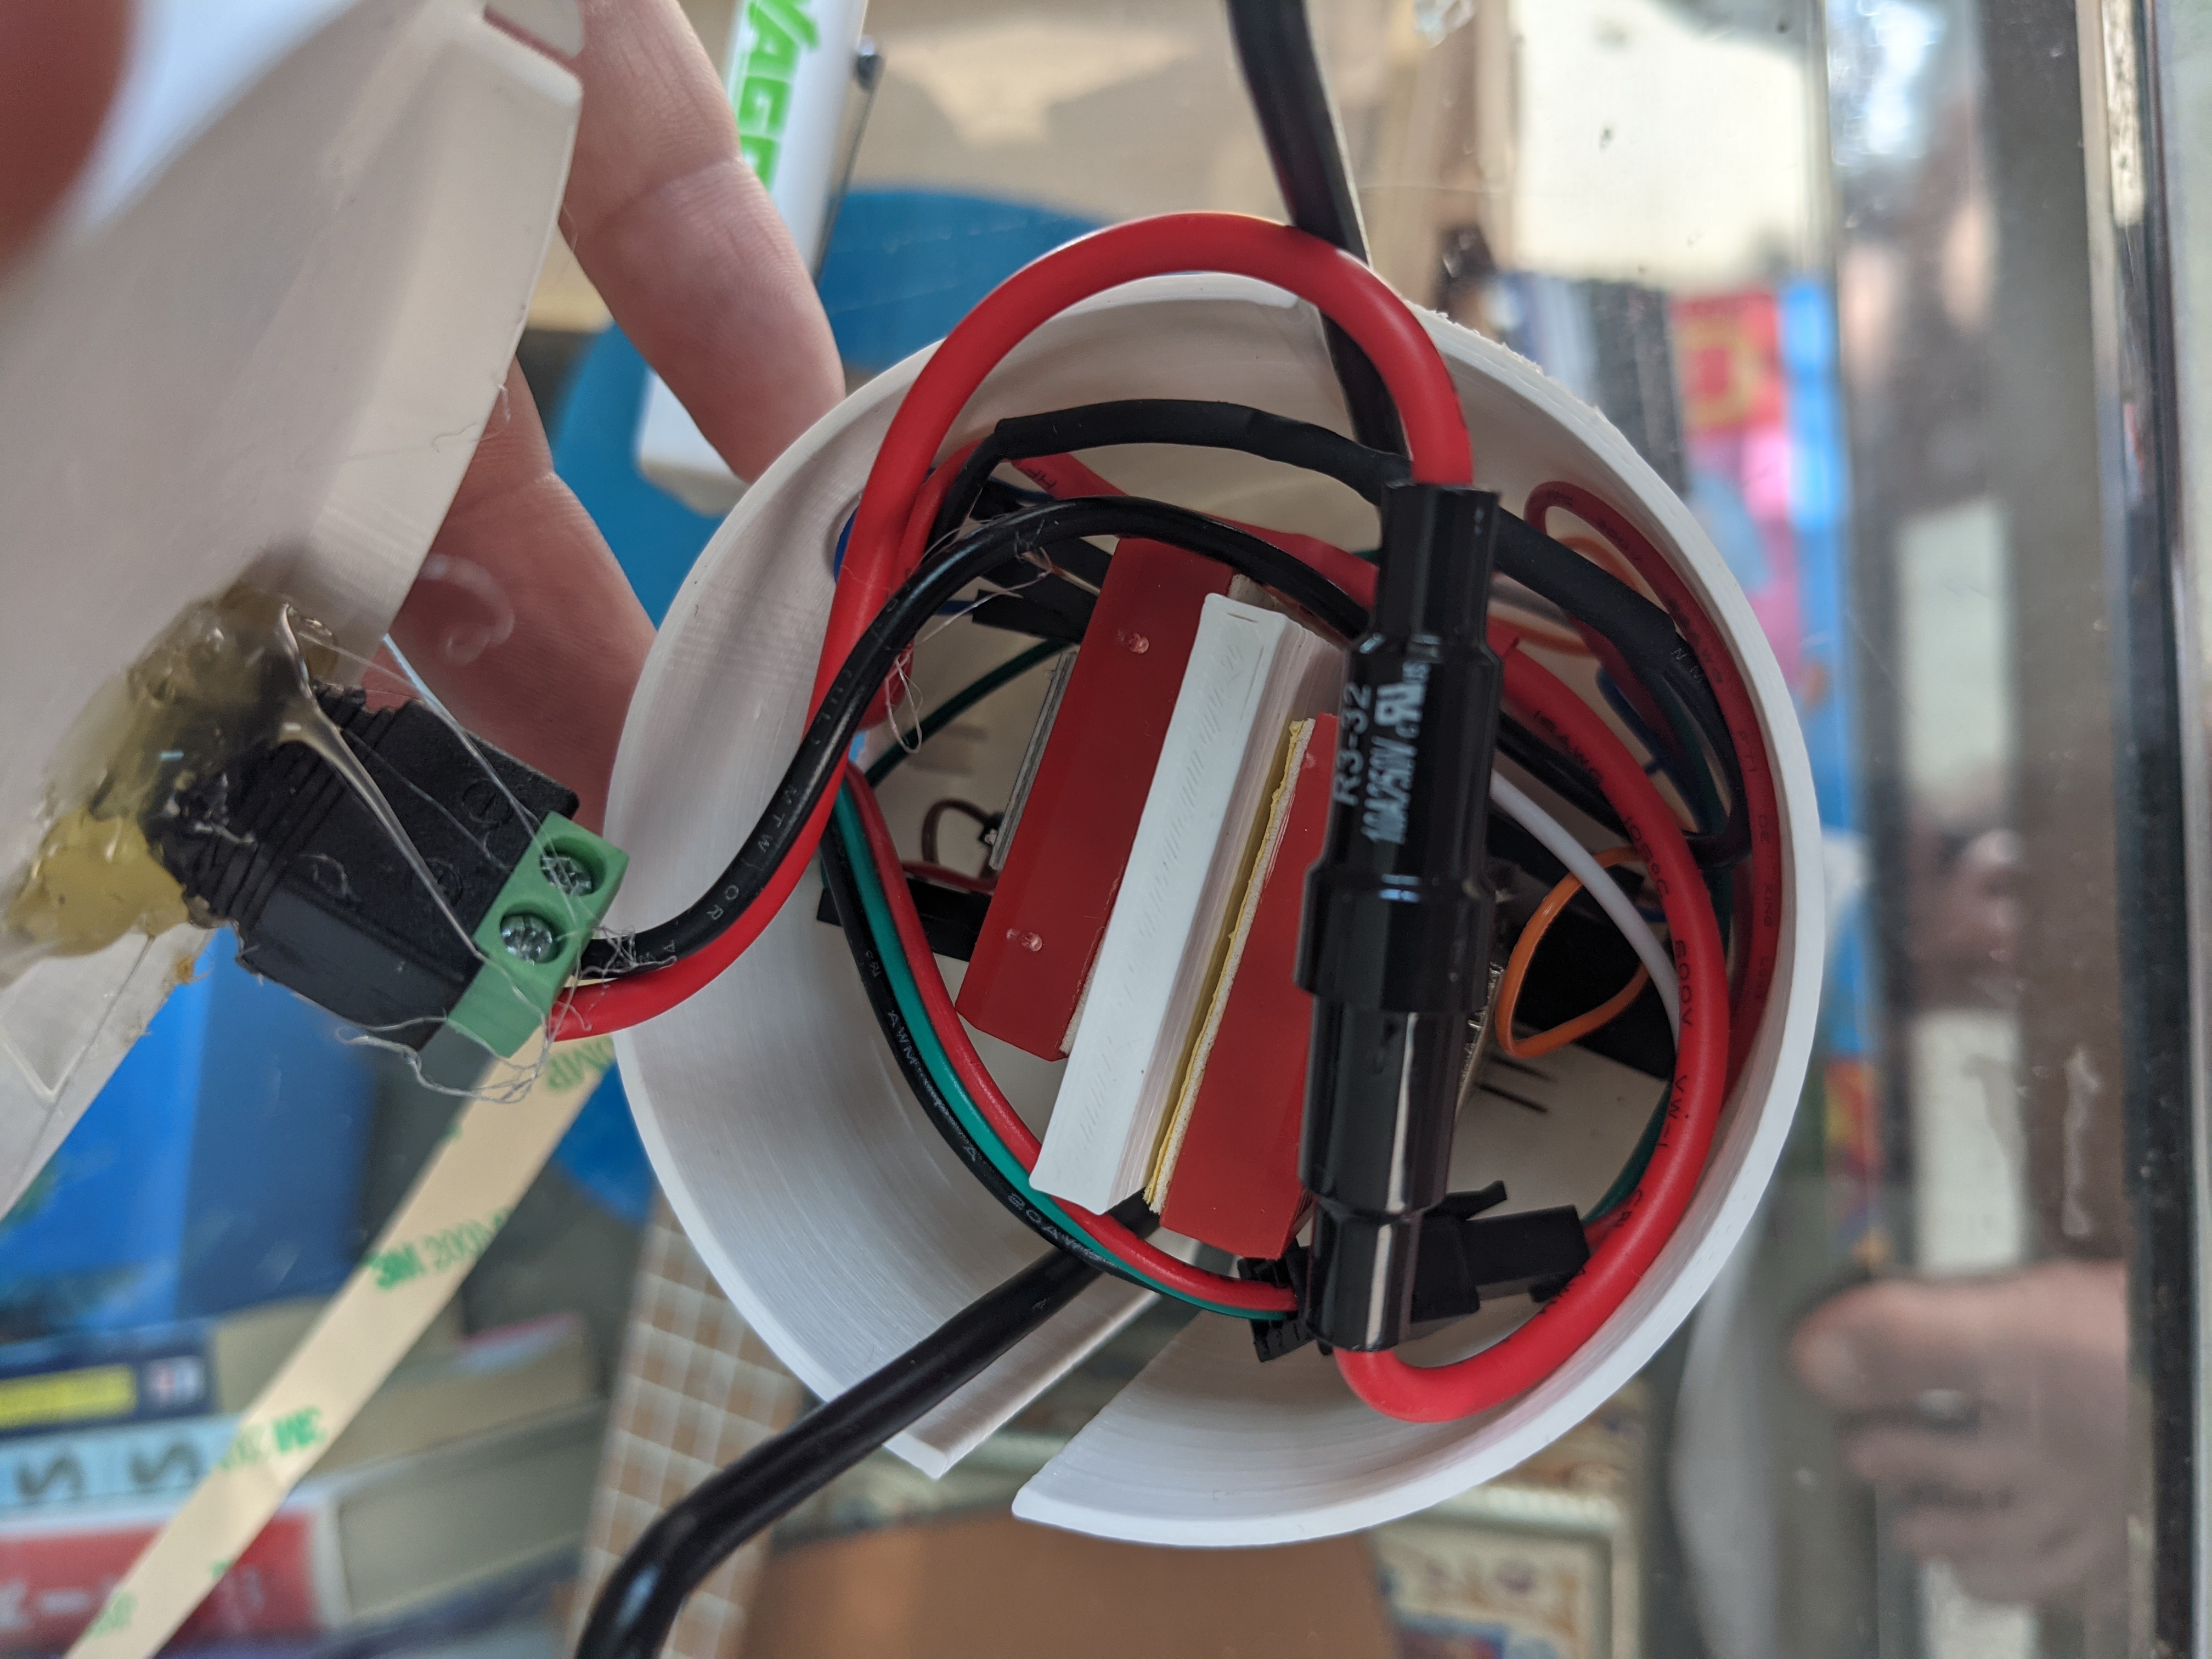
1 amp Fuse
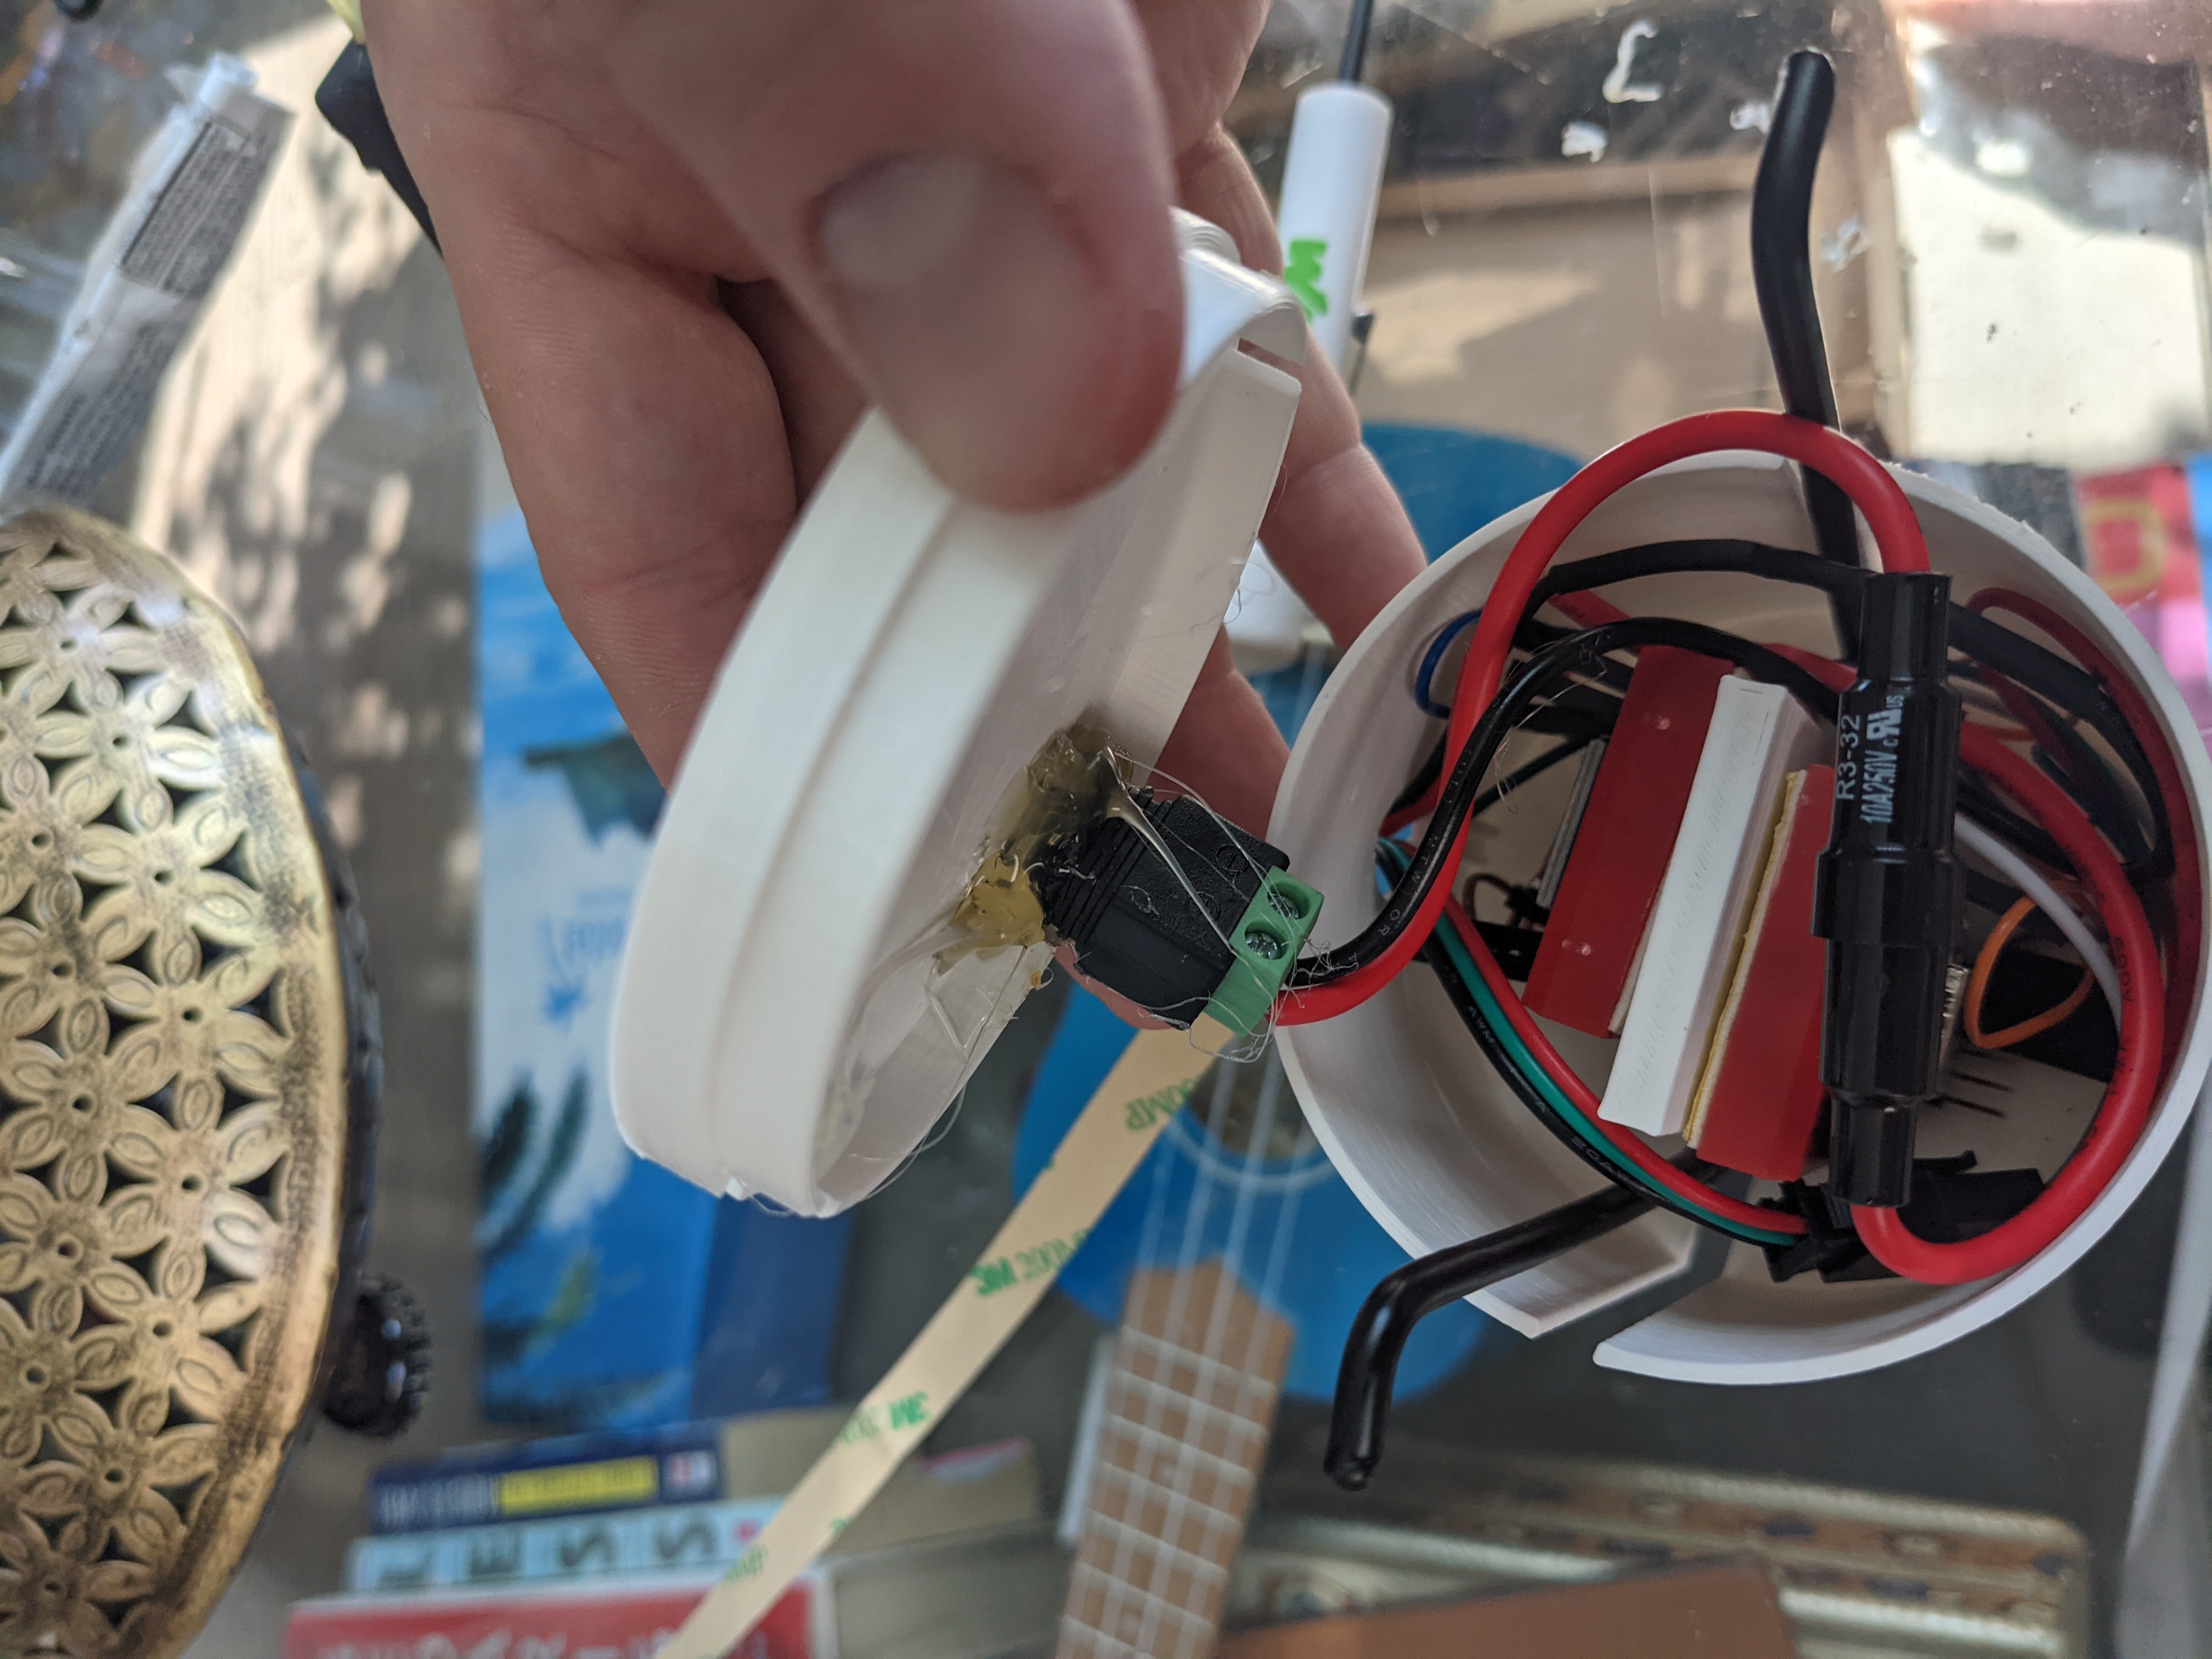
All the electronics seem to fit. A more professional version will be created when I get the parts.
Forcing all the electronics into the enclosure.
Everything is coming together.
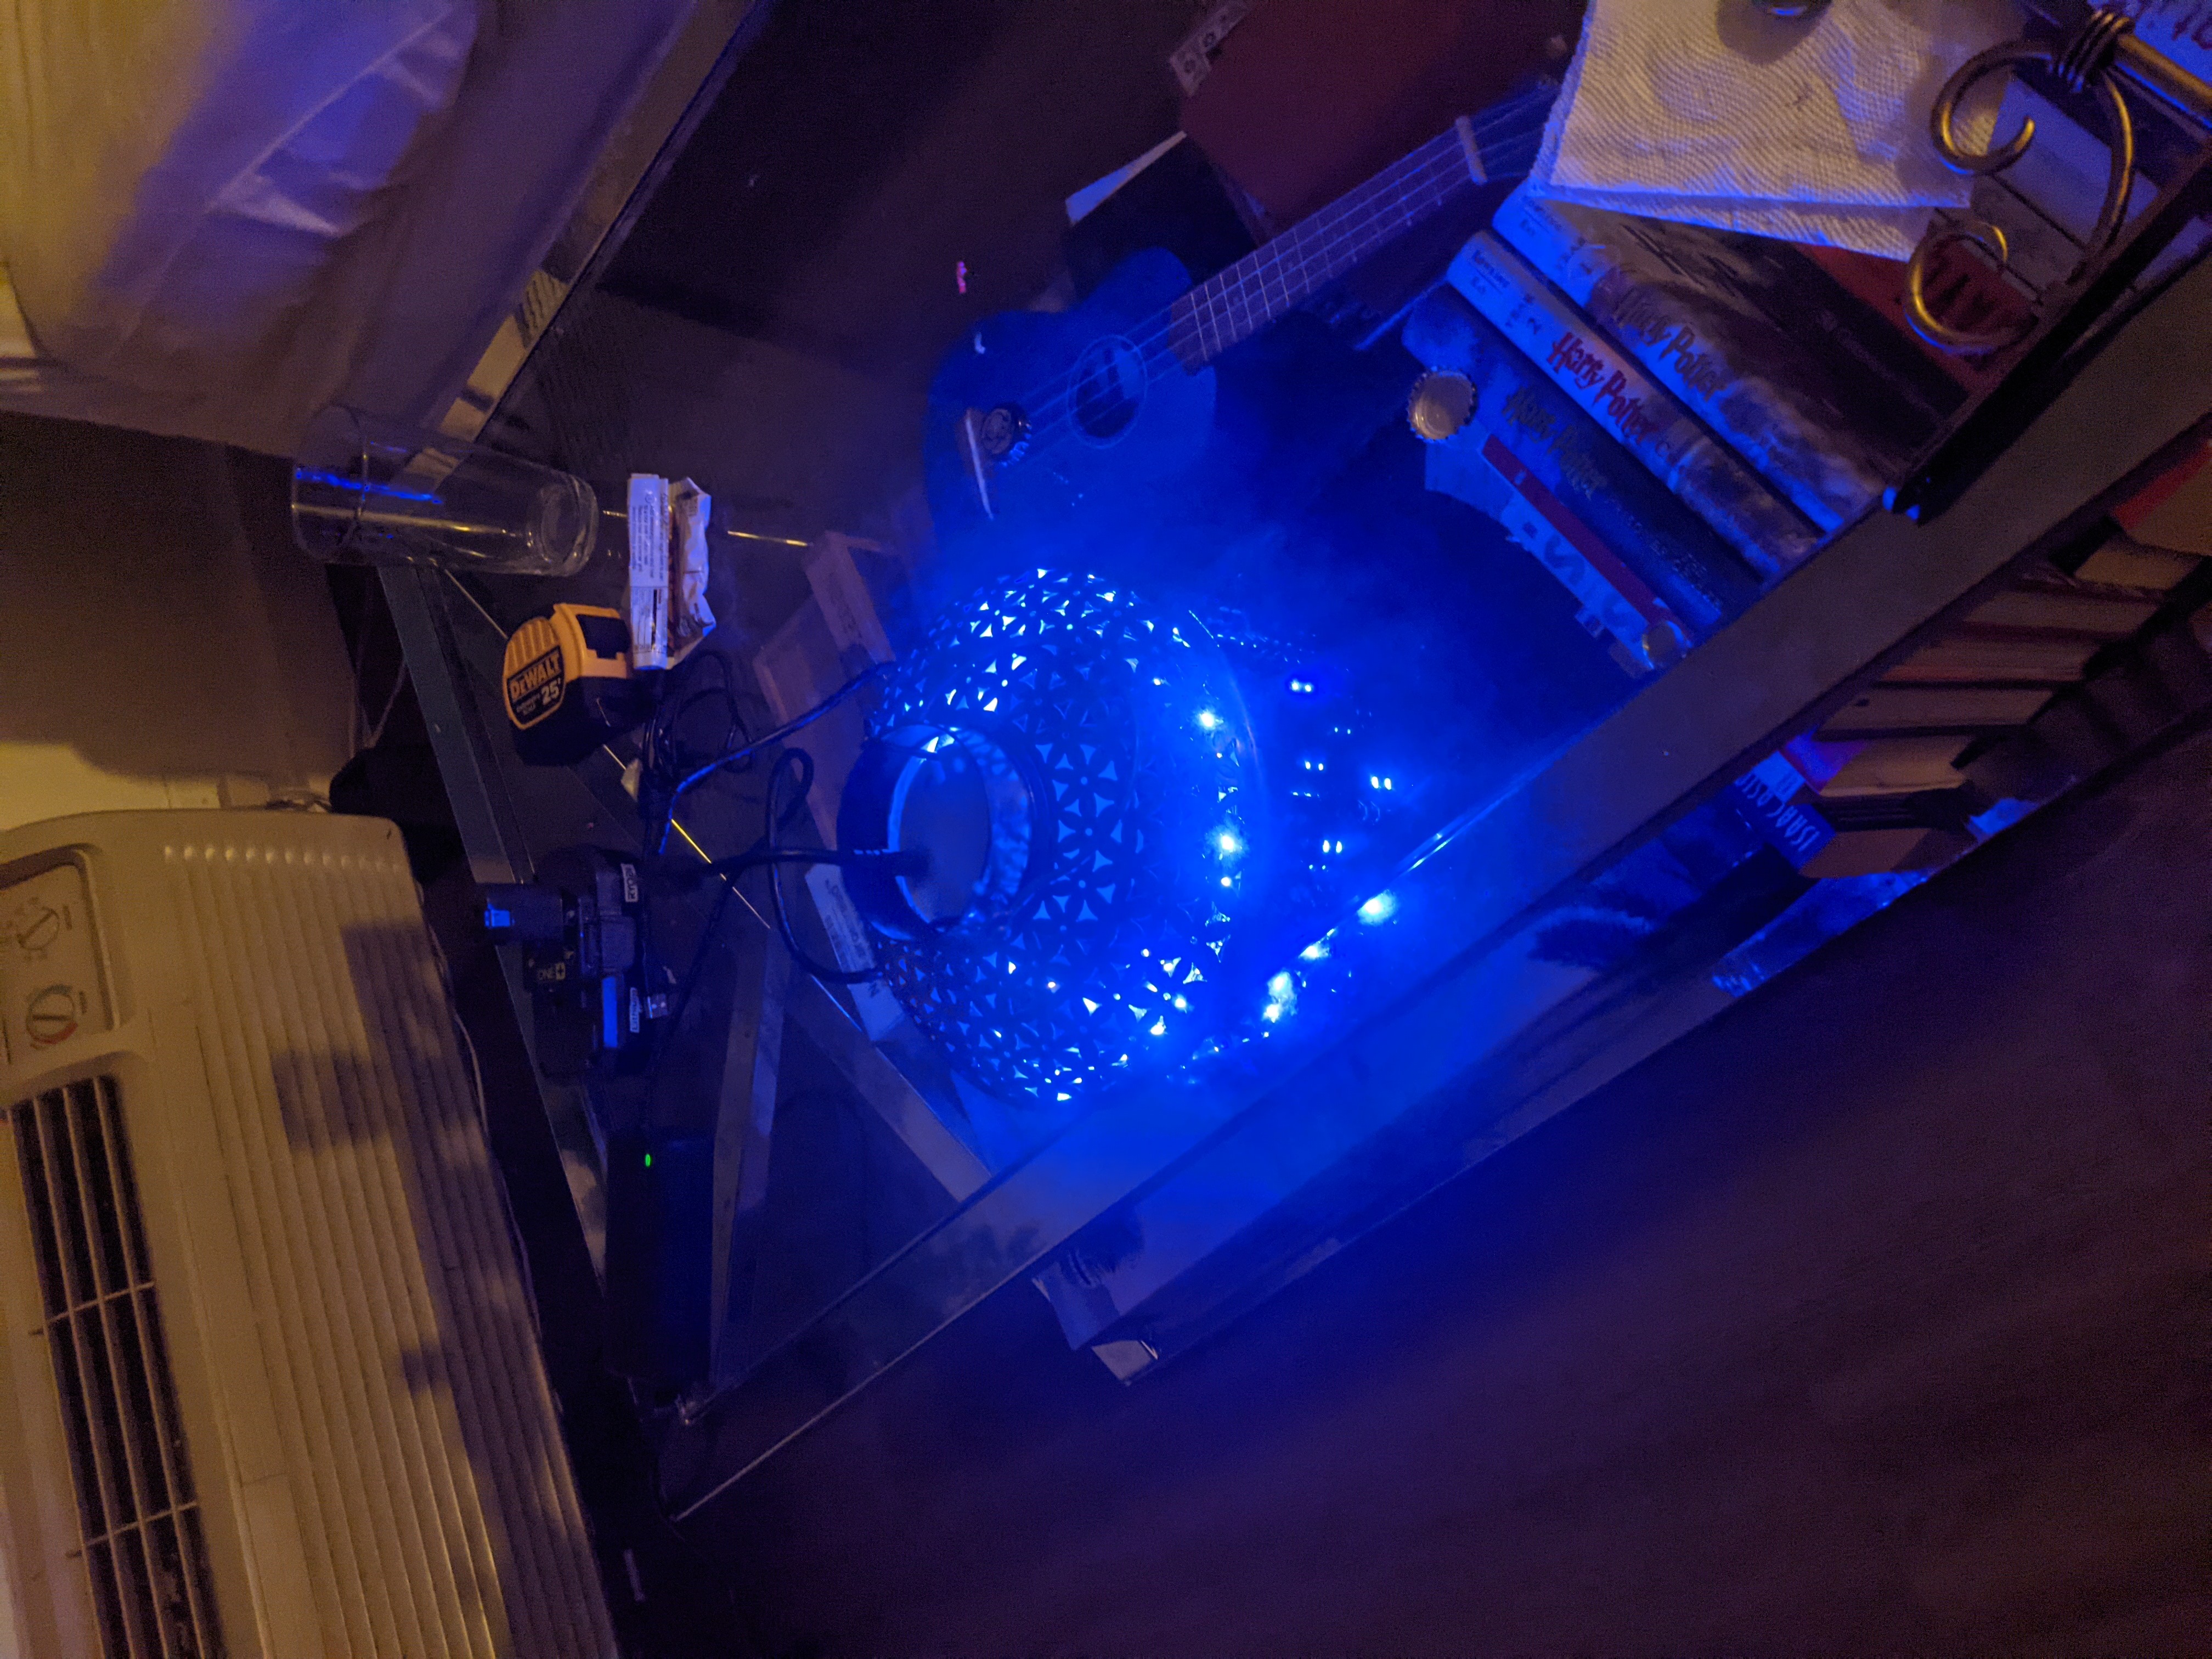
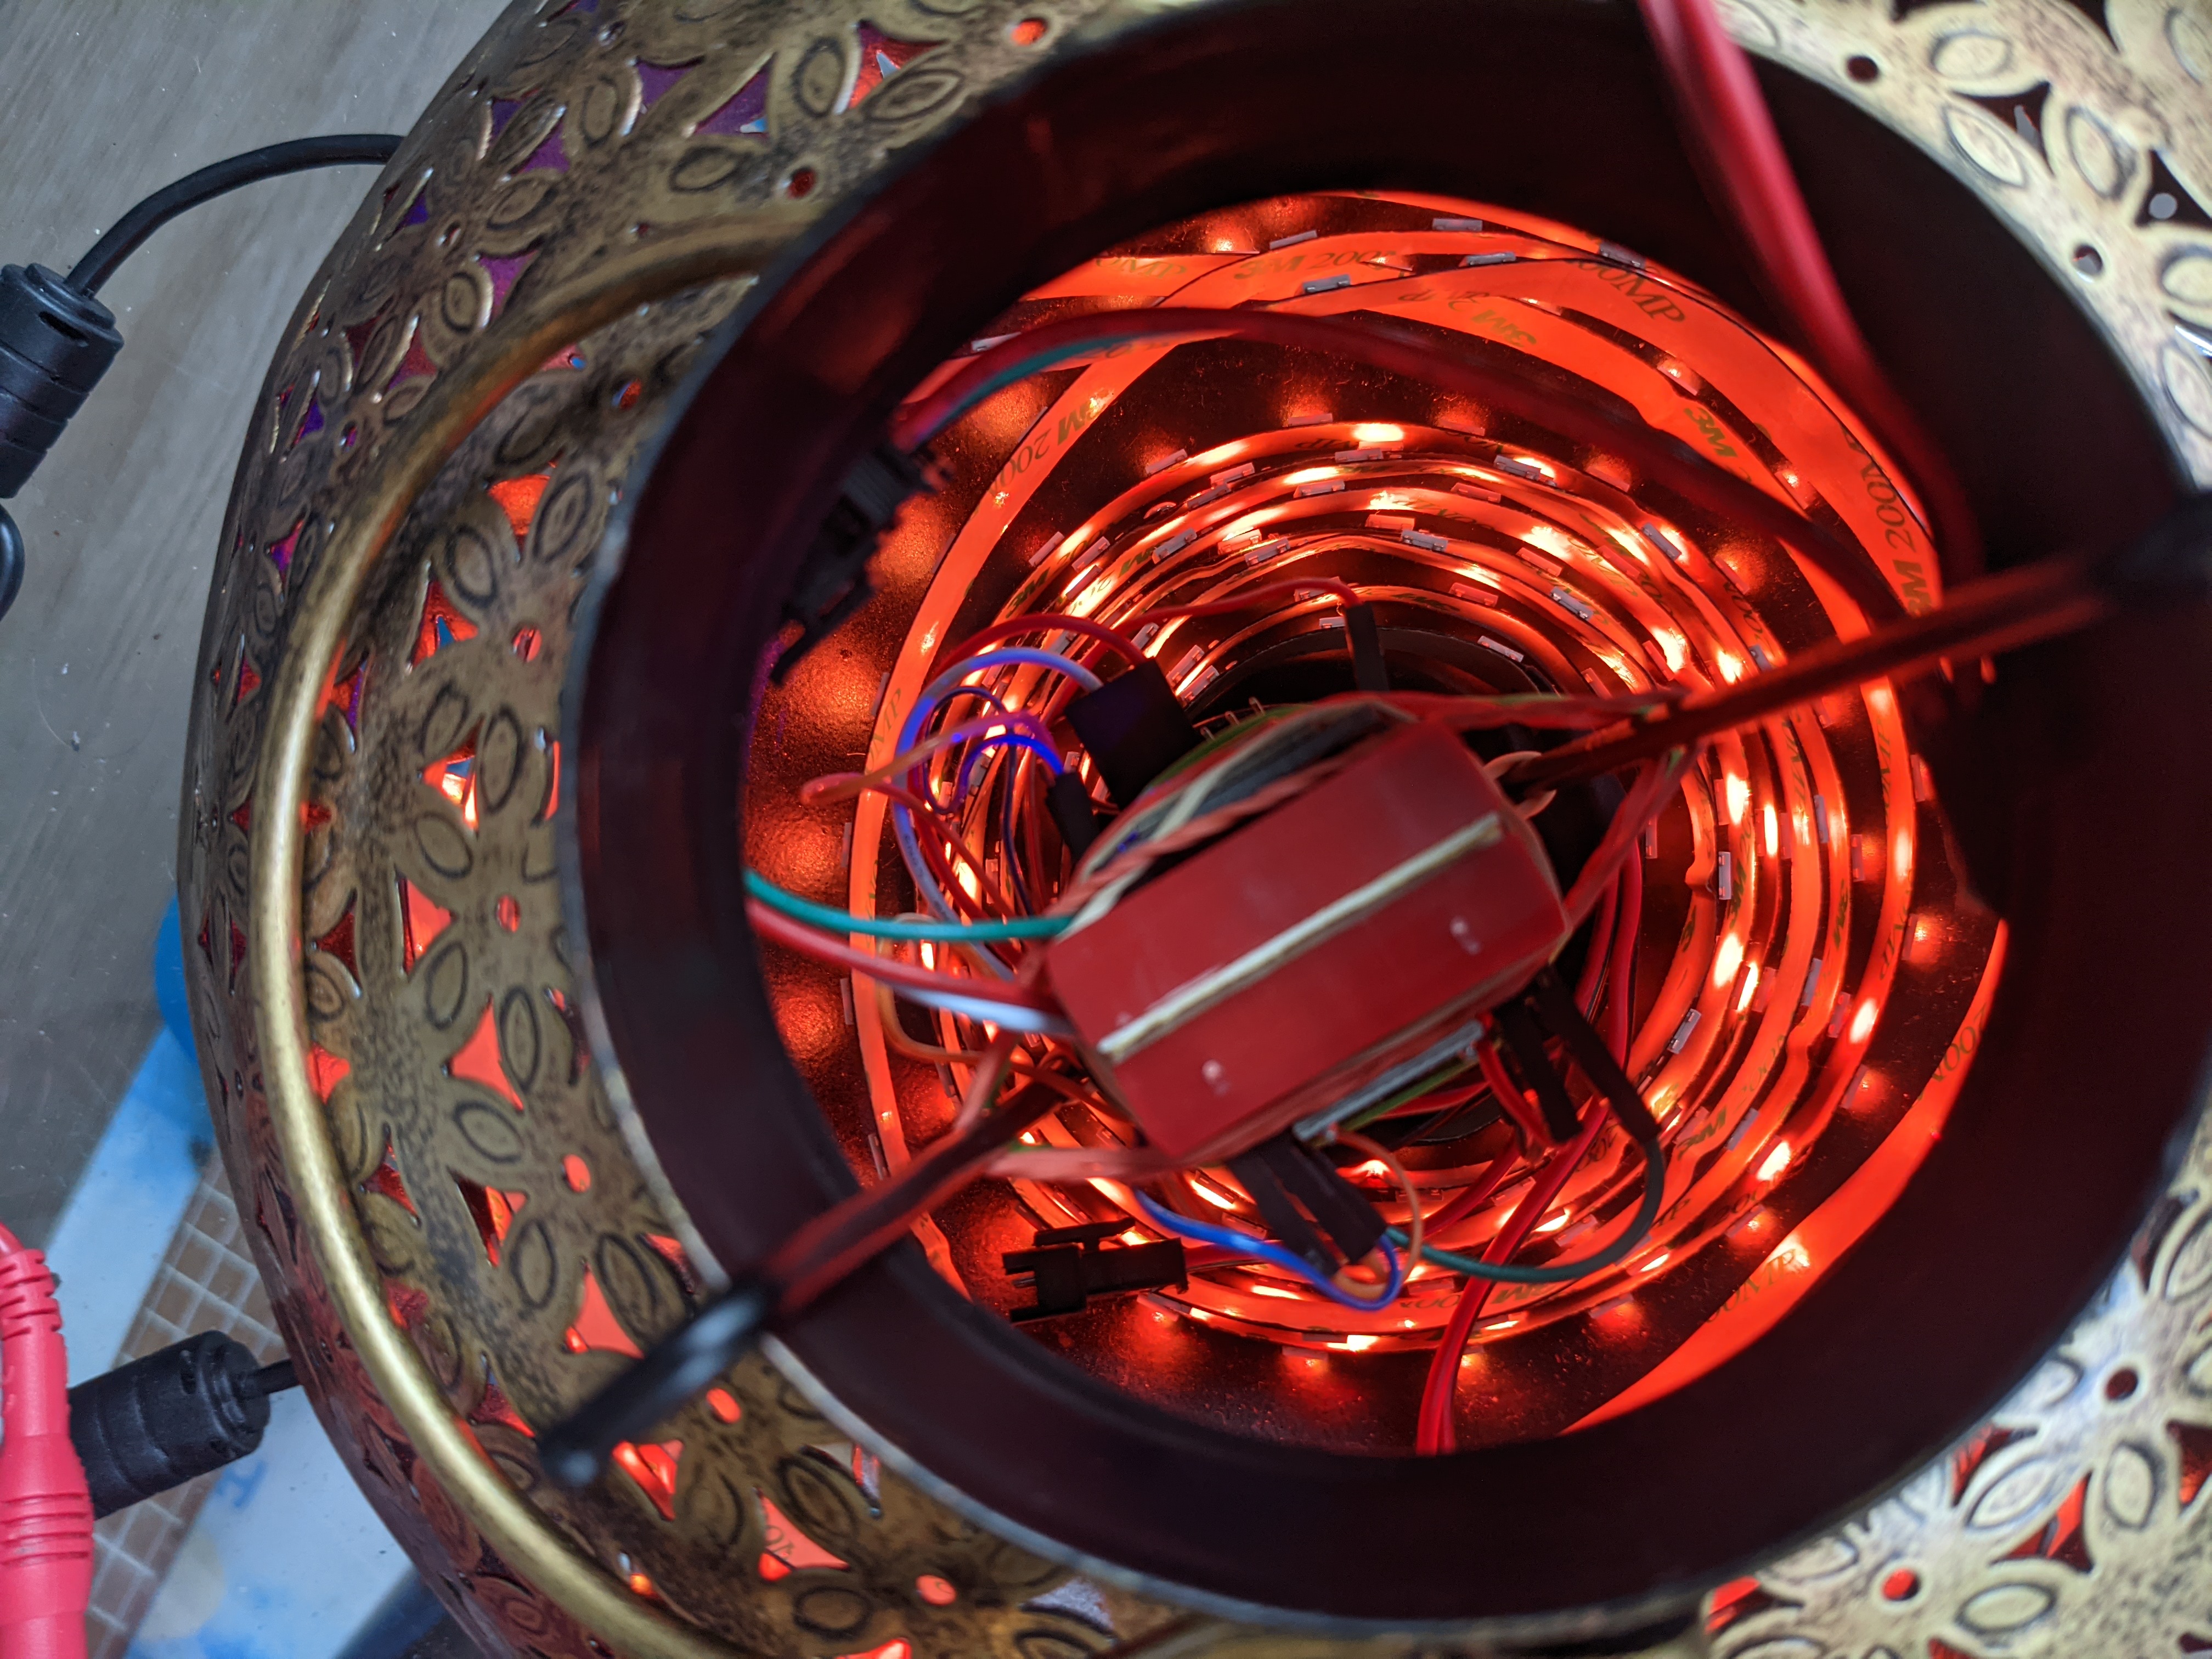
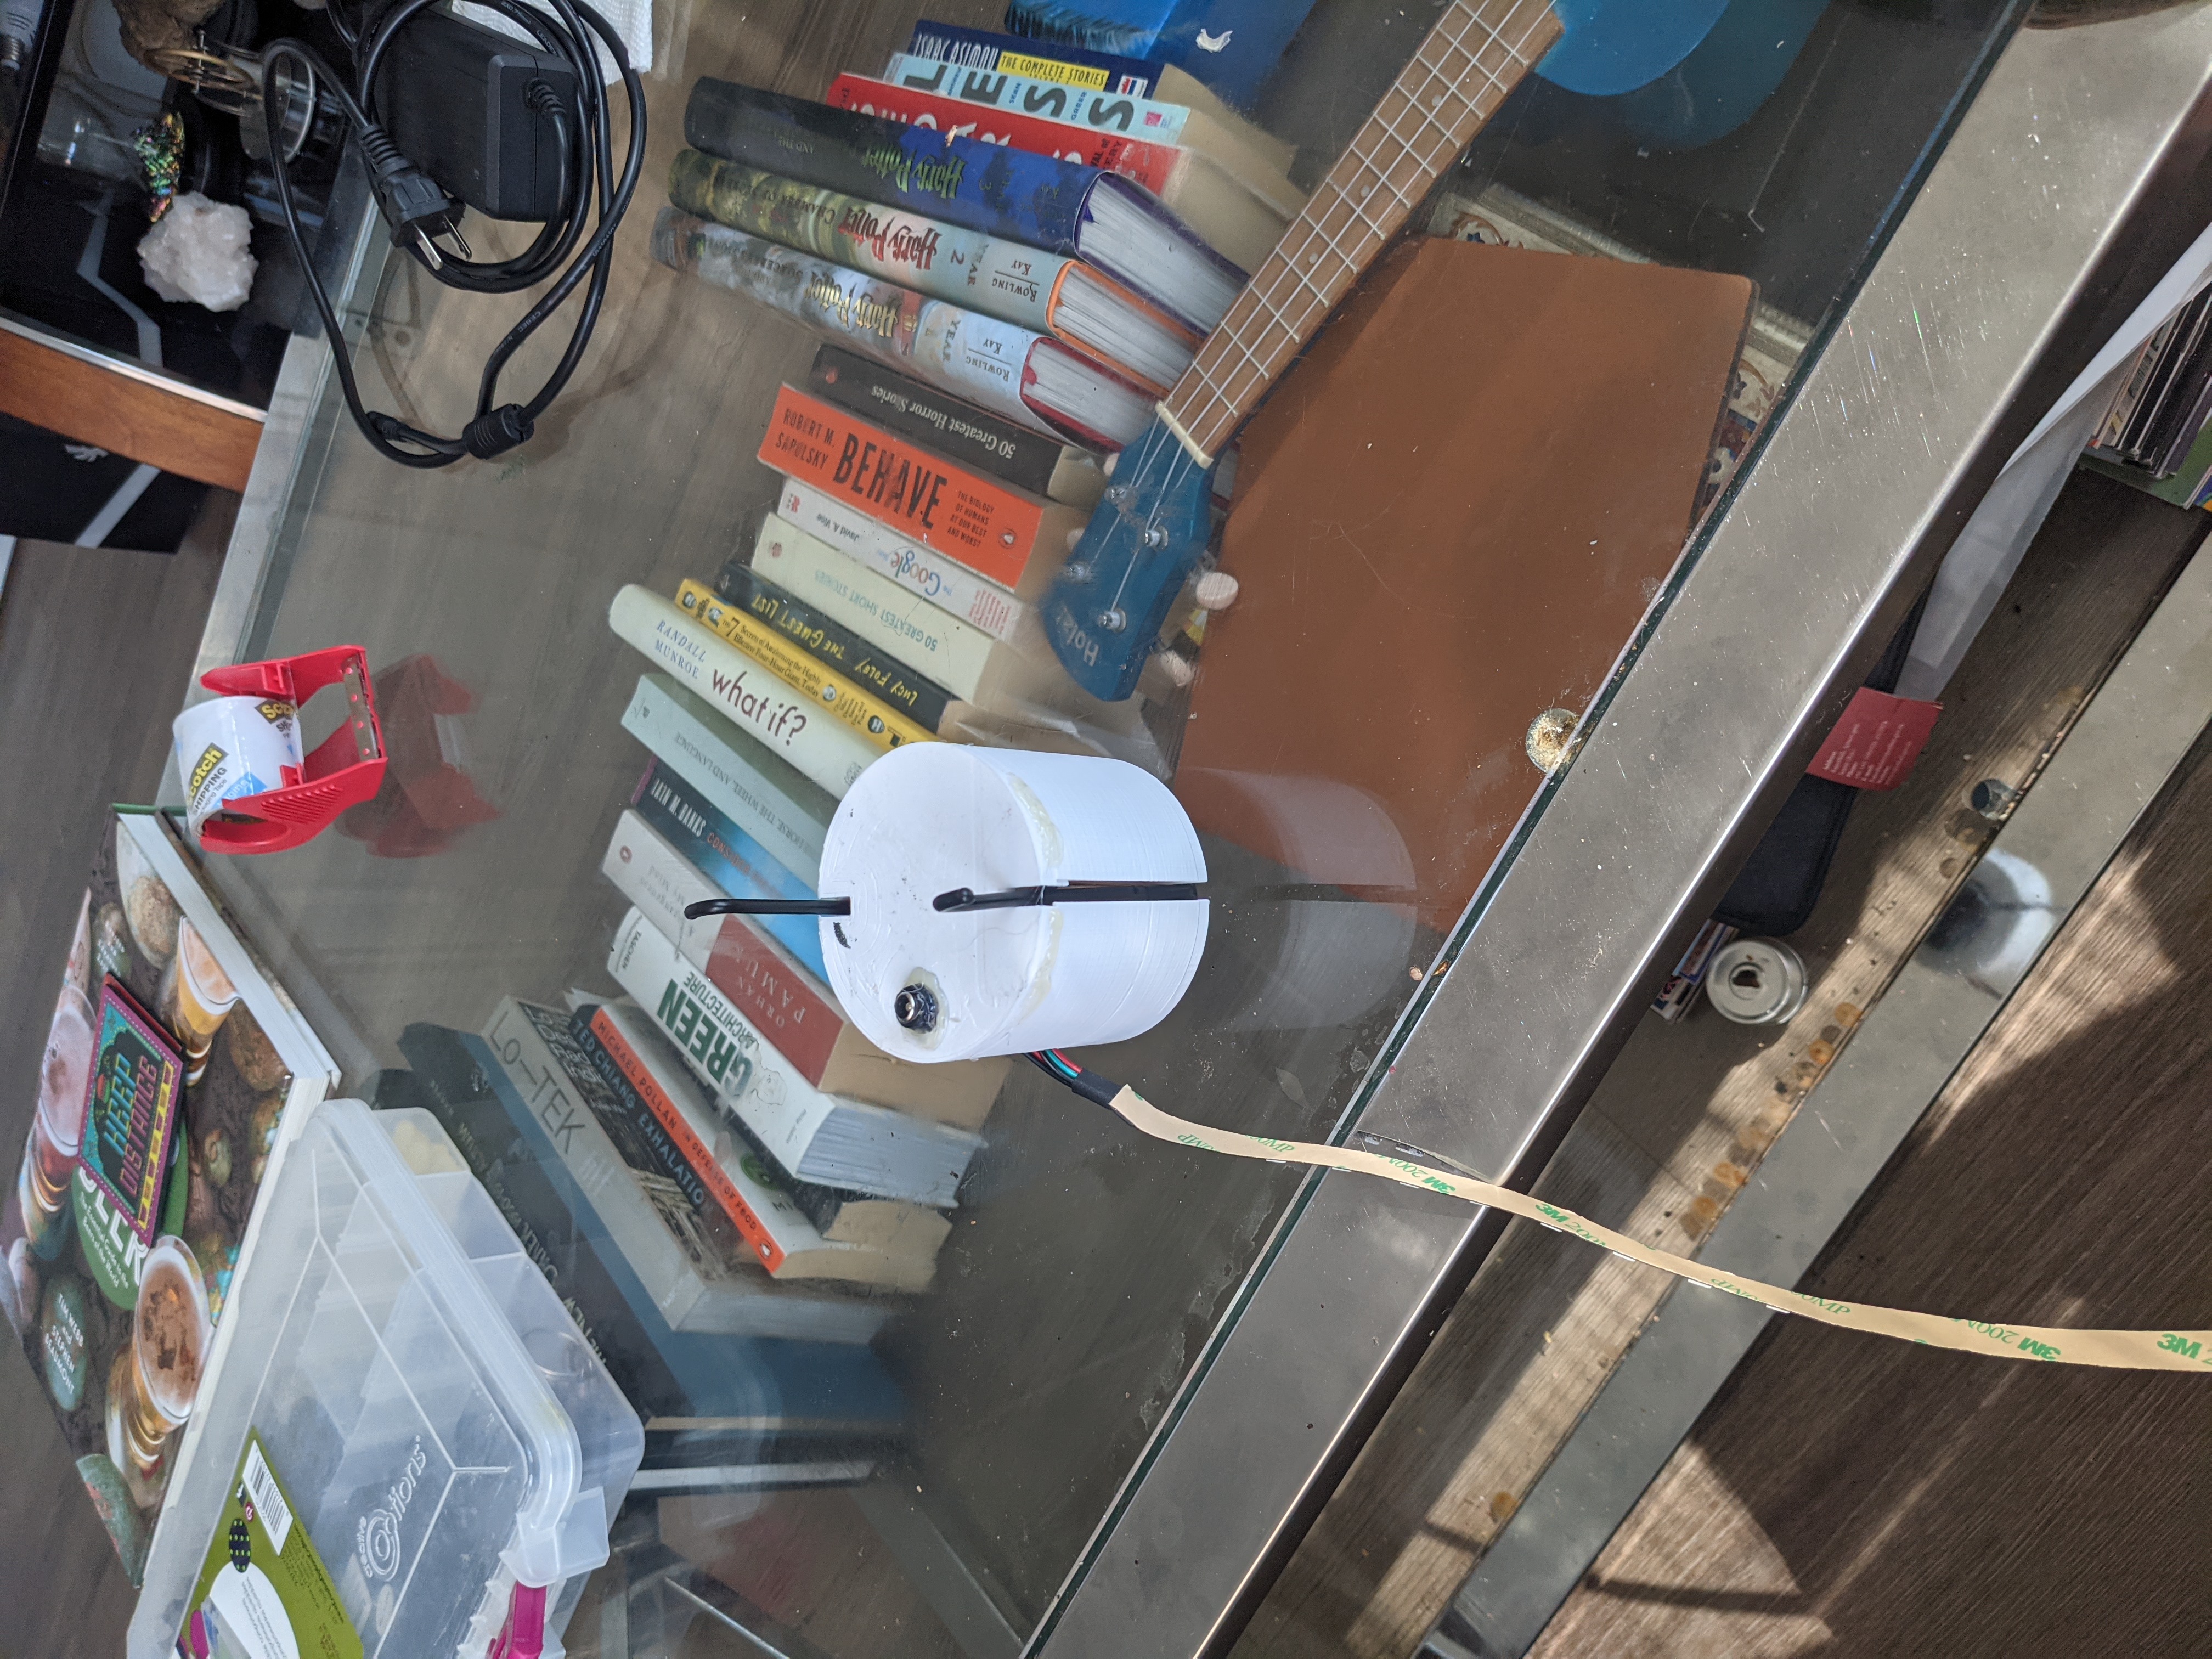
Power on testing
Led Mounts
The inside of the lamp is coated in a thick non conductive coating. For the time being the led strip is just placed inside the lamp body.
Connecting to WIFI
WLED 13.1 has some trouble connecting to wifi networks.
Set wifi control channel to a fixed channel. e.g 1
Change channel width to 20 Mhz
Bind to static ip in router
Add the same static ip in wled wifi settings
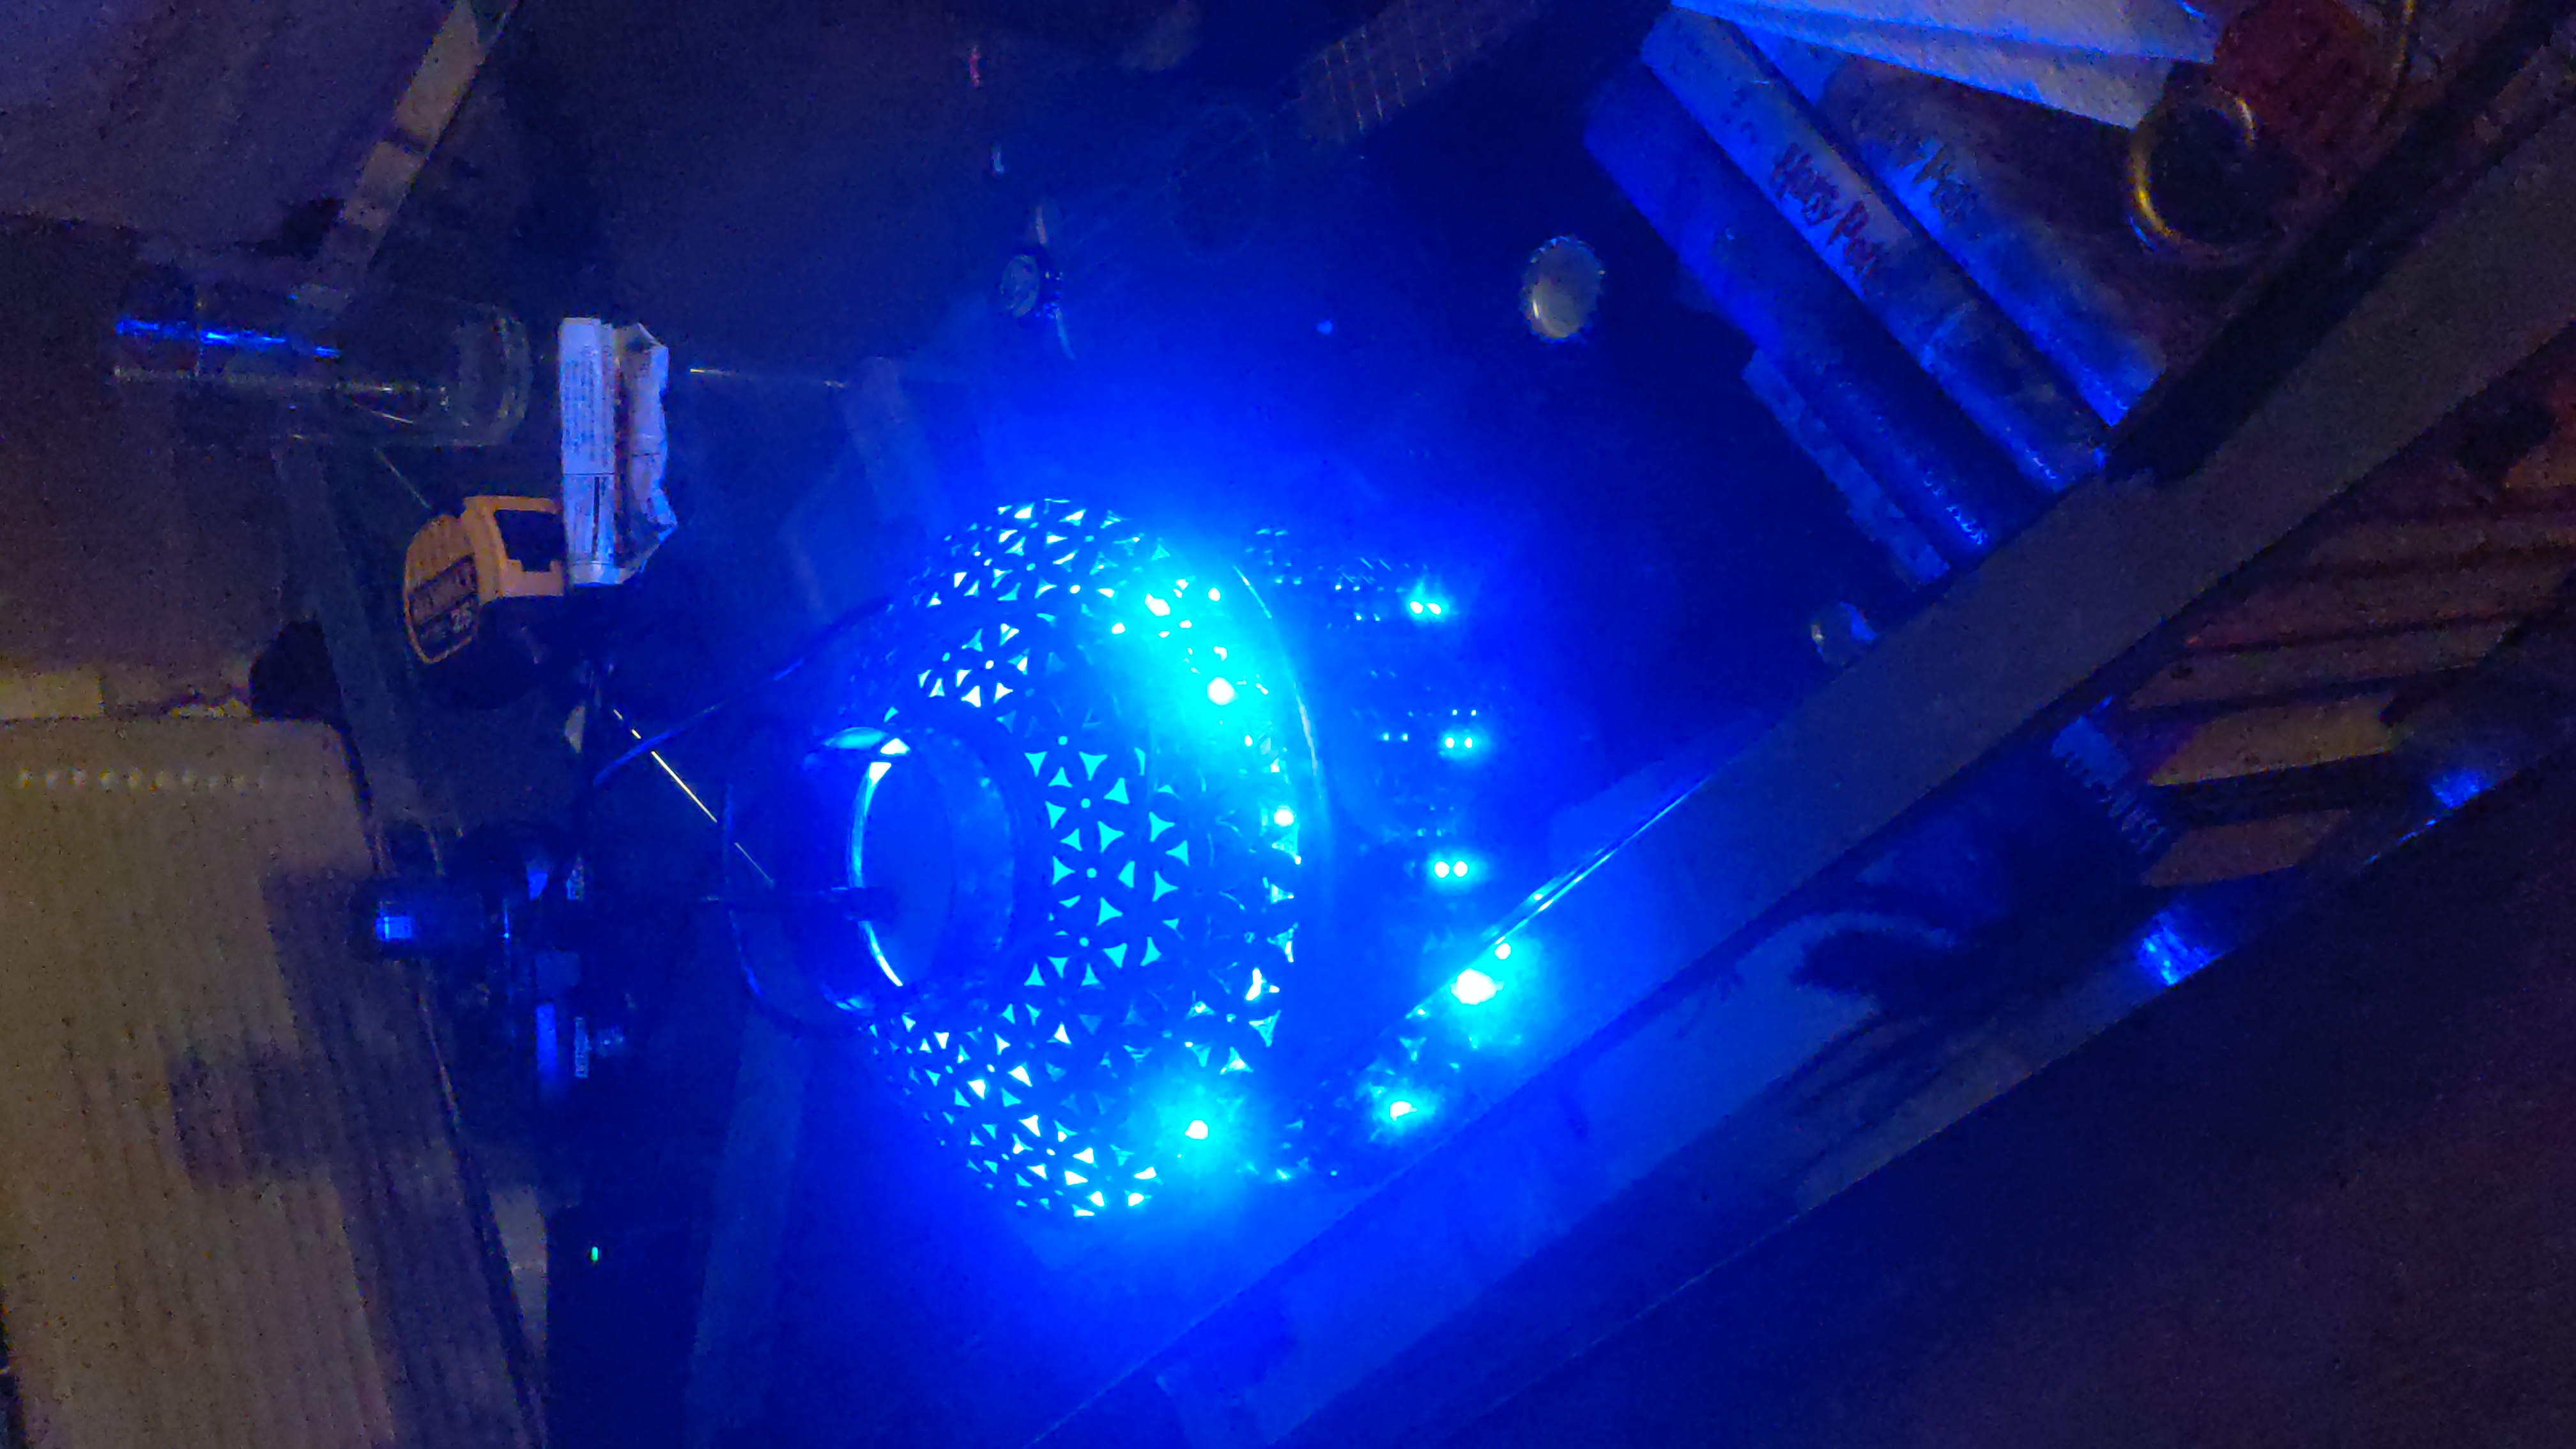
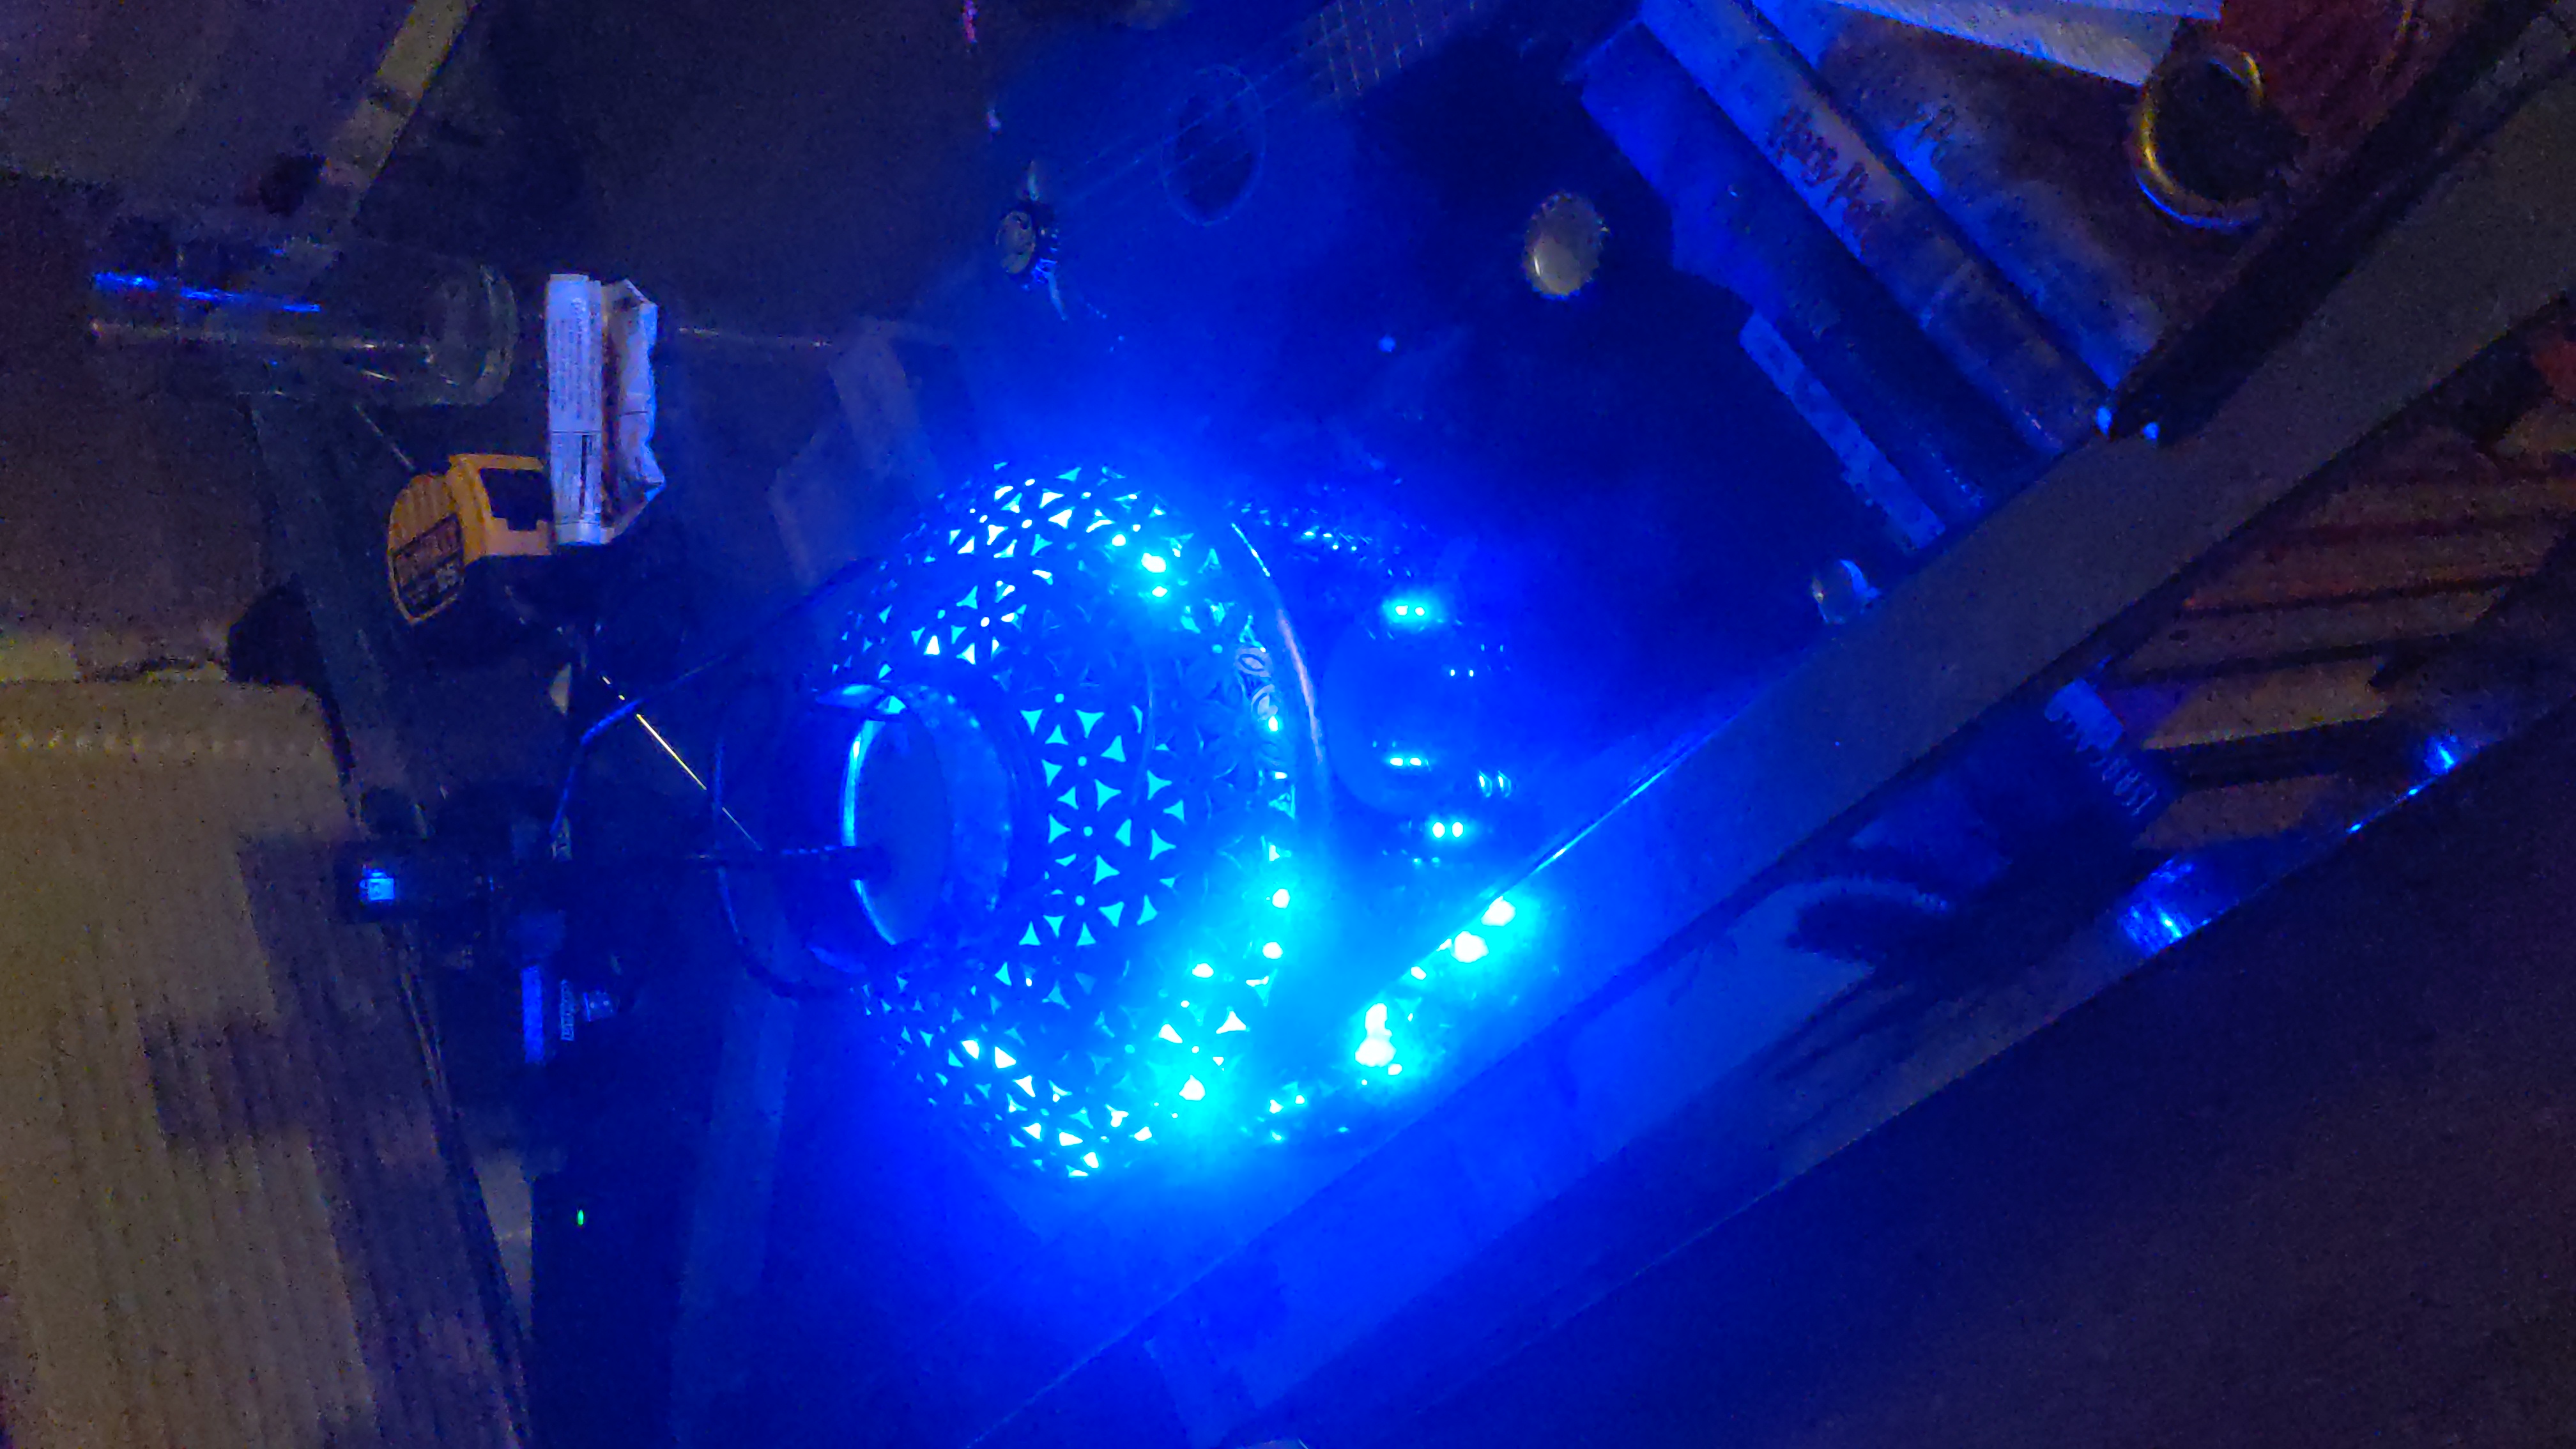
Results
I am not a fan of this very large black power cable. I will replace the power cord with USB-C.
After measuring the power usage of the lamp at peak load it looks like USB-C is a good option. Peak load 0.6 Amps
This will be covered in a follow up article.