Broken encoder
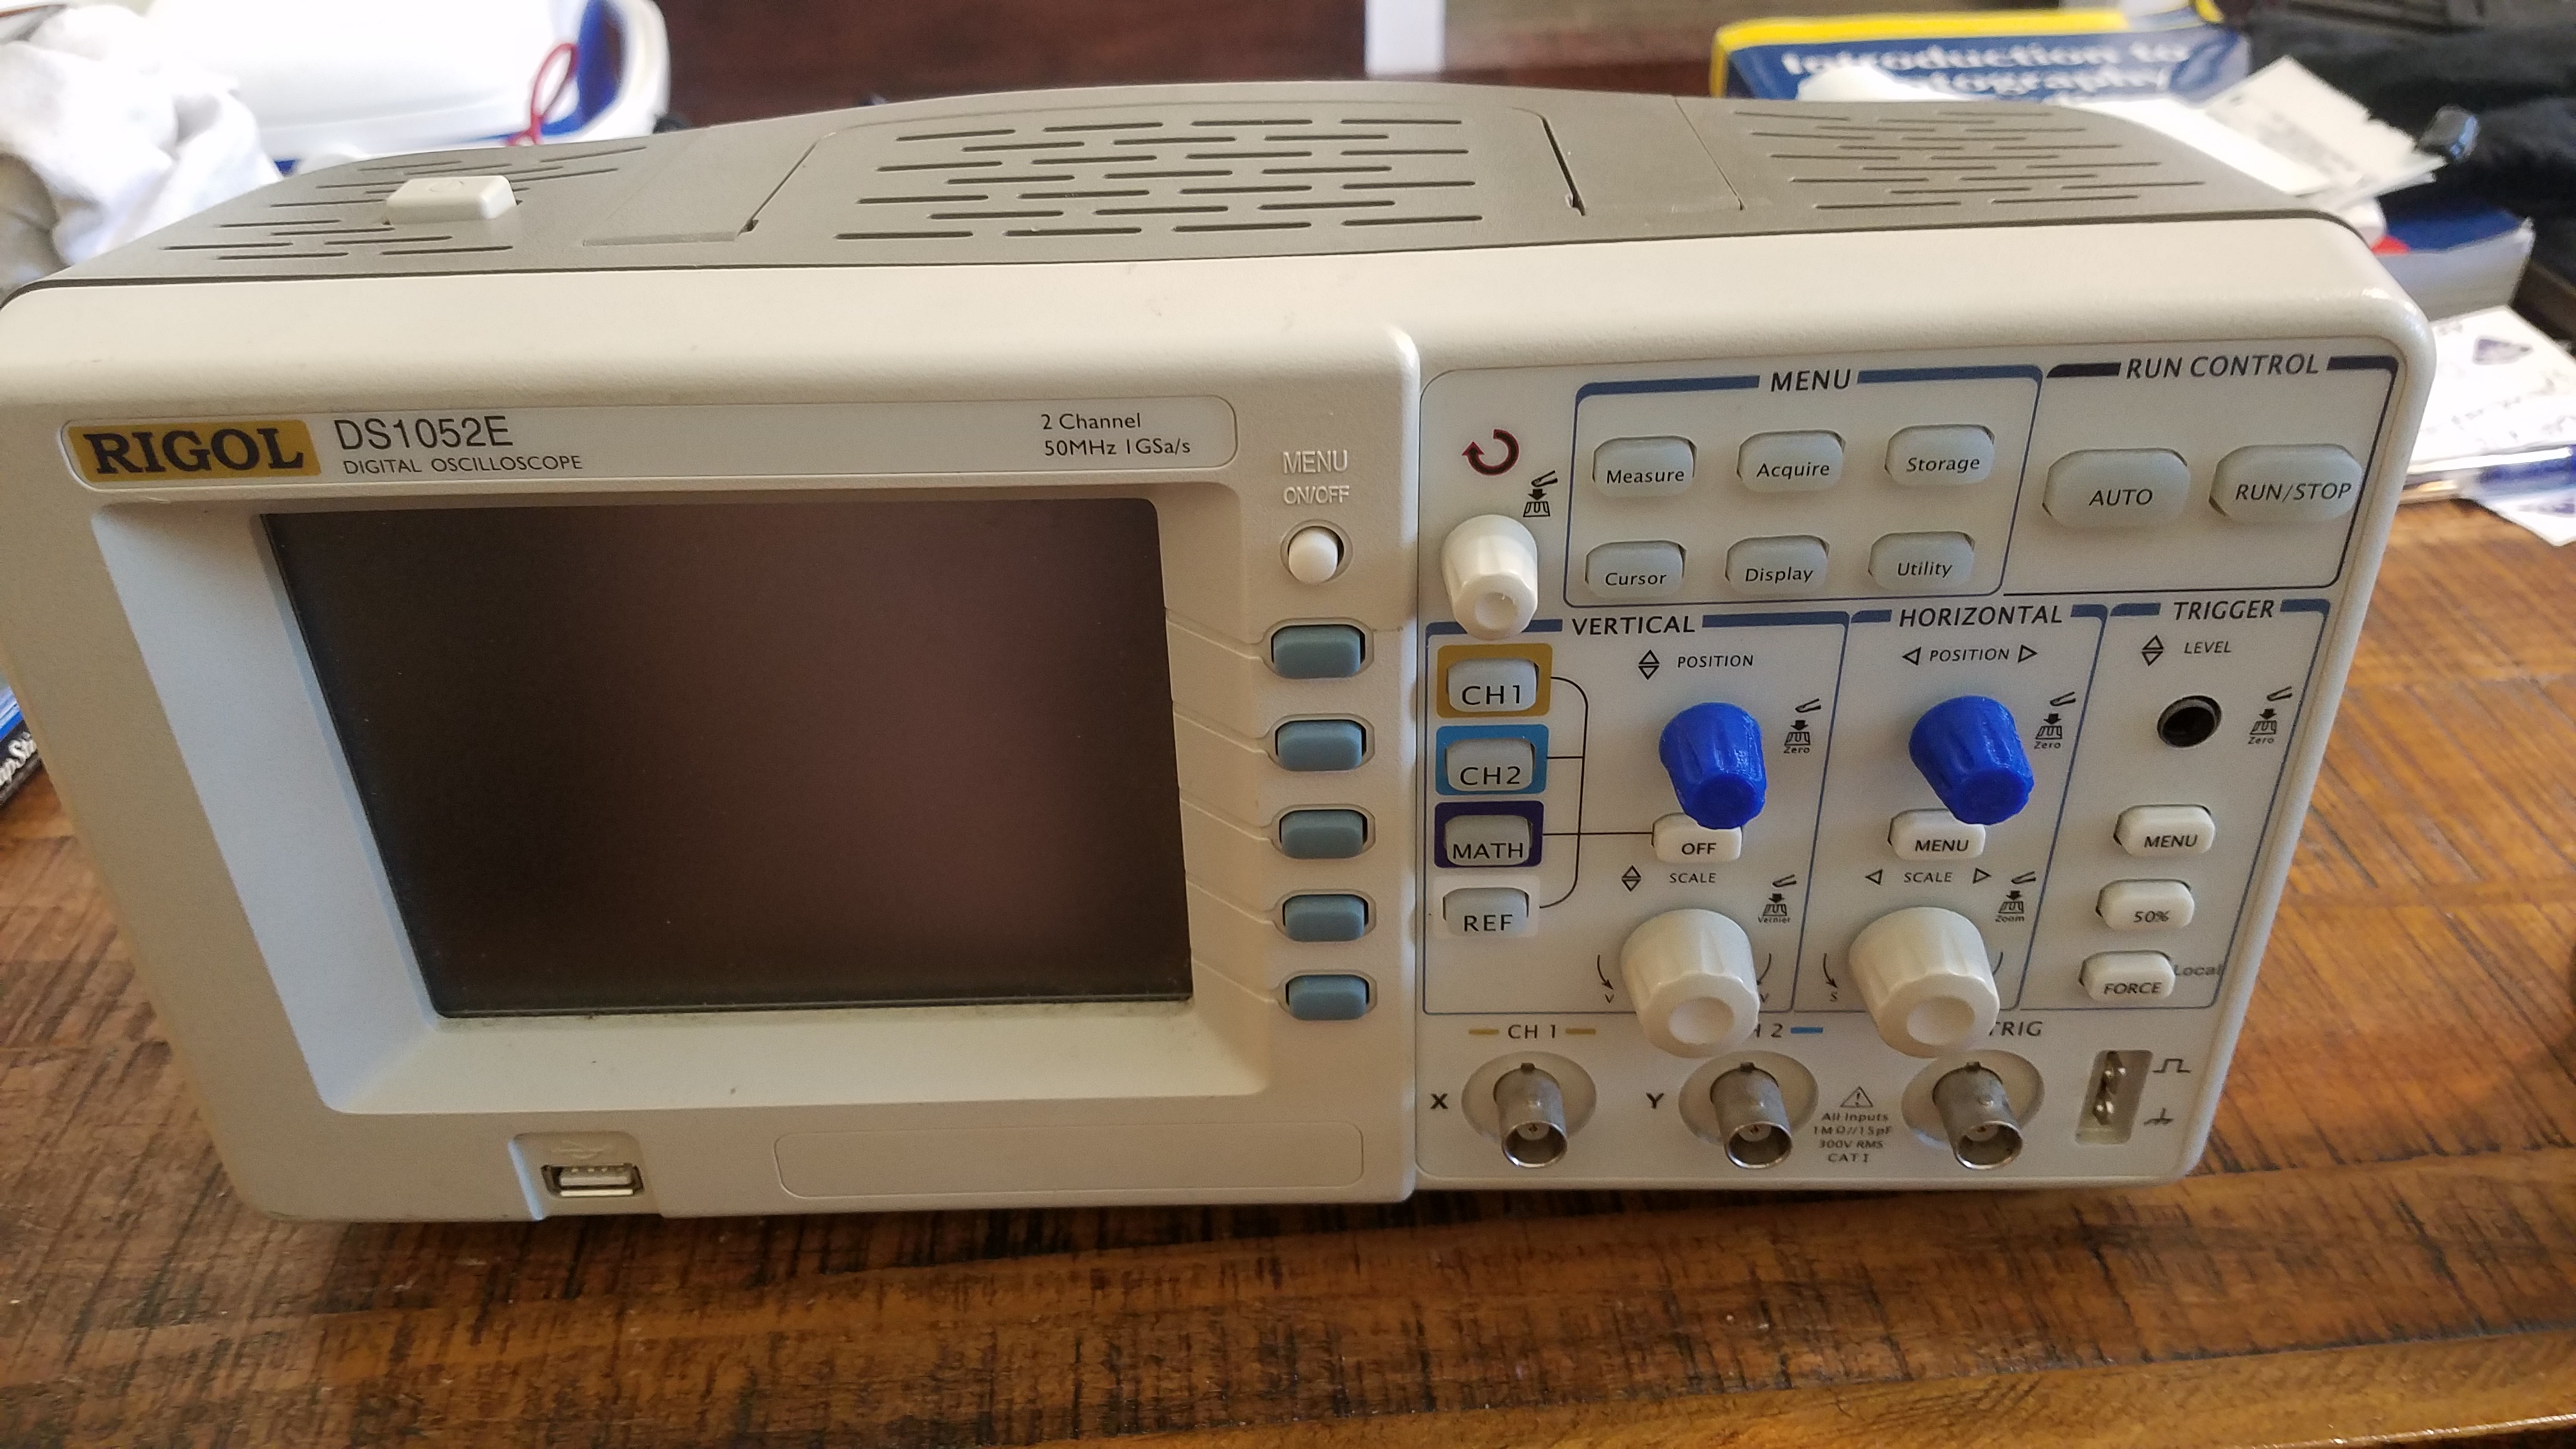
I dropped my trusty Rigol scope off of the table while testing. The trigger encoder knob broke off.
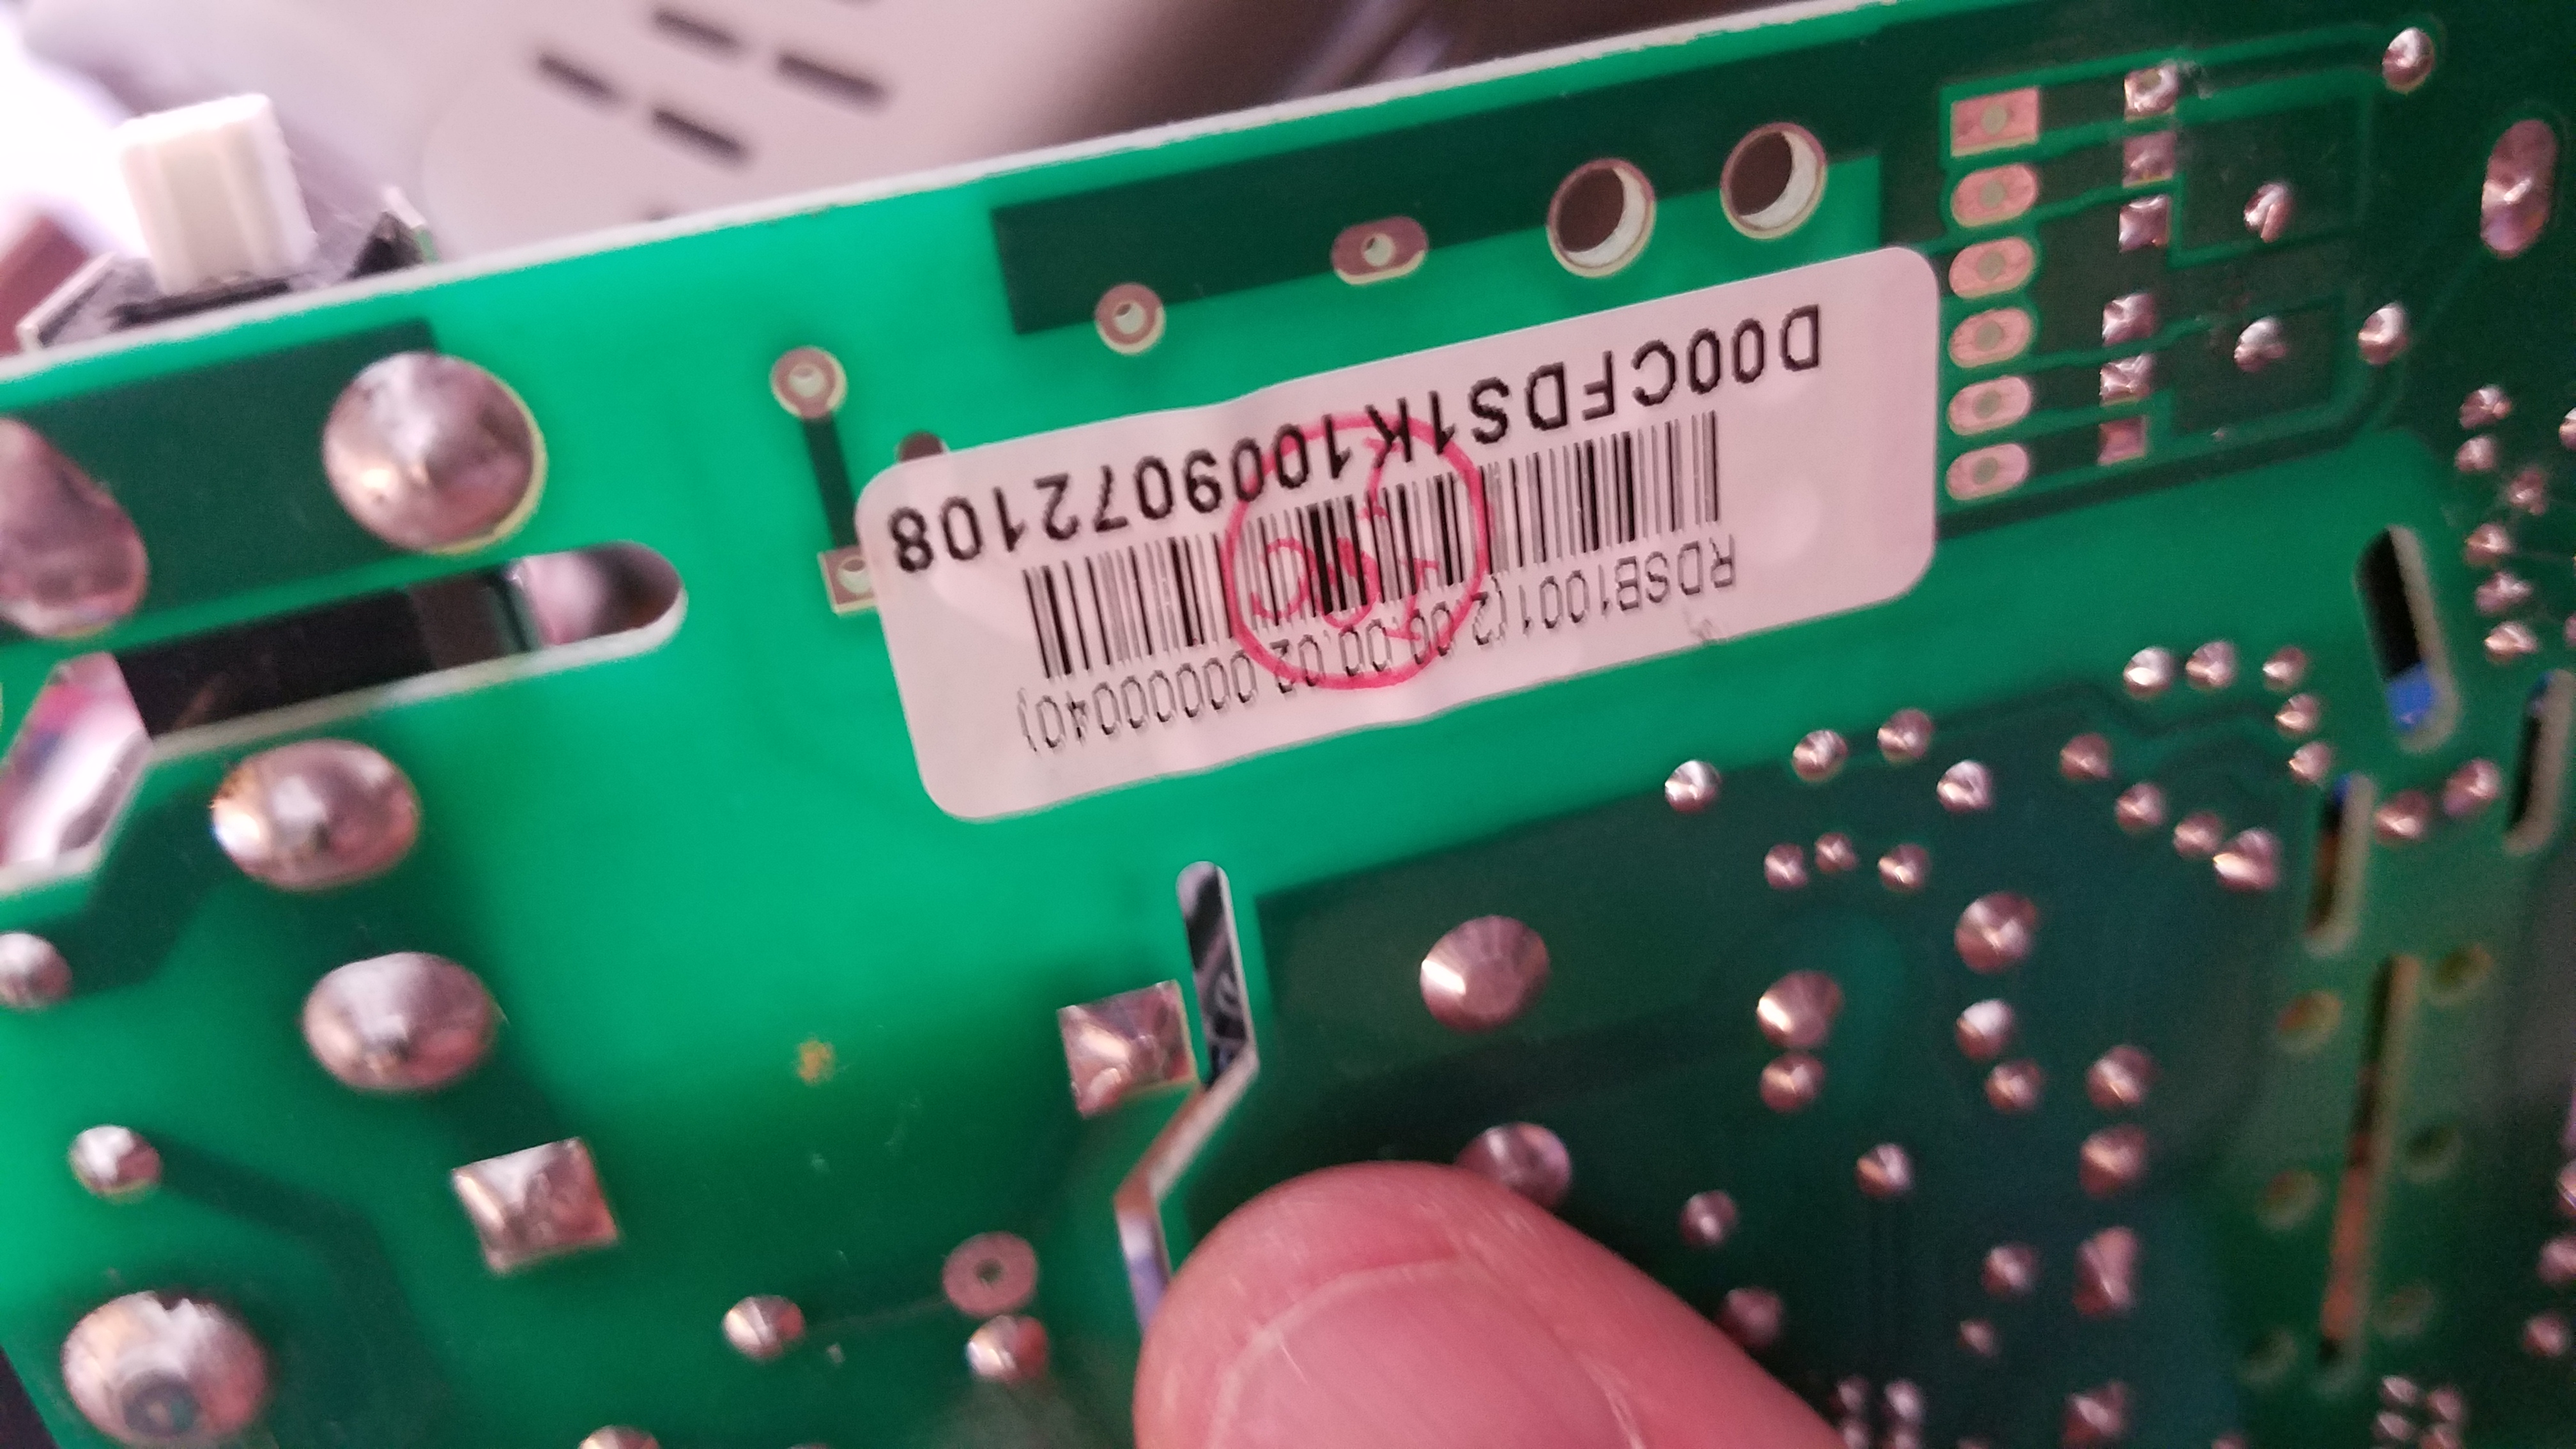
Replacement part
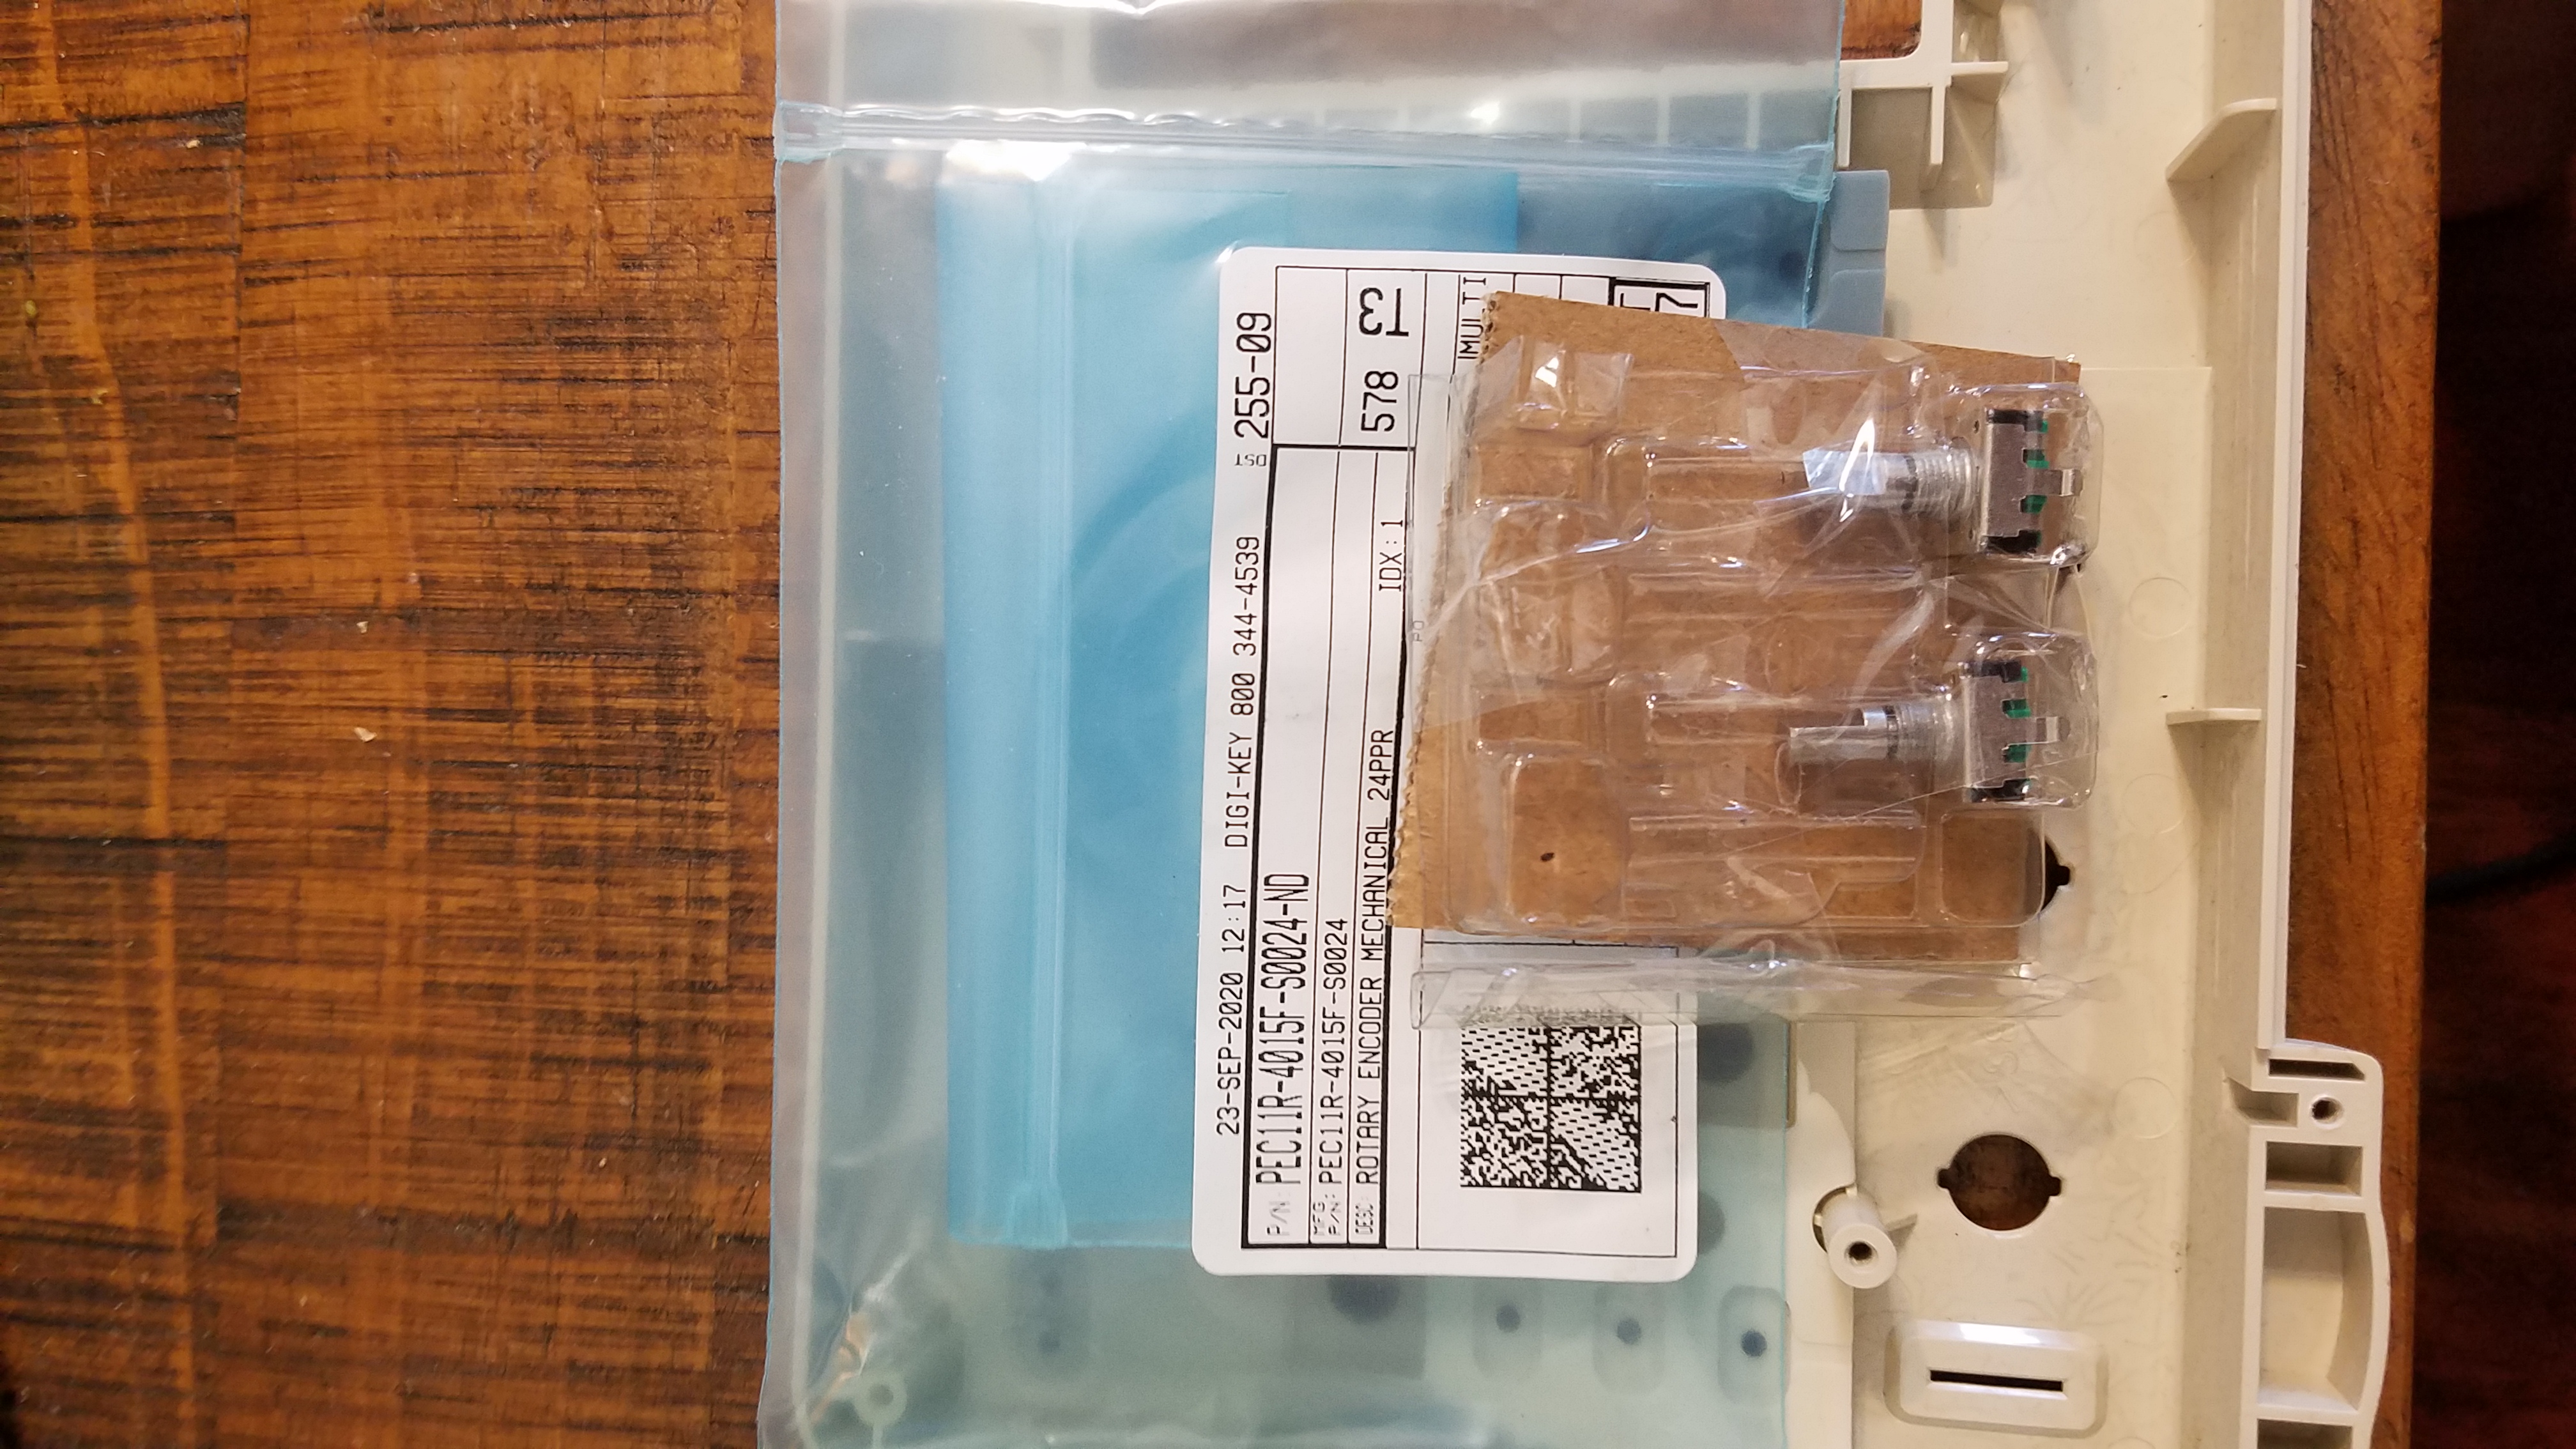
After a bit of googling I was able to locate the part number. This is a very popular scope with hobbyist so this information was not all that hard to find.
Opening the case
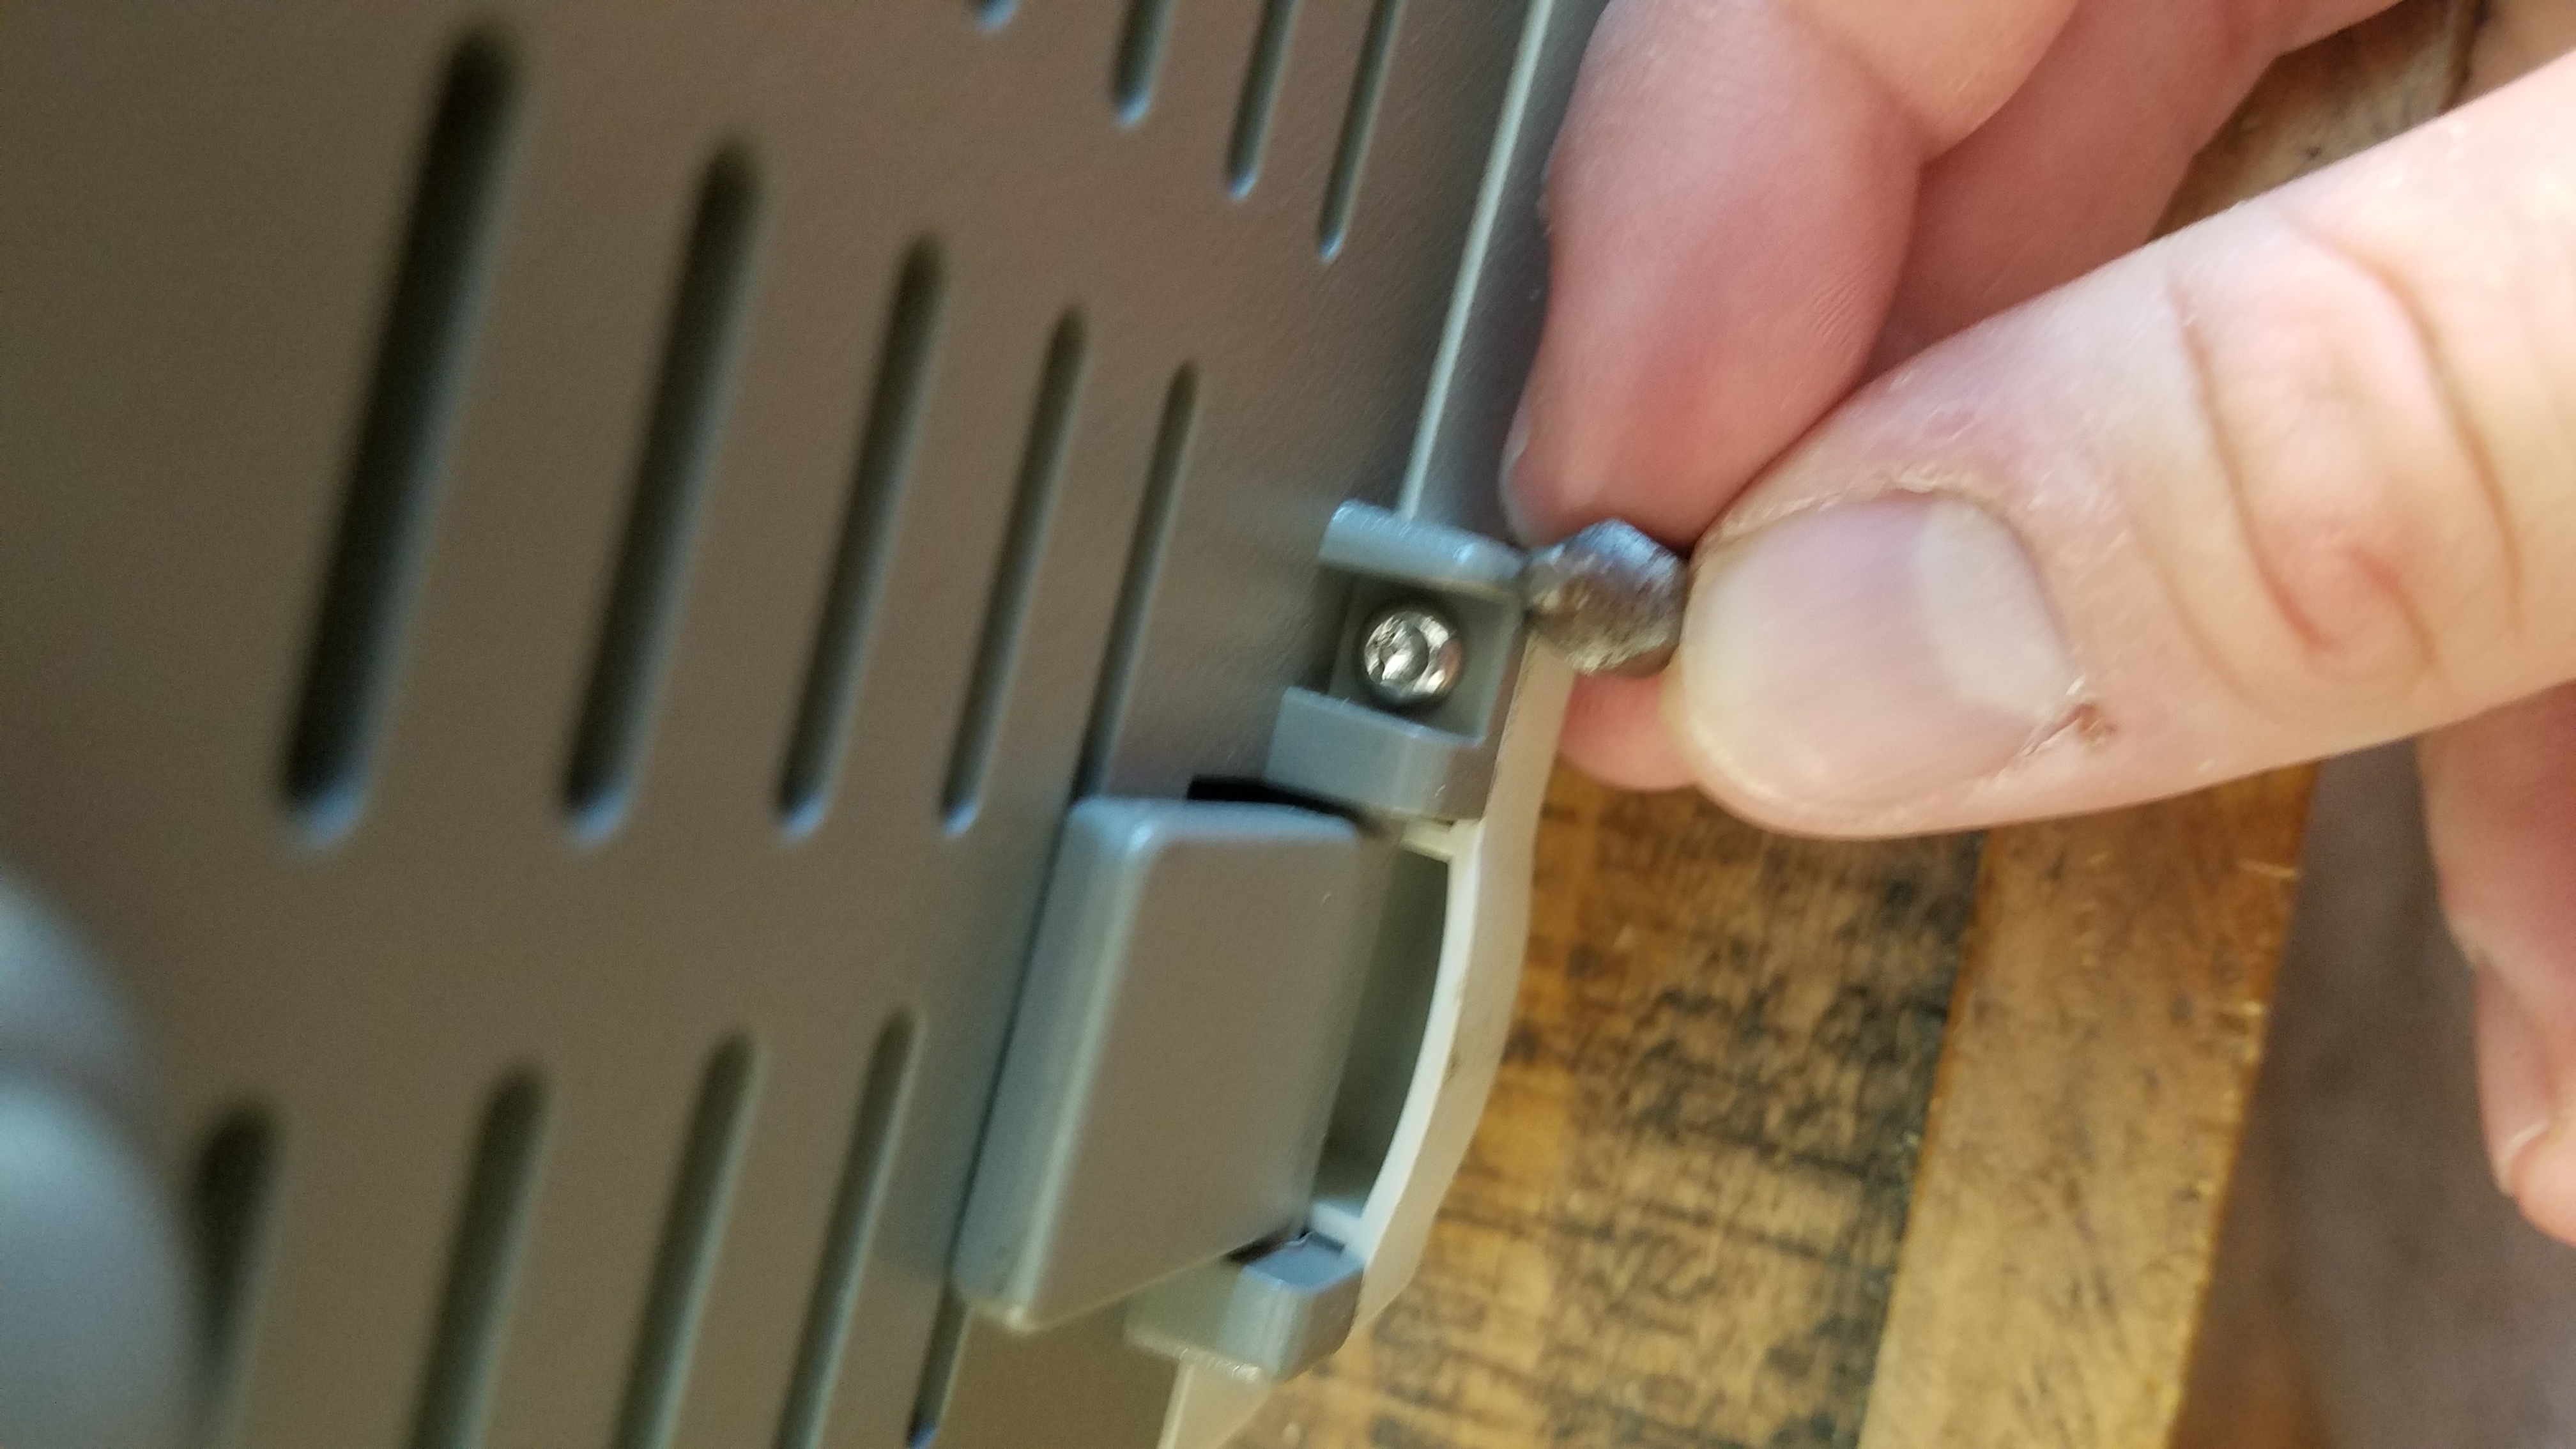
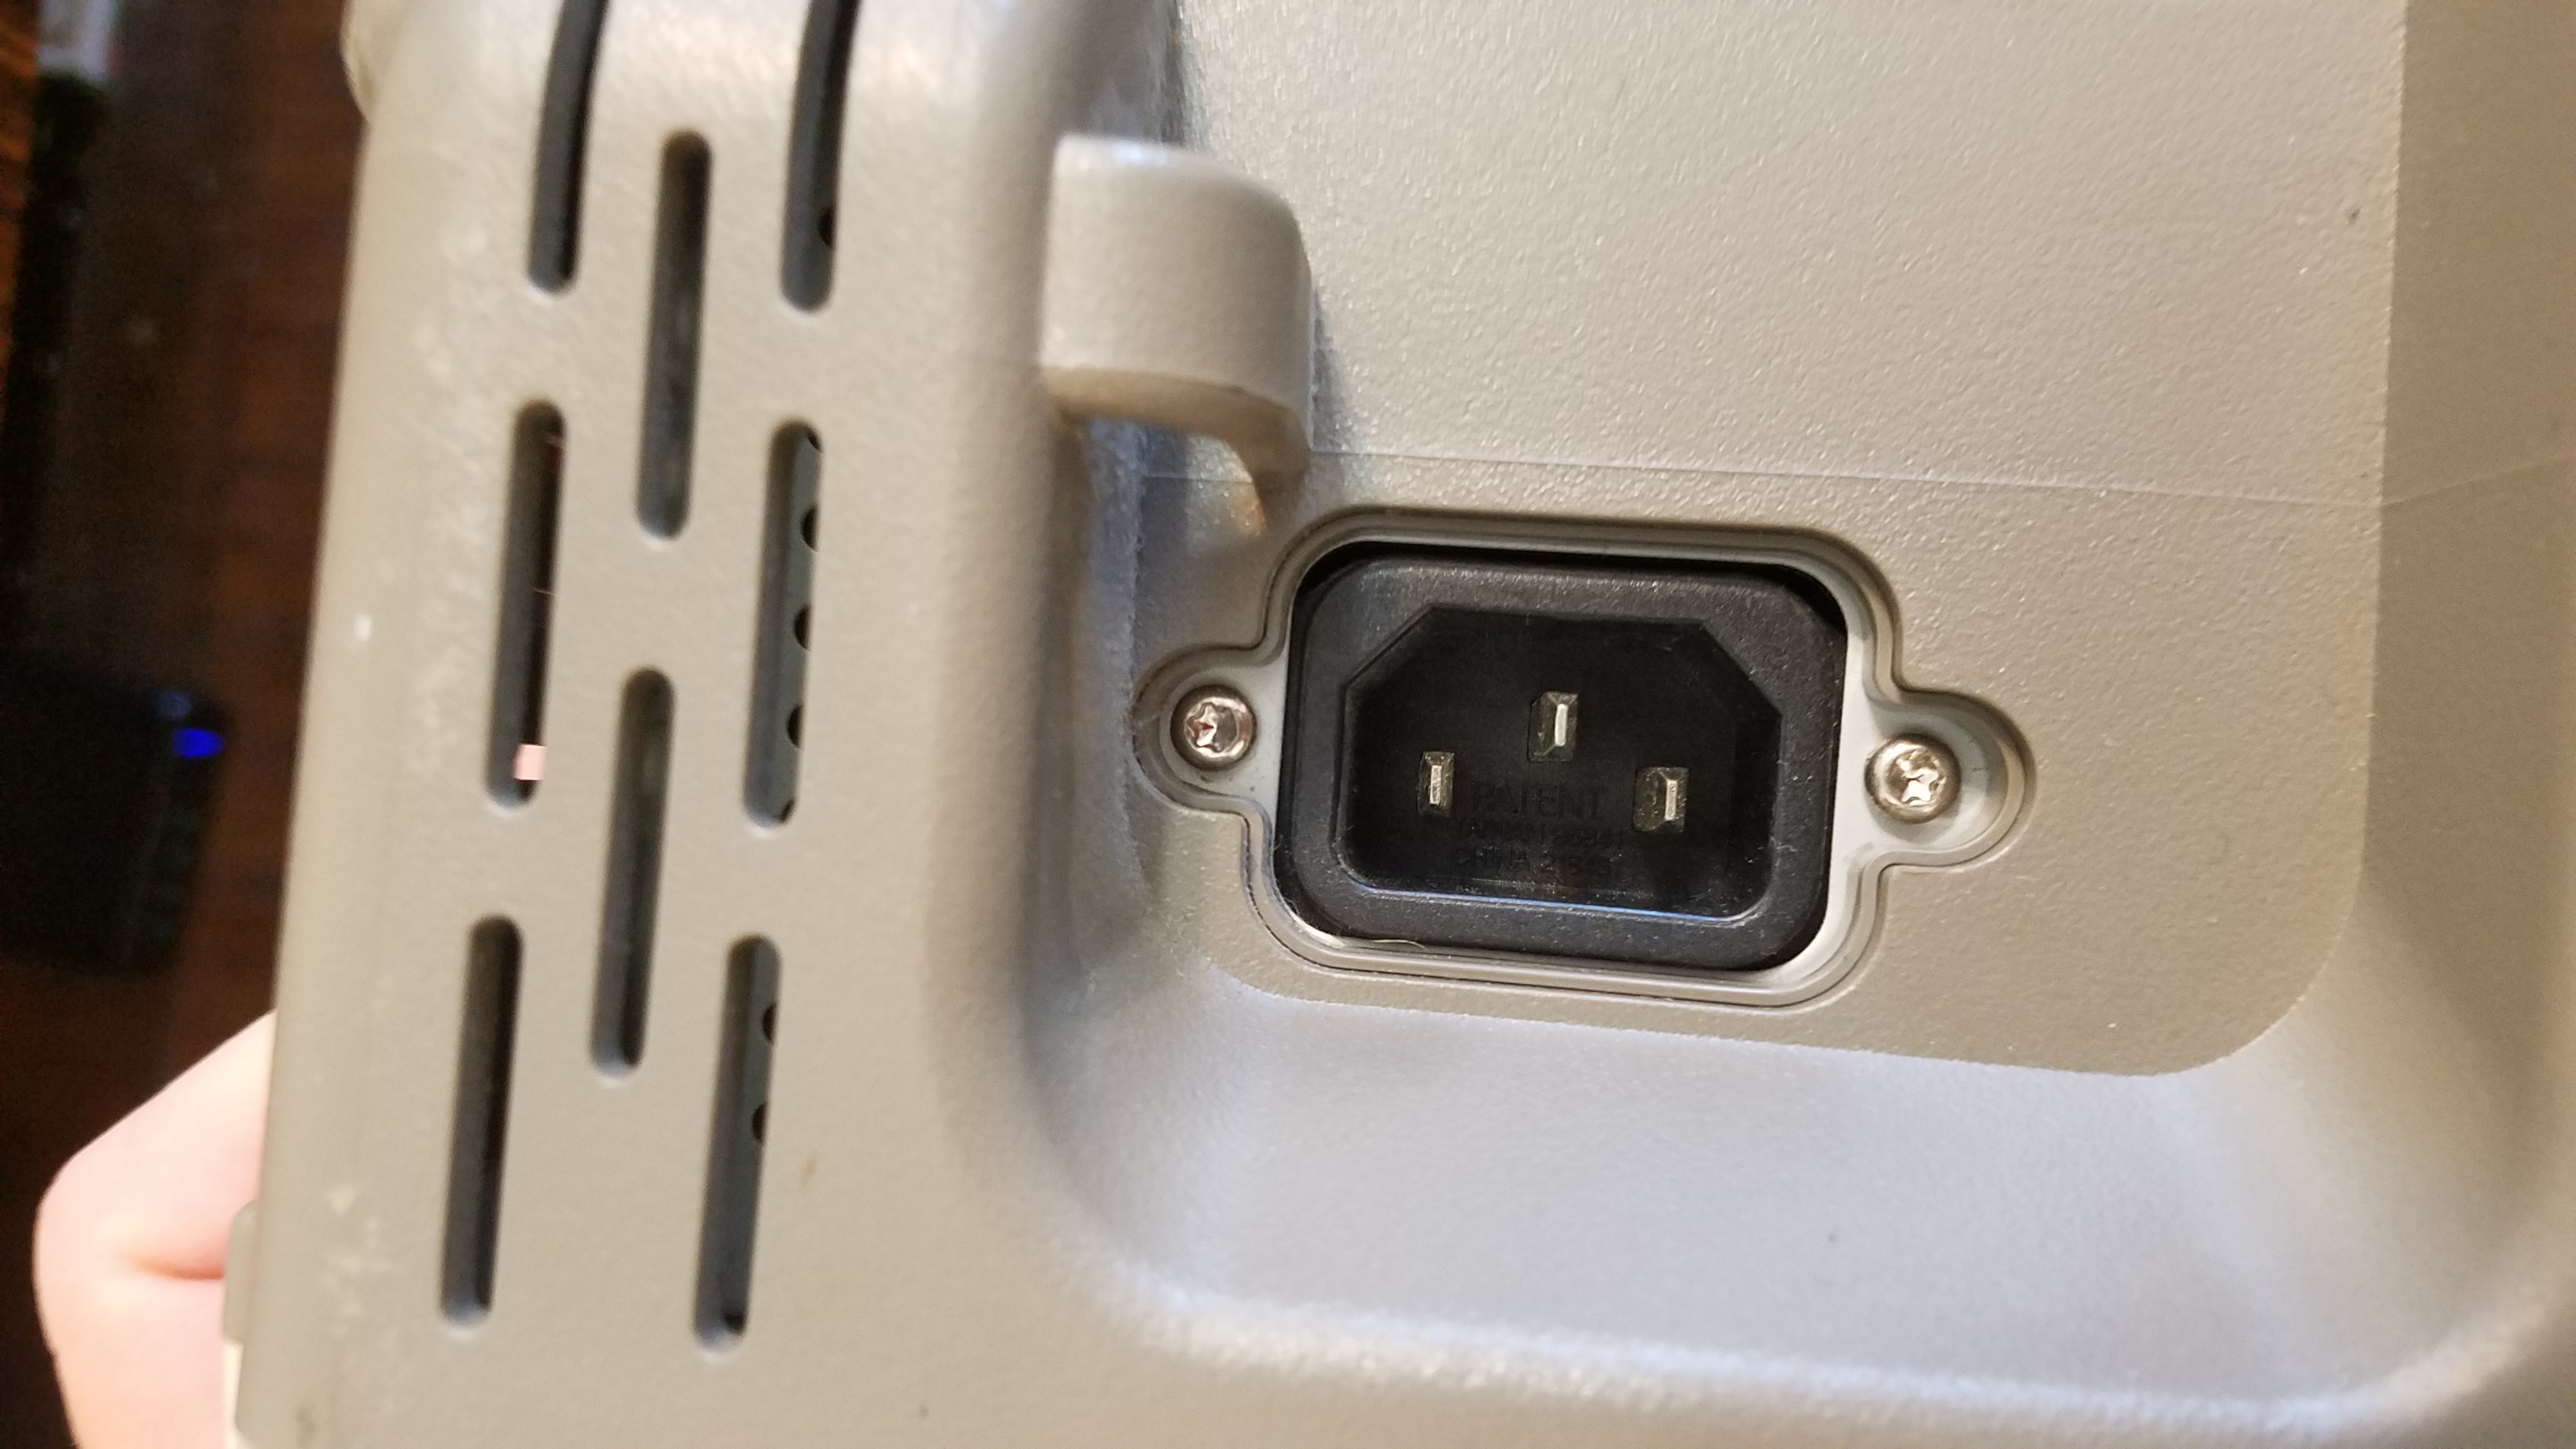
The screws that hold the case on are Trox or star drive. There are 6 screws. Two screws on the bottom near the feet, two screws under the handle, and two screws on either side of the power socket.
WARNING: Do not forget to remove the power button. If you try the case with the power button still in place the switch will snap off. The power button can be removed by pulling it upwards.
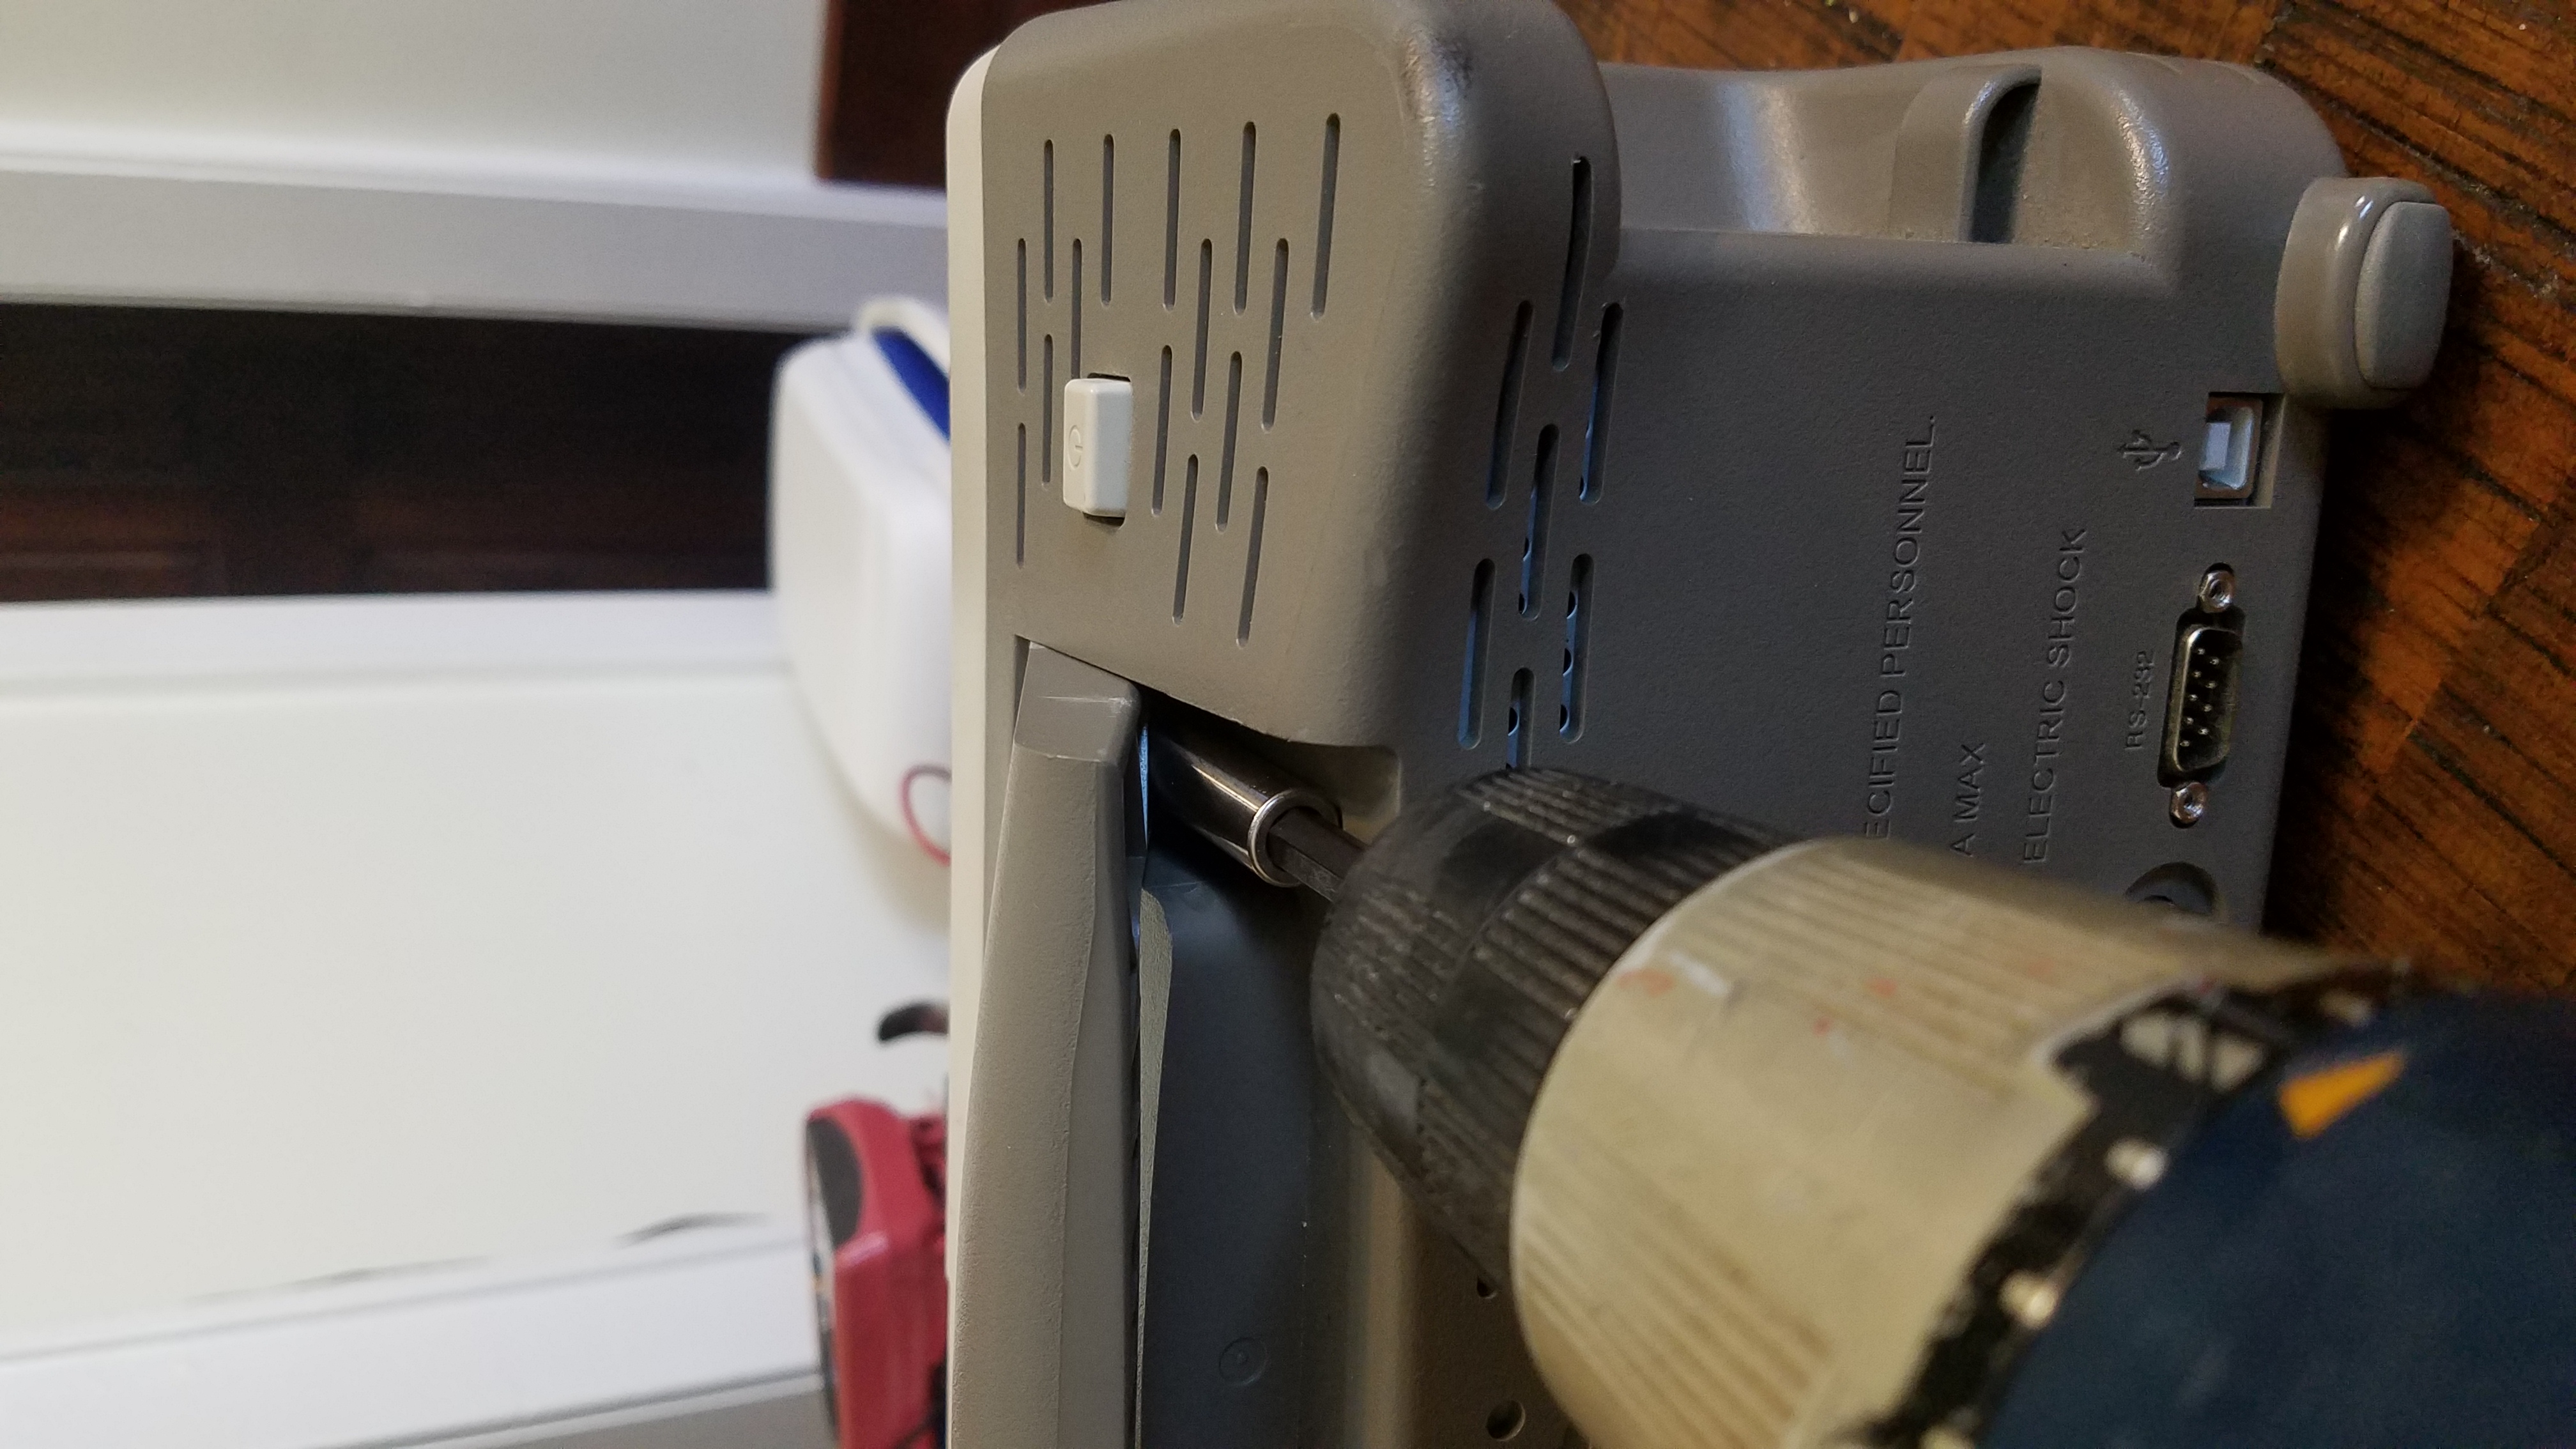
You will need an extension bit to get at the screws under the handle
Do not forget about the screws on the side

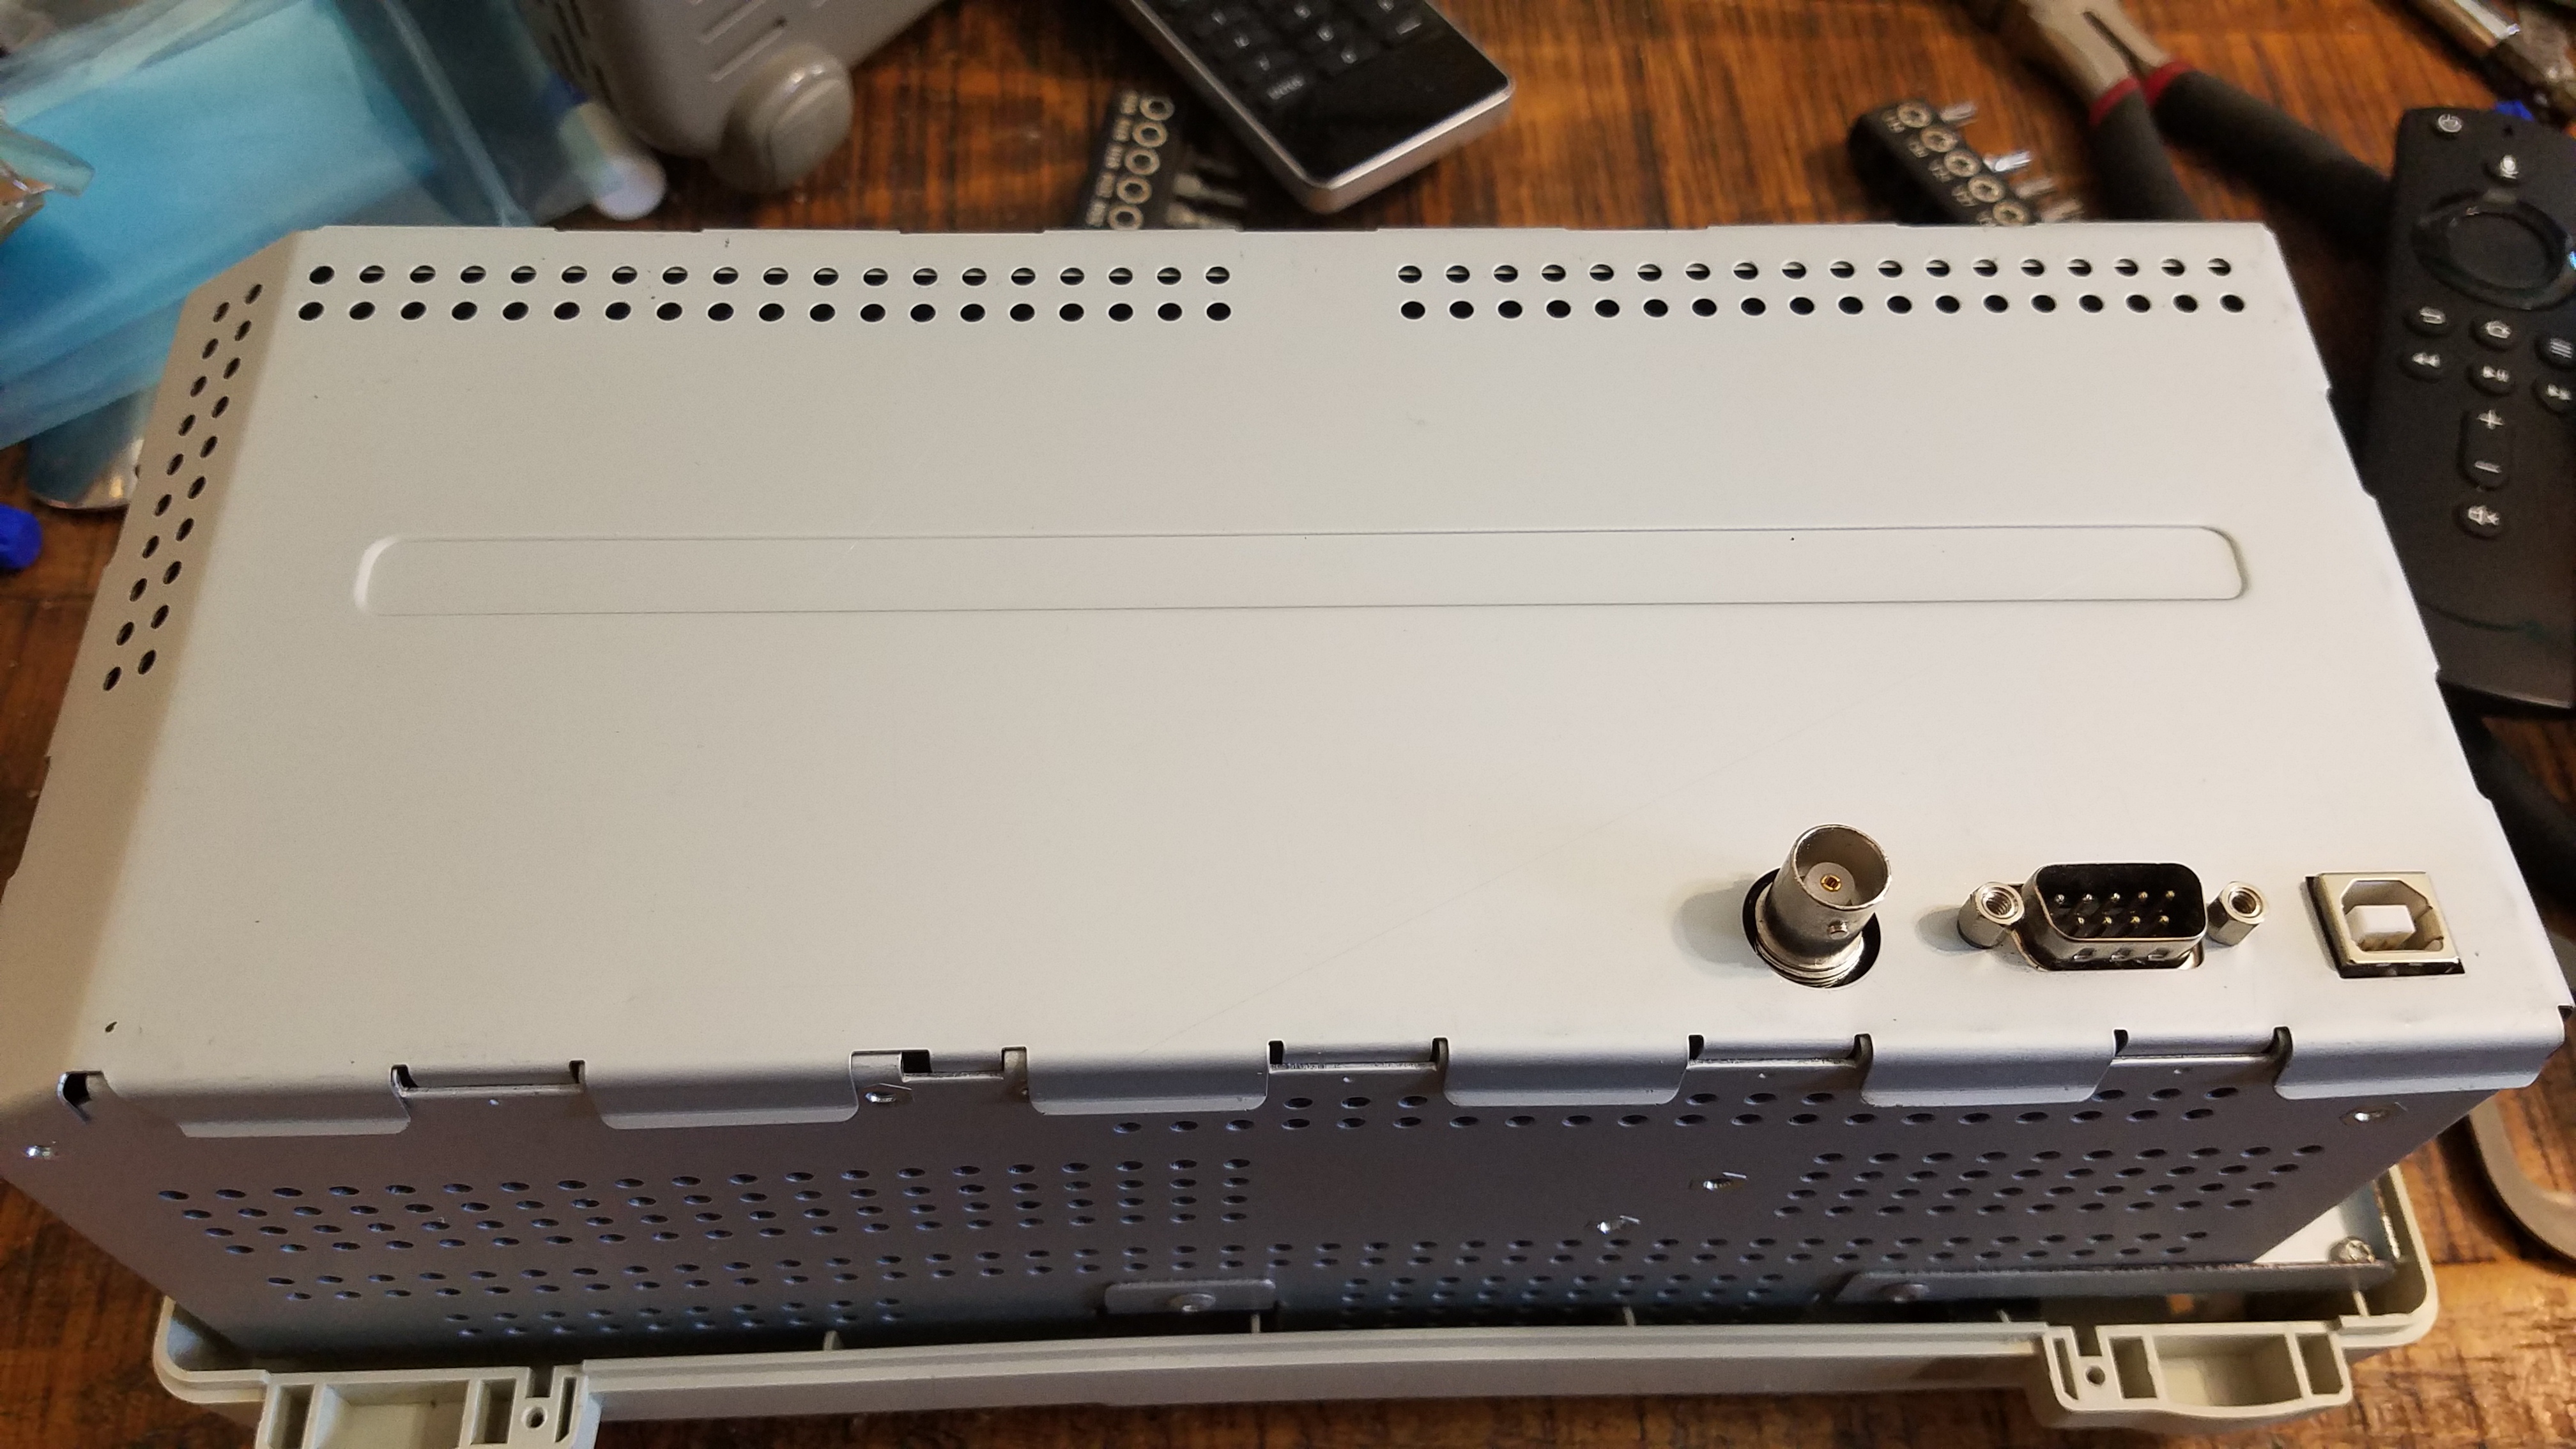
Back case removed
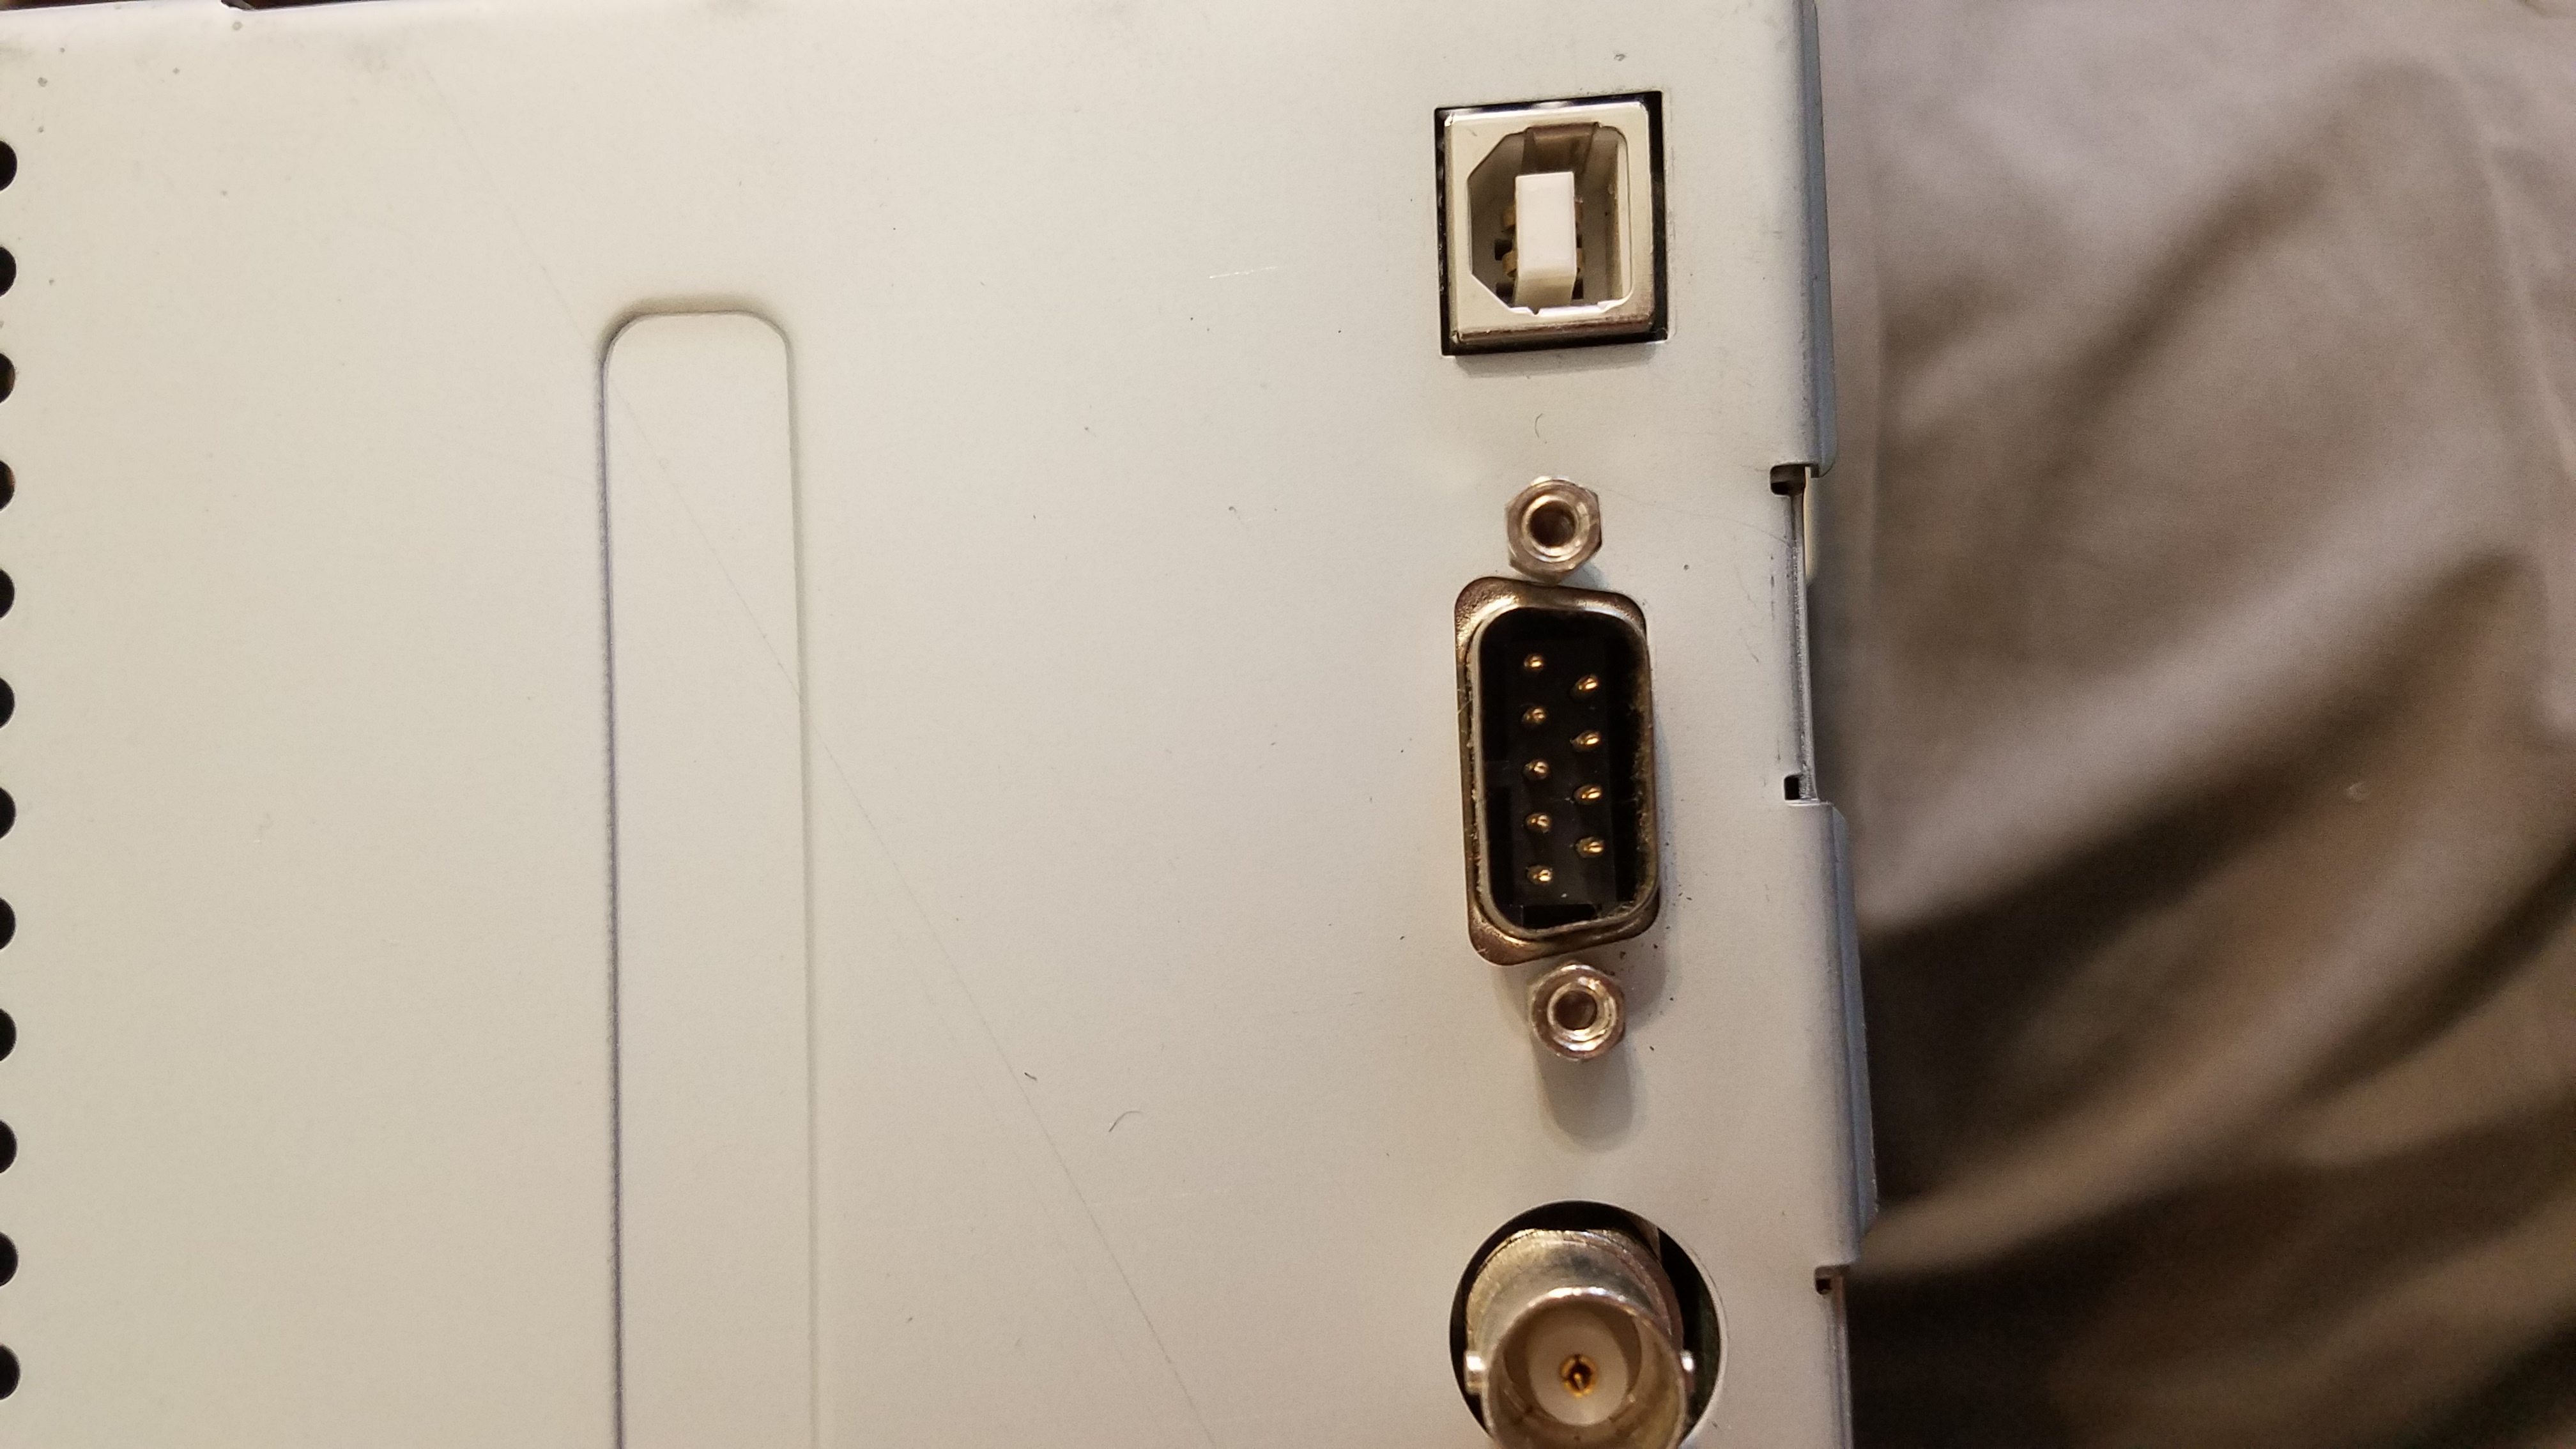
Once the case is removed, unscrew the standoffs on either side of the serial interface (DB9).
Lift off the metal rf sheild

You will need to remove all the screws inside of the case. All The power supply board must be removed
Disconnect the power supply board. Watch out for the LCD lamp power cable (Red/White cable with JST connector)
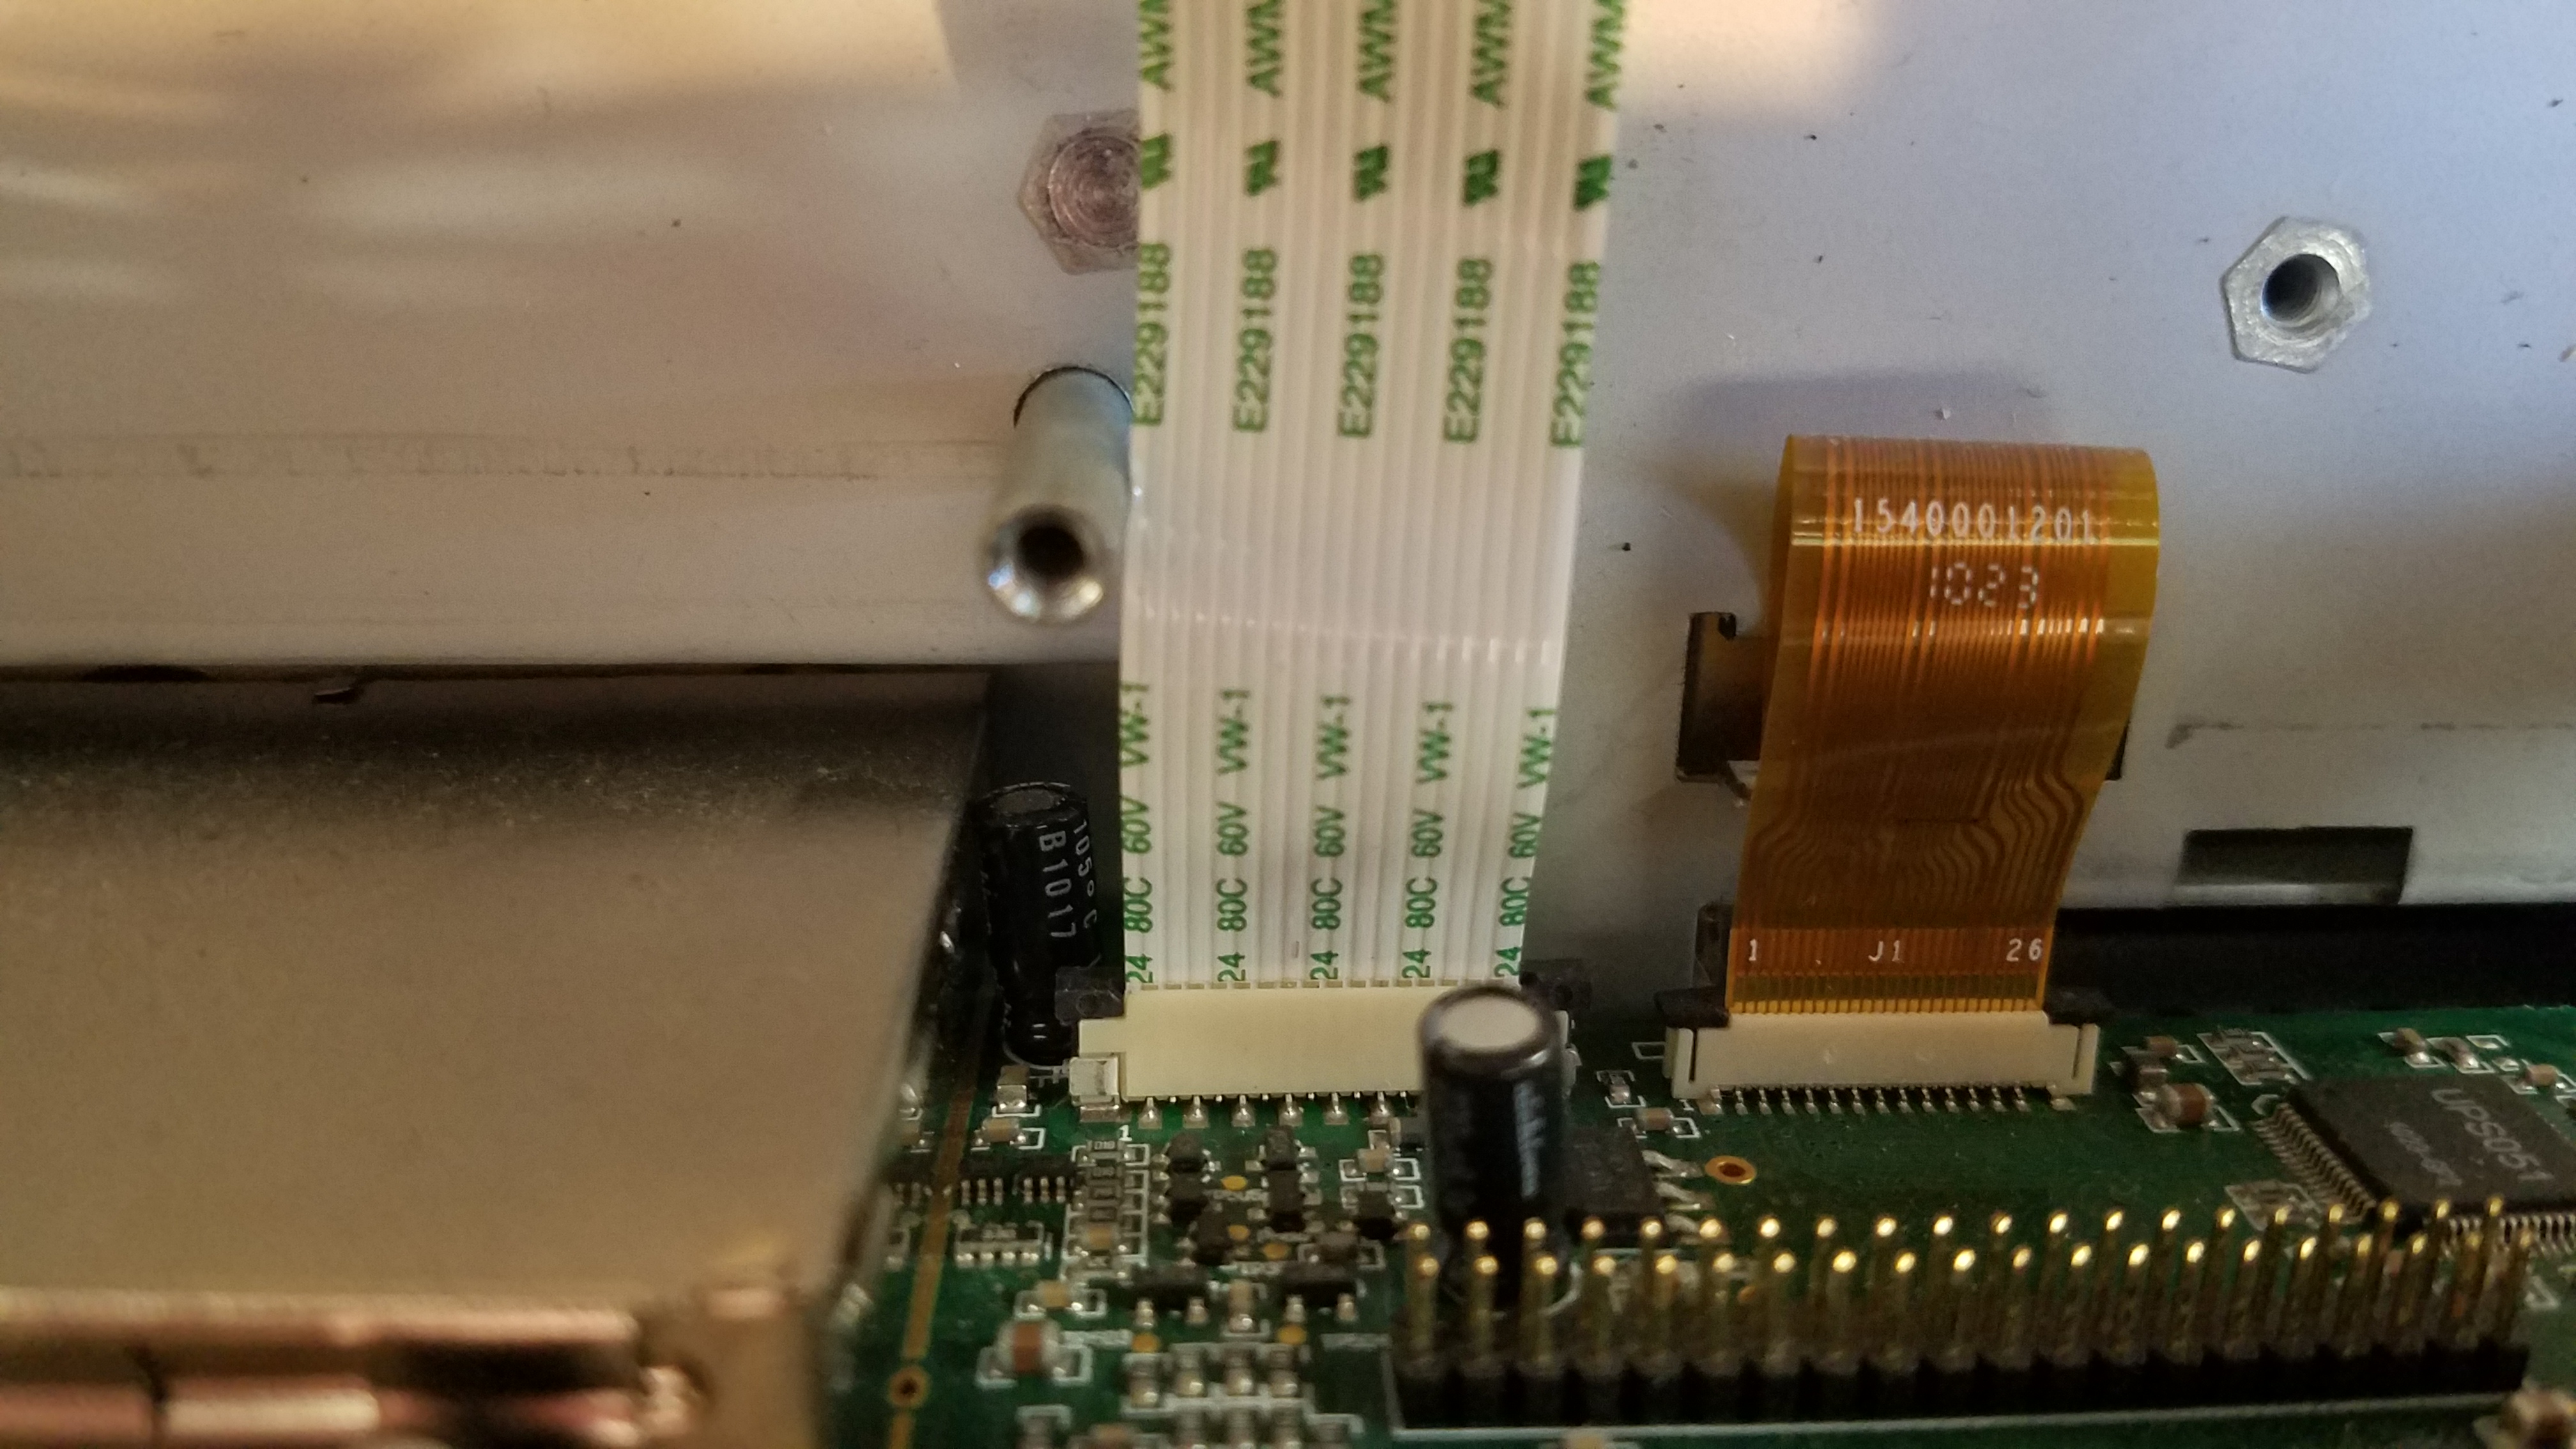
You will need to disconnect the white ribbion cable from the board at the bottom of the unit.
The front case panel can now be removed.
Power supply board. Power switch
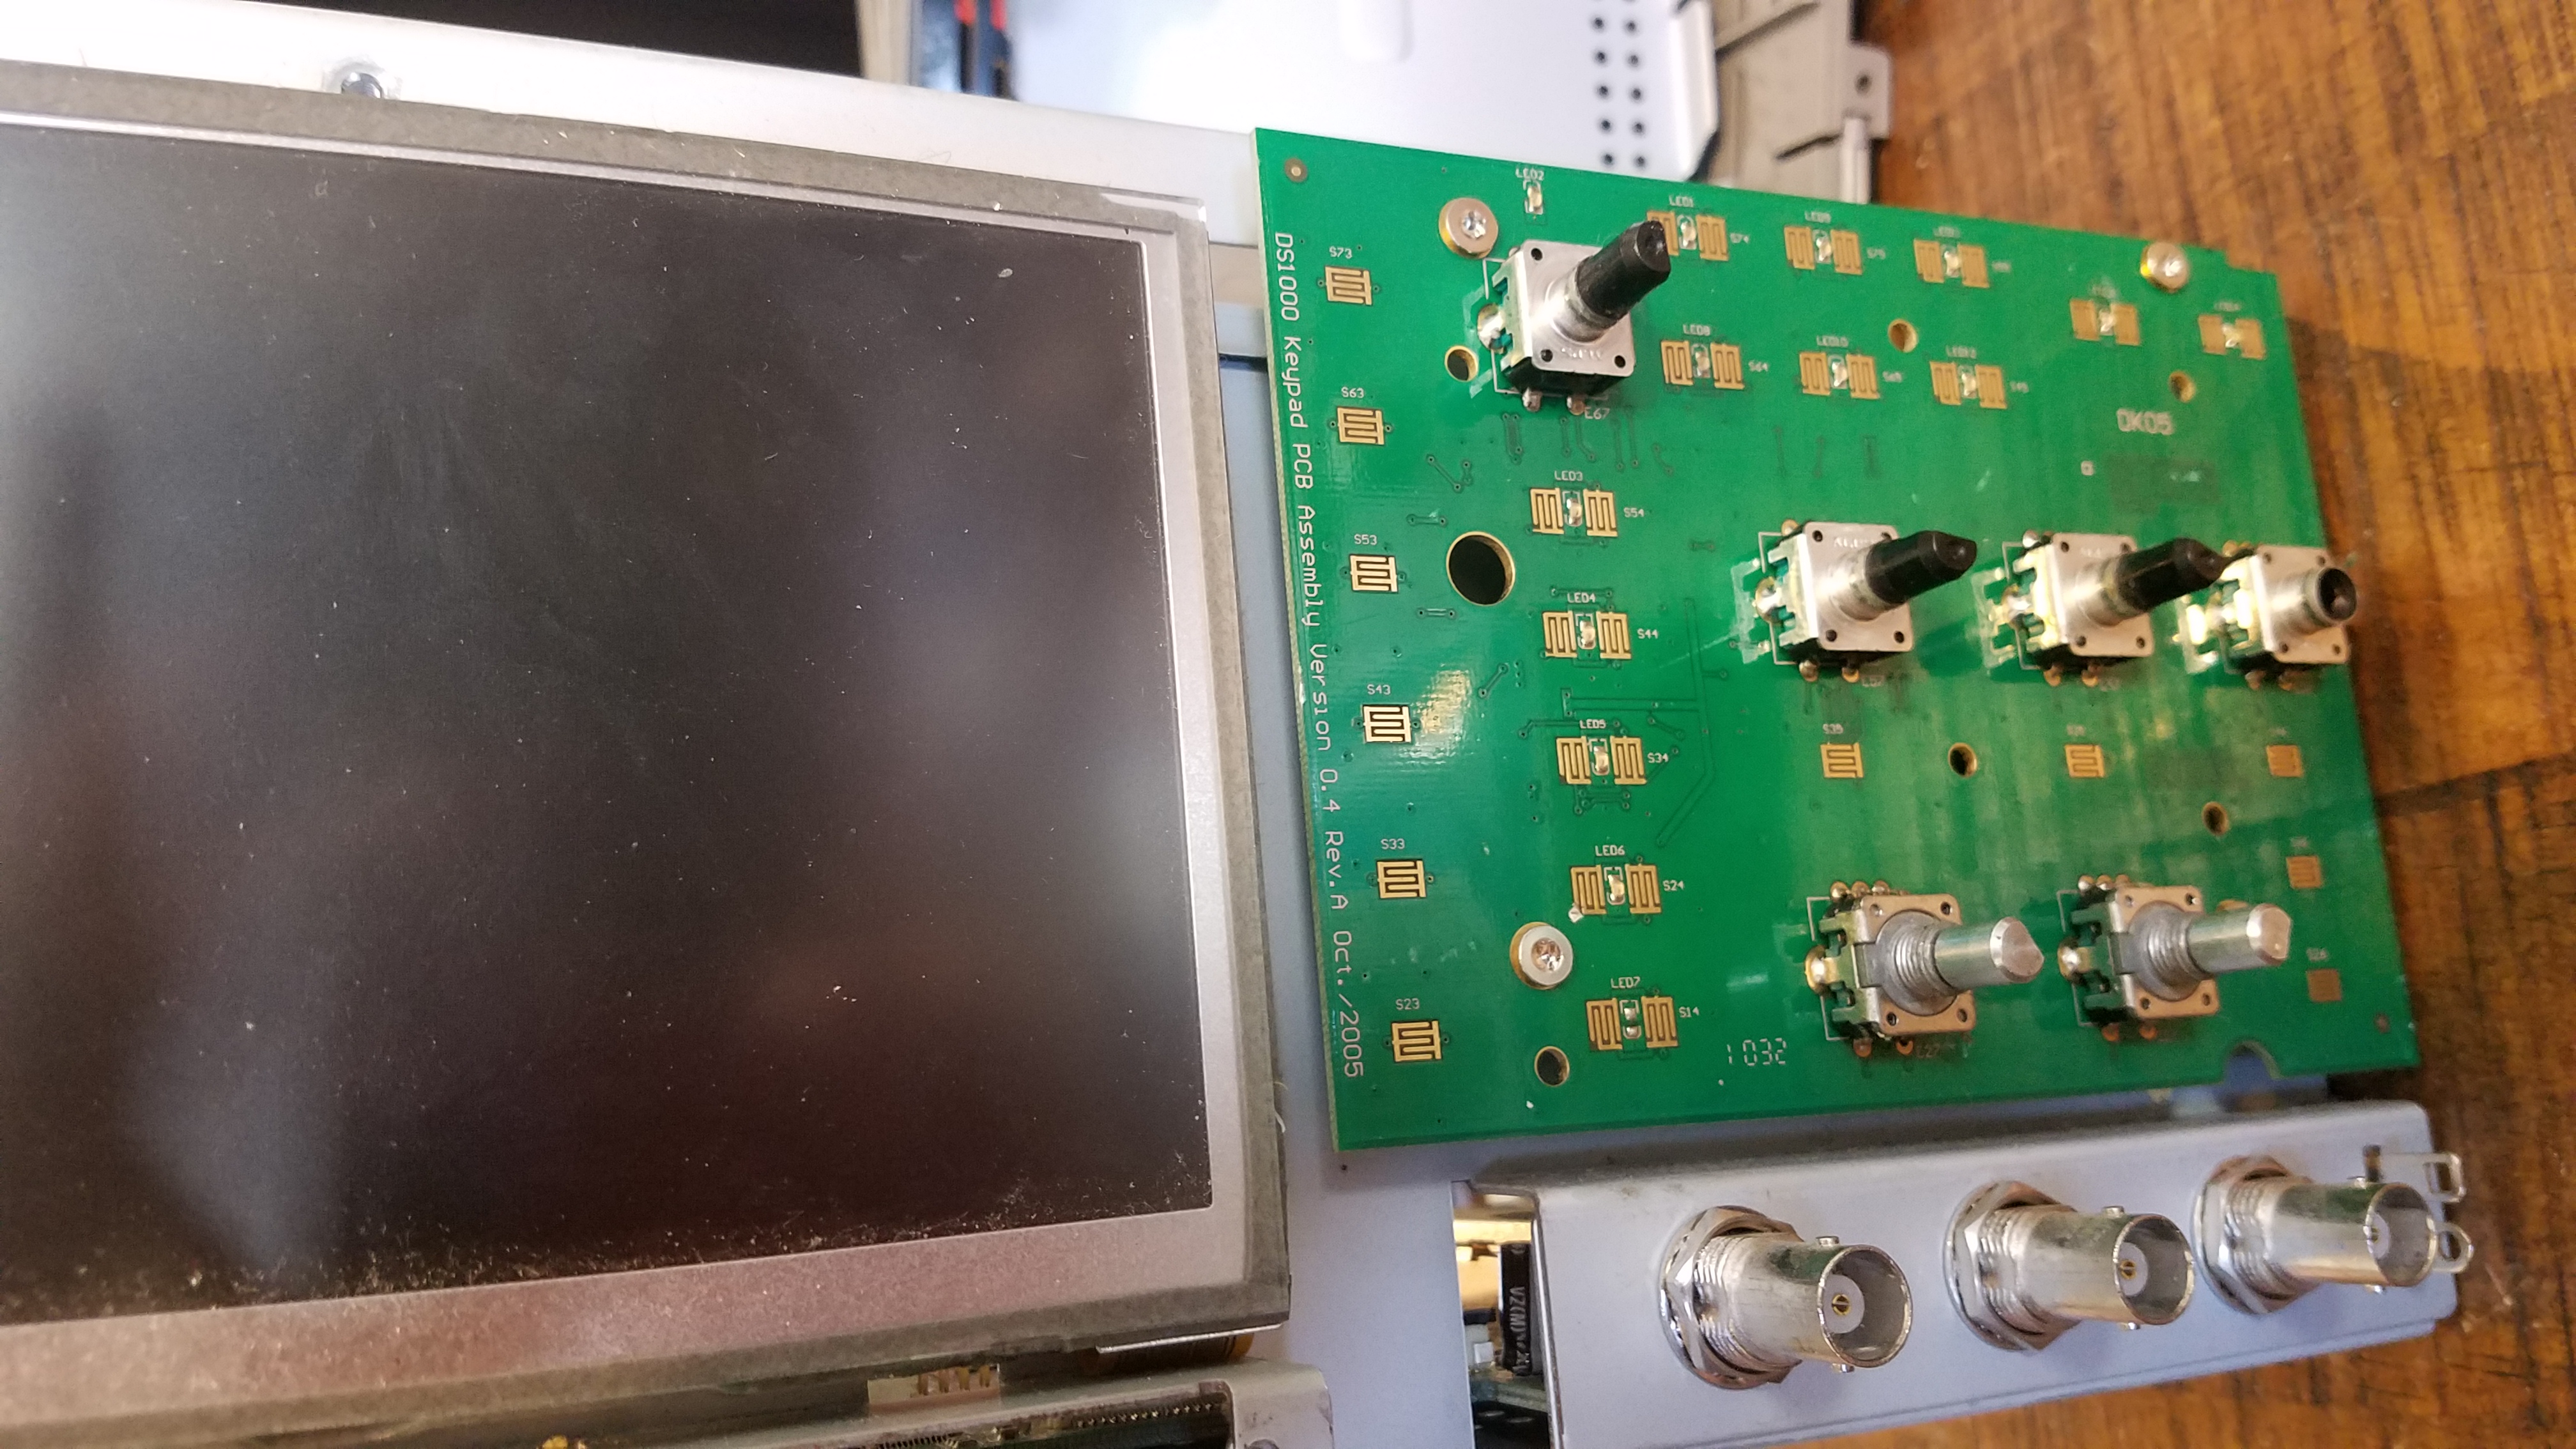
Front case panel removed. Picture of the 3 screws holding on the user control board.
These will need to be removed.
Replacing the encoder
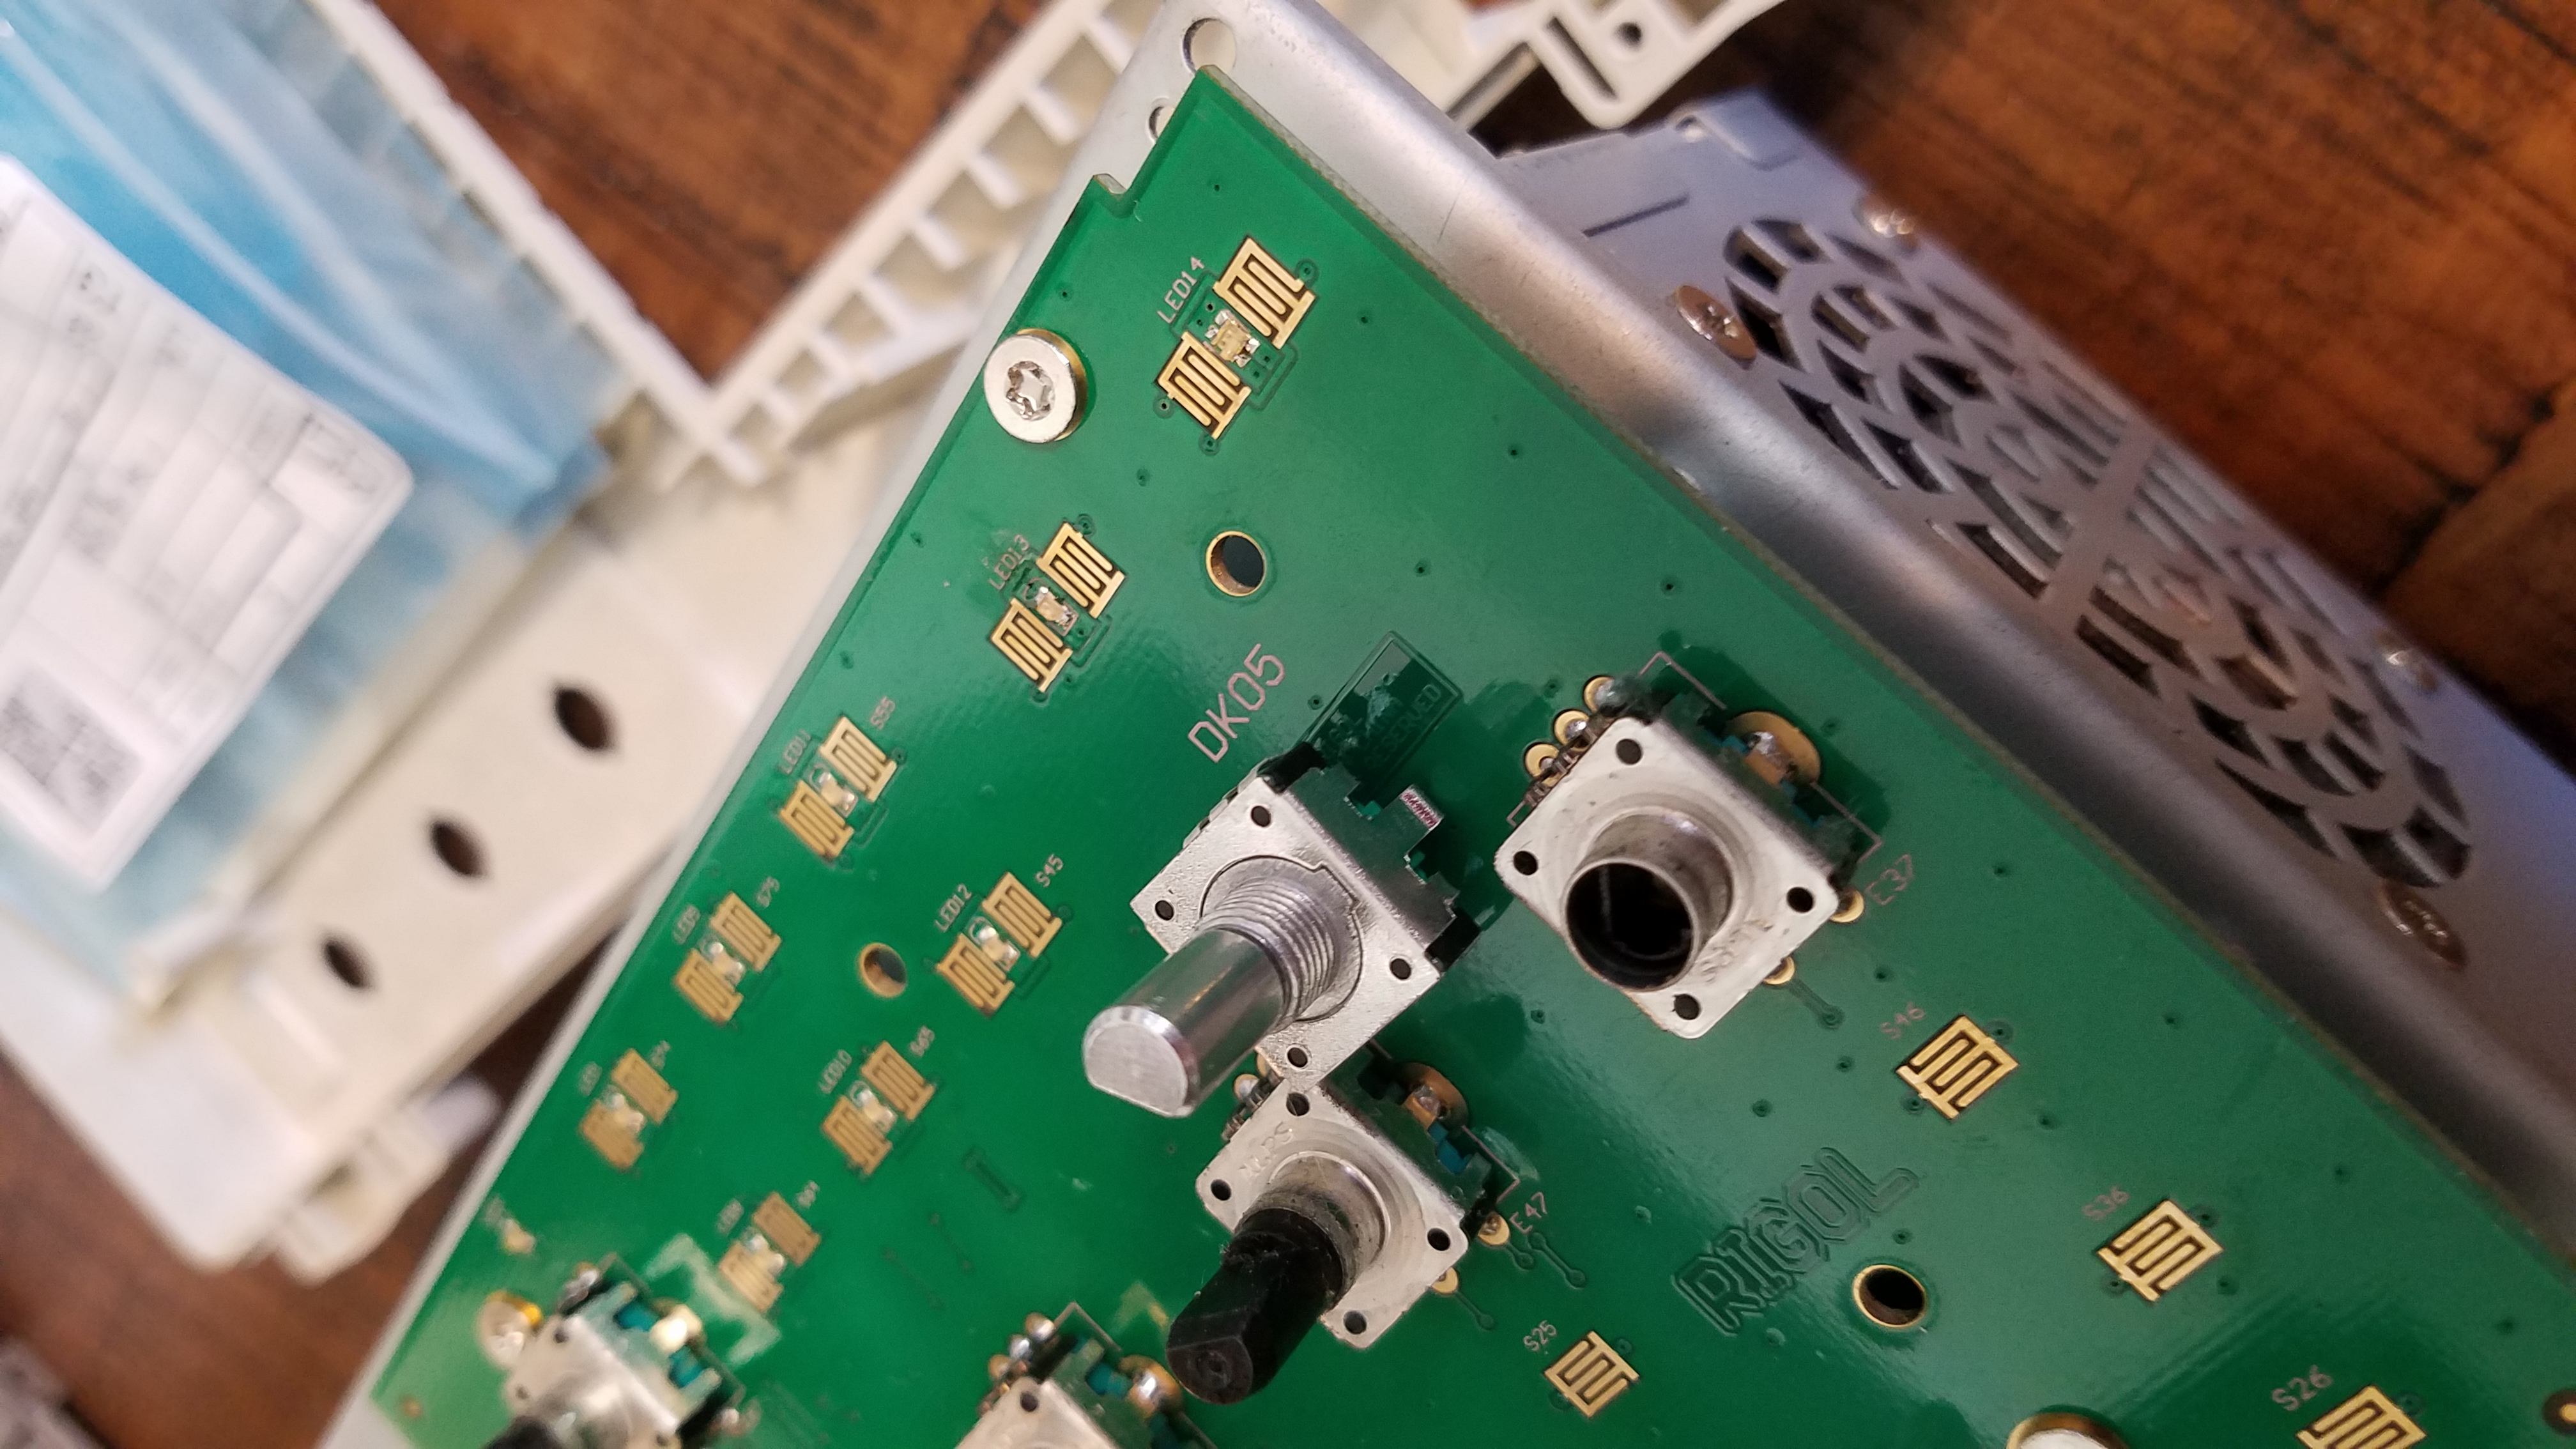
Boken encoder next to replacement encoder.
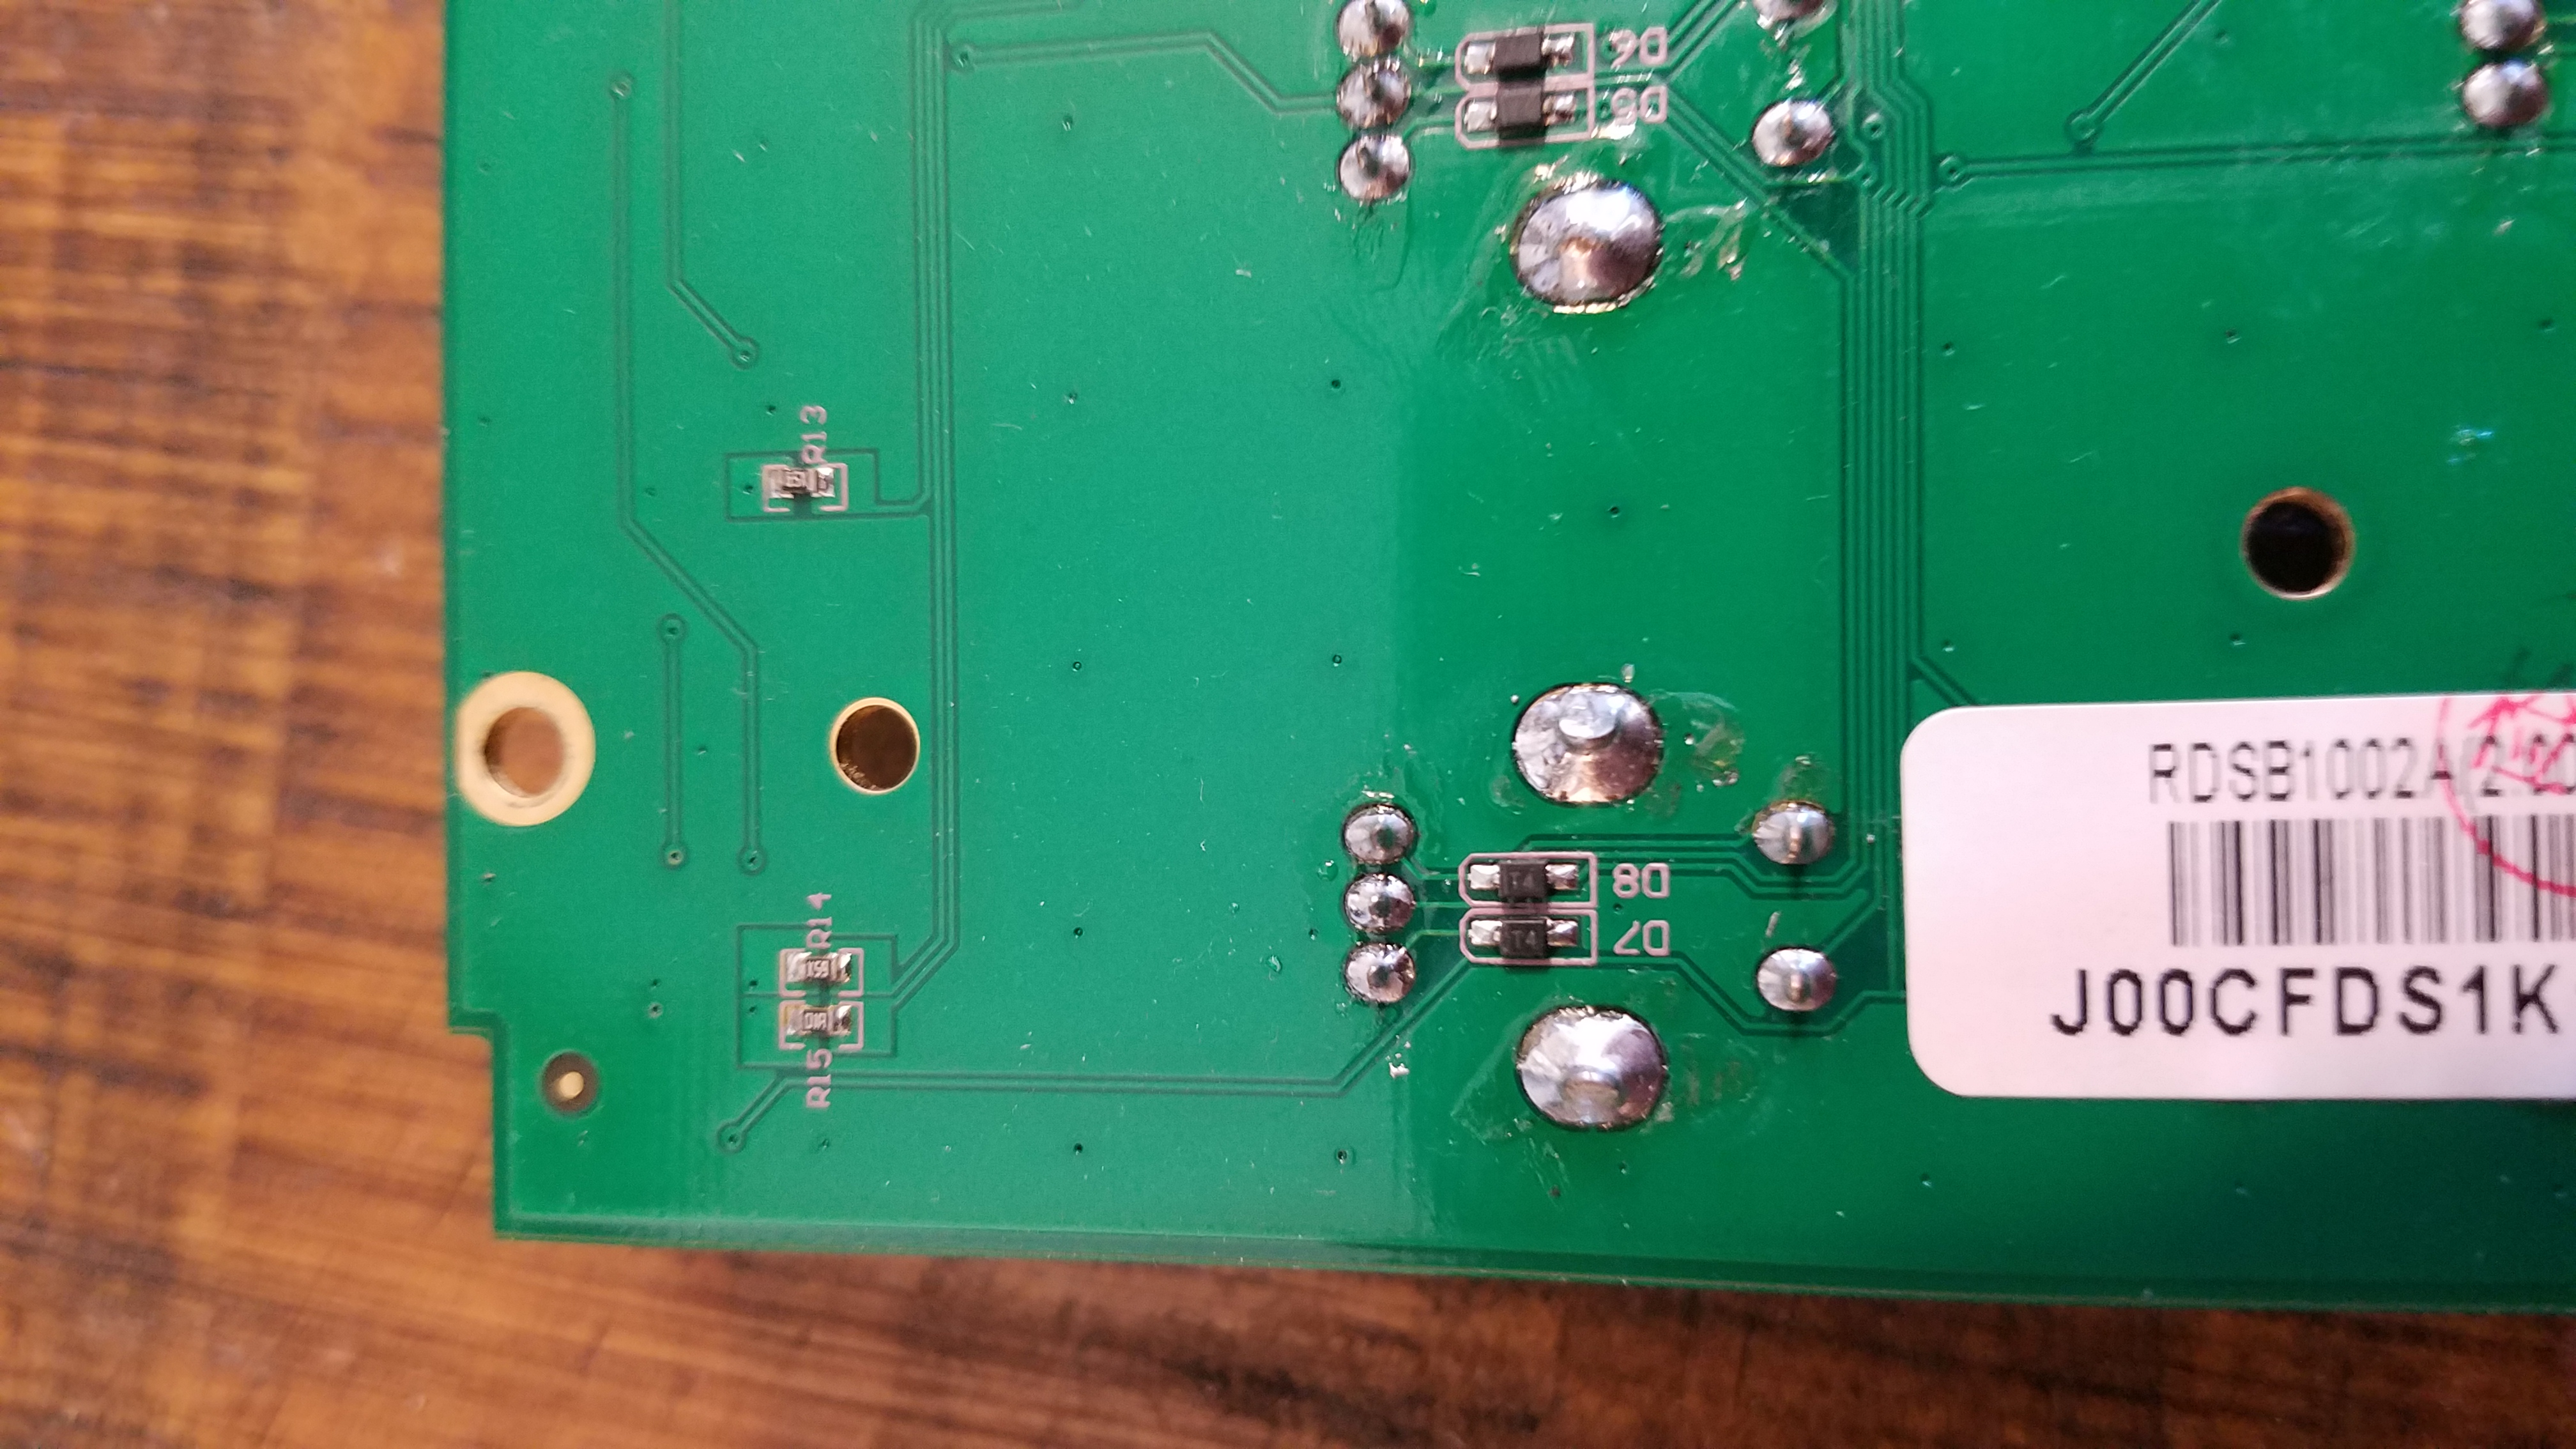
Bottom of the user control board. Unsoldering required.
WARNING: Rigol uses lead free solder. Only use lead free solder. If you mix leaded solder and lead free solder a new alloy with a higher melting point will be formed. Good luck removing that!
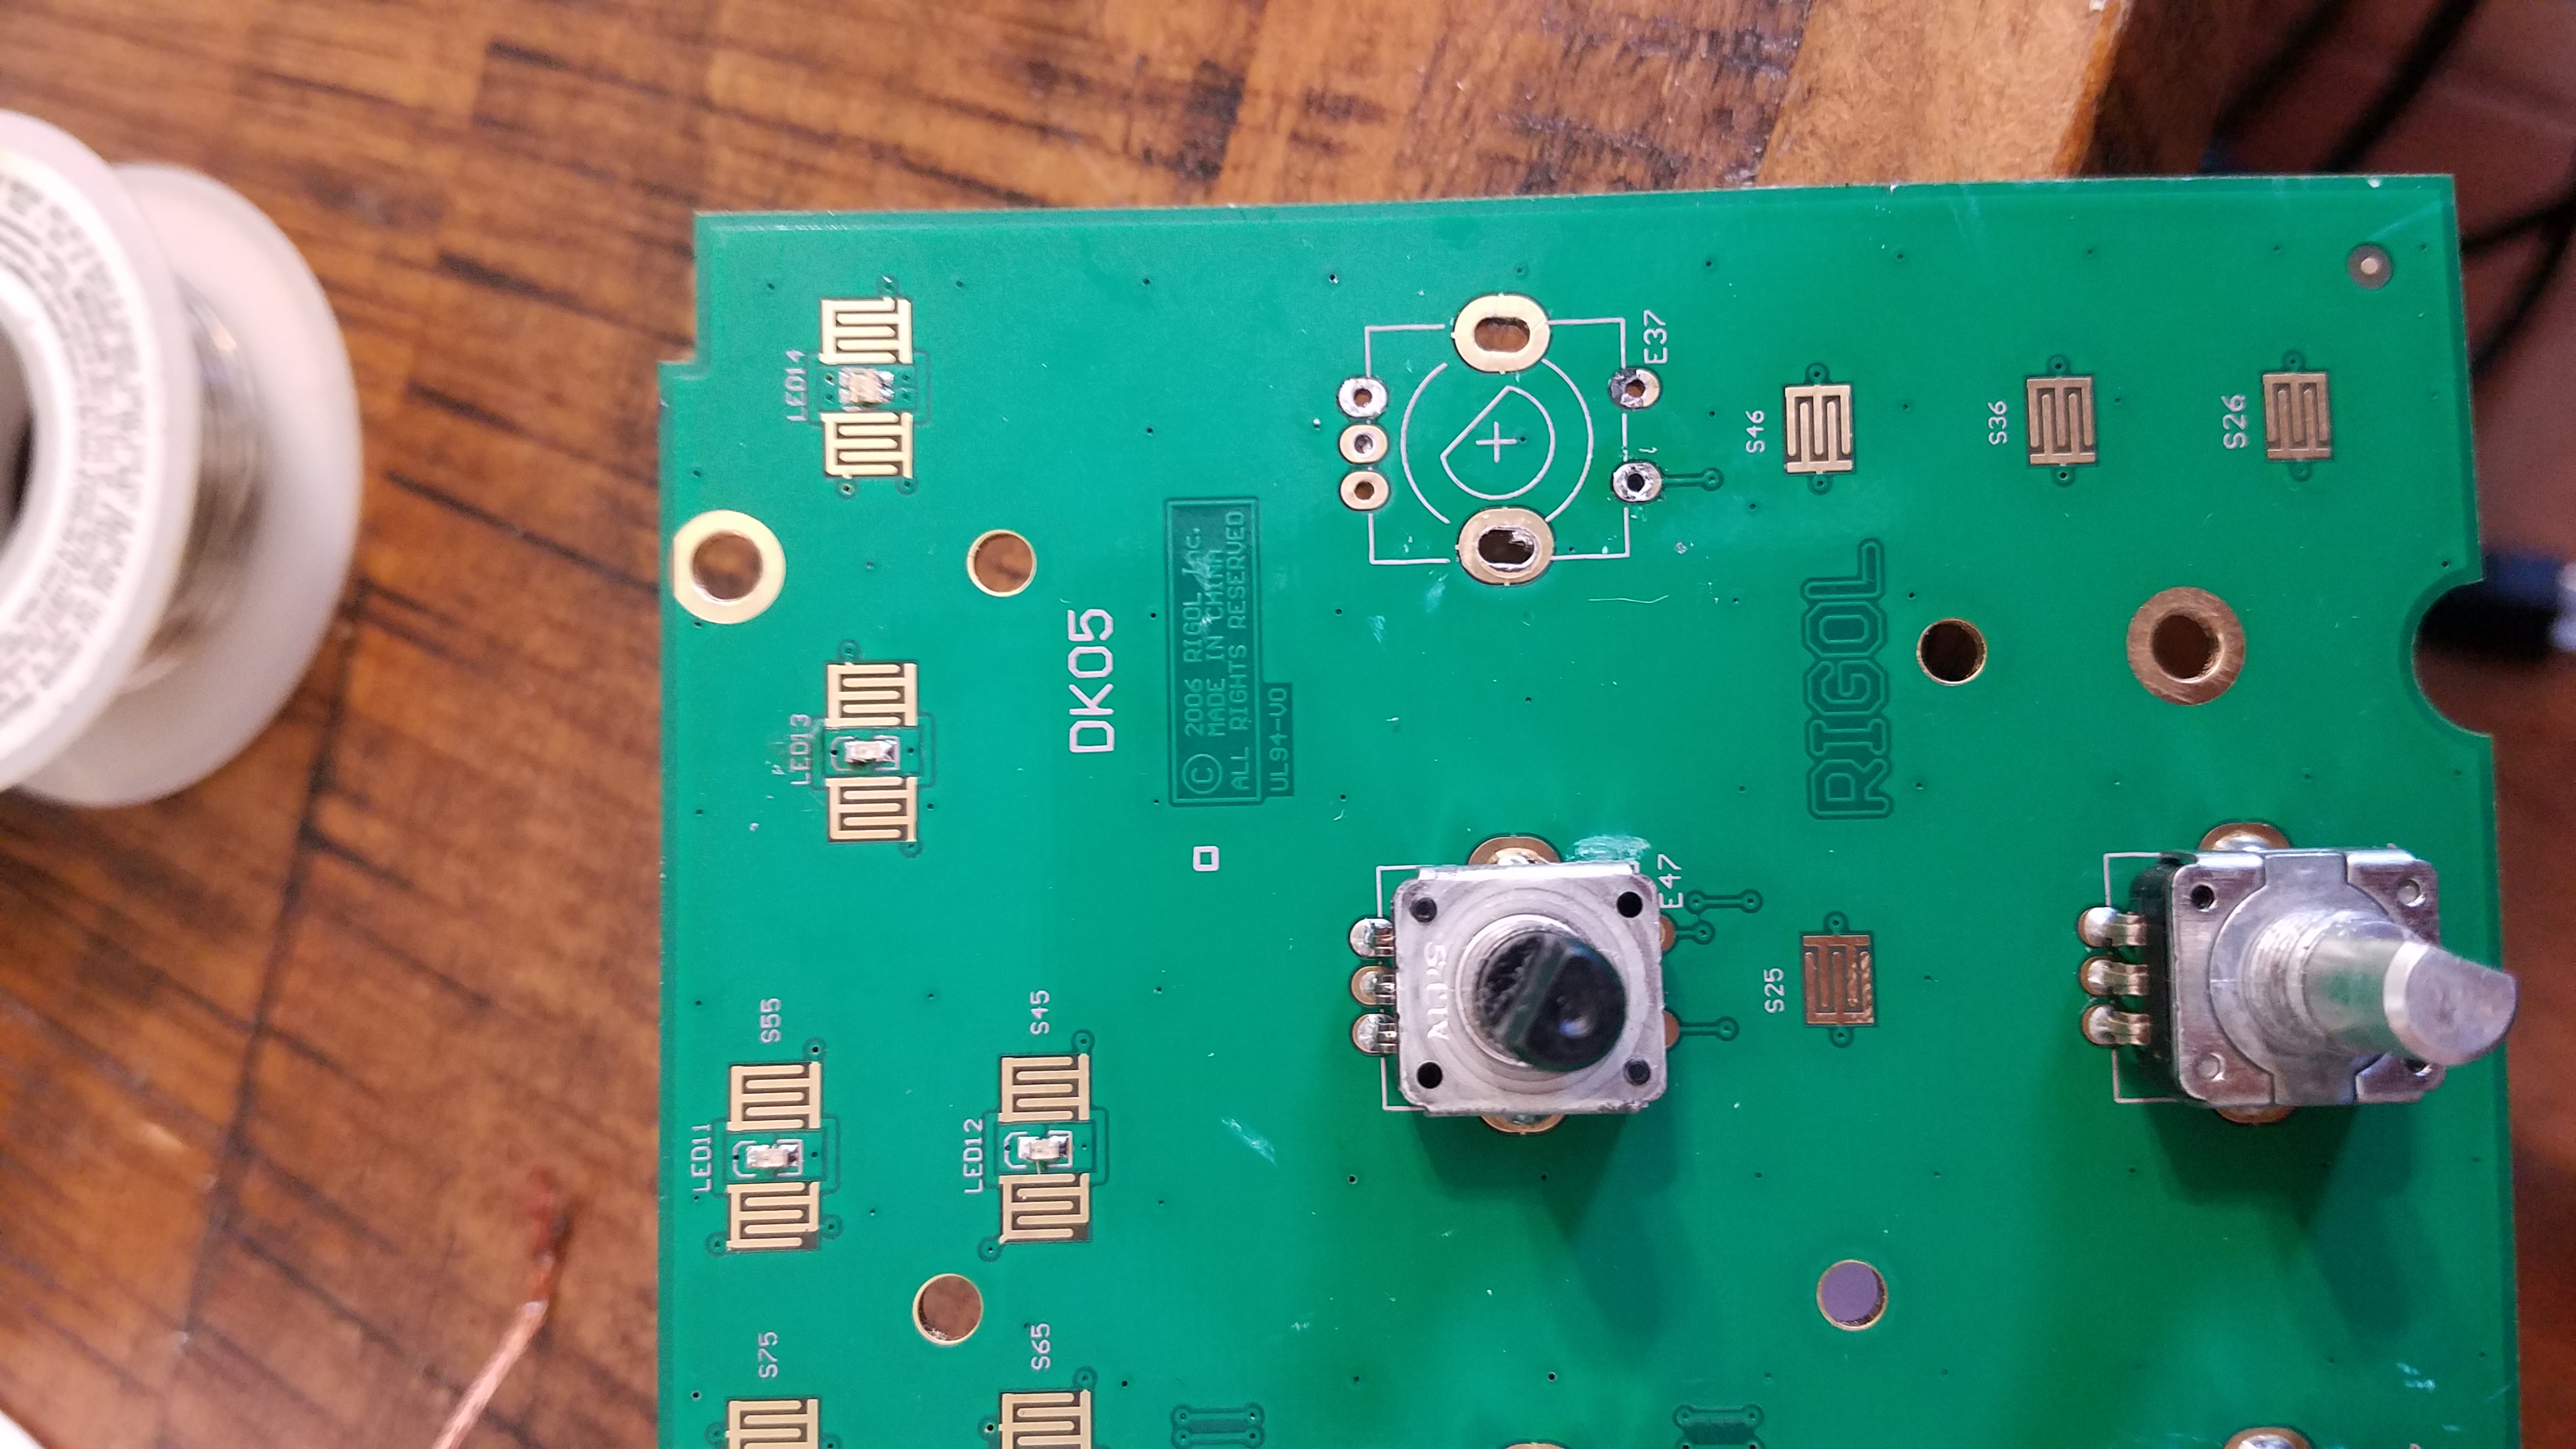
Desoldered encoder

Replacement encoder
Put everything back together