Parts
Magnetic Door Latch
DoorMagnetLatchMount.scad DoorMagnetLatchMount.stl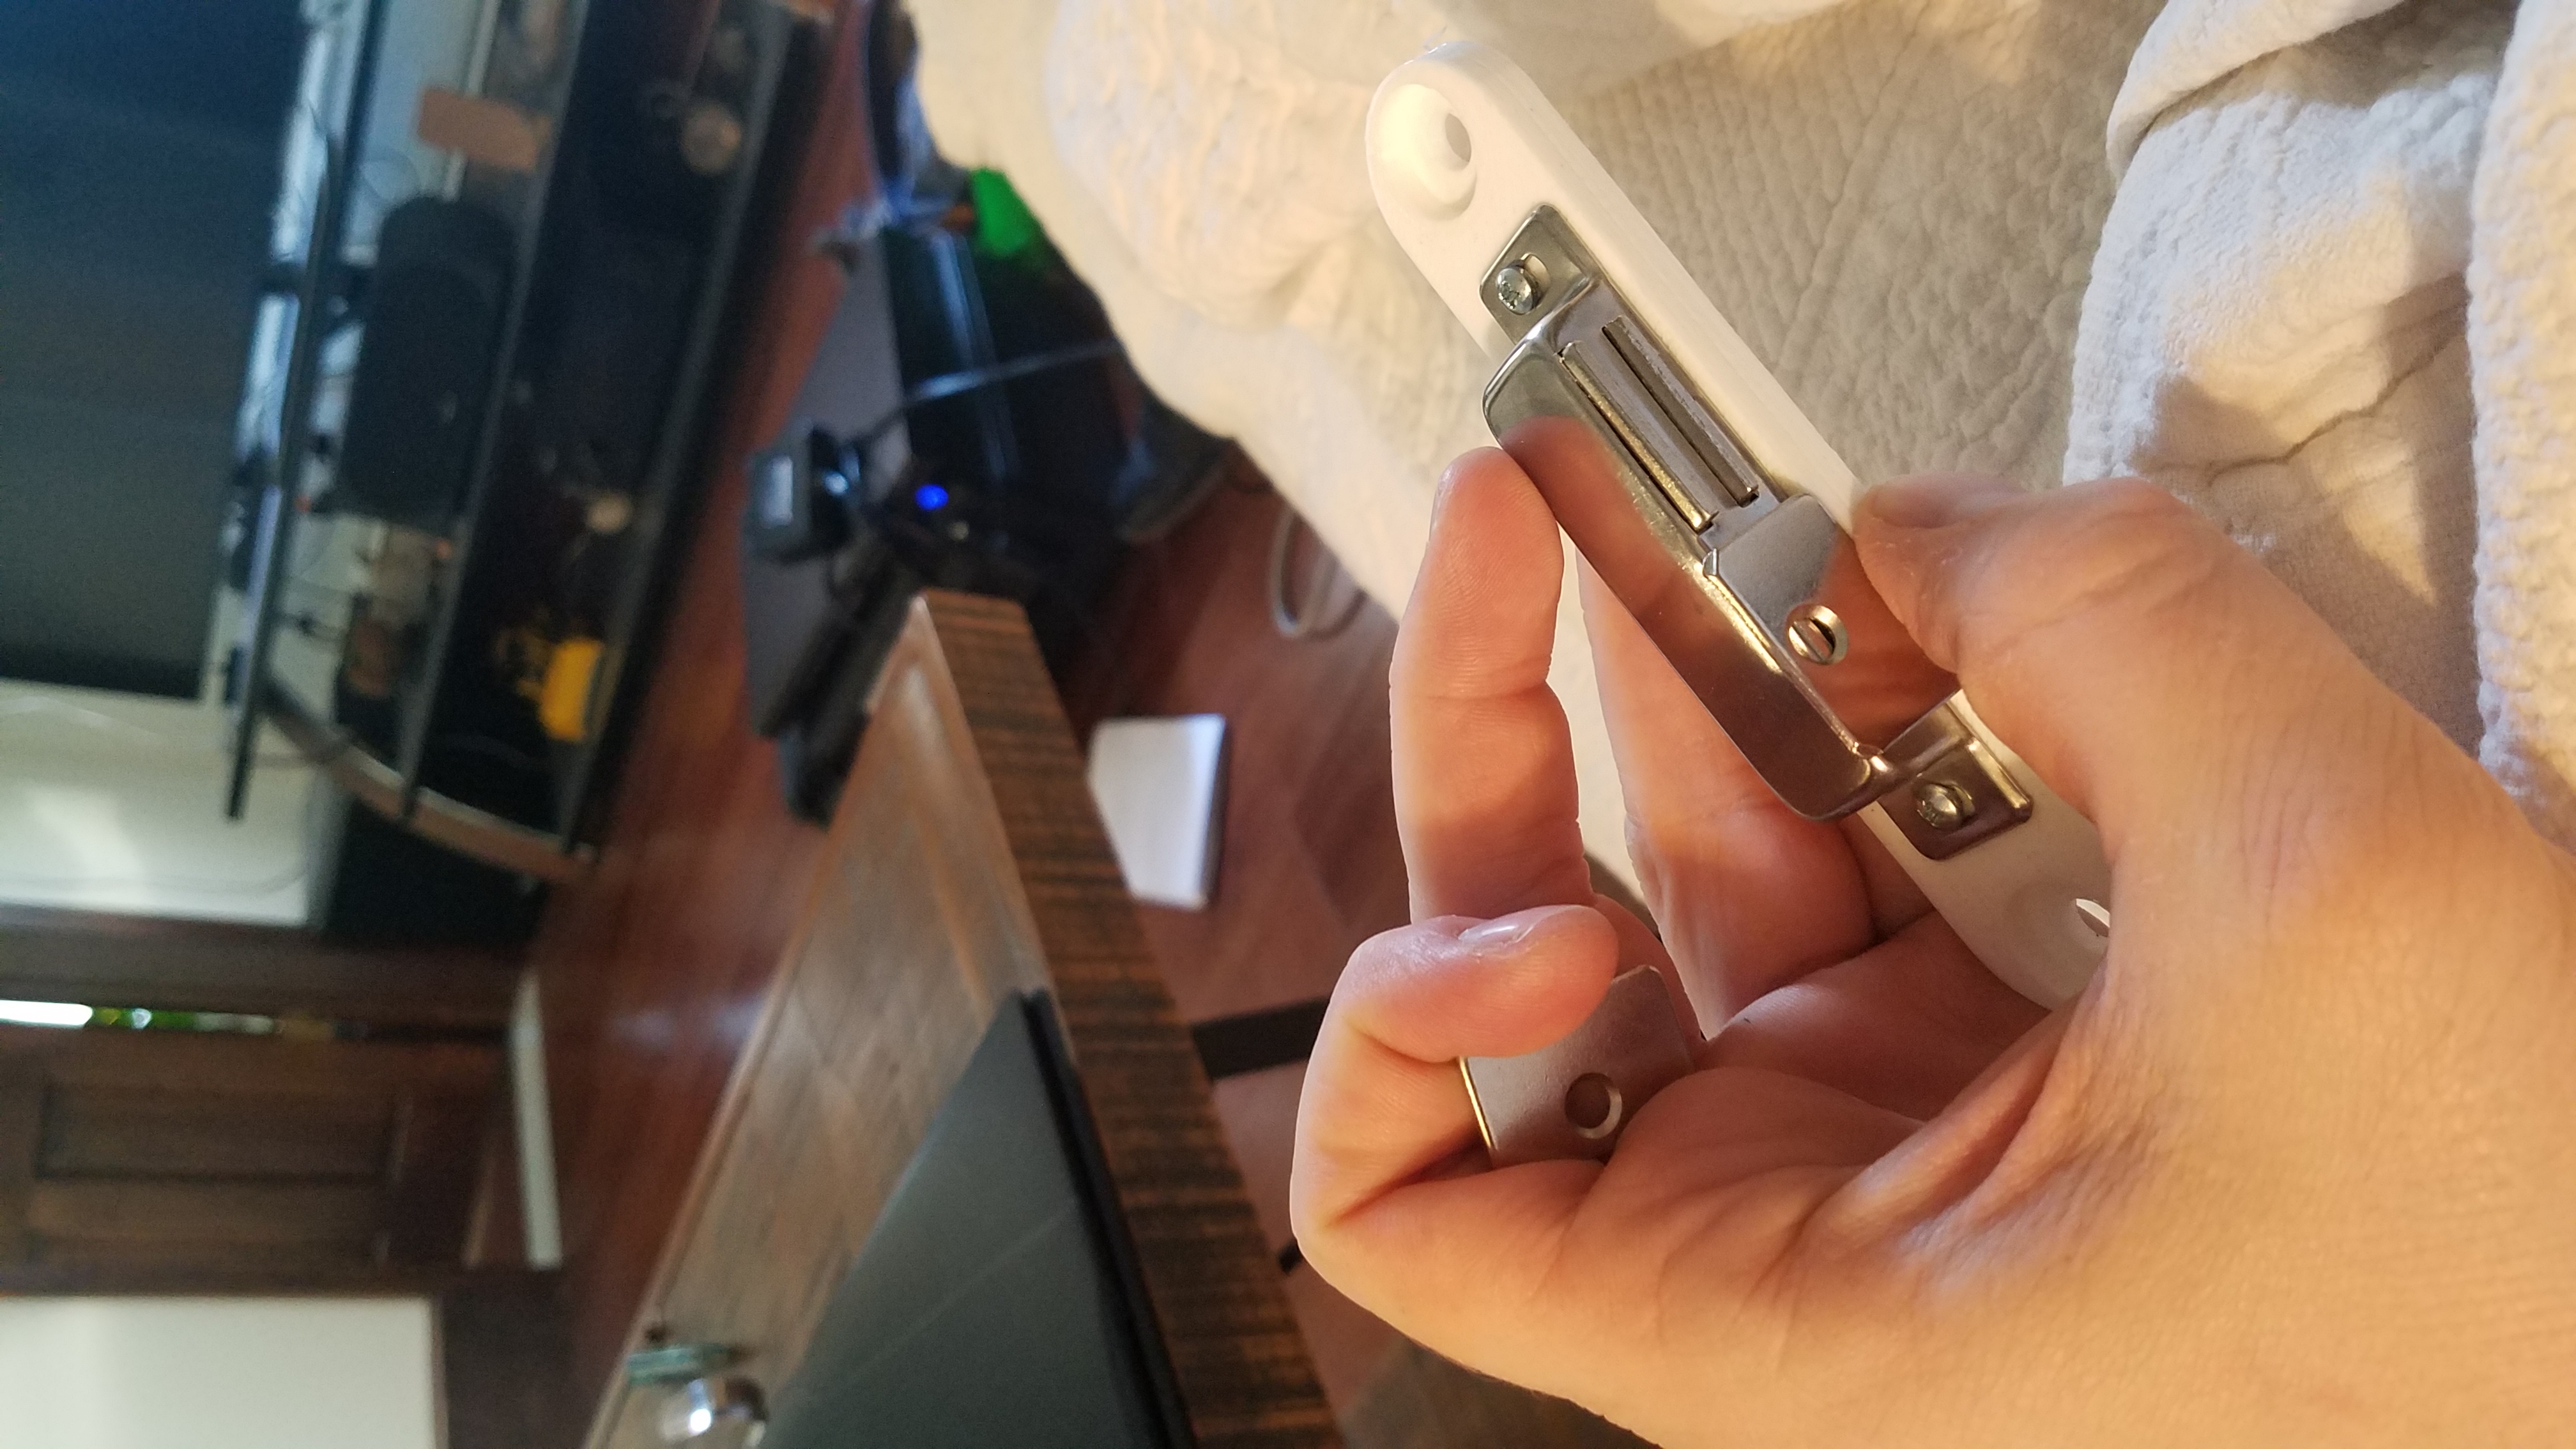

3d Printed Magnetic Latch mount
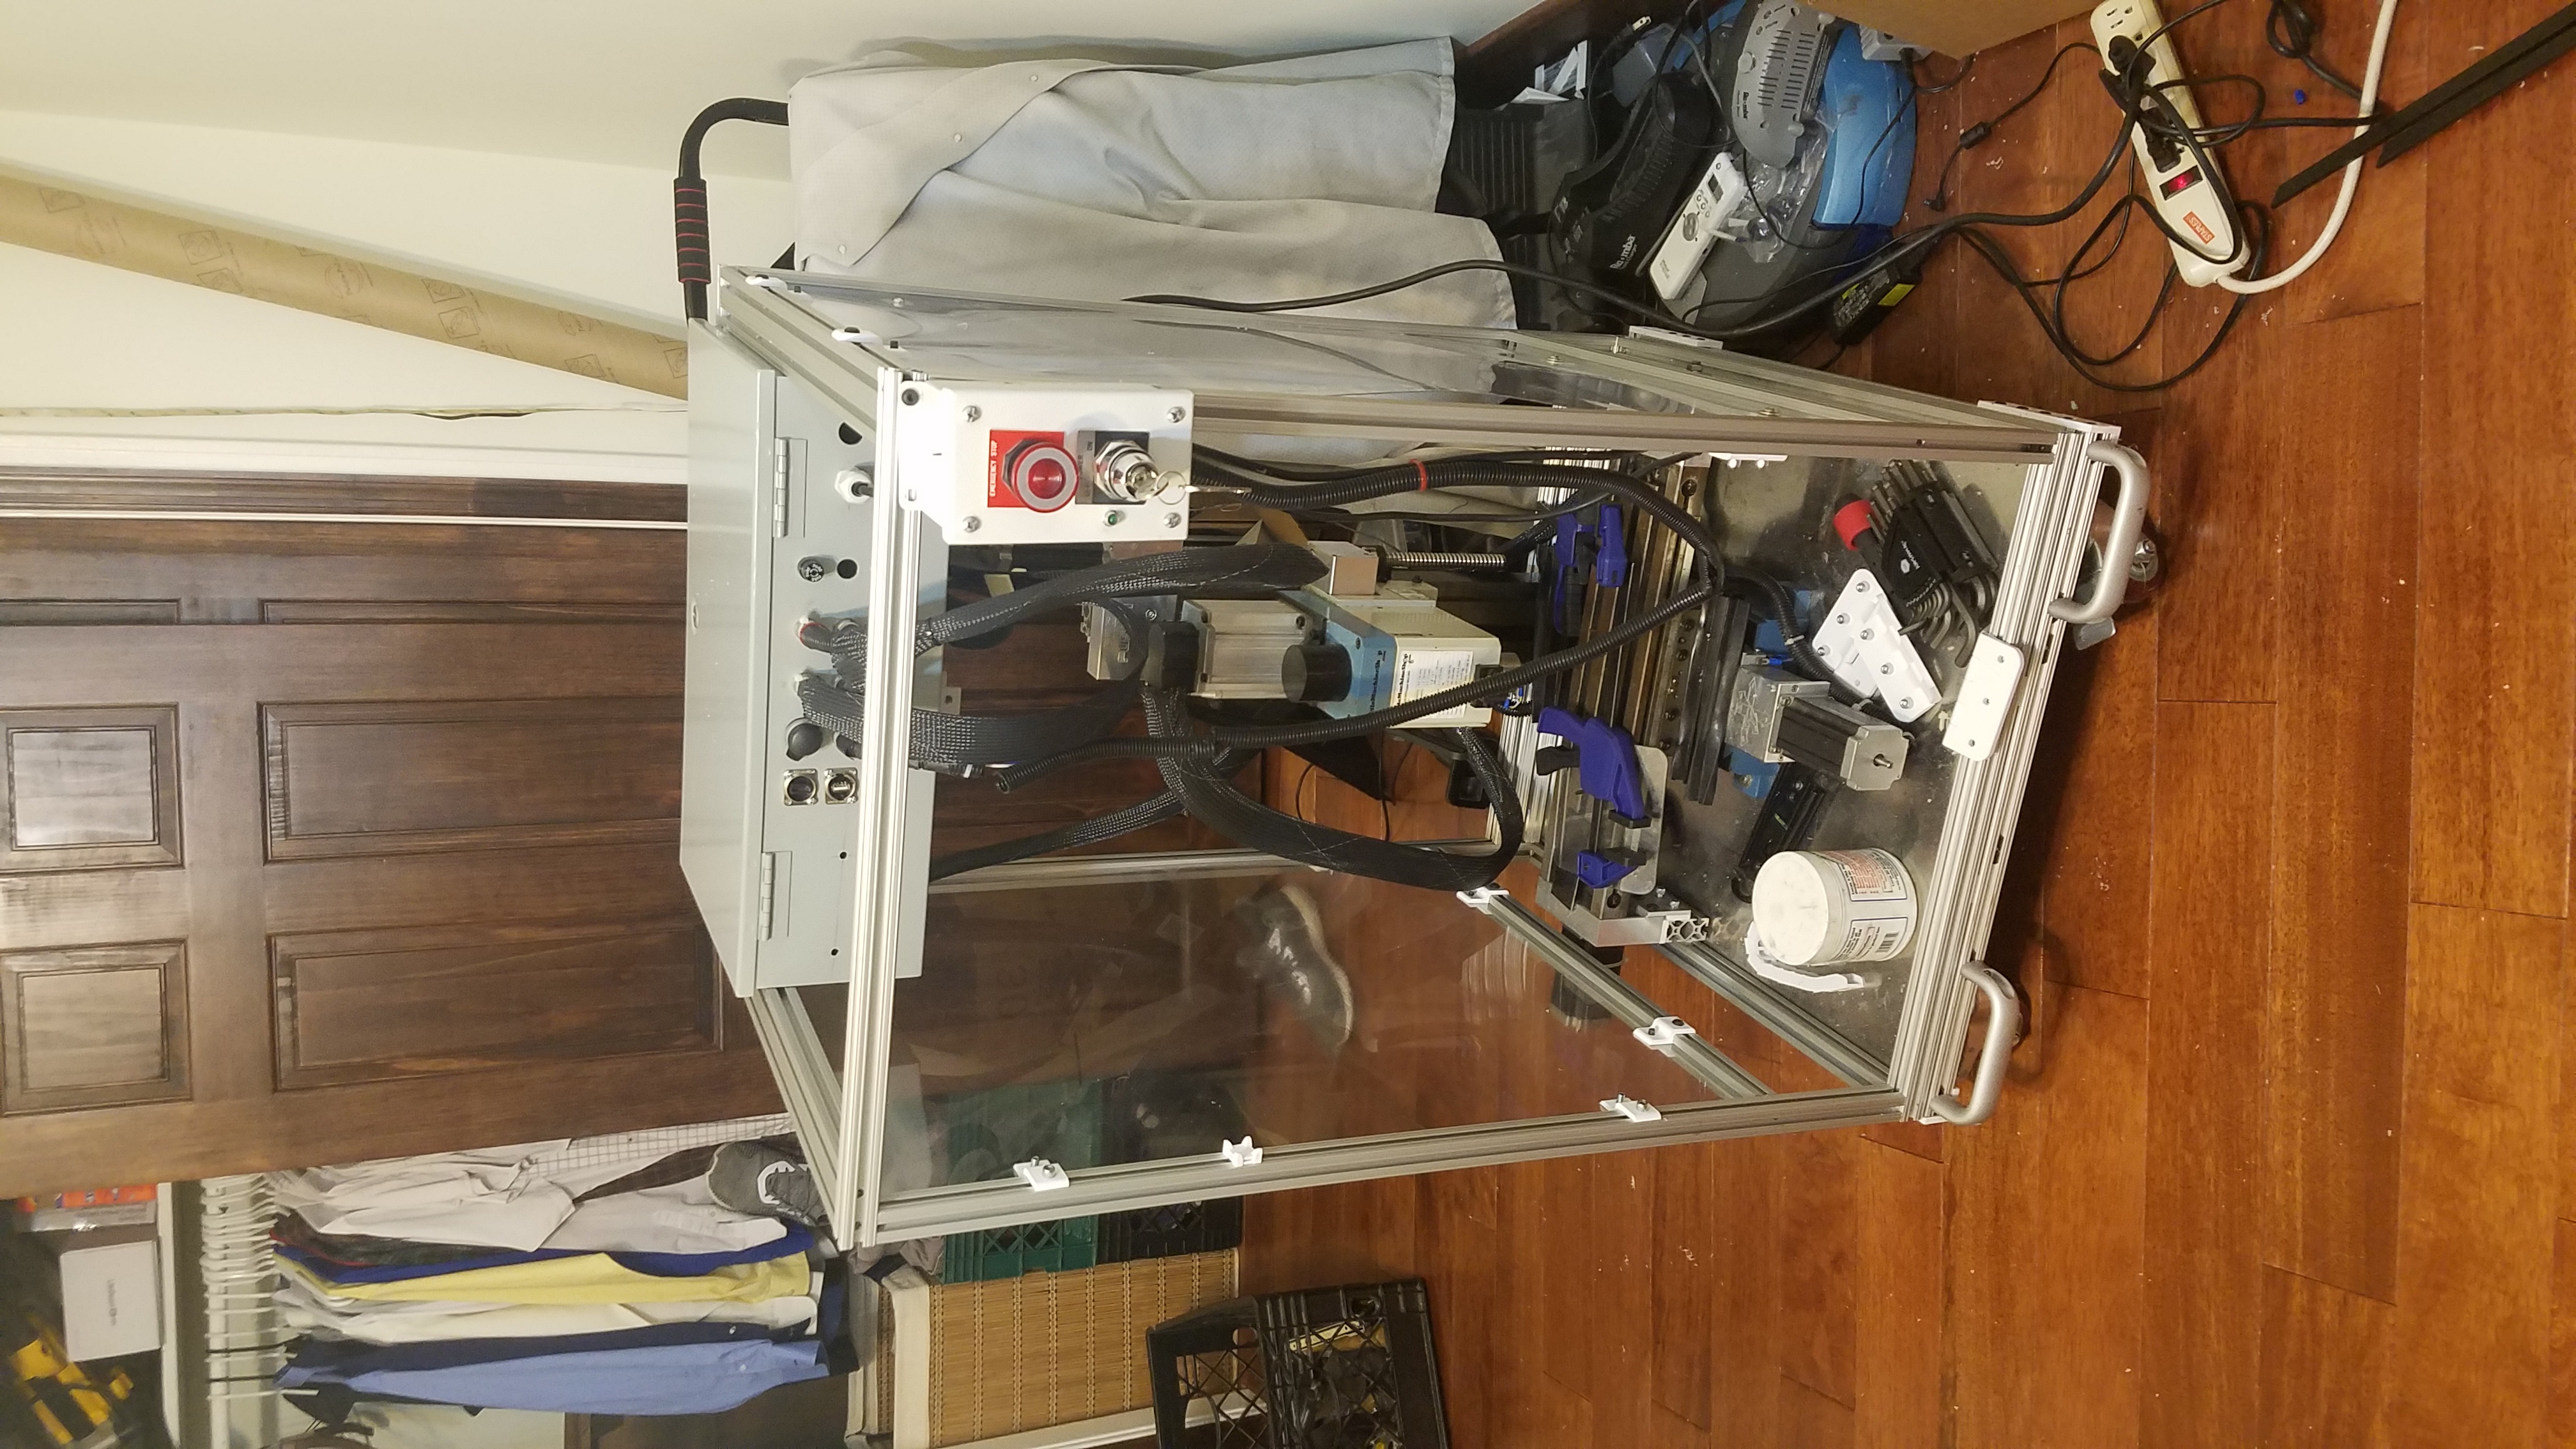
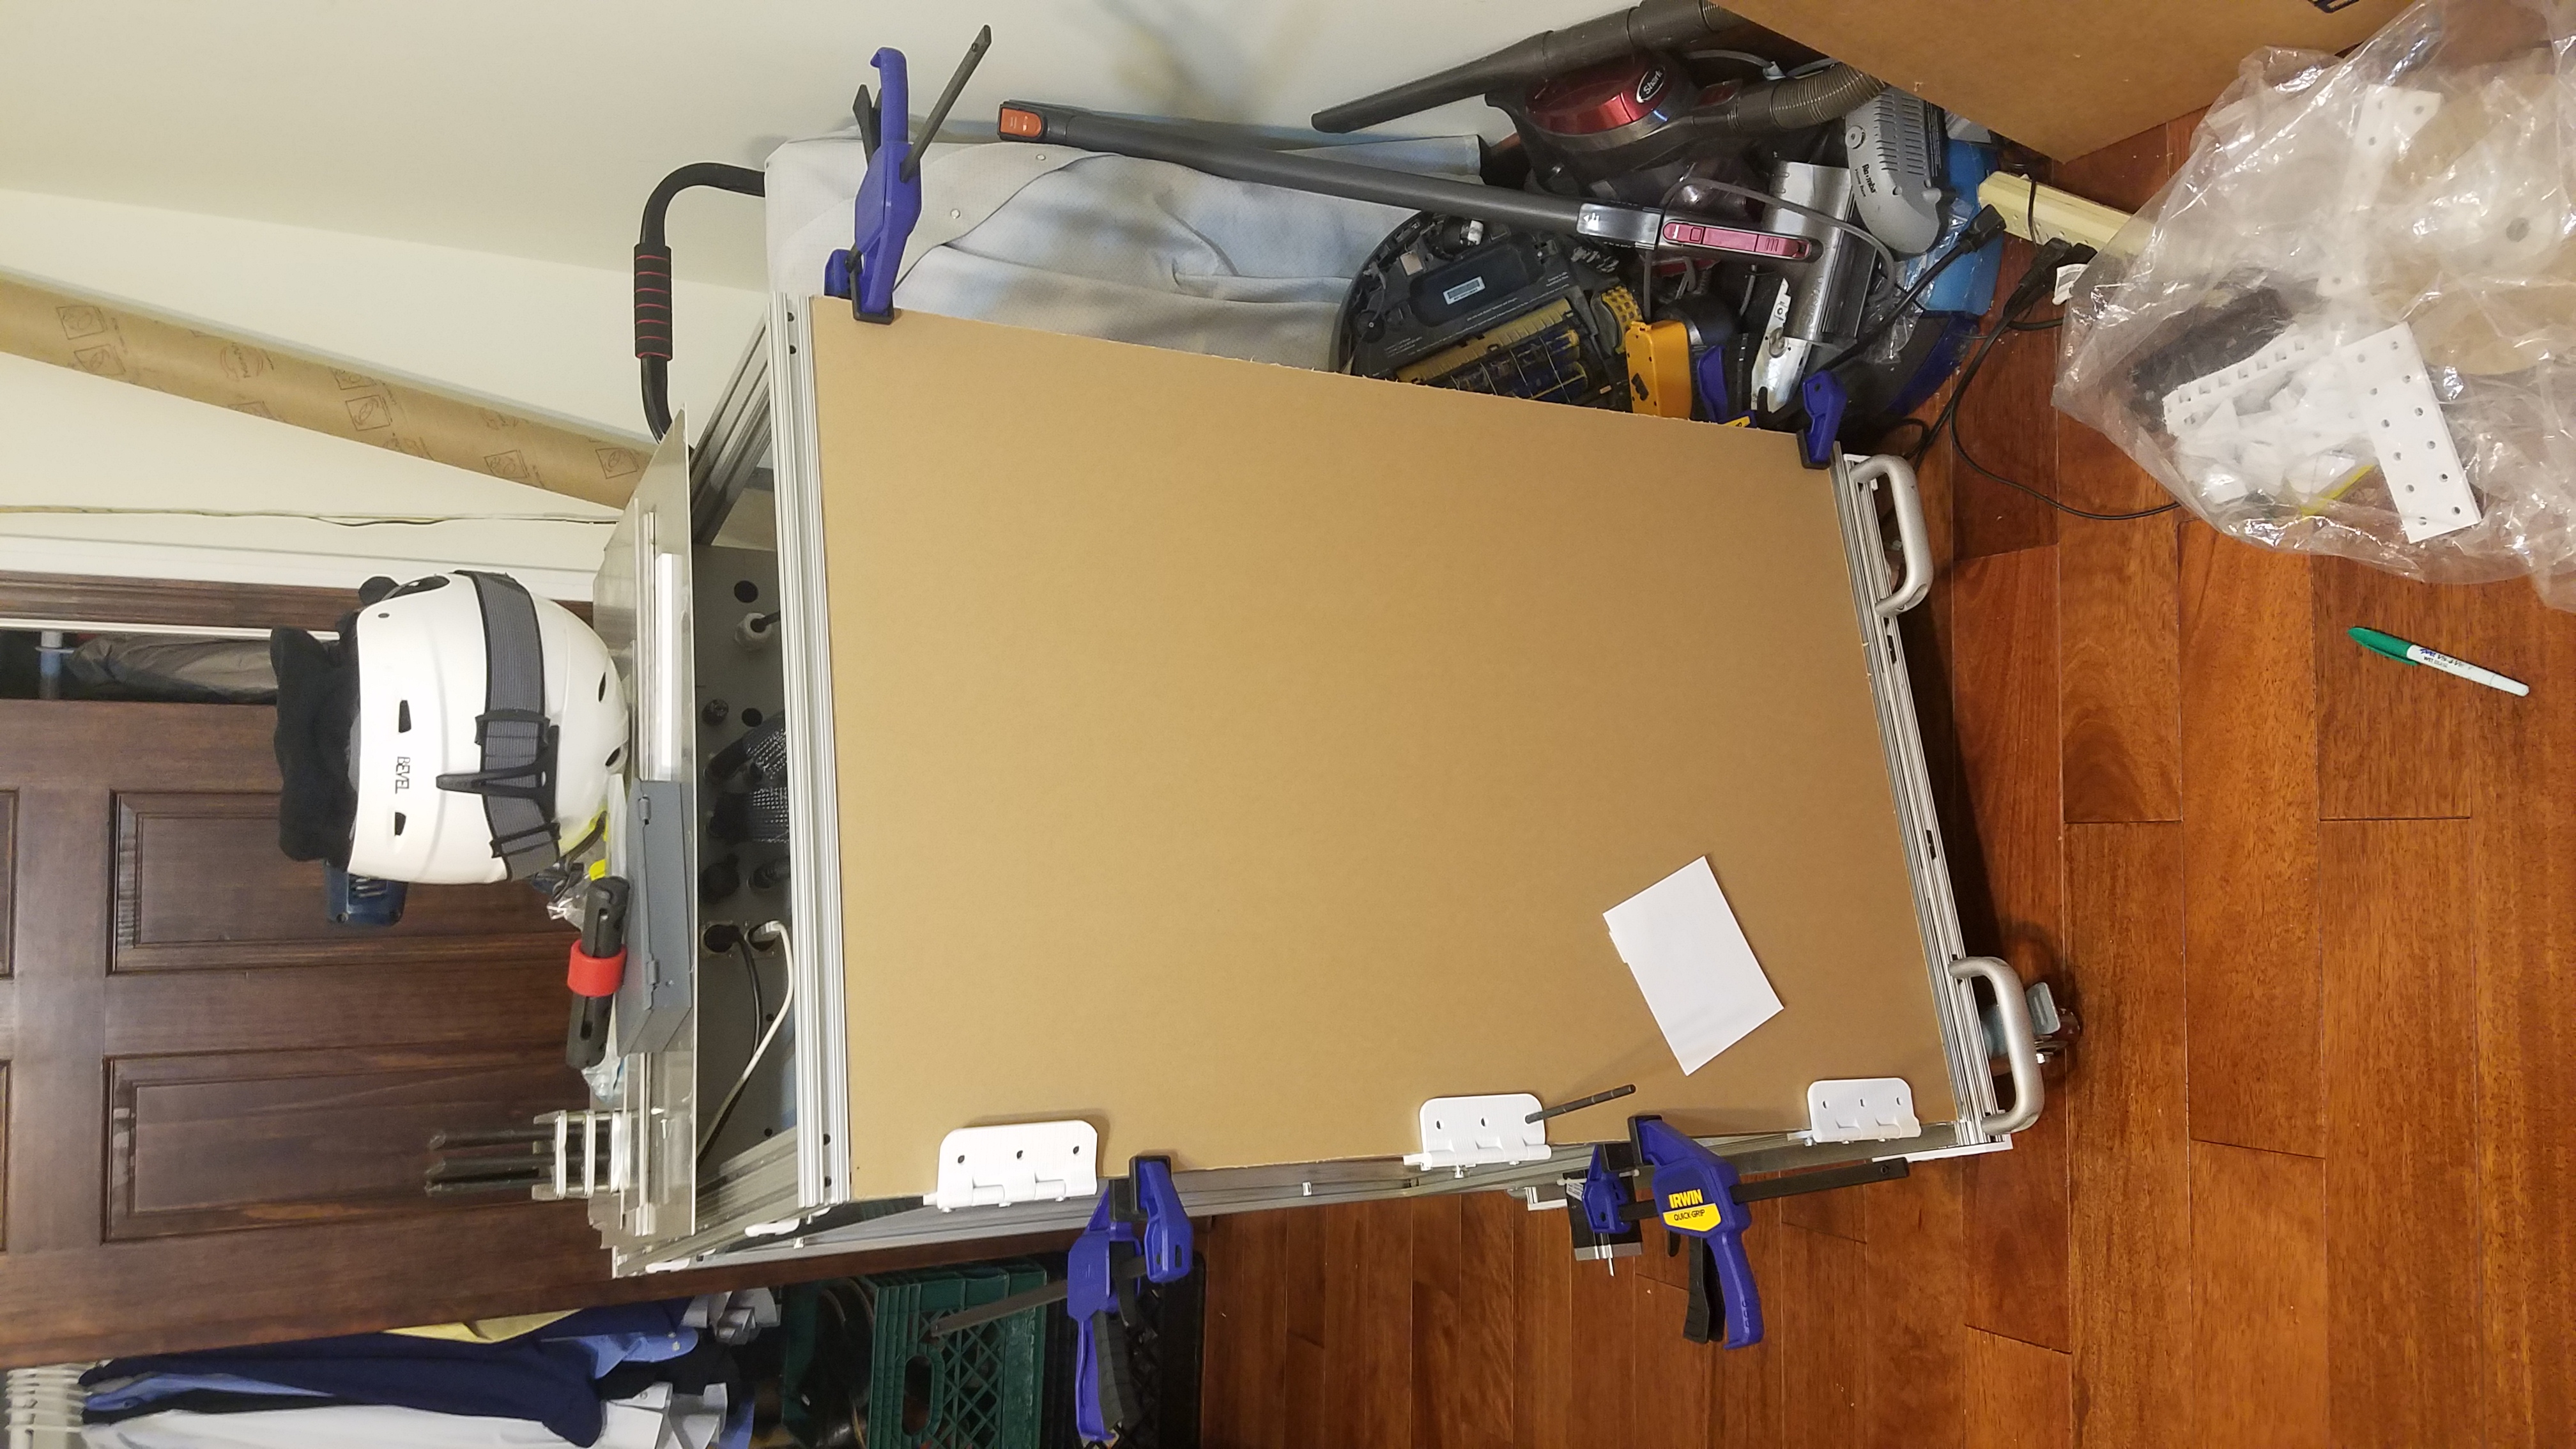
Mounting the Door
Hinges
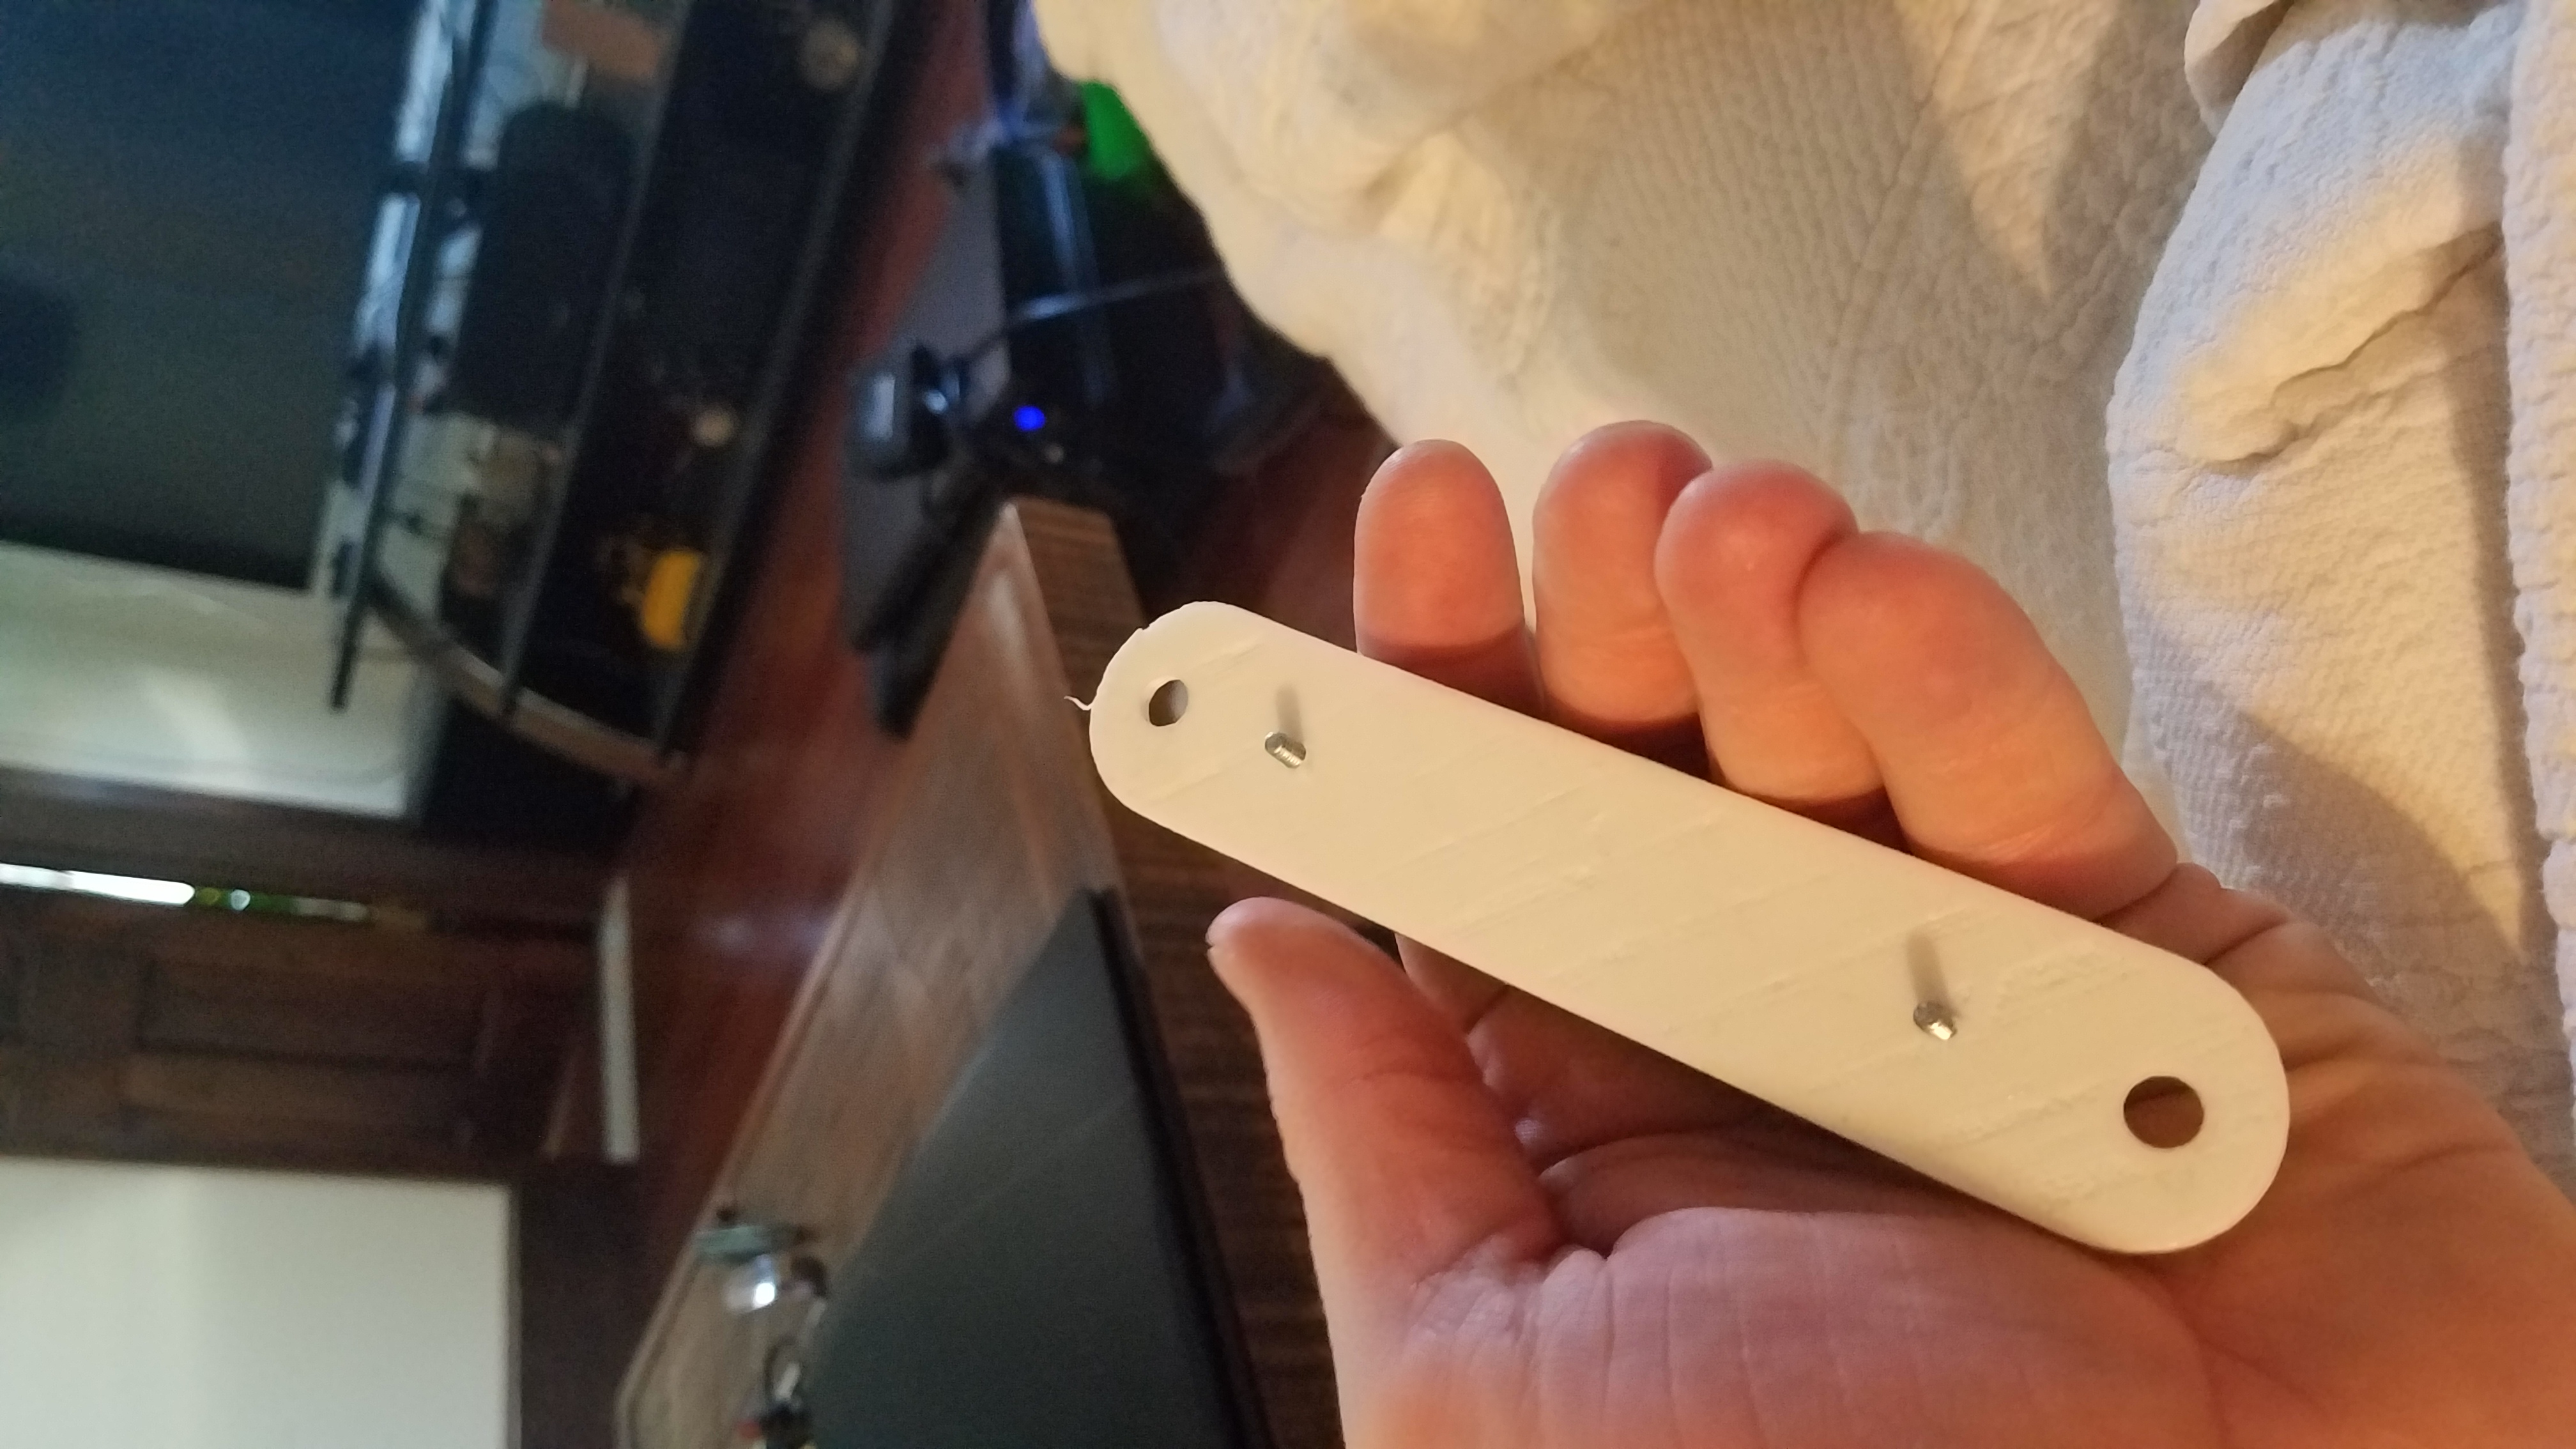
parametric_butt_hinge_3.7.scad parametric_butt_hinge_7.stl3d Printed Hinges
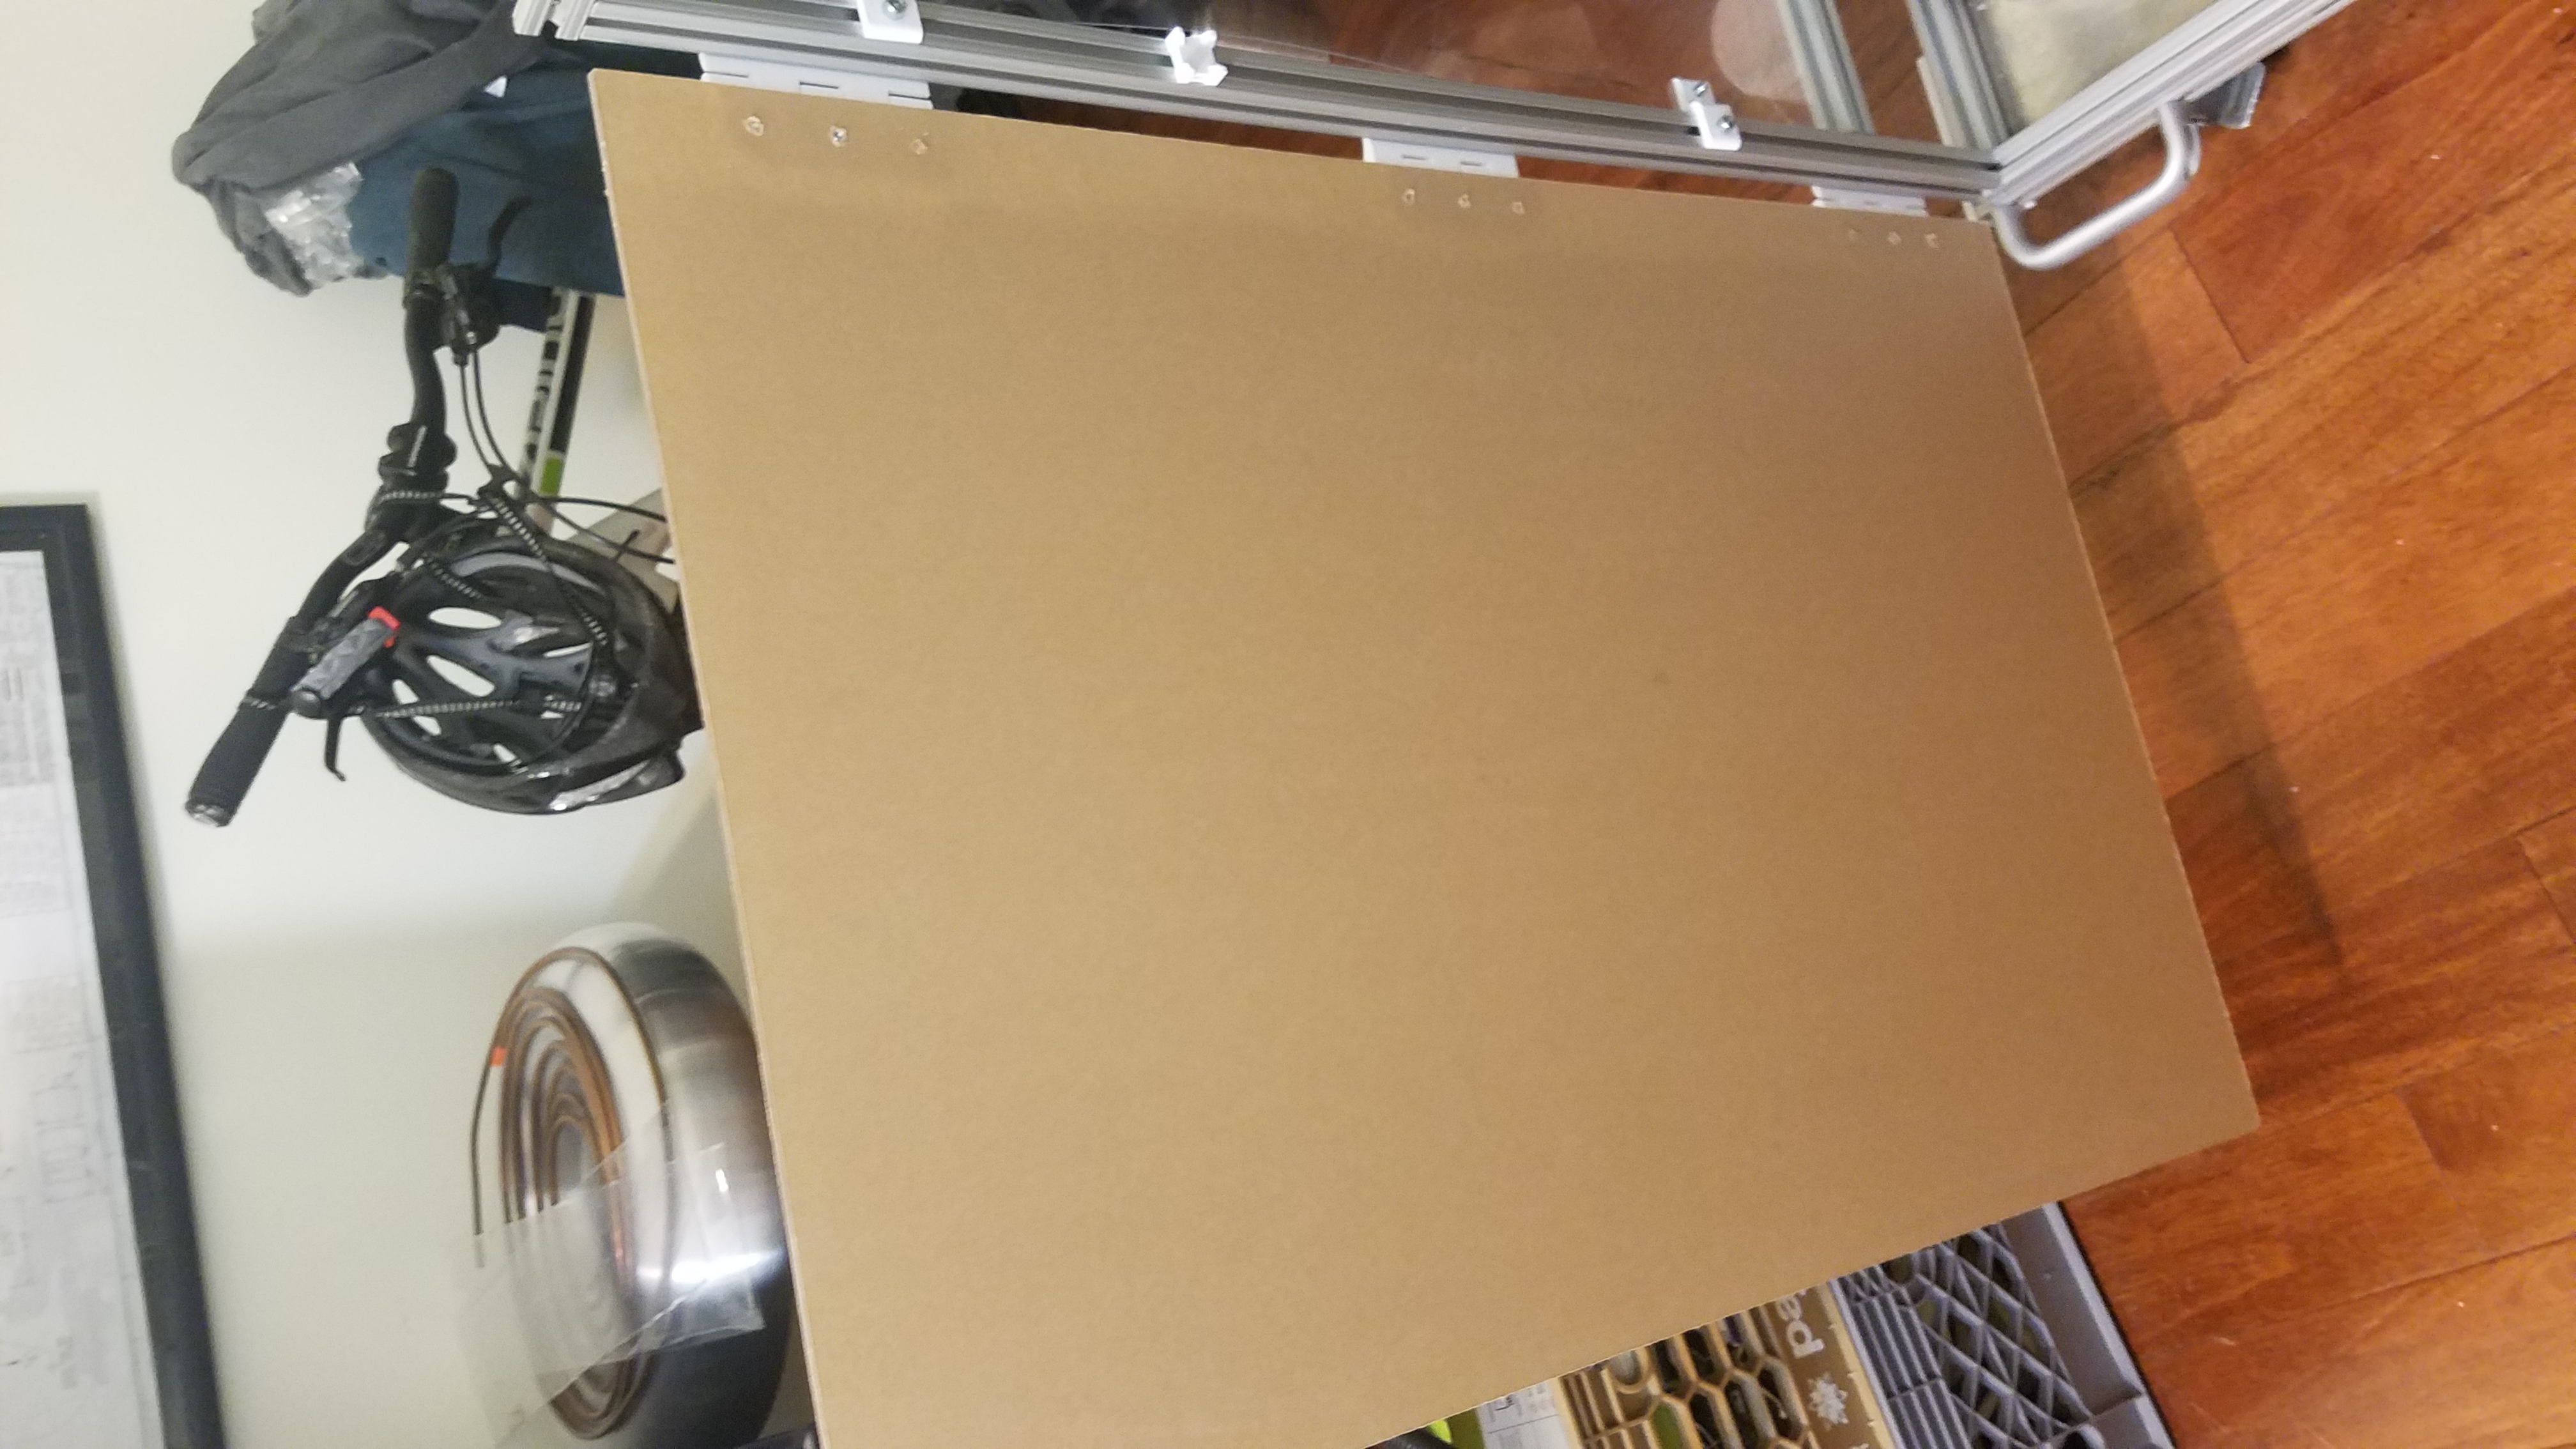
Door temporarily held on by clamps. Hinges mounted to the frame. Using a center locating punch through the hing mounting holes to locate where to drill the hole.
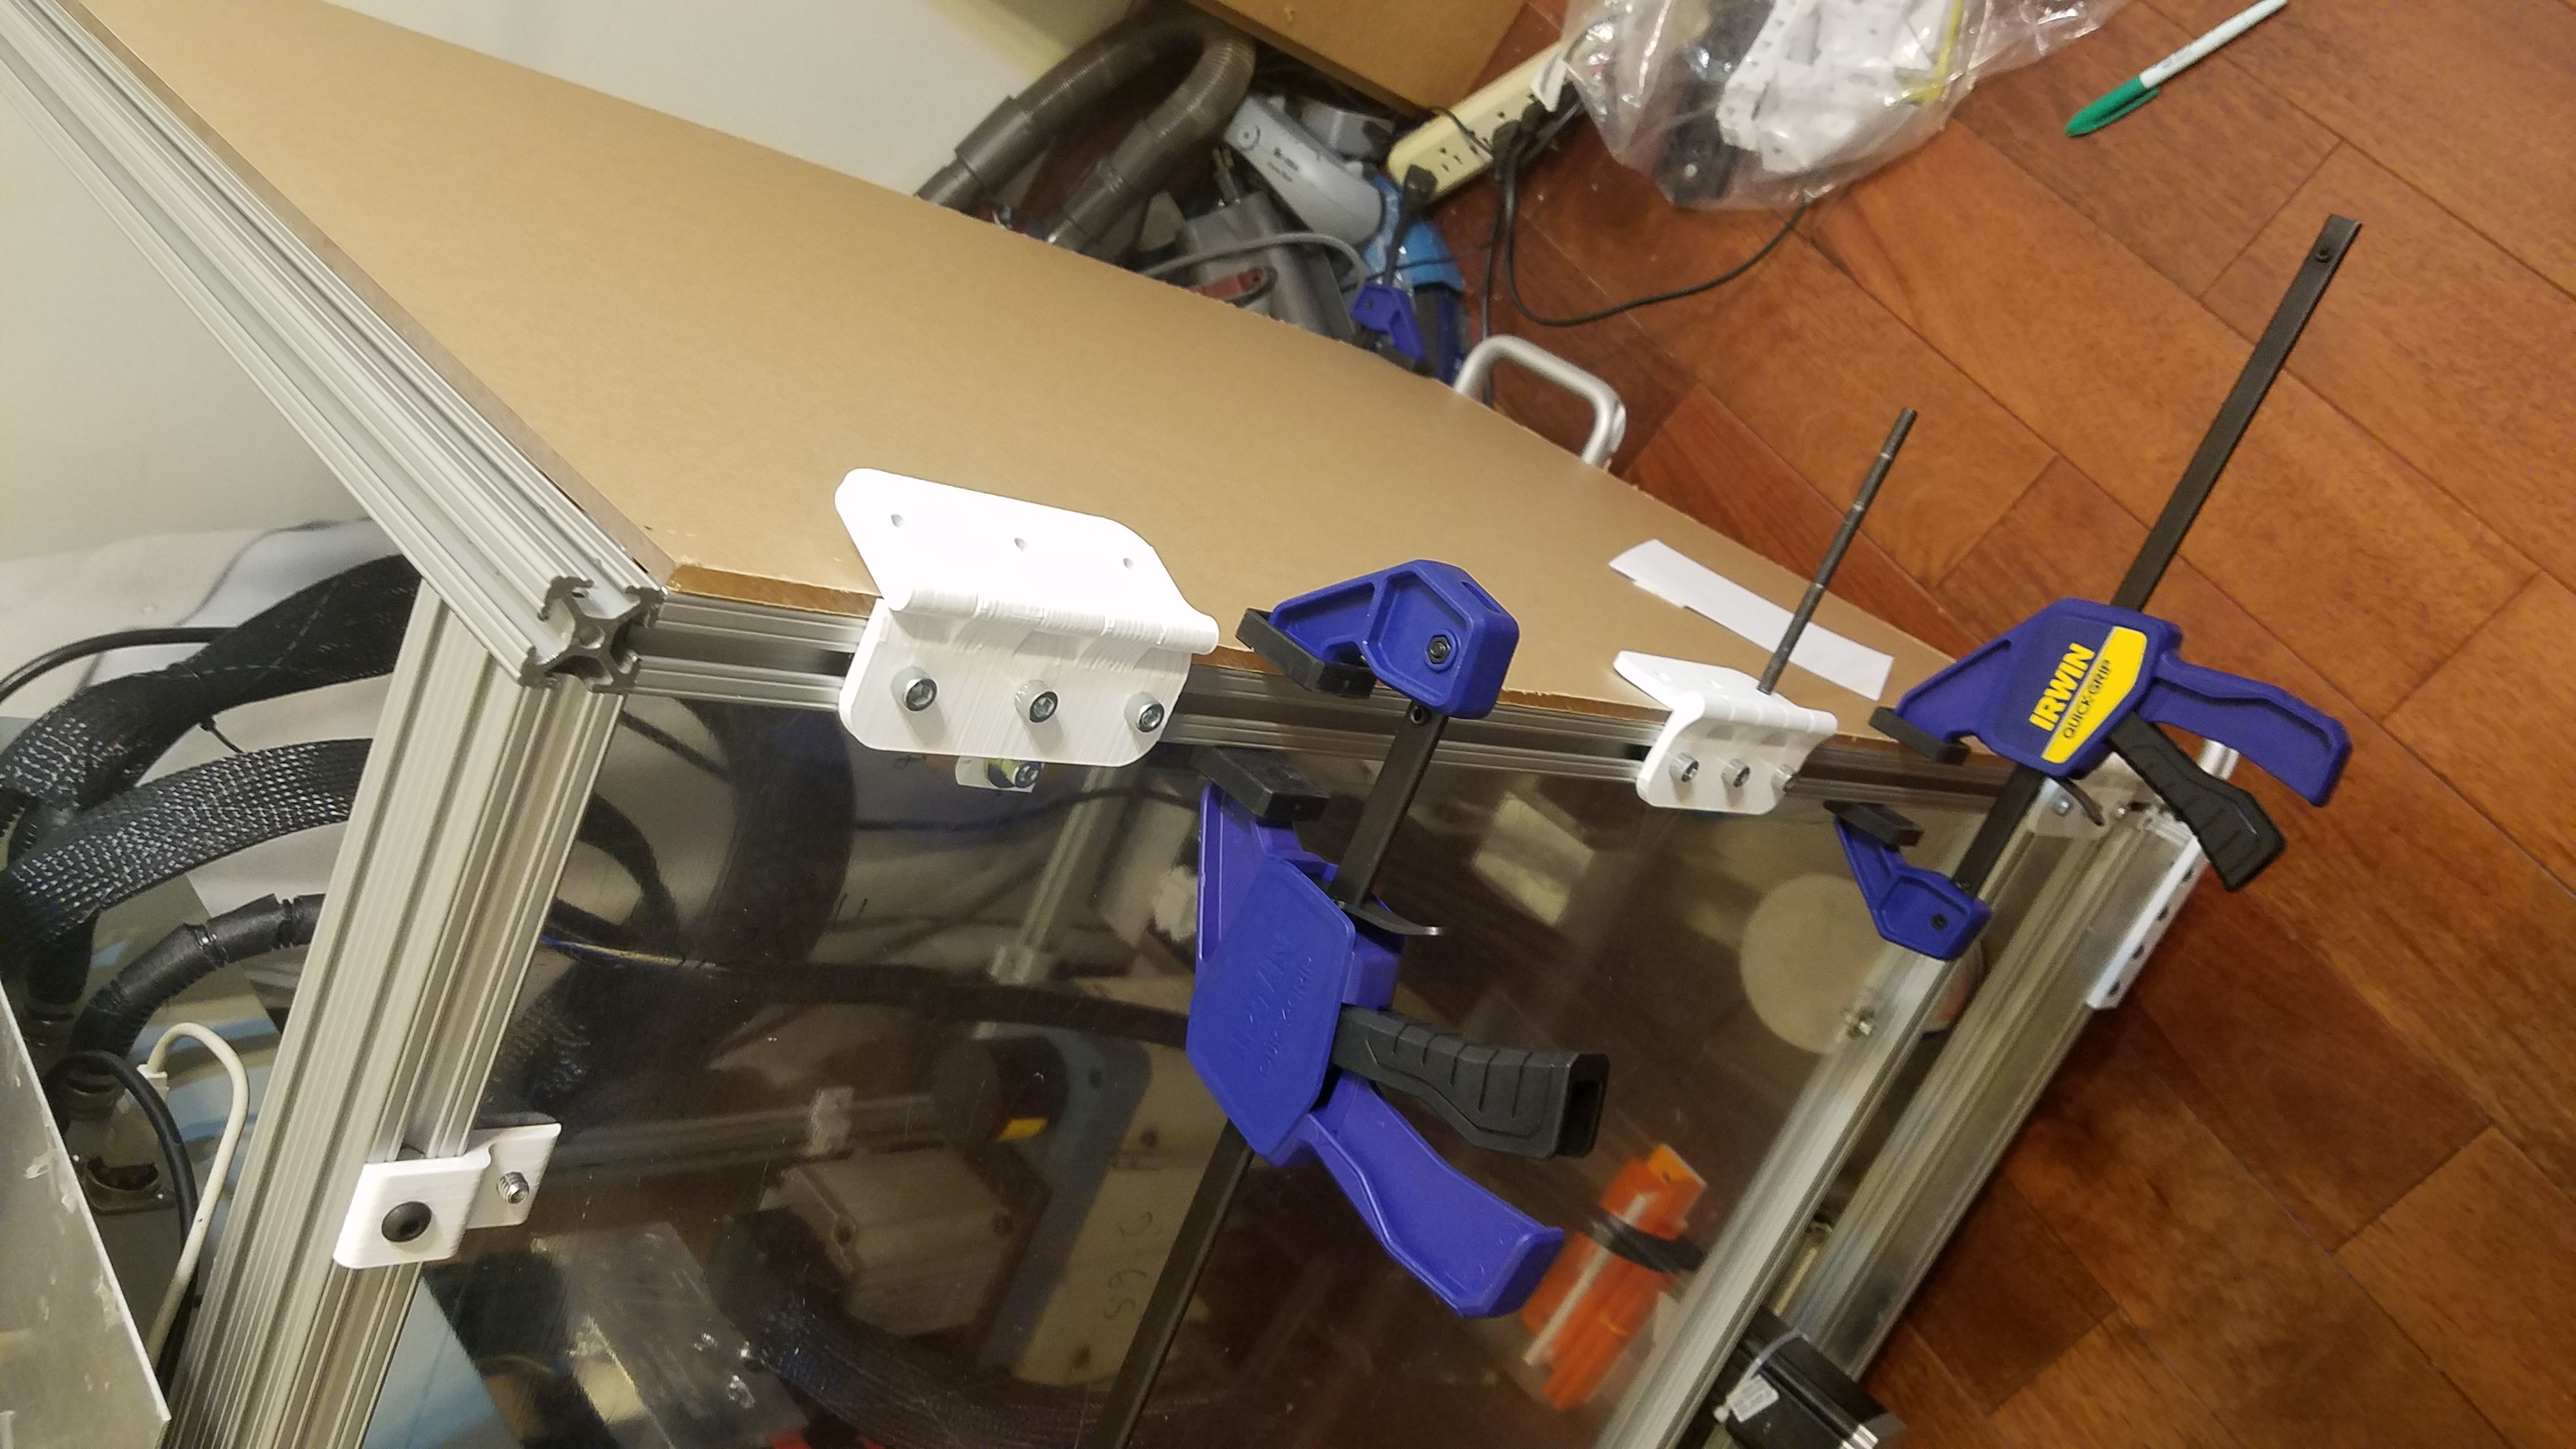
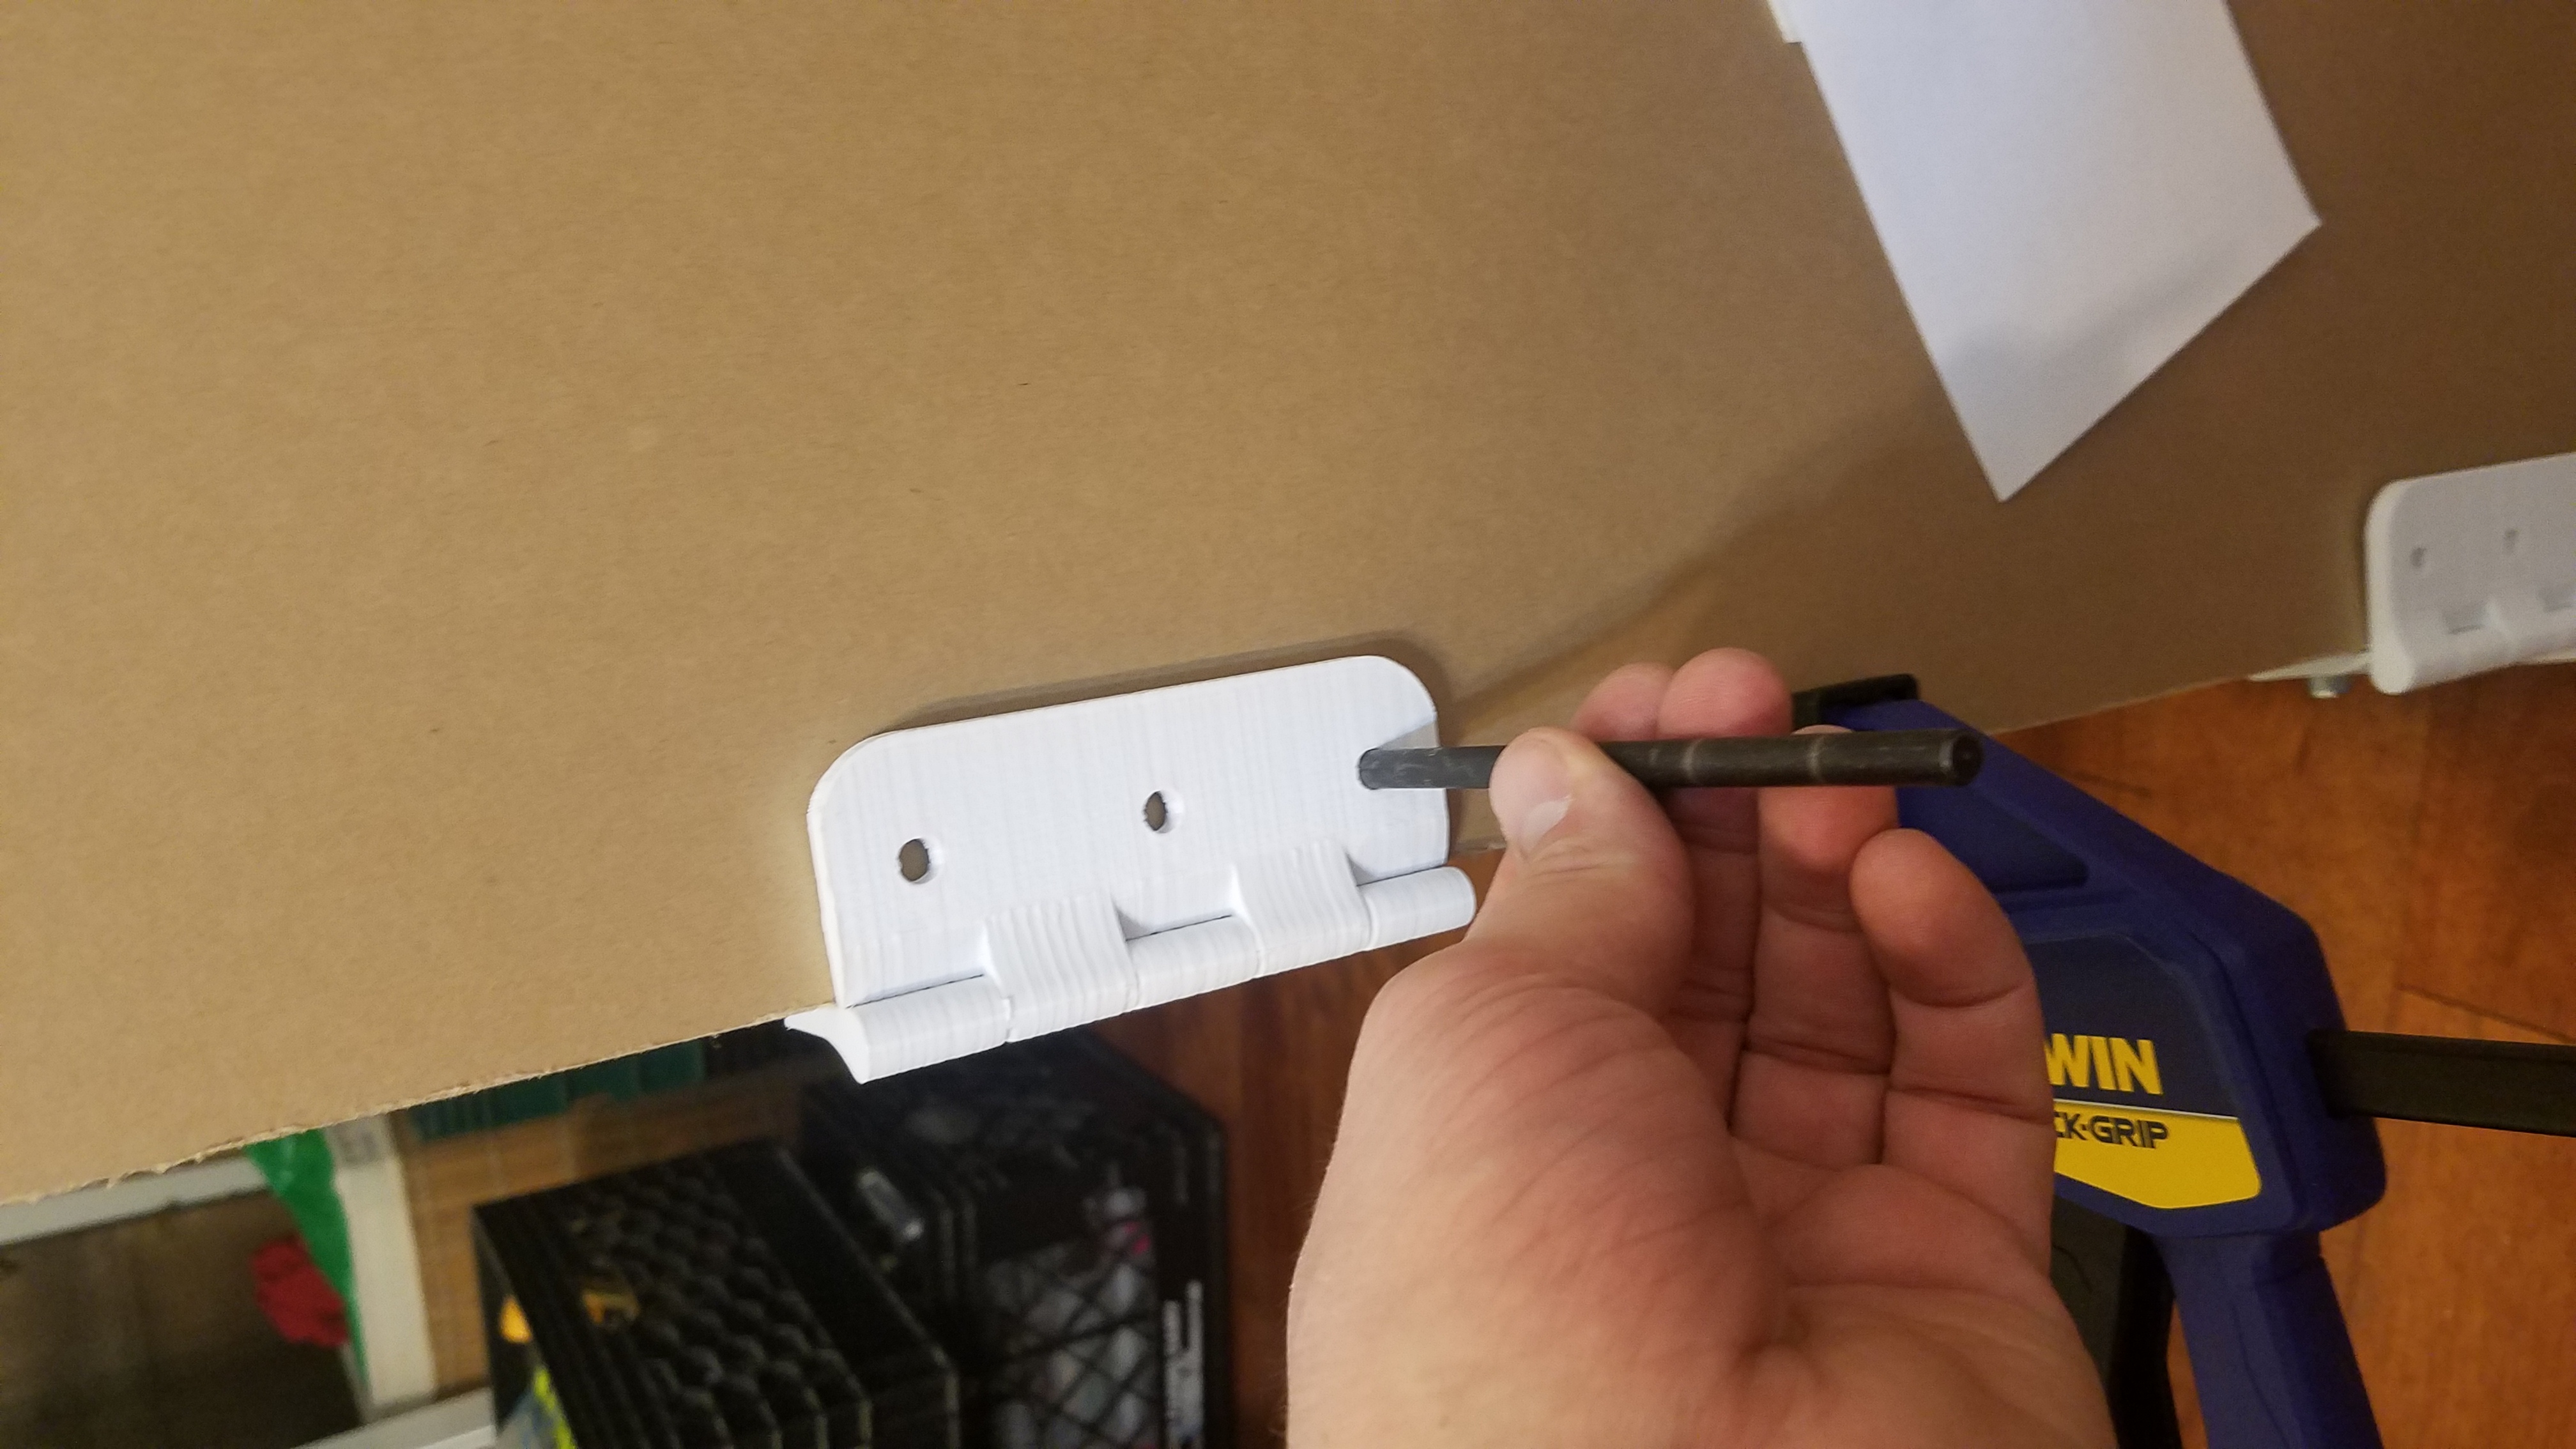
Determining the correct drilling points with a punch
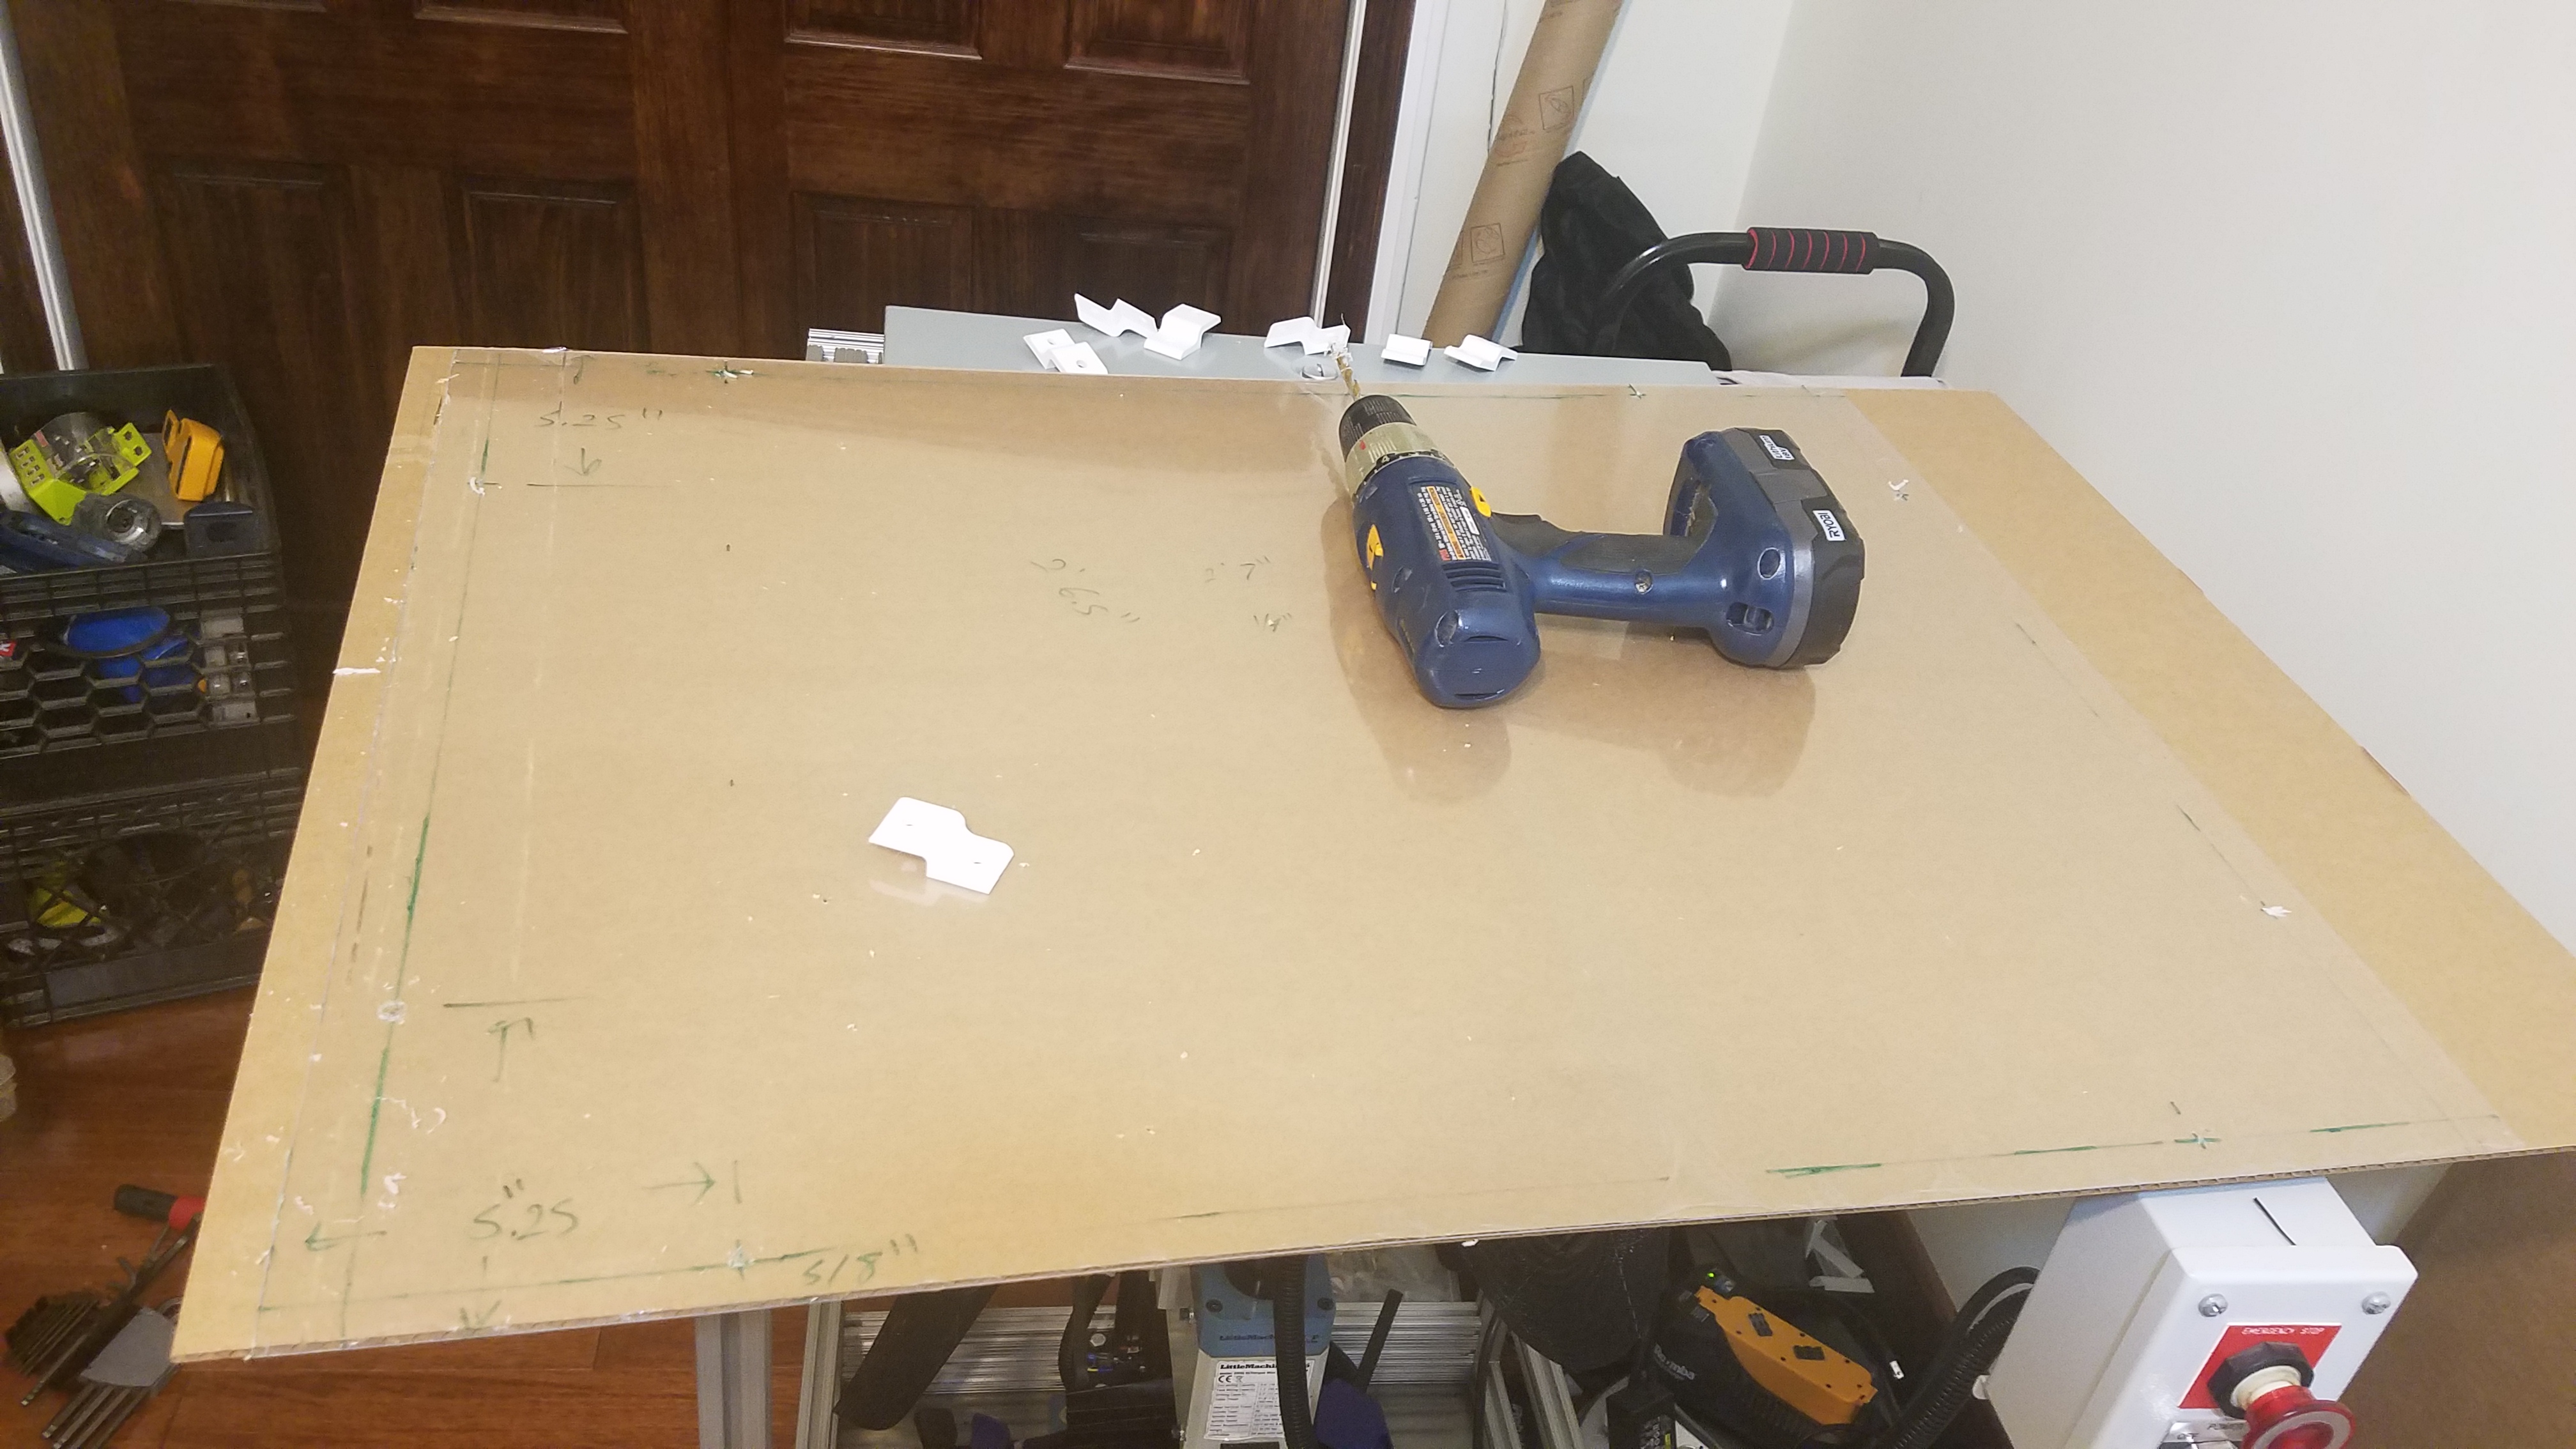
Drilling Hinge Mounting Holes.
In this case I tapped the acrylic plate with a 1/4-20 tap. These holes need to be kept away from the edge otherwise breakage can occur. Additionally, spreading the load across many holes reduces the stress on any one hole.

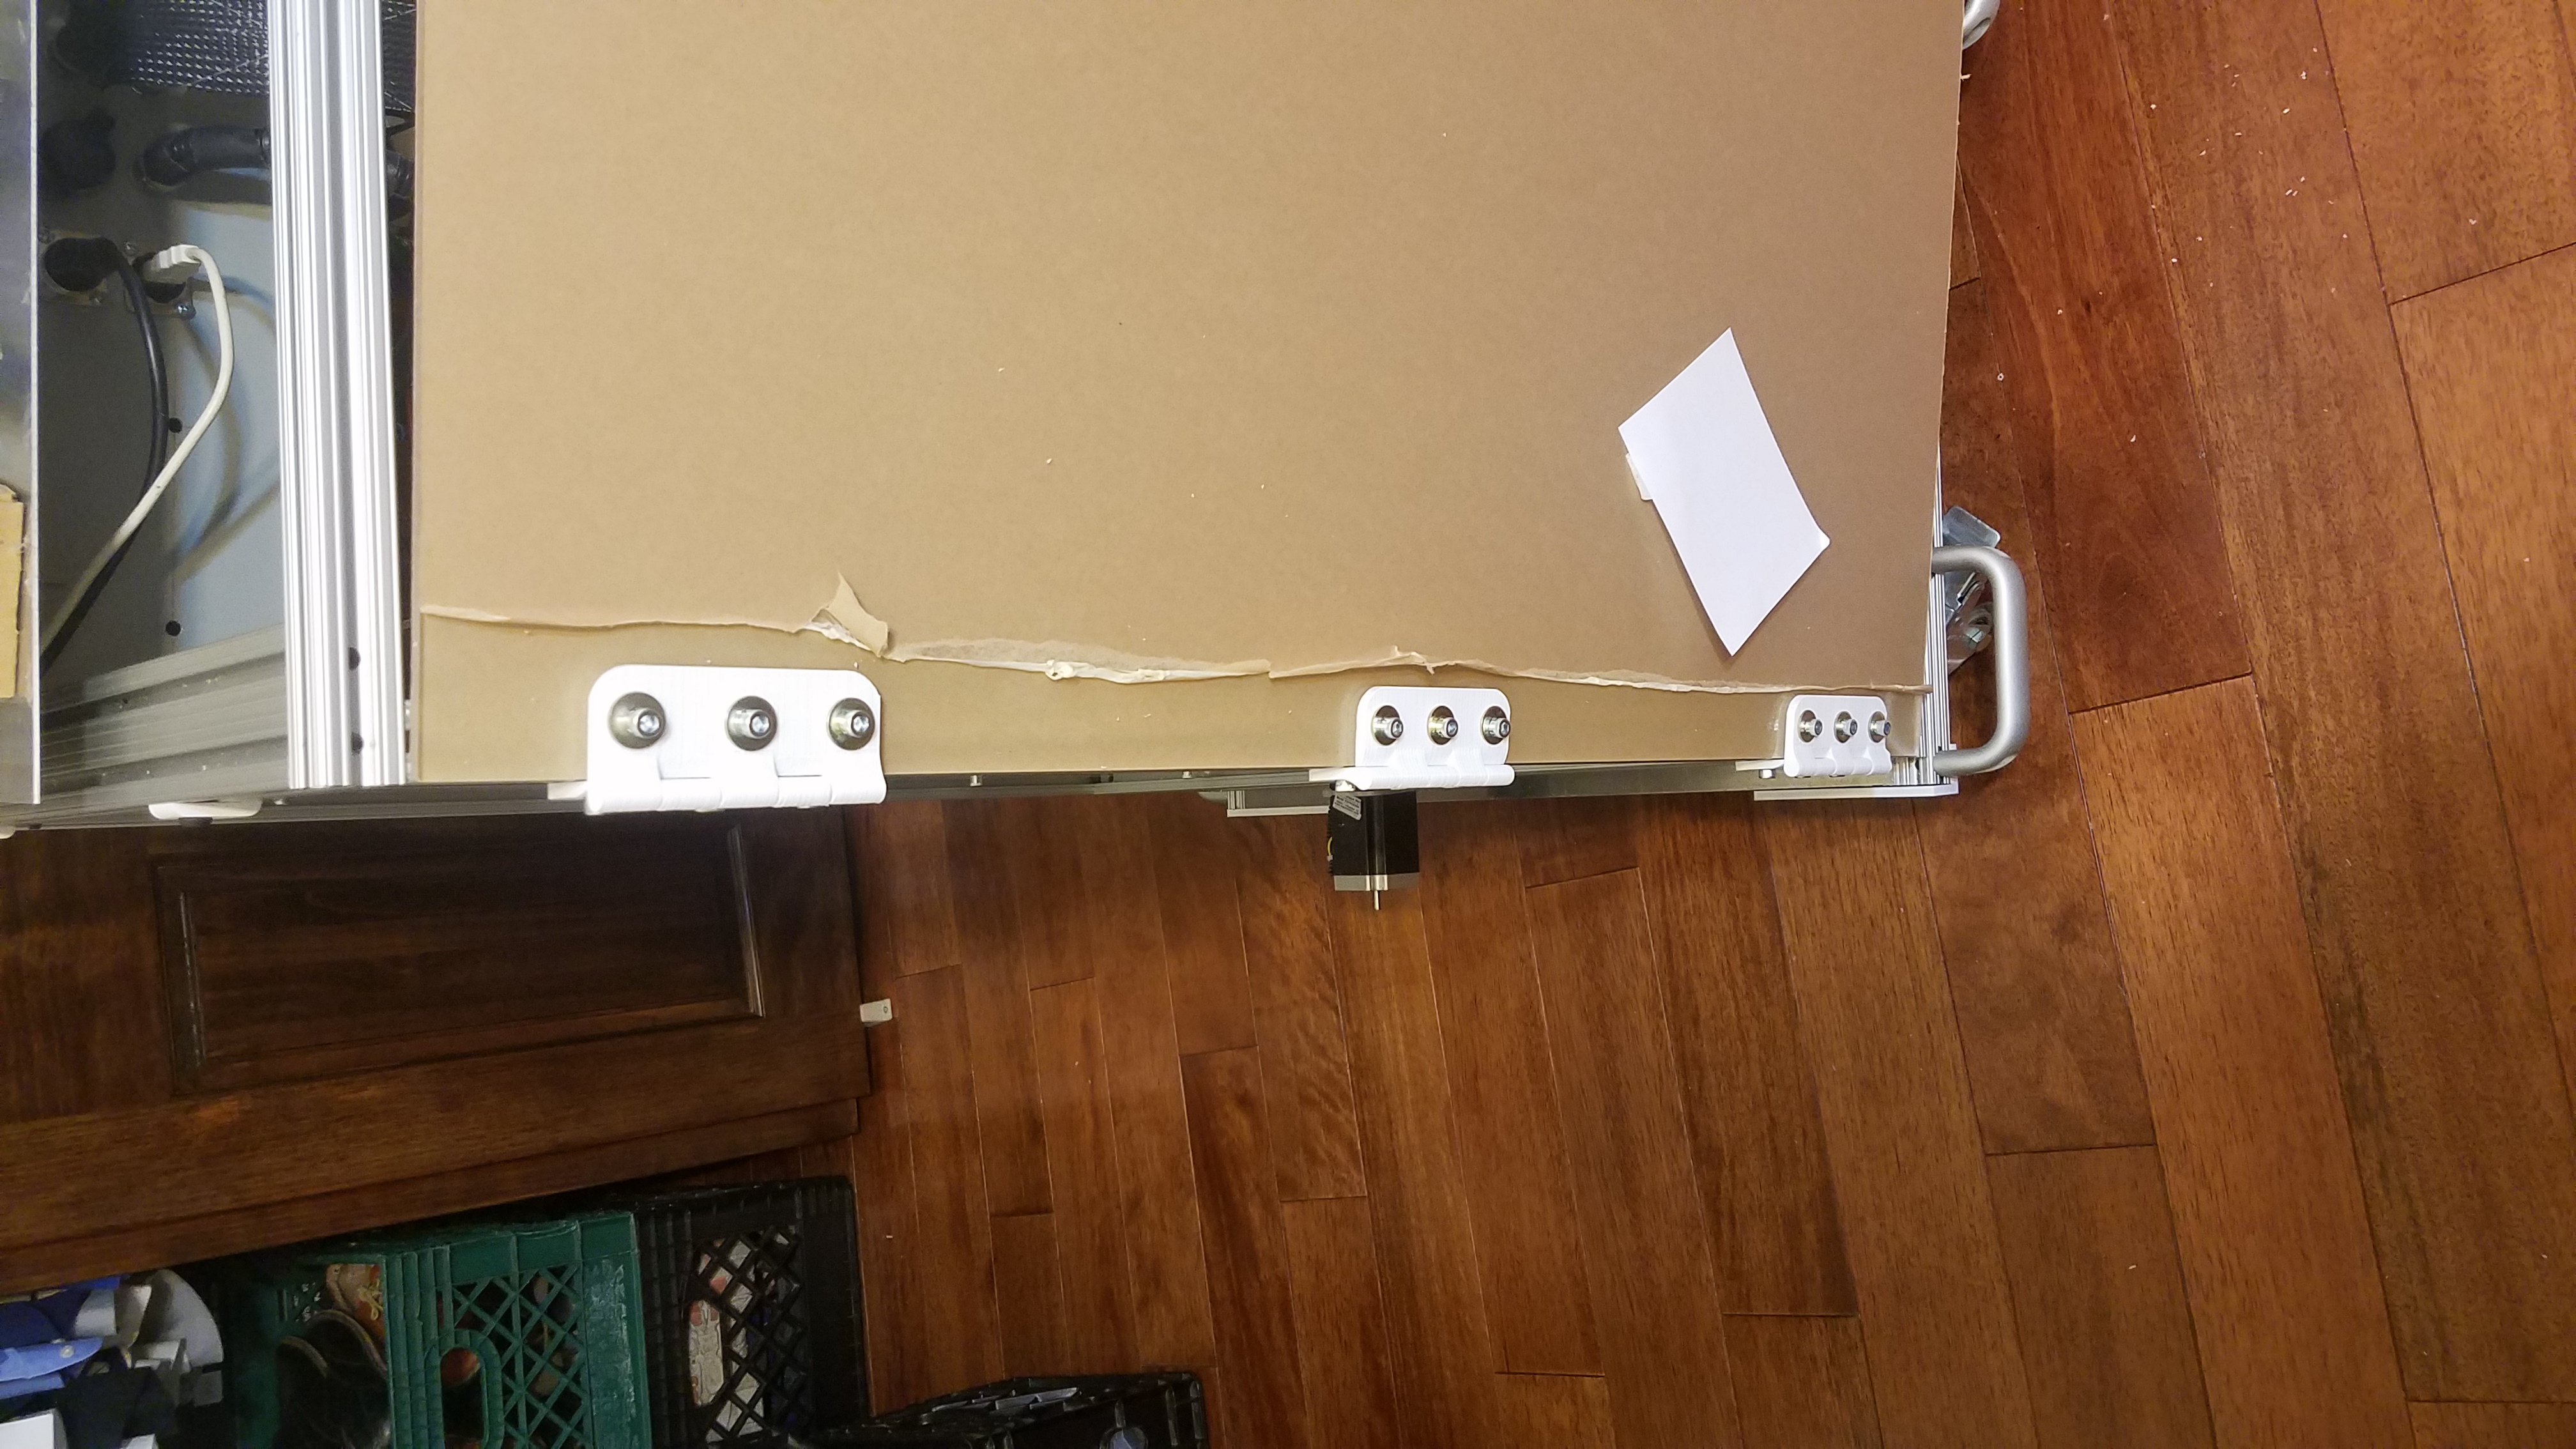
Mounting the door with the hinges
Door mounted with the 1/4-20 bolts
Door Mounted to Hinges